

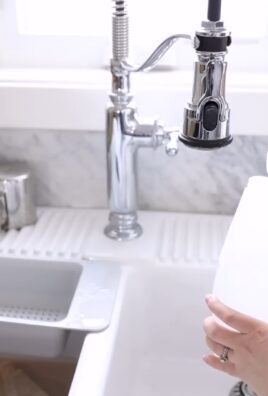
Quick Dishwasher Cleaning Routine: Is your dishwasher starting to smell a little funky, or are your dishes not coming out as sparkling clean as they used to? Don’t worry, you’re not alone! We’ve all been there. It’s easy to forget that our trusty dishwashers, the unsung heroes of our kitchens, need a little TLC themselves. But fear not, because I’m about to share a super-easy, super-effective quick dishwasher cleaning routine that will have your machine running like new in no time!
Dishwashers, while relatively modern inventions, have roots in the late 19th century. Josephine Cochrane, a wealthy socialite frustrated with her servants chipping her fine china, invented the first commercially successful dishwasher. Little did she know, her invention would revolutionize kitchens worldwide and save us countless hours of scrubbing! But even Josephine’s ingenious machine needs a little help to stay in tip-top shape.
Why is this quick cleaning routine so important? Well, over time, food particles, grease, and hard water deposits can build up inside your dishwasher. This not only affects its cleaning performance but can also lead to unpleasant odors and even damage the machine. Nobody wants to re-wash dishes that are supposed to be clean! Plus, a well-maintained dishwasher lasts longer, saving you money in the long run. So, let’s dive into this simple yet effective DIY trick that will keep your dishwasher happy and your dishes sparkling!
DIY Deep Clean: Revive Your Dishwasher and Banish the Funk!
Okay, let’s be honest. We all rely on our dishwashers to keep our kitchens sparkling, but how often do we actually *clean* the dishwasher itself? Probably not as often as we should, right? Over time, food particles, grease, and hard water deposits can build up, leading to funky smells, reduced cleaning power, and even clogged spray arms. But don’t worry! I’m going to walk you through a super effective DIY deep clean that will have your dishwasher running like new in no time. It’s easier than you think, and you probably already have most of the supplies you need!
What You’ll Need:
* White Vinegar (the unsung hero of DIY cleaning!)
* Baking Soda (another cleaning powerhouse!)
* Dish Soap (gentle and effective)
* An Old Toothbrush (for scrubbing those hard-to-reach spots)
* A Damp Cloth or Sponge
* A Screwdriver (possibly, depending on your dishwasher model)
* Rubber Gloves (optional, but recommended)
* A Measuring Cup
Phase 1: The Initial Inspection and Debris Removal
Before we unleash the cleaning power, we need to get rid of any large debris lurking in your dishwasher. This is a crucial step because it prevents those bits from clogging things up later.
1. Empty the Dishwasher Completely: This might seem obvious, but make sure there are no dishes, utensils, or anything else inside. We need a blank canvas to work with!
2. Inspect and Clean the Drain: This is where the majority of the food particles end up. Locate the drain at the bottom of your dishwasher. It usually has a removable cover or filter.
* Remove the Drain Cover/Filter: Most drain covers simply twist off or lift out. Consult your dishwasher’s manual if you’re unsure how to remove it.
* Clean the Filter Thoroughly: Rinse the filter under hot running water. Use your old toothbrush to scrub away any stubborn food particles or grease. Pay close attention to any small holes or crevices. You want to make sure they’re completely clear.
* Inspect the Drain Itself: Look inside the drain opening. Are there any large chunks of food or debris blocking the drain? If so, carefully remove them with your fingers (gloves recommended!) or a pair of tweezers.
* Reassemble the Drain: Once the filter and drain are clean, reassemble the drain cover/filter according to your dishwasher’s instructions. Make sure it’s securely in place.
3. Check and Clean the Spray Arms: The spray arms are responsible for blasting water onto your dishes, so it’s essential to keep them clean and unclogged.
* Locate the Spray Arms: Your dishwasher likely has at least two spray arms – one on the bottom and possibly one or more on the top or middle rack.
* Remove the Spray Arms: Most spray arms can be easily removed. Some simply snap off, while others may require you to unscrew them. Again, check your dishwasher’s manual if you’re unsure.
* Inspect the Spray Arm Nozzles: Hold the spray arms up to the light and inspect the nozzles (the small holes where the water comes out). Are any of them clogged with food particles or mineral deposits?
* Clean the Nozzles: Use a toothpick, a thin wire, or even a straightened paperclip to carefully poke out any debris from the nozzles. You can also try soaking the spray arms in warm, soapy water for a few minutes to loosen stubborn blockages.
* Rinse and Reassemble: Rinse the spray arms thoroughly under running water and then reattach them to your dishwasher. Make sure they’re securely in place and can spin freely.
Phase 2: The Vinegar Power Wash
Vinegar is a natural disinfectant and descaler, making it perfect for breaking down grease, grime, and hard water deposits. This step will leave your dishwasher smelling fresh and clean.
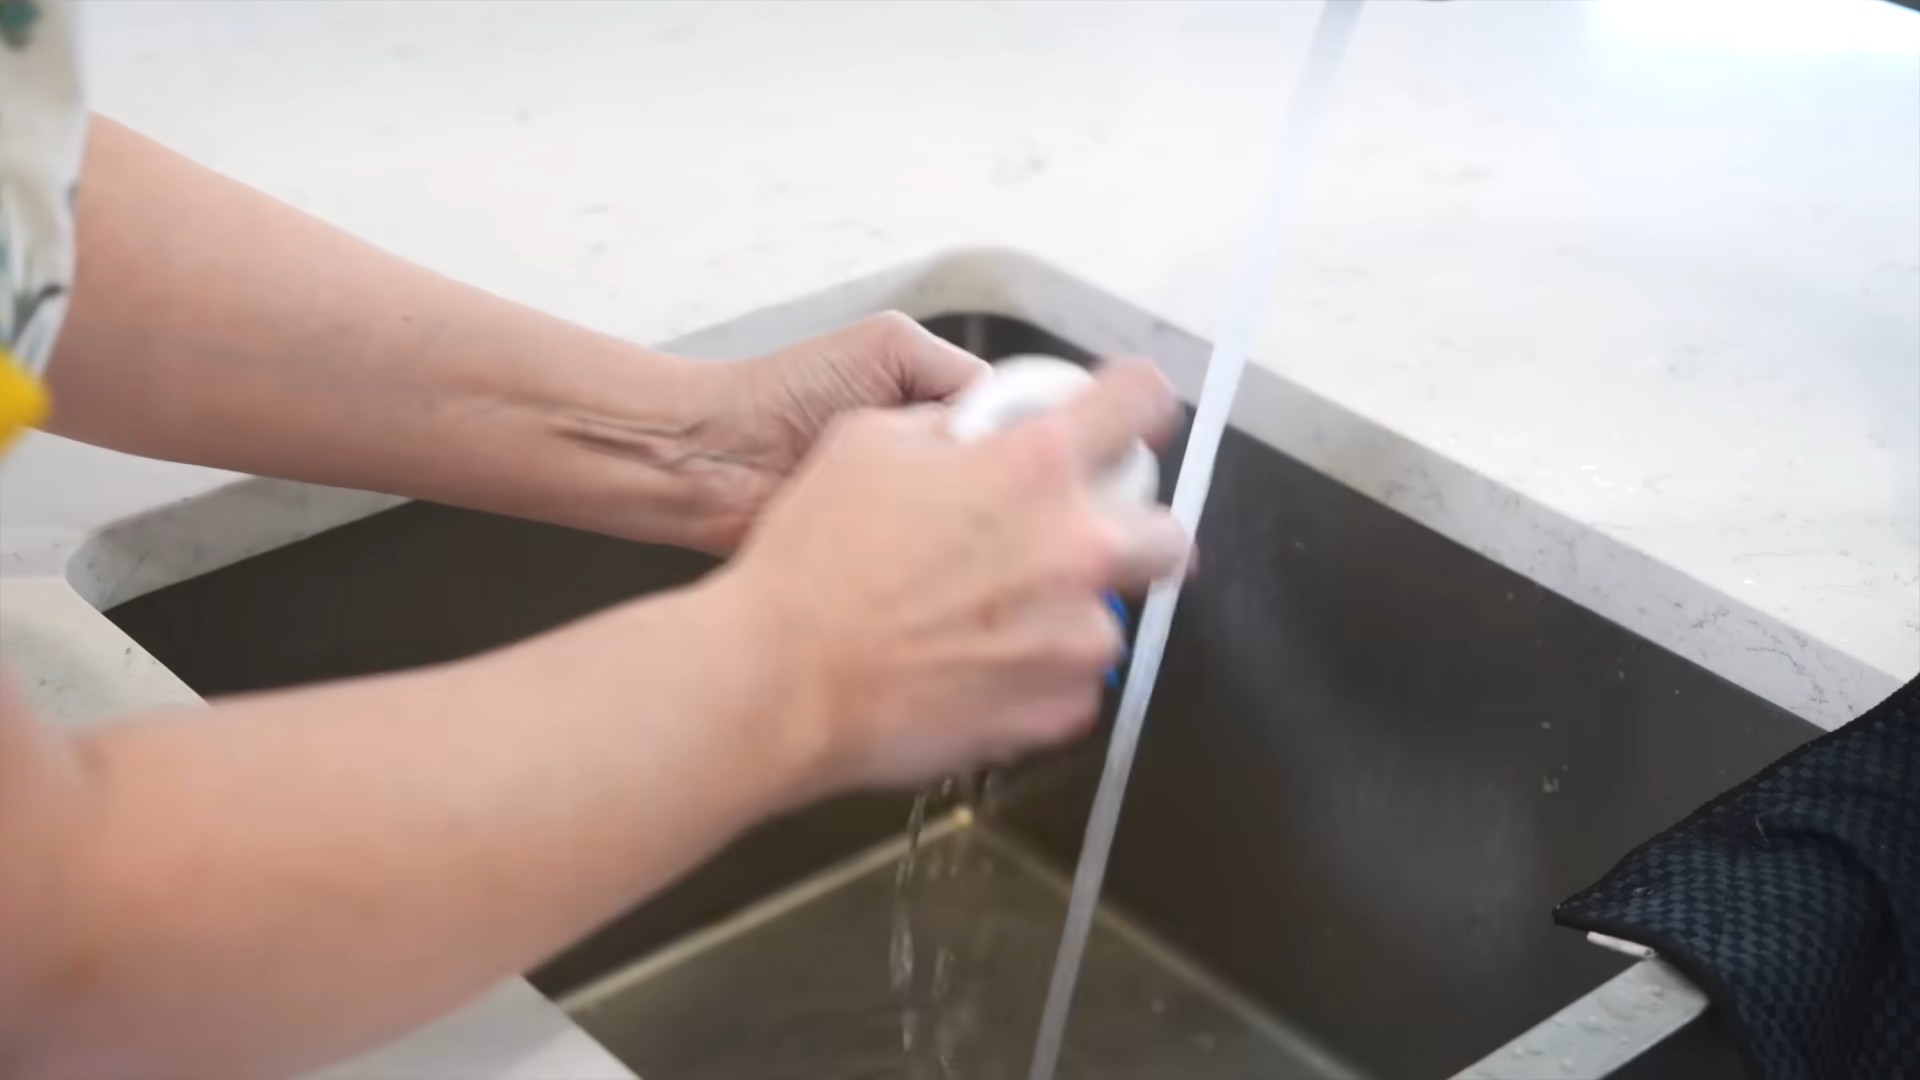
1. Prepare the Vinegar Bath: Fill a dishwasher-safe cup or bowl with one cup of white vinegar.
2. Place the Vinegar in the Top Rack: Position the cup or bowl of vinegar upright on the top rack of your empty dishwasher.
3. Run a Hot Water Cycle: Close the dishwasher and run a normal hot water cycle. Do not add any detergent. The vinegar will work its magic, dissolving grease and grime as the dishwasher runs.
Phase 3: The Baking Soda Boost
Baking soda is a mild abrasive and deodorizer. It will help to scrub away any remaining residue and leave your dishwasher smelling even fresher.
1. Sprinkle Baking Soda: Once the vinegar cycle is complete, sprinkle about one cup of baking soda evenly across the bottom of your dishwasher.
2. Run a Short, Hot Water Cycle: Close the dishwasher and run a short, hot water cycle. Again, do not add any detergent.
Phase 4: The Final Touches and Maintenance
Now that we’ve given your dishwasher a thorough cleaning, let’s take a few extra steps to ensure it stays sparkling and functioning optimally.
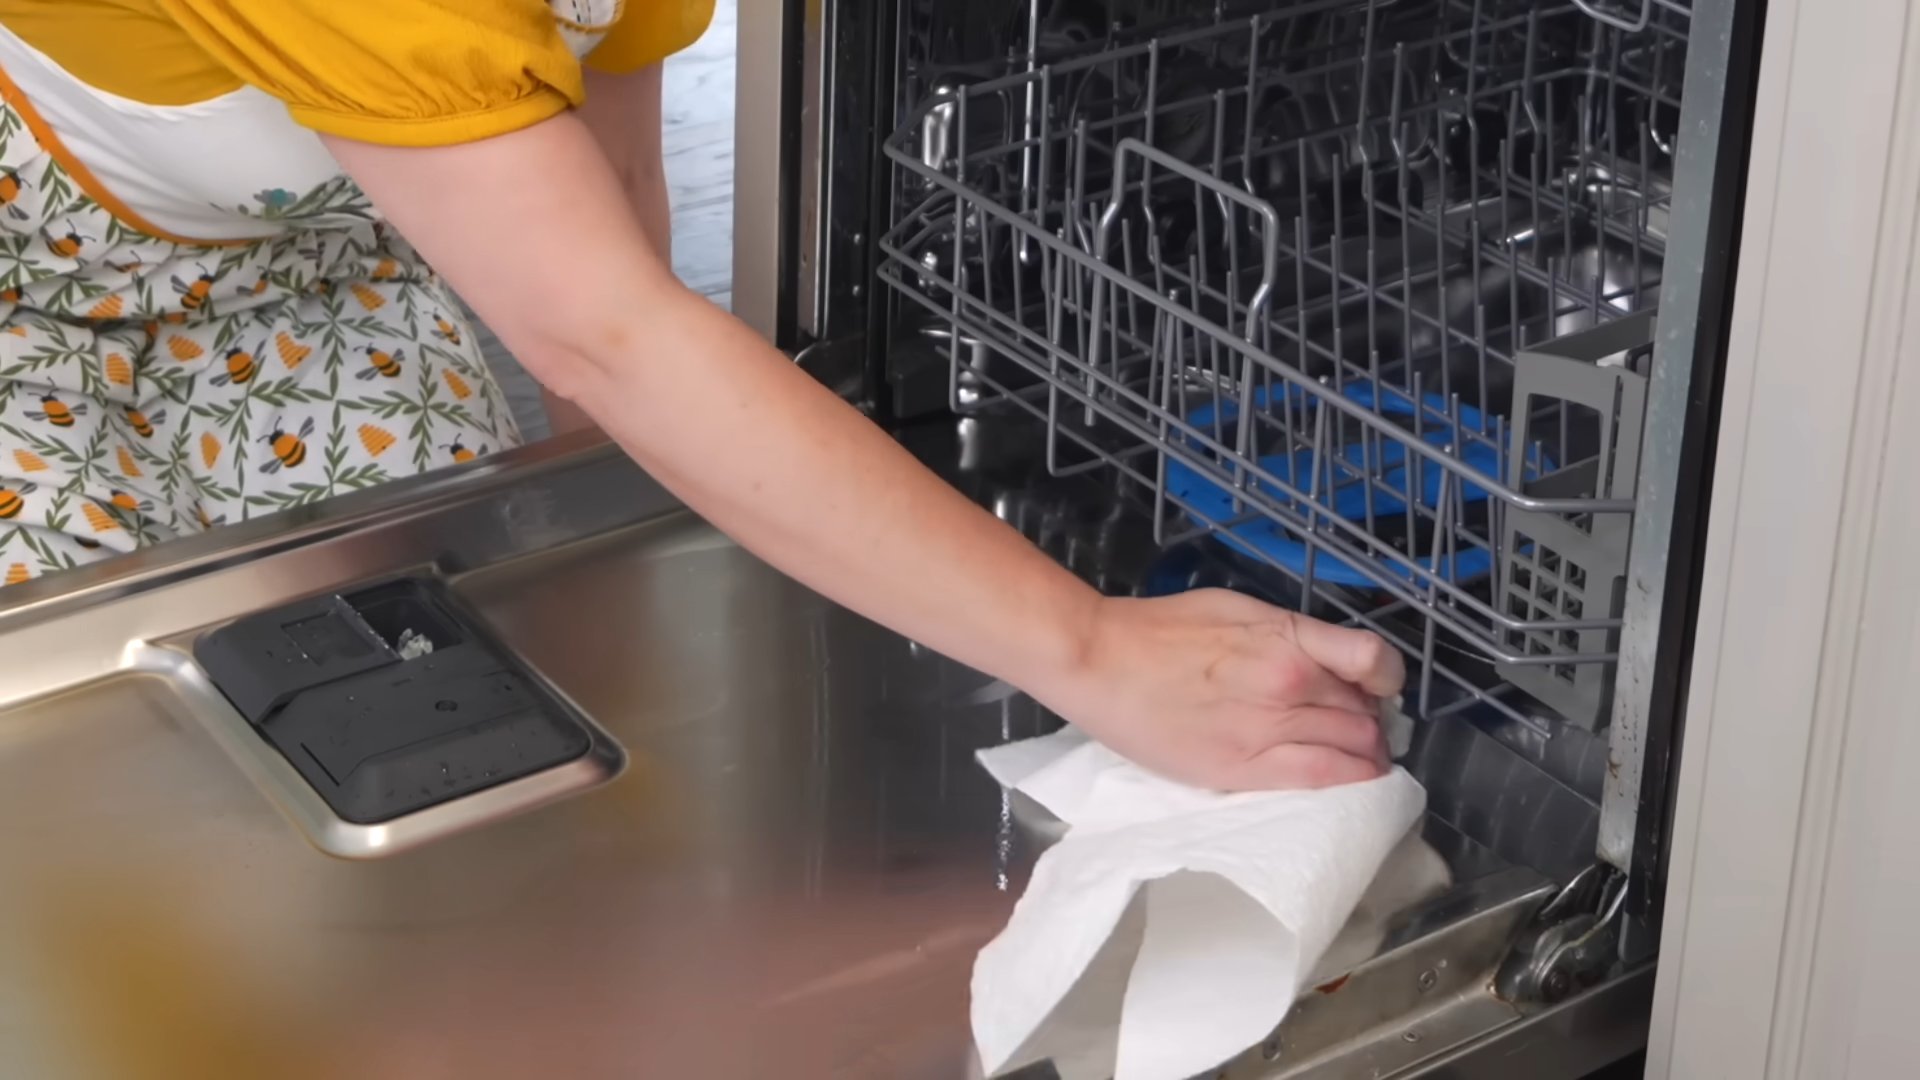
1. Wipe Down the Interior: Use a damp cloth or sponge to wipe down the interior of your dishwasher, paying particular attention to the door, the racks, and any areas where you see lingering residue.
2. Clean the Door Seals: The door seals can accumulate grime and mildew over time. Use a damp cloth or sponge to wipe them clean. You can also use an old toothbrush to scrub away any stubborn buildup.
3. Clean the Detergent Dispenser: The detergent dispenser can also become clogged with residue. Use a damp cloth or sponge to clean it thoroughly. Make sure there are no blockages preventing the detergent from dispensing properly.
4. Run an Empty Cycle Regularly: To prevent buildup and keep your dishwasher smelling fresh, run an empty cycle with vinegar or a dishwasher cleaner every month or so.
5. Scrape Dishes Before Loading: This might seem obvious, but scraping your dishes before loading them into the dishwasher will significantly reduce the amount of food particles that end up in the drain and spray arms.
6. Use a Rinse Aid: Rinse aid helps to prevent water spots and film from forming on your dishes. It also helps to speed up the drying process.
7. Check for Leaks: Periodically check around your dishwasher for any signs of leaks. If you notice any leaks, address them promptly to prevent water damage.
8. Consider a Commercial Dishwasher Cleaner: While the DIY method is effective, you can also use a commercial dishwasher cleaner periodically for an extra boost of cleaning power. Follow the instructions on the product label.
Troubleshooting Common Dishwasher Problems:
Sometimes, even after a thorough cleaning, your dishwasher might still have some issues. Here are a few common problems and how to troubleshoot them:
* Dishes Not Getting Clean: This could be due to clogged spray arms, a dirty filter, low water pressure, or using too little detergent. Make sure the spray arms are clean and spinning freely, the filter is clean, and you’re using the correct amount of detergent for your water hardness.
* Dishwasher Not Draining: This is often caused by a clogged drain. Check the drain filter and the drain hose for any blockages. You may need to use a plumber’s snake to clear a stubborn clog.
* Dishwasher Leaking: Leaks can be caused by a damaged door seal, a loose hose connection, or a faulty pump. Inspect the door seal for cracks or tears and replace it if necessary. Tighten any loose hose connections. If the pump is leaking, you may need to replace it.
* Dishwasher Smells Bad: This is usually caused by food particles and bacteria buildup. Regularly cleaning your dishwasher with vinegar and baking soda will help to prevent odors. You can also try placing a bowl of baking soda in the dishwasher overnight to absorb odors.
By following these steps, you can keep your dishwasher clean, efficient, and smelling fresh for years to come! Happy cleaning!
Conclusion
So, there you have it! A simple, effective, and surprisingly satisfying way to breathe new life into your dishwasher. This quick dishwasher cleaning routine isn’t just about aesthetics; it’s about ensuring your dishes are truly clean, free from lingering odors, and that your appliance operates at peak performance. Think of it as a mini-spa day for your dishwasher, a small investment of time that yields significant returns in cleanliness and longevity.
Why is this DIY trick a must-try? Because it tackles the hidden grime and buildup that commercial dishwasher cleaners often miss. It’s a targeted approach that focuses on the areas where food particles and mineral deposits love to accumulate – the spray arms, the filter, and the door seals. By addressing these problem areas directly, you’re not just masking odors; you’re eliminating the source. Plus, you’re saving money by using ingredients you likely already have in your pantry.
But the benefits extend beyond just a cleaner dishwasher. A well-maintained dishwasher is a more efficient dishwasher. It uses less water and energy, saving you money on your utility bills. It also reduces the risk of breakdowns and costly repairs. Think of it as preventative maintenance that pays for itself in the long run.
Looking for variations? Absolutely! For a deeper clean, consider adding a cup of baking soda to the bottom of the dishwasher after the vinegar cycle and running another short cycle. The baking soda will help to absorb any remaining odors and further scrub away stubborn stains. If you have hard water, you might want to increase the amount of vinegar used or repeat the vinegar cycle a second time. For a fresh scent, you can add a few drops of your favorite essential oil (lemon, tea tree, or lavender are great choices) to the vinegar before pouring it into the dishwasher. Just be sure to use essential oils that are safe for use in appliances.
Don’t just take our word for it – try this quick dishwasher cleaning routine for yourself! We’re confident that you’ll be amazed at the difference it makes. Your dishes will sparkle, your dishwasher will smell fresh, and you’ll feel good knowing that you’re taking care of your appliance and your health.
We encourage you to share your experience with us! Let us know in the comments below how this DIY trick worked for you. Did you notice a significant improvement in the cleanliness of your dishes? Did you try any variations? We’re always eager to hear your feedback and learn from your experiences. Together, we can keep our dishwashers running smoothly and our dishes sparkling clean. So go ahead, give your dishwasher the TLC it deserves and enjoy the benefits of a truly clean kitchen.
Frequently Asked Questions
1. How often should I perform this quick dishwasher cleaning routine?
We recommend performing this quick dishwasher cleaning routine at least once a month. If you use your dishwasher frequently or have hard water, you may want to do it more often, perhaps every two weeks. The frequency depends on how much buildup you notice in your dishwasher. If you start to see food particles accumulating or notice a lingering odor, it’s time for a cleaning. Regular cleaning will prevent buildup from becoming severe and will keep your dishwasher running efficiently.
2. Can I use regular vinegar instead of white vinegar?
While other types of vinegar, such as apple cider vinegar, may have some cleaning properties, we strongly recommend using white vinegar for this quick dishwasher cleaning routine. White vinegar is more acidic and effective at dissolving mineral deposits and food residue. It’s also less likely to leave behind any unwanted odors or stains. Other types of vinegar may contain sugars or other compounds that could potentially damage your dishwasher or leave behind a sticky residue. For the best and safest results, stick with plain white vinegar.
3. Is it safe to use bleach in my dishwasher?
We strongly advise against using bleach in your dishwasher. Bleach can damage the stainless steel interior of your dishwasher and can also react with food particles to create harmful fumes. It’s also not environmentally friendly. White vinegar and baking soda are much safer and more effective alternatives for cleaning your dishwasher. They are natural, non-toxic, and won’t damage your appliance. There’s simply no need to risk using bleach when there are safer and more effective options available.
4. What if my dishwasher still smells bad after cleaning it?
If your dishwasher still smells bad after performing this quick dishwasher cleaning routine, there are a few things you can try. First, make sure you’ve thoroughly cleaned the filter. A clogged filter is a common source of odors. Second, check the spray arms for any blockages and clean them out. Third, run another cycle with baking soda to absorb any remaining odors. Finally, you can try placing a bowl of activated charcoal in the dishwasher overnight to absorb odors. If the smell persists, you may need to consult a professional appliance repair technician.
5. Can I use this cleaning routine on any type of dishwasher?
This quick dishwasher cleaning routine is generally safe for use on most types of dishwashers, including stainless steel and plastic models. However, it’s always a good idea to consult your dishwasher’s owner’s manual before performing any cleaning routine. Some manufacturers may have specific recommendations or warnings regarding the use of vinegar or other cleaning agents. If you’re unsure, you can always contact the manufacturer directly to ask for their advice.
6. My dishwasher has a lot of hard water stains. Will this routine remove them?
This quick dishwasher cleaning routine can help to remove hard water stains, but it may not be enough to completely eliminate them if they are severe. For stubborn hard water stains, you may need to use a commercial dishwasher cleaner specifically designed to remove hard water deposits. You can also try soaking the affected areas with vinegar for a longer period of time before running the dishwasher. In some cases, you may need to use a combination of methods to effectively remove hard water stains. Consider installing a water softener to prevent future hard water buildup.
7. What if my dishwasher doesn’t have a vinegar dispenser?
If your dishwasher doesn’t have a vinegar dispenser, you can simply pour the vinegar into a dishwasher-safe bowl or cup and place it on the top rack of the dishwasher. Make sure the bowl or cup is stable and won’t tip over during the cycle. You can also pour the vinegar directly into the bottom of the dishwasher. The key is to ensure that the vinegar is distributed throughout the dishwasher during the cleaning cycle.
8. Can I use lemon juice instead of vinegar?
While lemon juice has some cleaning properties, it’s not as effective as white vinegar for cleaning a dishwasher. White vinegar is more acidic and better at dissolving mineral deposits and food residue. Lemon juice may also leave behind a sticky residue. For the best results, we recommend sticking with white vinegar. However, you can add a few drops of lemon essential oil to the vinegar for a fresh scent.
Leave a Comment