

Squeegee cleaning tricks – who knew such a simple tool could unlock a world of sparkling clean possibilities beyond just windows? I’m constantly amazed by the ingenuity of home cleaning hacks, and the squeegee is definitely a star player. For generations, squeegees have been the go-to for achieving streak-free glass, a testament to their effectiveness and enduring design. Think about it – from the grand windows of Victorian-era homes to the sleek skyscrapers of today, the squeegee has been there, quietly ensuring clarity and shine.
But let’s be honest, are you *really* maximizing your squeegee’s potential? Are you tired of battling stubborn pet hair on your carpets or struggling to remove water stains from your shower doors? That’s where these DIY squeegee cleaning tricks come in! I’m going to share some game-changing hacks that will transform your cleaning routine and save you time and effort. These aren’t your grandma’s squeegee tips (although, respect to grandma!). We’re diving into innovative ways to use this humble tool to tackle everyday cleaning challenges you probably didn’t even know a squeegee could solve. Get ready to be amazed by the versatility of these squeegee cleaning tricks and say goodbye to frustrating cleaning woes!
DIY Squeegee Cleaning Hacks: Sparkling Clean Windows & More!
Hey everyone! I’m always on the lookout for ways to make cleaning easier and more effective, and I’ve discovered some amazing squeegee hacks that I just have to share. Forget streaks and smudges – these tips will help you achieve a professional-level clean with minimal effort. Let’s dive in!
What You’ll Need
Before we get started, let’s gather our supplies. The beauty of these hacks is that you probably already have most of these items at home!
* A good quality squeegee (I prefer one with a rubber blade that’s in good condition – no nicks or tears!)
* Spray bottle
* Microfiber cloths (these are essential for streak-free results!)
* Dish soap (a small amount goes a long way)
* White vinegar (a cleaning powerhouse!)
* Warm water
* Bucket (optional, but helpful for larger jobs)
* Extension pole (for high windows)
* Old toothbrush (for cleaning the squeegee itself)
* Razor blade scraper (for stubborn spots – use with caution!)
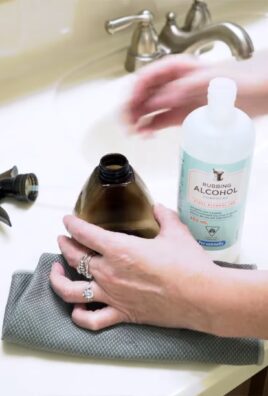
* Rubbing alcohol (for extra cleaning power)
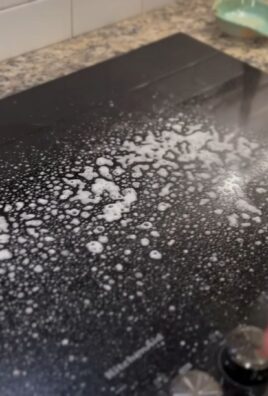
Hack #1: The Ultimate Window Cleaning Solution
This is my go-to window cleaning solution. It’s simple, effective, and uses ingredients you likely already have.
Why this works: The dish soap helps to loosen dirt and grime, while the vinegar cuts through grease and hard water stains. The warm water helps everything dissolve and work its magic.
Step-by-step instructions:
1. Mix the solution: In your spray bottle, combine 2 cups of warm water, ¼ cup of white vinegar, and 1 teaspoon of dish soap. Don’t overdo it on the soap – too much can leave a residue.
2. Prepare the window: If your windows are particularly dirty, give them a quick wipe down with a dry microfiber cloth to remove any loose debris. This will prevent you from just spreading the dirt around.
3. Spray the window: Generously spray the window with your cleaning solution. Make sure to cover the entire surface.
4. Squeegee the window: This is where the magic happens! Start at the top corner of the window and overlap each stroke by about an inch. Apply even pressure and wipe the squeegee blade clean with a microfiber cloth after each stroke.
5. Wipe the edges: Use a clean, dry microfiber cloth to wipe any excess solution from the edges of the window. This will prevent water spots and streaks.
6. Repeat if necessary: For particularly dirty windows, you may need to repeat the process.
Hack #2: Squeegee Cleaning for Shower Doors
Shower doors can be a real pain to keep clean, but a squeegee can make a huge difference. This hack will help you prevent soap scum and water spots from building up.
Why this works: Regularly squeegeeing your shower doors after each use removes the water and soap residue before it has a chance to dry and harden.
Step-by-step instructions:
1. Keep a squeegee in your shower: This is the key to making this hack work! Store a squeegee in your shower so it’s always within reach.
2. Squeegee after each shower: After you finish showering, simply squeegee the shower doors from top to bottom. Overlap each stroke slightly.
3. Wipe down the squeegee: After each use, give the squeegee blade a quick wipe with a clean cloth to remove any soap scum or water residue.
4. Deep clean regularly: Even with regular squeegeeing, you’ll still need to deep clean your shower doors periodically. Use a bathroom cleaner or a solution of vinegar and water to remove any stubborn soap scum.
Hack #3: Cleaning Mirrors with a Squeegee
Mirrors can be tricky to clean without leaving streaks, but a squeegee can help you achieve a perfectly clear reflection.
Why this works: The squeegee removes the cleaning solution evenly, preventing streaks and water spots.
Step-by-step instructions:
1. Prepare the mirror: Just like with windows, give the mirror a quick wipe down with a dry microfiber cloth to remove any dust or debris.
2. Spray the mirror: Use the same window cleaning solution from Hack #1, or a commercial glass cleaner. Spray the mirror lightly.
3. Squeegee the mirror: Start at the top corner and squeegee down, overlapping each stroke.
4. Wipe the edges: Use a clean, dry microfiber cloth to wipe any excess solution from the edges of the mirror.
Hack #4: Removing Stubborn Spots and Stains
Sometimes, you’ll encounter stubborn spots or stains that just won’t come off with regular cleaning. Here are a few tricks for tackling those tough areas.
Why this works: The razor blade scraper can gently remove stuck-on debris, while rubbing alcohol can dissolve grease and grime.
Step-by-step instructions:
1. Identify the stain: Determine the type of stain you’re dealing with. Is it hard water, paint, or something else?
2. Try rubbing alcohol: For greasy or sticky spots, try dabbing a cotton ball soaked in rubbing alcohol onto the stain. Let it sit for a few minutes, then wipe clean with a microfiber cloth and squeegee as usual.
3. Use a razor blade scraper (with caution!): For stubborn spots like paint splatters or dried-on glue, carefully use a razor blade scraper to gently lift the stain. Hold the scraper at a shallow angle and use short, controlled strokes. Be very careful not to scratch the glass or mirror.
4. Clean the area: After removing the stain, clean the area with your regular cleaning solution and squeegee.
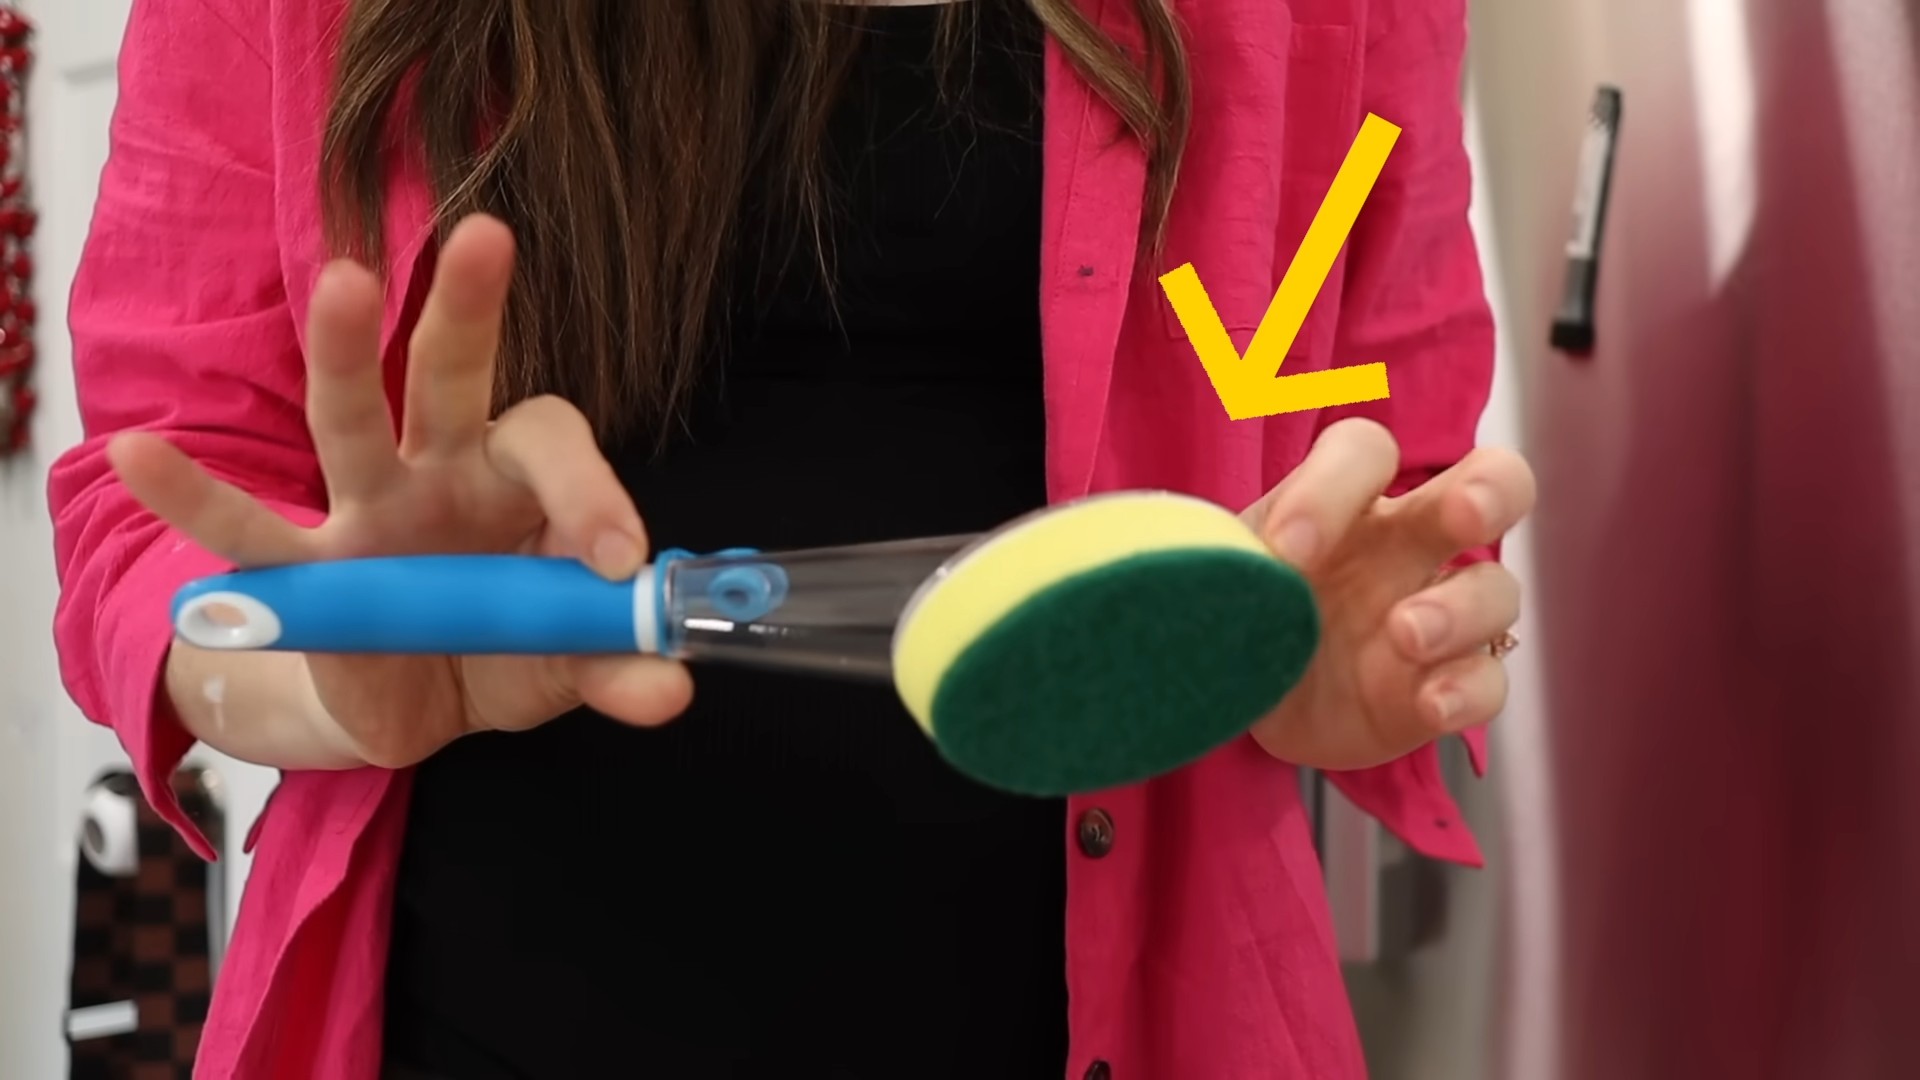
Hack #5: Cleaning Your Squeegee
A clean squeegee is essential for streak-free results. Here’s how to keep your squeegee in top condition.
Why this works: Removing dirt and debris from the squeegee blade prevents it from transferring back onto the surface you’re cleaning.
Step-by-step instructions:
1. Rinse after each use: After each cleaning session, rinse your squeegee with warm water to remove any soap scum or debris.
2. Deep clean regularly: Once a month, give your squeegee a more thorough cleaning.
3. Use an old toothbrush: Use an old toothbrush to scrub the squeegee blade and handle with warm, soapy water. Pay special attention to the edges of the blade, where dirt can accumulate.
4. Rinse thoroughly: Rinse the squeegee thoroughly with clean water.
5. Dry completely: Allow the squeegee to air dry completely before storing it.
Hack #6: Extending Your Reach
Cleaning high windows can be a challenge, but an extension pole can make it much easier.
Why this works: An extension pole allows you to reach high windows without having to climb on a ladder.
Step-by-step instructions:
1. Purchase an extension pole: You can find extension poles at most hardware stores. Make sure the pole is compatible with your squeegee.
2. Attach the squeegee: Attach the squeegee to the extension pole according to the manufacturer’s instructions.
3. Adjust the pole length: Adjust the pole length to the desired height.
4. Clean the windows: Use the squeegee to clean the high windows as usual. Be sure to maintain a firm grip on the pole and use smooth, controlled strokes.
Hack #7: Preventing Streaks
Streaks are the enemy of clean windows and mirrors. Here are a few tips for preventing them.
Why this works: Using clean microfiber cloths and overlapping your squeegee strokes ensures that you’re removing all of the cleaning solution and dirt.
Step-by-step instructions:
1. Use clean microfiber cloths: Always use clean, dry microfiber cloths to wipe the squeegee blade and edges of the window or mirror.
2. Overlap your strokes: Overlap each squeegee stroke by about an inch to ensure that you’re not leaving any gaps.
3. Apply even pressure: Apply even pressure to the squeegee as you’re cleaning.
4. Work quickly: Don’t let the cleaning solution dry on the surface before you squeegee it off.
5. Clean on a cloudy day: Avoid cleaning windows in direct sunlight, as the sun can cause the cleaning solution to dry too quickly and leave streaks.
Hack #8: DIY Squeegee for Car Windows
Car windows can get grimy, especially during the winter months. A squeegee can help you keep them clean and clear for better visibility.
Why this works:

Conclusion
So, there you have it! Mastering these simple squeegee cleaning tricks can truly revolutionize your cleaning routine. Forget struggling with streaks, lingering water spots, and the endless cycle of wiping and re-wiping. This isn’t just about cleaning; it’s about achieving a professional-level shine and saving precious time and energy.
Why is this a must-try? Because it’s effective, efficient, and incredibly versatile. From sparkling shower doors to gleaming windows and pristine mirrors, the squeegee becomes your ultimate weapon against grime and dullness. You’ll be amazed at the difference a simple tool and the right technique can make.
But don’t stop there! Experiment with variations to find what works best for you. Try adding a few drops of essential oil, like lemon or tea tree, to your cleaning solution for an extra boost of freshness and antibacterial power. For stubborn hard water stains, consider using a slightly acidic solution like diluted vinegar, but always test it in an inconspicuous area first. You can also explore different squeegee types – some have flexible blades for curved surfaces, while others have built-in spray bottles for added convenience.
Beyond the typical uses, think outside the box! Use your squeegee to quickly dry countertops after wiping them down, remove pet hair from upholstery (with a gentle touch!), or even smooth out wallpaper paste during home improvement projects. The possibilities are endless.
We’re confident that once you incorporate these squeegee cleaning tricks into your routine, you’ll wonder how you ever lived without them. The satisfaction of seeing a streak-free surface is truly unparalleled.
Now, it’s your turn! Grab your squeegee, mix up your favorite cleaning solution, and put these tips to the test. We’re eager to hear about your experiences. Share your before-and-after photos, your favorite cleaning solution recipes, and any other squeegee cleaning tricks you’ve discovered in the comments below. Let’s build a community of squeegee enthusiasts and share the joy of sparkling clean surfaces! Don’t forget to share this article with your friends and family so they can benefit from these amazing tips too. Happy cleaning!
Frequently Asked Questions (FAQs)
What type of squeegee is best for cleaning?
The best type of squeegee depends on the surface you’re cleaning. For shower doors and windows, a standard squeegee with a rubber blade is usually sufficient. Look for one with a comfortable handle and a blade that’s the right size for the surface you’re cleaning. Smaller squeegees are great for tight spaces, while larger ones are more efficient for larger surfaces. For curved surfaces, consider a squeegee with a flexible blade. Some squeegees also come with built-in spray bottles, which can be convenient for applying cleaning solution as you go. Ultimately, the best squeegee is the one that feels most comfortable and effective for you.
What cleaning solution should I use with a squeegee?
You have several options for cleaning solutions. A simple mixture of water and dish soap works well for general cleaning. For windows and mirrors, a solution of equal parts water and white vinegar is a classic choice that helps prevent streaks. You can also use commercially available glass cleaners. Avoid using abrasive cleaners, as they can scratch the surface. If you have hard water stains, you may need a slightly acidic solution, such as diluted lemon juice or vinegar, but always test it in an inconspicuous area first to ensure it doesn’t damage the surface. Remember to always rinse the surface thoroughly after cleaning, especially if you’ve used a stronger solution.
How do I prevent streaks when using a squeegee?
Preventing streaks is key to achieving a professional-looking clean. Overlap each stroke of the squeegee by about an inch to ensure complete coverage. Wipe the squeegee blade clean after each stroke with a clean, lint-free cloth or microfiber towel. Use consistent pressure and angle throughout each stroke. Avoid using too much cleaning solution, as this can leave residue that causes streaks. If you’re still getting streaks, try using a different cleaning solution or replacing the squeegee blade. Also, make sure the surface is thoroughly wet before you start squeegeeing.
How often should I replace my squeegee blade?
The frequency with which you need to replace your squeegee blade depends on how often you use it and the type of surfaces you’re cleaning. As a general rule, you should replace the blade every 6-12 months, or sooner if you notice any signs of wear and tear, such as nicks, tears, or a loss of flexibility. A damaged blade will not clean effectively and can leave streaks. Replacing the blade is much cheaper than replacing the entire squeegee, so it’s a worthwhile investment to maintain its performance.
Can I use a squeegee on all types of surfaces?
While squeegees are generally safe for use on most smooth, non-porous surfaces like glass, tile, and mirrors, it’s always a good idea to test it in an inconspicuous area first, especially if you’re unsure about the surface’s durability. Avoid using squeegees on delicate or easily scratched surfaces, such as painted walls or certain types of plastic. Be extra careful when using a squeegee on surfaces with textured finishes, as the blade may not be able to reach into all the crevices. Always use a gentle touch and avoid applying excessive pressure.
What are some alternative uses for a squeegee besides cleaning windows and showers?
Squeegees are surprisingly versatile tools with many uses beyond cleaning windows and showers. You can use them to quickly dry countertops after wiping them down, remove pet hair from upholstery (with a gentle touch!), smooth out wallpaper paste during home improvement projects, or even clean car windows. Some people even use them to apply vinyl decals or window film. The possibilities are endless!
How do I clean and maintain my squeegee?
Proper cleaning and maintenance will extend the life of your squeegee and ensure optimal performance. After each use, rinse the squeegee blade with clean water to remove any soap residue or debris. Wipe the blade dry with a clean, lint-free cloth or microfiber towel. Store the squeegee in a dry place to prevent rust and mildew. Avoid storing it in direct sunlight, as this can damage the rubber blade. Periodically inspect the blade for any signs of wear and tear and replace it as needed.
What if I have hard water stains that are difficult to remove?
Hard water stains can be particularly stubborn. For these, try using a solution of equal parts white vinegar and water. Apply the solution to the affected area and let it sit for a few minutes to dissolve the mineral deposits. Then, use your squeegee to remove the solution and wipe the surface dry. For more severe stains, you may need to repeat the process or use a commercially available hard water stain remover. Always test any cleaning solution in an inconspicuous area first to ensure it doesn’t damage the surface. You can also try using a magic eraser sponge to gently scrub away the stains before squeegeeing.

Leave a Comment