

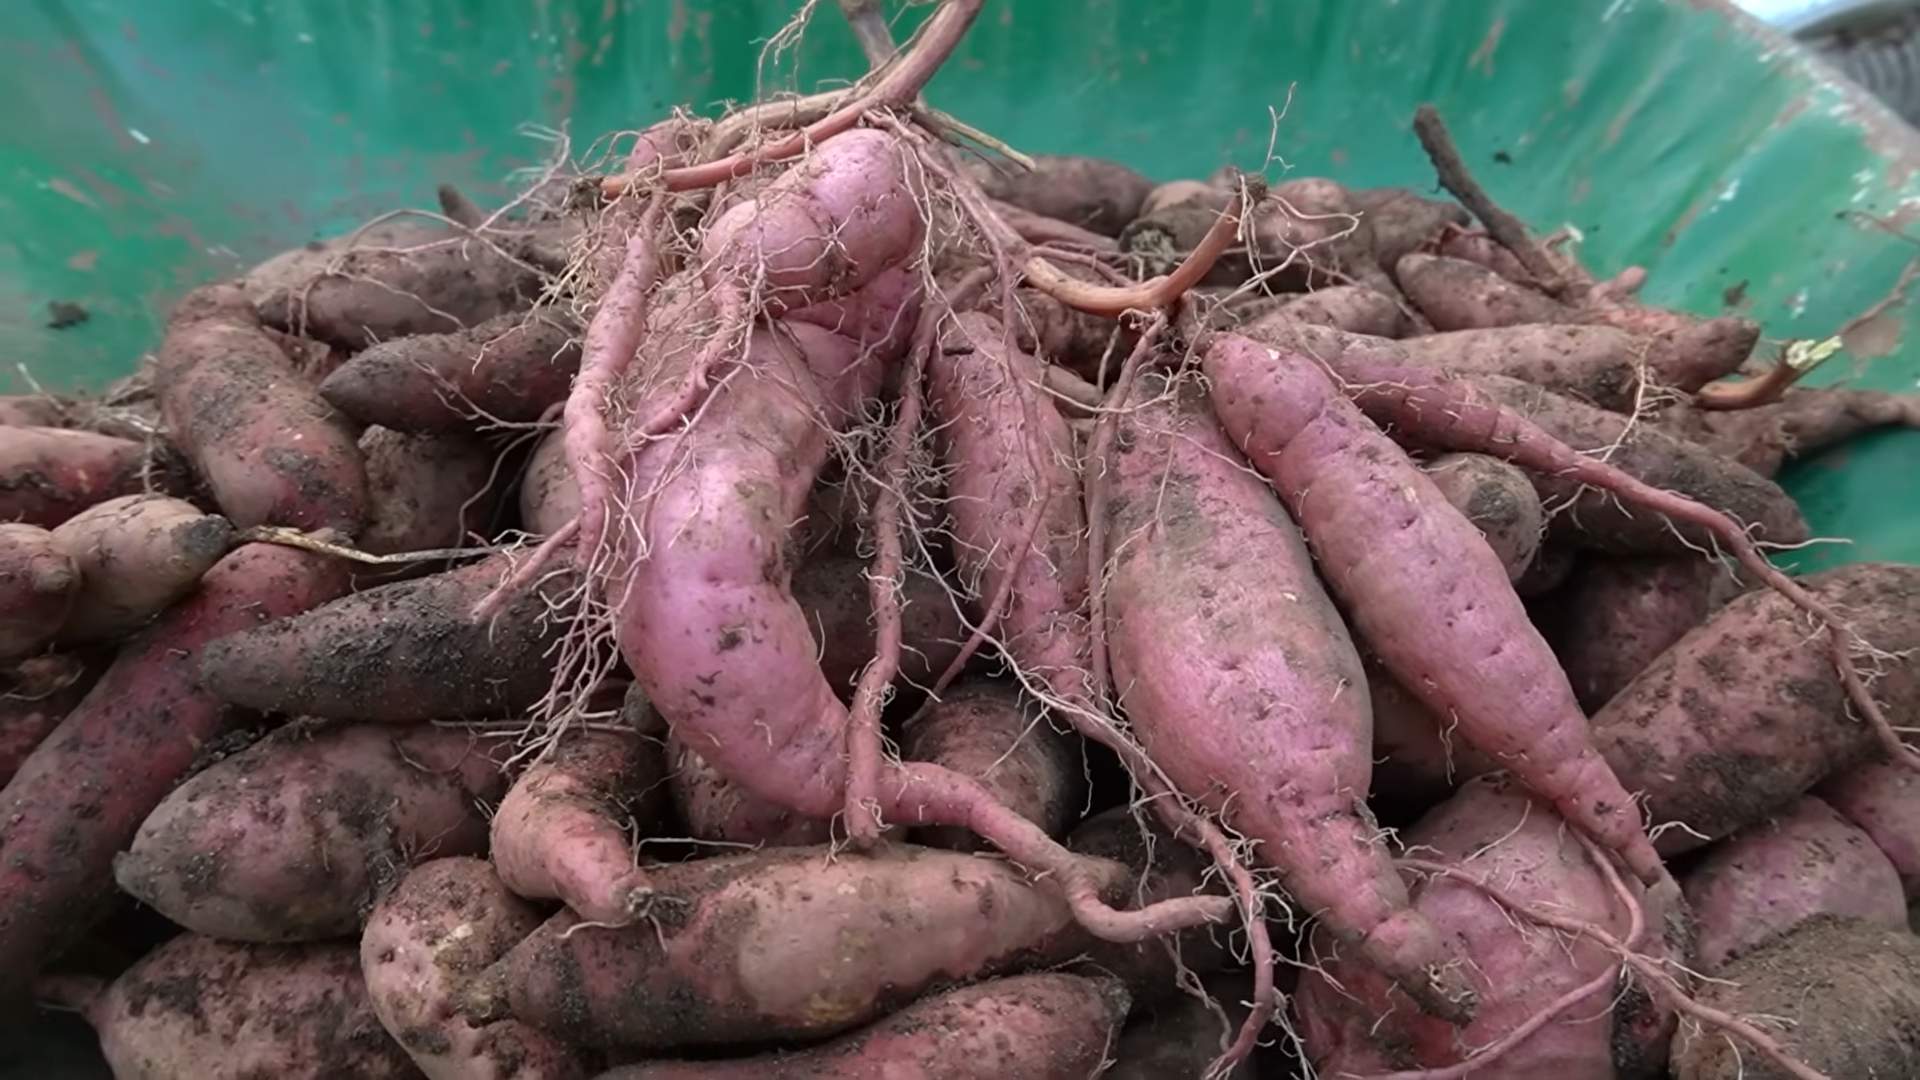
Growing Sweet Potatoes Easily is something I’ve been passionate about for years, and let me tell you, it’s more rewarding than you might think! Forget those bland, store-bought sweet potatoes. Imagine sinking your teeth into a homegrown, vibrant orange sweet potato, bursting with flavor and packed with nutrients. Sounds good, right?
For centuries, sweet potatoes have been a staple in diets around the world, from South America where they originated, to Asia and beyond. They’re not just delicious; they’re incredibly versatile and a fantastic source of vitamins and minerals. But, let’s be honest, the thought of growing them can seem a little daunting. That’s where this DIY guide comes in!
Many people shy away from growing their own sweet potatoes because they believe it’s too complicated or requires a lot of space. But I’m here to tell you that’s simply not true! With a few simple tricks and hacks, you can enjoy a bountiful harvest of these delicious tubers, even if you only have a small garden or a few containers. This article will break down the process of growing sweet potatoes easily, step-by-step, so you can enjoy the satisfaction of harvesting your own homegrown goodness. Get ready to get your hands dirty and discover the joy of growing your own sweet potatoes!
Growing Sweet Potatoes: A Beginner-Friendly DIY Guide
Hey there, fellow gardening enthusiasts! I’m so excited to share my tried-and-true method for growing sweet potatoes. It’s easier than you might think, and the reward of harvesting your own delicious, homegrown sweet potatoes is absolutely worth it. Forget the grocery store – let’s get our hands dirty and grow some ourselves!
Choosing Your Sweet Potato Variety
Before we dive into the nitty-gritty, let’s talk about sweet potato varieties. There are tons to choose from, each with its own unique flavor, color, and texture. Here are a few popular options:
* Beauregard: This is probably the most common variety you’ll find. It has reddish-purple skin and orange flesh. It’s known for its sweetness and moist texture.
* Jewel: Similar to Beauregard, Jewel sweet potatoes have reddish-orange skin and deep orange flesh. They’re also sweet and moist.
* Garnet: Garnet sweet potatoes have deep red skin and vibrant orange flesh. They tend to be a bit drier than Beauregard or Jewel.
* Japanese Sweet Potato (Muraski): This variety has purple skin and white flesh. It’s less sweet than the orange varieties and has a slightly nutty flavor.
* Okinawan Sweet Potato: Also known as purple sweet potato, this variety has tan skin and vibrant purple flesh. It’s less sweet and has a slightly dry texture.
I recommend choosing a variety that’s well-suited to your climate and that you enjoy eating! I personally love Beauregard because of its reliable growth and delicious flavor.
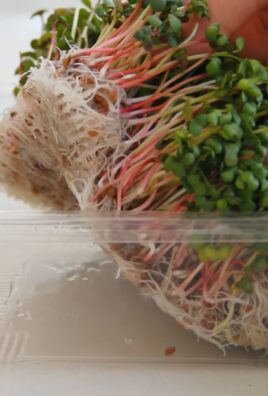
Starting Slips: The Key to Success
Sweet potatoes are grown from “slips,” which are sprouts that grow from the sweet potato itself. You can buy slips from a nursery, but it’s much more fun (and cost-effective!) to grow your own. Here’s how:
* What you’ll need:
* One or more sweet potatoes (organic is best to avoid any growth inhibitors)
* A glass jar or container
* Toothpicks
* Water
* A warm, sunny location
Step-by-Step Instructions for Starting Slips:
1. Prepare the Sweet Potato: Wash your sweet potato thoroughly to remove any dirt or debris.
2. Insert Toothpicks: Insert toothpicks around the middle of the sweet potato. These will help suspend the potato in the jar.
3. Fill the Jar with Water: Fill the jar with enough water so that the bottom half of the sweet potato is submerged.
4. Position the Sweet Potato: Place the sweet potato in the jar, using the toothpicks to hold it in place. Make sure the bottom end (the end with more “eyes” or potential sprouts) is submerged in the water.
5. Find a Sunny Spot: Place the jar in a warm, sunny location. A windowsill is perfect.
6. Change the Water Regularly: Change the water every few days to prevent mold and keep the water fresh.
7. Wait Patiently: It may take several weeks for slips to start growing. Be patient! You should start to see small sprouts emerging from the sweet potato.
8. Harvest the Slips: Once the slips are 6-8 inches long, they’re ready to be harvested. Gently twist or cut the slips off the sweet potato. Try to get as much of the root as possible.
9. Root the Slips in Water: Place the harvested slips in a glass of water, making sure the bottom inch or two is submerged. This will encourage them to develop roots.
10. Wait for Roots to Develop: In a few days to a week, you should see roots starting to grow from the bottom of the slips. Once the roots are about an inch long, they’re ready to be planted.
Preparing Your Garden Bed
Sweet potatoes need well-drained soil and plenty of sunshine. Here’s how to prepare your garden bed:
* What you’ll need:
* A sunny location with at least 6-8 hours of sunlight per day
* Well-drained soil
* Compost or other organic matter
* A garden fork or tiller
* Raised beds (optional, but recommended)
Step-by-Step Instructions for Preparing Your Garden Bed:
1. Choose a Sunny Location: Select a spot in your garden that receives at least 6-8 hours of direct sunlight per day.
2. Test Your Soil: Sweet potatoes prefer slightly acidic soil with a pH between 5.5 and 6.5. You can test your soil using a soil testing kit.
3. Amend the Soil: If your soil is heavy clay or sandy, amend it with compost or other organic matter to improve drainage and fertility. Work the compost into the soil to a depth of at least 12 inches.
4. Create Raised Beds (Optional): Raised beds are a great way to improve drainage and warm the soil more quickly. If you’re using raised beds, fill them with a mixture of topsoil, compost, and other organic matter.
5. Loosen the Soil: Use a garden fork or tiller to loosen the soil to a depth of at least 12 inches. This will make it easier for the sweet potato roots to grow.
6. Create Mounds or Ridges: Sweet potatoes grow best when planted on mounds or ridges. This helps to improve drainage and warm the soil. Create mounds or ridges that are about 8-12 inches high and 12-18 inches wide.
Planting Your Sweet Potato Slips
Now for the fun part – planting your sweet potato slips!
* What you’ll need:
* Your rooted sweet potato slips
* A garden trowel
* Water
Step-by-Step Instructions for Planting Your Sweet Potato Slips:
1. Choose a Planting Time: Sweet potatoes are warm-weather crops and should be planted after the last frost. The soil temperature should be at least 65°F (18°C).
2. Water the Slips: Before planting, water the slips thoroughly to help them get established.
3. Dig a Hole: Use a garden trowel to dig a hole in the top of each mound or ridge. The hole should be deep enough to accommodate the roots of the slip.
4. Plant the Slip: Gently place the slip in the hole, making sure the roots are spread out. Cover the roots with soil and gently firm the soil around the base of the slip. Leave the top leaves exposed.
5. Space the Slips: Space the slips about 12-18 inches apart in rows that are 3-4 feet apart.
6. Water Thoroughly: Water the newly planted slips thoroughly to help them get established.
Caring for Your Sweet Potato Plants
Once your sweet potato plants are in the ground, they’ll need regular care to thrive.
* What you’ll need:
* Water
* Weed control (mulch or hand-weeding)
* Fertilizer (optional)
Step-by-Step Instructions for Caring for Your Sweet Potato Plants:
1. Water Regularly: Water your sweet potato plants regularly, especially during dry periods. Aim to keep the soil consistently moist, but not waterlogged.
2. Control Weeds: Weeds can compete with your sweet potato plants for nutrients and water. Control weeds by mulching around the plants with straw, hay, or wood chips. You can also hand-weed as needed.
3. Fertilize (Optional): Sweet potatoes don’t need a lot of fertilizer, but you can give them a boost by applying a balanced fertilizer (such as 10-10-10) a few weeks after planting. Follow the instructions on the fertilizer package. Avoid high-nitrogen fertilizers, as they can promote leafy growth at the expense of root development.
4. Watch for Pests and Diseases: Sweet potatoes are generally pest-resistant, but they can be susceptible to certain pests and diseases, such as sweet potato weevils and fungal diseases. Inspect your plants regularly for signs of pests or diseases and take action as needed. Organic pest control methods, like neem oil, are often effective.
5. Control Vine Growth: Sweet potato vines can grow quite long and spread out. If they start to take over your garden, you can prune them back. Just be careful not to damage the developing sweet potatoes.
Harvesting Your Sweet Potatoes
The moment we’ve all been waiting for – harvesting!
* What you’ll need:
* A garden fork or shovel
* Gloves
* A dry, sunny day
Step-by-Step Instructions for Harvesting Your Sweet Potatoes:
1.

Conclusion
So, there you have it! Growing sweet potatoes easily at home is not only achievable but also incredibly rewarding. Forget those expensive, sometimes lackluster, store-bought sweet potatoes. Imagine harvesting your own vibrant, nutrient-packed crop, knowing exactly where it came from and how it was grown. This DIY trick transforms the often-intimidating task of sweet potato cultivation into a simple, manageable, and even enjoyable experience.
The beauty of this method lies in its adaptability. While we’ve outlined a straightforward approach, feel free to experiment! Try different varieties of sweet potatoes to discover your favorite flavor profile. Beauregard, with its classic orange flesh, is a reliable choice, but don’t shy away from exploring the Stokes Purple sweet potato for its unique color and antioxidant boost, or the Japanese sweet potato with its creamy white interior.
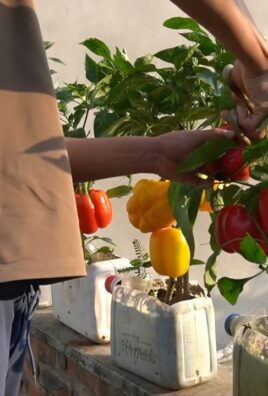
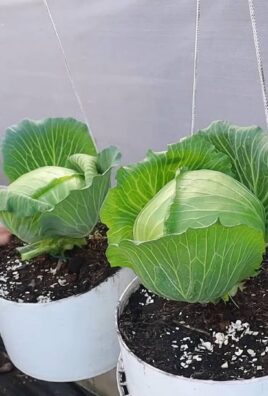
Consider the container you use. While a large pot works perfectly, you could also repurpose a large bucket or even a raised garden bed lined with landscape fabric. Just ensure adequate drainage to prevent root rot. For those with limited space, vertical gardening techniques can be adapted to sweet potato cultivation, maximizing your yield even in a small area.
Furthermore, think about companion planting. Marigolds can help deter pests, while herbs like basil and oregano can enhance the overall health of your sweet potato plants. These additions not only benefit your sweet potatoes but also add beauty and fragrance to your garden.
The key takeaway is that growing sweet potatoes easily is about embracing experimentation and finding what works best for your specific environment and preferences. Don’t be afraid to tweak the process, adjust the watering schedule based on your climate, and observe how your plants respond.
We are confident that once you taste the difference between a homegrown sweet potato and a store-bought one, you’ll be hooked. The flavor is richer, the texture is smoother, and the satisfaction of harvesting your own food is unparalleled.
We wholeheartedly encourage you to give this DIY trick a try. It’s a fantastic way to connect with nature, learn about the growing process, and enjoy the delicious rewards of your labor. And most importantly, we want to hear about your experience! Share your photos, tips, and challenges in the comments below. Let’s build a community of sweet potato enthusiasts and learn from each other’s successes and failures. Your insights could be invaluable to other aspiring gardeners. So, grab your sweet potato slips, prepare your containers, and get ready to embark on a fulfilling and delicious gardening adventure! Happy growing!
Frequently Asked Questions (FAQ)
What exactly are sweet potato “slips,” and where can I get them?
Sweet potato slips are sprouts that grow from a mature sweet potato. They are essentially baby sweet potato plants ready to be transplanted. You can grow your own slips by suspending a sweet potato in water (as described in the main article) or purchase them from a reputable nursery or online seed supplier. Buying slips is often the easiest and fastest way to get started, especially if you’re new to growing sweet potatoes. When purchasing, look for slips that are healthy, green, and free from any signs of disease or pests. Avoid slips that are yellowed, wilted, or have spots on the leaves.
How much sunlight do sweet potatoes really need?
Sweet potatoes are sun-loving plants and require at least 6-8 hours of direct sunlight per day to thrive. Insufficient sunlight can lead to leggy growth, reduced yields, and smaller sweet potatoes. Choose a location in your garden that receives full sun throughout the day. If you’re growing sweet potatoes in containers, make sure to position them in a sunny spot. If you live in an area with particularly intense sunlight, especially during the hottest part of the day, you might consider providing some afternoon shade to prevent the leaves from scorching.
What kind of soil is best for growing sweet potatoes easily?
Sweet potatoes prefer well-drained, sandy loam soil that is rich in organic matter. Heavy clay soil can hinder root development and lead to misshapen sweet potatoes. Before planting, amend your soil with compost, aged manure, or other organic materials to improve drainage and fertility. A slightly acidic soil pH of around 6.0 to 6.5 is ideal. You can test your soil pH using a home testing kit or by sending a sample to a local agricultural extension office. If your soil is too alkaline, you can lower the pH by adding sulfur or peat moss.
How often should I water my sweet potato plants?
Water sweet potato plants regularly, especially during dry periods. Keep the soil consistently moist but not waterlogged. Overwatering can lead to root rot, while underwatering can stress the plants and reduce yields. A good rule of thumb is to water deeply whenever the top inch of soil feels dry to the touch. During hot, sunny weather, you may need to water more frequently. Mulching around the plants can help retain moisture in the soil and reduce the need for frequent watering.
When is the best time to harvest my sweet potatoes?
Sweet potatoes are typically ready to harvest about 90-120 days after planting, depending on the variety and growing conditions. A good indicator that your sweet potatoes are ready is when the leaves start to turn yellow and the vines begin to die back. Before the first frost, carefully dig up the sweet potatoes using a garden fork or shovel. Be gentle to avoid bruising or damaging the tubers. Cure the harvested sweet potatoes in a warm, humid place (around 80-85°F and 85-90% humidity) for about a week to allow the skins to harden and heal any minor injuries. This curing process improves the flavor and storage life of the sweet potatoes.
Are there any common pests or diseases that affect sweet potatoes?
Sweet potatoes can be susceptible to certain pests and diseases, including sweet potato weevils, wireworms, flea beetles, and fungal diseases like stem rot and black rot. Regularly inspect your plants for signs of pests or diseases. Use organic pest control methods, such as insecticidal soap or neem oil, to control infestations. Practice crop rotation to prevent soilborne diseases from building up. Ensure good drainage and avoid overwatering to minimize the risk of fungal infections. Choose disease-resistant varieties of sweet potatoes whenever possible.
Can I grow sweet potatoes in containers? What size container is needed?
Yes, you can absolutely grow sweet potatoes in containers! This is a great option for gardeners with limited space or poor soil. Choose a large container that is at least 20 gallons in size and has good drainage holes. Fill the container with a well-draining potting mix that is rich in organic matter. Plant one or two sweet potato slips per container. Provide adequate sunlight, water, and fertilizer. Container-grown sweet potatoes may require more frequent watering and fertilization than those grown in the ground.
What kind of fertilizer should I use for sweet potatoes?
Sweet potatoes benefit from a balanced fertilizer that is relatively low in nitrogen and higher in phosphorus and potassium. A fertilizer with an NPK ratio of 5-10-10 or 6-12-12 is a good choice. Avoid using fertilizers that are high in nitrogen, as this can promote excessive vine growth at the expense of tuber development. Apply fertilizer according to the package directions, typically every 4-6 weeks during the growing season. You can also amend the soil with compost or aged manure to provide a slow-release source of nutrients.
How do I store my harvested sweet potatoes?
After curing your sweet potatoes, store them in a cool, dark, and dry place with good ventilation. A temperature of around 55-60°F is ideal. Avoid storing sweet potatoes in the refrigerator, as this can cause them to develop a hard core and lose their flavor. Properly cured and stored sweet potatoes can last for several months. Check them periodically for signs of spoilage, such as soft spots or mold. Discard any sweet potatoes that show signs of decay.
Can I eat the sweet potato leaves?
Yes, sweet potato leaves are edible and nutritious! They are a good source of vitamins A and C, as well as fiber and antioxidants. Harvest young, tender leaves for the best flavor and texture. You can cook sweet potato leaves in a variety of ways, such as steaming, boiling, sautéing, or adding them to soups and stews. They have a mild, slightly sweet flavor that is similar to spinach or collard greens. Be sure to wash the leaves thoroughly before cooking.
Leave a Comment