

Growing Bitter Gourds Indoors might sound like a challenge, but trust me, it’s totally achievable and incredibly rewarding! Have you ever dreamt of harvesting fresh, vibrant bitter gourds right from the comfort of your own home, regardless of the season? Well, get ready to turn that dream into reality with these simple, yet effective DIY tricks and hacks.
Bitter gourd, also known as karela, has a rich history, deeply rooted in traditional medicine and culinary practices across Asia and Africa for centuries. It’s not just a vegetable; it’s a powerhouse of nutrients, celebrated for its health benefits. But let’s be honest, sometimes the weather just doesn’t cooperate, or maybe you simply don’t have the outdoor space. That’s where indoor gardening comes to the rescue!
Why should you bother with this DIY project? Because growing bitter gourds indoors gives you complete control over the growing environment. No more battling unpredictable weather, pesky pests, or limited sunlight. Plus, imagine the satisfaction of nurturing your own food source, knowing exactly what goes into it. I’m going to share some insider tips and tricks that will help you cultivate thriving bitter gourd vines inside your home, even if you’re a complete beginner. So, grab your gardening gloves, and let’s get started on this exciting green adventure!
Growing Bitter Gourds Indoors: A Comprehensive DIY Guide
Hey there, fellow gardening enthusiasts! Ever dreamt of harvesting your own bitter gourds, right from the comfort of your home? Well, you’re in the right place! I’m going to walk you through a detailed, step-by-step guide on how to successfully grow bitter gourds indoors. It might seem daunting, but trust me, with a little patience and the right approach, you’ll be enjoying homegrown bitter gourds in no time.
What You’ll Need: The Essential Supplies
Before we dive into the nitty-gritty, let’s gather all the necessary materials. Having everything ready beforehand will make the process much smoother.
* Bitter Gourd Seeds: Choose a variety suitable for your climate. Look for seeds specifically labeled for container gardening if possible.
* Seed Starting Tray or Small Pots: These will be used to germinate the seeds.
* Potting Mix: A well-draining potting mix is crucial. Avoid using garden soil, as it can compact and hinder root growth.
* Large Container (at least 12 inches in diameter and depth): Bitter gourds need ample space for their roots to develop.
* Trellis or Support Structure: Bitter gourds are vines and need something to climb on. A trellis, bamboo stakes, or even sturdy netting will work.
* Grow Lights (optional but recommended): Especially if you don’t have a sunny window.
* Watering Can or Spray Bottle: For gentle watering.
* Fertilizer: A balanced liquid fertilizer or slow-release fertilizer.
* Pruning Shears or Scissors: For trimming and shaping the vine.
* Gloves: To protect your hands.
* Well-ventilated Space: Bitter gourds need good air circulation.
Section 1: Germinating Your Bitter Gourd Seeds
Germination is the first crucial step. Here’s how I usually do it:
1. Scarify the Seeds (Optional but Recommended): Bitter gourd seeds have a tough outer shell. Gently scarifying them can improve germination rates. You can do this by lightly rubbing the seeds with sandpaper or nicking them with a knife. Be careful not to damage the inner seed.
2. Soak the Seeds: Soak the scarified seeds in lukewarm water for 24-48 hours. This helps soften the seed coat and encourages germination.
3. Prepare the Seed Starting Tray or Pots: Fill your seed starting tray or small pots with a good quality potting mix. Moisten the soil thoroughly.
4. Sow the Seeds: Make a small hole (about 1/2 inch deep) in the center of each pot or cell. Place one seed in each hole and cover it gently with soil.
5. Water Gently: Water the soil gently using a spray bottle or watering can. Avoid overwatering, as this can lead to rot.
6. Create a Humid Environment: Cover the seed starting tray or pots with a plastic wrap or a humidity dome to create a humid environment. This helps retain moisture and promotes germination.
7. Provide Warmth: Place the tray or pots in a warm location (around 75-85°F or 24-29°C). A heat mat can be helpful if your home is cool.
8. Monitor Germination: Check the seeds daily for germination. Bitter gourd seeds typically germinate within 7-14 days.
9. Remove the Cover: Once the seedlings emerge, remove the plastic wrap or humidity dome to allow for better air circulation.
10. Provide Light: Place the seedlings under grow lights or in a sunny window. Ensure they receive at least 6-8 hours of light per day.
Section 2: Transplanting Your Seedlings
Once your seedlings have developed a few true leaves (the leaves that appear after the initial seed leaves), it’s time to transplant them into larger containers.
1. Prepare the Large Container: Fill your large container (at least 12 inches in diameter and depth) with a well-draining potting mix.
2. Create a Hole: Make a hole in the center of the container that is large enough to accommodate the root ball of the seedling.
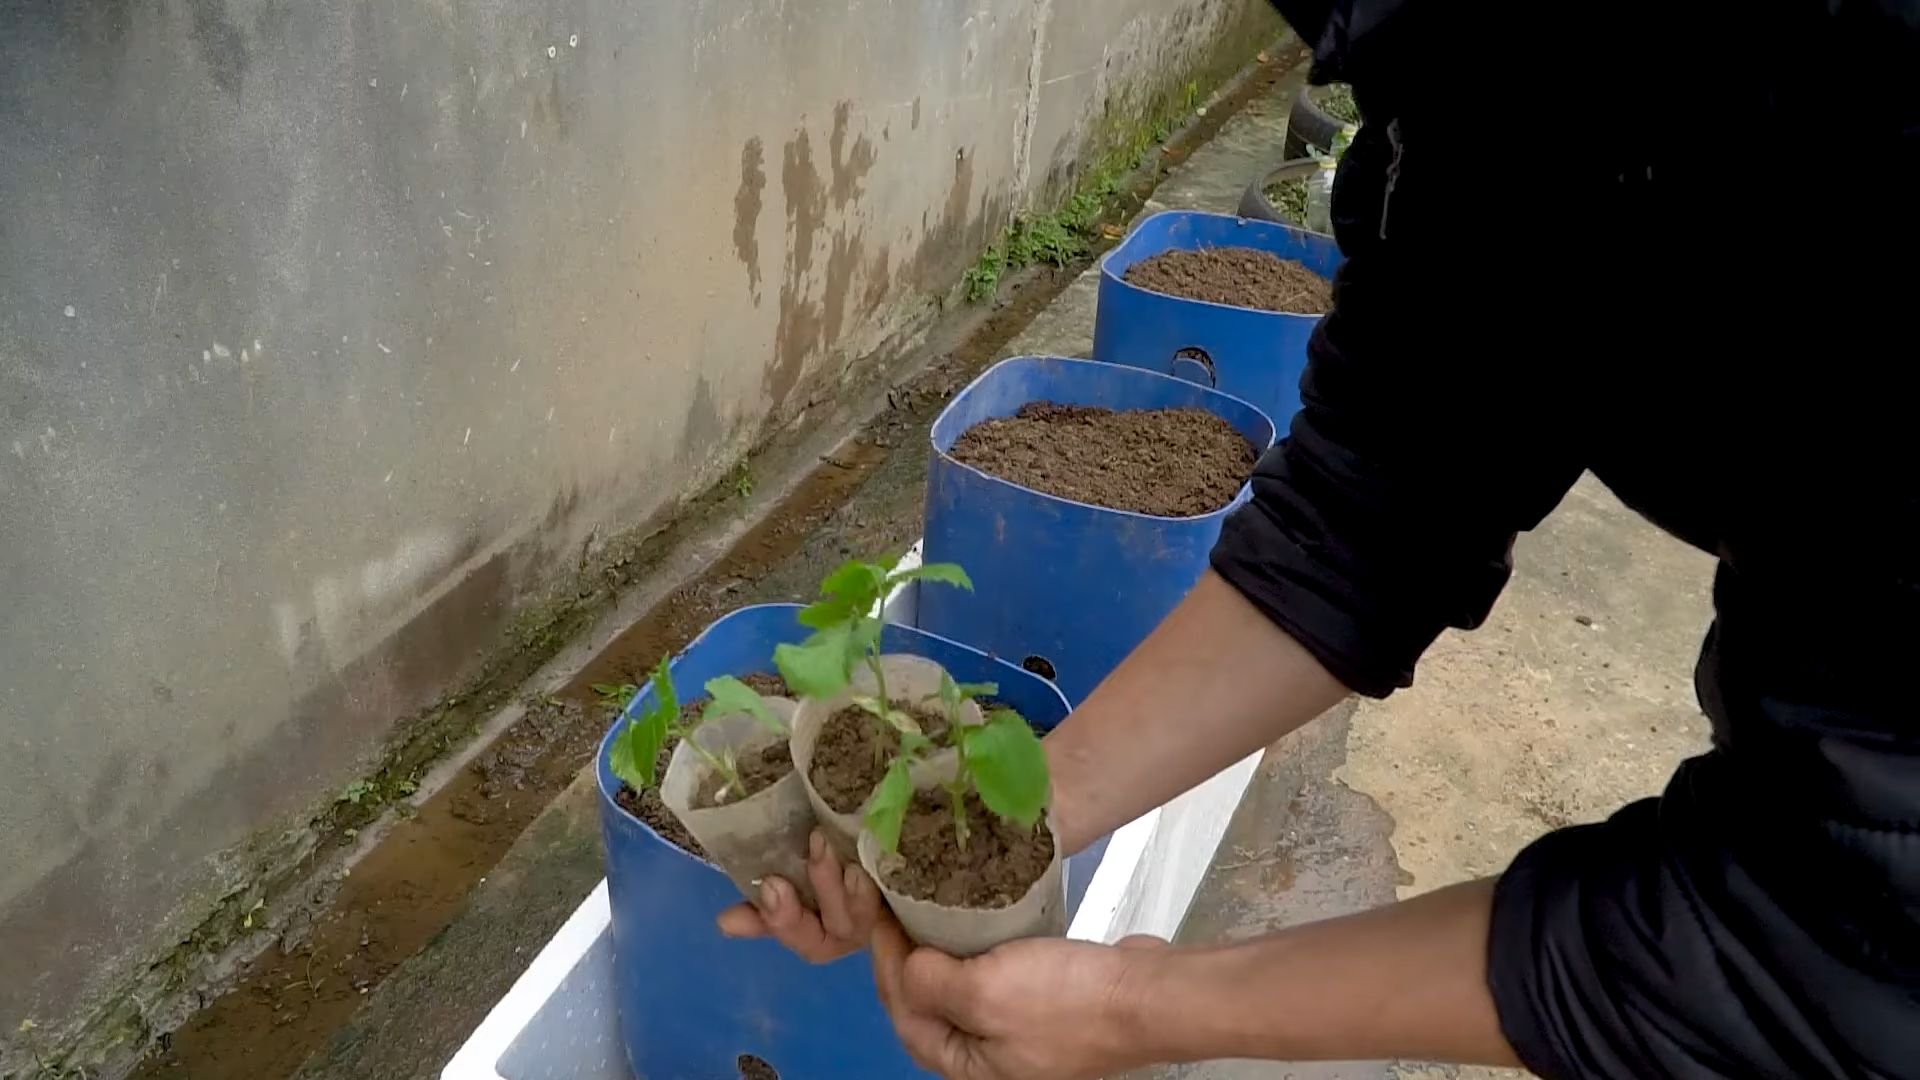
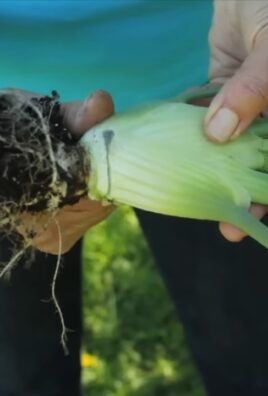
3. Carefully Remove the Seedling: Gently remove the seedling from the seed starting tray or pot. Be careful not to damage the roots. If the seedling is root-bound (the roots are tightly circling the pot), gently loosen them before transplanting.
4. Place the Seedling in the Hole: Place the seedling in the hole and cover the roots with soil. Gently firm the soil around the base of the plant.
5. Water Thoroughly: Water the soil thoroughly after transplanting.
6. Provide Support: Install a trellis or other support structure for the bitter gourd vine to climb on. Place it close to the plant so it can easily reach it.
Section 3: Caring for Your Bitter Gourd Plant
Now that your bitter gourd plant is happily settled in its new home, it’s time to provide the care it needs to thrive.
1. Watering: Water your bitter gourd plant regularly, especially during hot weather. The soil should be consistently moist but not waterlogged. Check the soil moisture by sticking your finger into the soil. If the top inch feels dry, it’s time to water.
2. Fertilizing: Feed your bitter gourd plant with a balanced liquid fertilizer every 2-3 weeks. Follow the instructions on the fertilizer label. You can also use a slow-release fertilizer at the time of transplanting.
3. Light: Bitter gourds need at least 6-8 hours of sunlight per day. If you don’t have a sunny window, use grow lights to supplement the natural light.
4. Temperature: Bitter gourds thrive in warm temperatures (70-90°F or 21-32°C). Protect your plant from cold drafts and sudden temperature changes.
5. Humidity: Bitter gourds prefer moderate humidity. You can increase humidity by misting the plant regularly or placing a tray of water near the plant.
6. Pruning: Prune your bitter gourd vine regularly to encourage branching and fruit production. Remove any dead or yellowing leaves. You can also pinch off the tips of the vines to promote bushier growth.
7. Pollination: Bitter gourds are monoecious, meaning they have separate male and female flowers on the same plant. You may need to hand-pollinate the flowers to ensure fruit production, especially if you are growing them indoors where there are no pollinators. To hand-pollinate, use a small brush to transfer pollen from the male flowers to the female flowers. Female flowers have a small fruit behind the flower, while male flowers do not.
8. Pest and Disease Control: Monitor your bitter gourd plant regularly for pests and diseases. Common pests include aphids, spider mites, and whiteflies. You can control these pests by spraying the plant with insecticidal soap or neem oil. Common diseases include powdery mildew and fungal leaf spots. You can prevent these diseases by providing good air circulation and avoiding overwatering. If you notice any signs of disease, treat the plant with a fungicide.
Section 4: Harvesting Your Bitter Gourds
The moment you’ve been waiting for! Harvesting your homegrown bitter gourds.
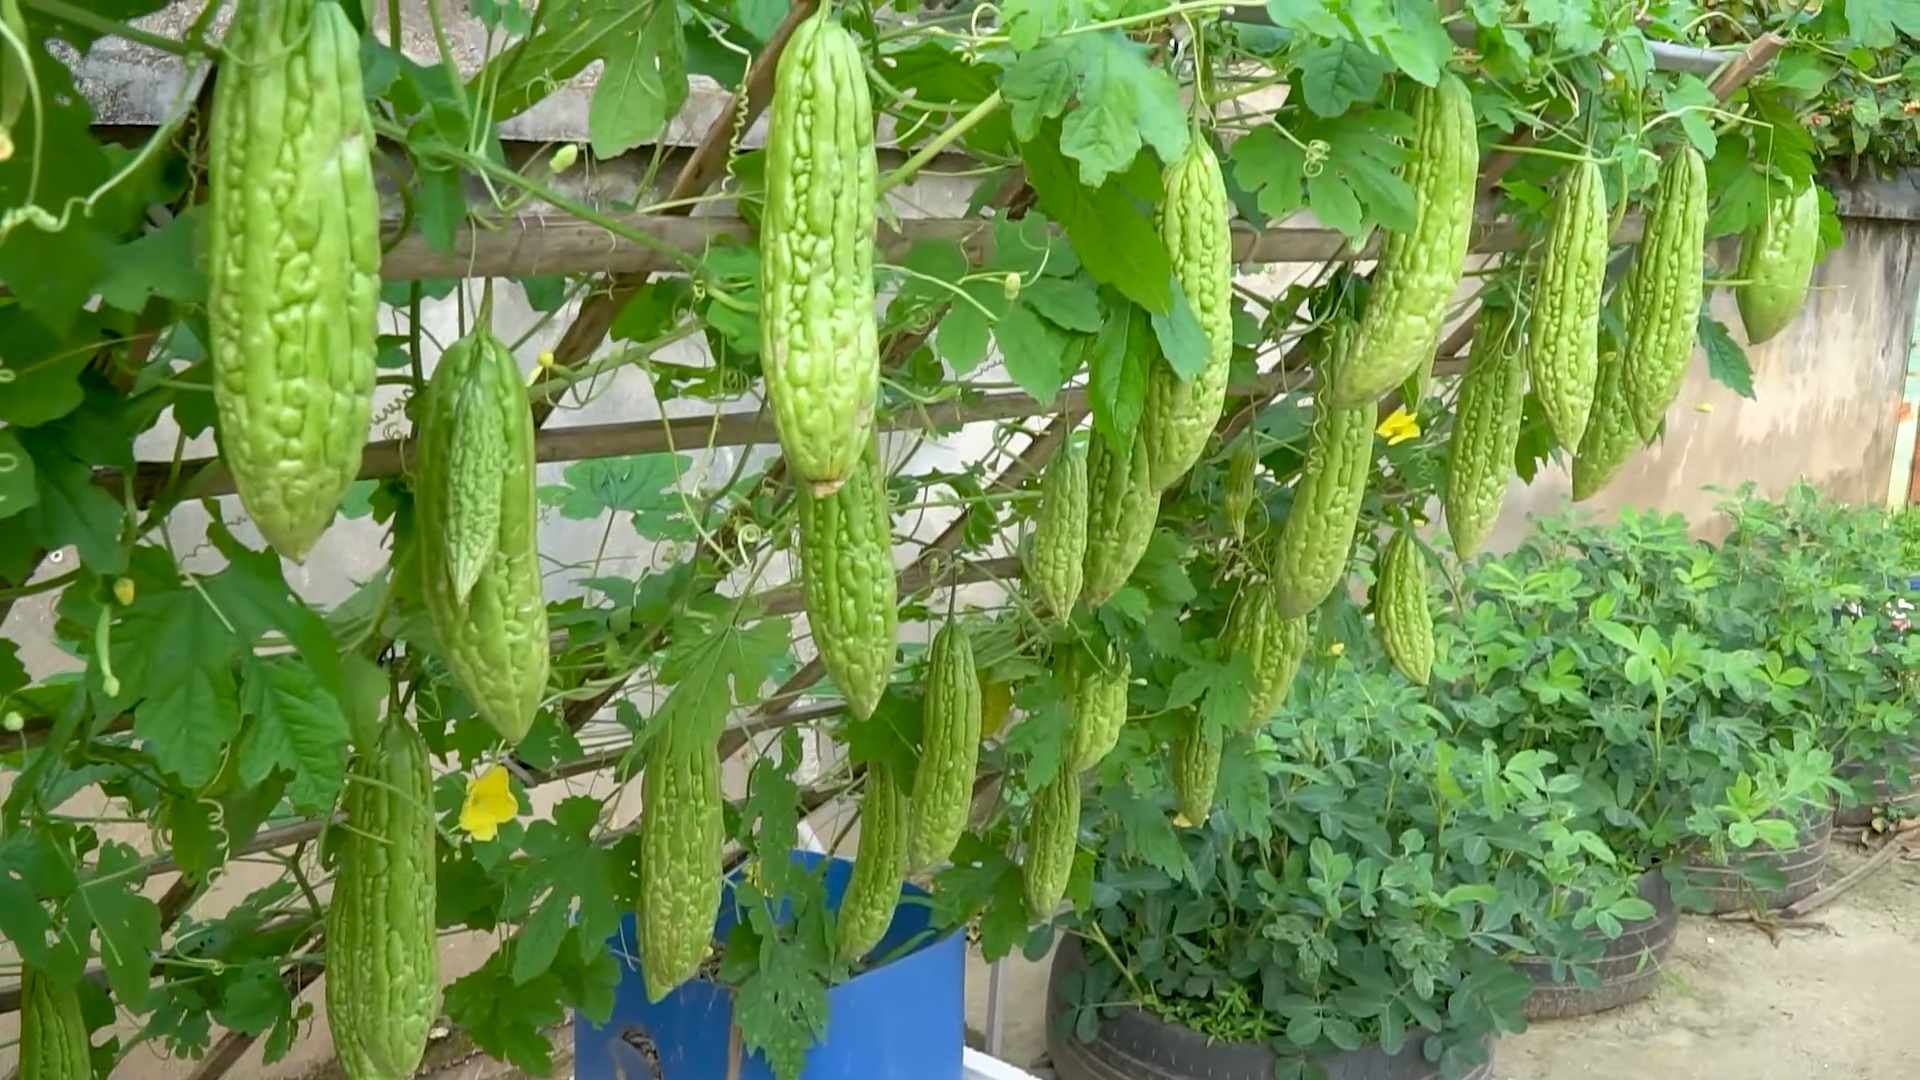
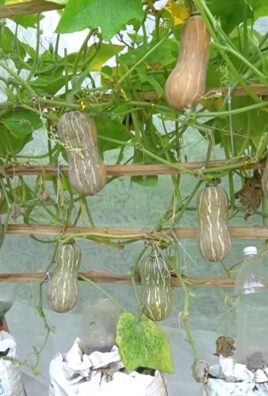
1. Harvest Time: Bitter gourds are typically ready to harvest about 2-3 months after planting. The fruits should be firm and green, with a slightly waxy coating.
2. Harvesting Technique: Use pruning shears or a sharp knife to cut the bitter gourd from the vine. Leave a small stem attached to the fruit.
3. Harvesting Frequency: Harvest bitter gourds regularly to encourage continued fruit production. Overripe fruits will turn yellow or orange and become bitter.
4. Storage: Store harvested bitter gourds in the refrigerator for up to a week.
Troubleshooting: Common Issues and Solutions
Even with the best care, you might encounter some challenges along the way. Here are a few common issues and how to address them:
* Yellowing Leaves: Could be due to overwatering, underwatering, nutrient deficiency, or pest infestation. Check the soil moisture, fertilize if needed, and inspect for pests.
* Lack of Fruit: Could be due to insufficient pollination, lack of sunlight, or nutrient deficiency. Hand-pollinate the flowers, provide more light, and fertilize regularly.
* Pest Infestation: Treat with insecticidal soap or neem oil.
* Disease: Ensure good air circulation, avoid overwatering, and treat with a fungicide if necessary.
Final Thoughts
Growing bitter gourds indoors can be a rewarding experience. It takes a bit of effort and attention, but the satisfaction of harvesting your own homegrown produce is well worth it. Don’t be afraid to experiment and adjust your approach based on your specific environment and plant’s needs. Happy gardening!
Conclusion
So, there you have it! Growing bitter gourds indoors might seem like a challenge, but with the right approach, it’s entirely achievable and incredibly rewarding. We’ve walked you through the essential steps, from selecting the right seeds and preparing the perfect potting mix to providing adequate light and support for your climbing vines. But why should you even bother with this DIY project?
The answer is simple: fresh, homegrown bitter gourds, bursting with flavor and packed with nutrients, right at your fingertips, regardless of the season or your geographical location. Imagine the satisfaction of harvesting your own produce, knowing exactly where it came from and how it was grown. No more relying on potentially pesticide-laden store-bought options! Plus, the vibrant green vines of a healthy bitter gourd plant add a touch of natural beauty to your indoor space.
This isn’t just about growing a vegetable; it’s about connecting with nature, learning new skills, and enjoying the fruits (or rather, vegetables) of your labor. The slightly bitter taste of homegrown bitter gourd is far superior to store-bought varieties, which often lack the same depth of flavor. You’ll find yourself incorporating it into your favorite stir-fries, curries, and even juices, reaping the numerous health benefits this amazing vegetable has to offer.
But the possibilities don’t stop there! Feel free to experiment with different varieties of bitter gourd. Some are smaller and more compact, ideal for smaller spaces, while others boast unique shapes and textures. You can also try different training methods for your vines. Instead of a traditional trellis, consider using a decorative screen or even training them along a window frame for a visually stunning effect.
Another variation to consider is companion planting. Growing herbs like basil or mint alongside your bitter gourd can help deter pests and enhance the overall health of your plants. You can also experiment with different fertilizers to see what works best for your specific growing conditions.
Don’t be afraid to get creative and personalize your indoor bitter gourd garden. The most important thing is to have fun and learn along the way. Remember, even experienced gardeners face challenges, so don’t get discouraged if you encounter a few bumps in the road. The key is to be patient, observant, and willing to adapt your approach as needed.
We wholeheartedly encourage you to give this DIY trick a try. Growing bitter gourds indoors is a fulfilling and rewarding experience that will not only provide you with fresh, healthy produce but also connect you with the natural world in a meaningful way.
And now, we want to hear from you! Share your experiences, tips, and tricks in the comments below. What challenges did you face? What successes did you celebrate? What variations did you try? Your insights will help other aspiring indoor gardeners embark on their own bitter gourd growing adventures. Let’s build a community of passionate growers and share the joy of homegrown goodness! So, grab your seeds, prepare your potting mix, and get ready to experience the magic of growing bitter gourds indoors. You won’t regret it!
Frequently Asked Questions (FAQ)
Q: What is the best variety of bitter gourd to grow indoors?
A: While many varieties can be grown indoors, smaller, more compact varieties like the ‘Dwarf Bitter Gourd’ or ‘Green Long’ tend to be more manageable in limited spaces. These varieties also often mature faster, allowing for quicker harvests. Consider the size of your growing area and the amount of vertical space available when making your selection. Researching the specific needs of each variety is crucial for success. Some varieties are more resistant to common pests and diseases, which can be particularly important in an indoor environment.
Q: How much sunlight does my indoor bitter gourd plant need?
A: Bitter gourds are sun-loving plants and require at least 6-8 hours of direct sunlight per day. If you don’t have a south-facing window that provides sufficient sunlight, you’ll need to supplement with artificial grow lights. Full-spectrum LED grow lights are an excellent option, as they provide the necessary wavelengths of light for healthy growth and fruiting. Position the lights a few inches above the plants and adjust the height as they grow. Monitor your plants closely for signs of insufficient light, such as leggy growth or pale leaves.
Q: What type of potting mix should I use for growing bitter gourds indoors?
A: A well-draining potting mix is essential for preventing root rot and ensuring healthy growth. A good mix consists of equal parts of potting soil, perlite, and compost. The potting soil provides nutrients, the perlite improves drainage, and the compost adds organic matter. Avoid using garden soil, as it can be too heavy and may contain pests or diseases. You can also add a slow-release fertilizer to the potting mix to provide a steady supply of nutrients.
Q: How often should I water my indoor bitter gourd plant?
A: Water your bitter gourd plant regularly, keeping the soil consistently moist but not waterlogged. Check the soil moisture level by sticking your finger about an inch into the soil. If it feels dry, it’s time to water. Water deeply, allowing the excess water to drain out of the bottom of the pot. Avoid overwatering, as this can lead to root rot. The frequency of watering will depend on factors such as the size of the pot, the temperature, and the humidity.
Q: How do I pollinate my indoor bitter gourd flowers?
A: Bitter gourds have separate male and female flowers. In an outdoor setting, pollination is typically done by insects. However, indoors, you’ll need to hand-pollinate the flowers. To do this, use a small paintbrush to collect pollen from the male flowers and transfer it to the female flowers. The female flowers have a small, immature fruit at the base, while the male flowers do not. Pollinate the flowers in the morning, when they are most receptive.
Q: What are some common pests and diseases that affect indoor bitter gourd plants?
A: Common pests that can affect indoor bitter gourd plants include aphids, spider mites, and whiteflies. These pests can be controlled with insecticidal soap or neem oil. Diseases such as powdery mildew and fungal leaf spots can also occur. To prevent these diseases, ensure good air circulation and avoid overwatering. If you notice any signs of pests or diseases, treat them promptly to prevent them from spreading.
Q: How do I provide support for my climbing bitter gourd vines?
A: Bitter gourds are climbing plants and require support to grow properly. You can use a trellis, a stake, or even a decorative screen to provide support. Train the vines to climb the support structure by gently tying them with twine or plant ties. As the vines grow, continue to provide support to prevent them from collapsing.
Q: When can I harvest my indoor bitter gourds?
A: Bitter gourds are typically ready to harvest about 2-3 months after planting. The fruits should be firm and have a slightly glossy appearance. Harvest them when they are still green, before they turn orange or red. Use a sharp knife or scissors to cut the fruits from the vine, leaving a small stem attached.
Q: Can I save seeds from my indoor bitter gourds to plant next year?
A: Yes, you can save seeds from your indoor bitter gourds to plant next year. Allow the fruits to ripen fully on the vine until they turn orange or red. Then, scoop out the seeds and wash them thoroughly. Spread the seeds out on a paper towel to dry completely. Once they are dry, store them in an airtight container in a cool, dark place.
Q: What are the health benefits of eating bitter gourd?
A: Bitter gourd is a highly nutritious vegetable with numerous health benefits. It is rich in vitamins, minerals, and antioxidants. It is also known to help regulate blood sugar levels, making it beneficial for people with diabetes. Bitter gourd has also been shown to have anti-inflammatory and anti-cancer properties. Incorporating bitter gourd into your diet can contribute to overall health and well-being.

Leave a Comment