

Sponge Cleaning Hacks: Who knew these humble kitchen staples held so much untapped potential? I’m constantly amazed by the clever ways we can repurpose everyday items to make our lives easier, and sponges are definitely at the top of that list! Forget spending a fortune on specialized cleaning products; with a few simple tricks, your trusty sponge can become a multi-purpose cleaning powerhouse.
Sponges have been around in various forms for centuries, from natural sea sponges used by the ancient Greeks and Romans for bathing to the synthetic versions we know and love today. While their primary purpose has always been cleaning, their versatility often goes unnoticed. In a world increasingly focused on sustainability and resourcefulness, mastering sponge cleaning hacks is more relevant than ever.
Let’s face it, cleaning isn’t anyone’s favorite chore. But what if I told you that you could drastically reduce your cleaning time and effort with a few simple sponge-based solutions? From banishing stubborn stains to deodorizing your dishwasher, these DIY tricks will not only save you money but also help you achieve a sparkling clean home with minimal fuss. So, grab your sponges, and let’s dive into the world of ingenious cleaning hacks that will transform the way you think about this everyday essential!
DIY Sponge Cleaning Hacks: Extend the Life of Your Kitchen Companion
Hey everyone! Let’s face it, sponges are the unsung heroes of our kitchens. They tackle everything from greasy pans to sticky countertops. But they also get pretty gross, pretty fast. Instead of constantly tossing them, I’m going to share some super effective DIY cleaning hacks to keep your sponges fresh, sanitized, and lasting longer. Get ready to save some money and reduce waste!
Hack 1: The Microwave Sanitization Method
This is probably the quickest and easiest way to kill bacteria lurking in your sponge. It’s my go-to for a daily refresh.
What you’ll need:
* Your dirty sponge
* Microwave-safe bowl or plate
* Water
* Optional: Lemon juice or white vinegar
Step-by-step instructions:
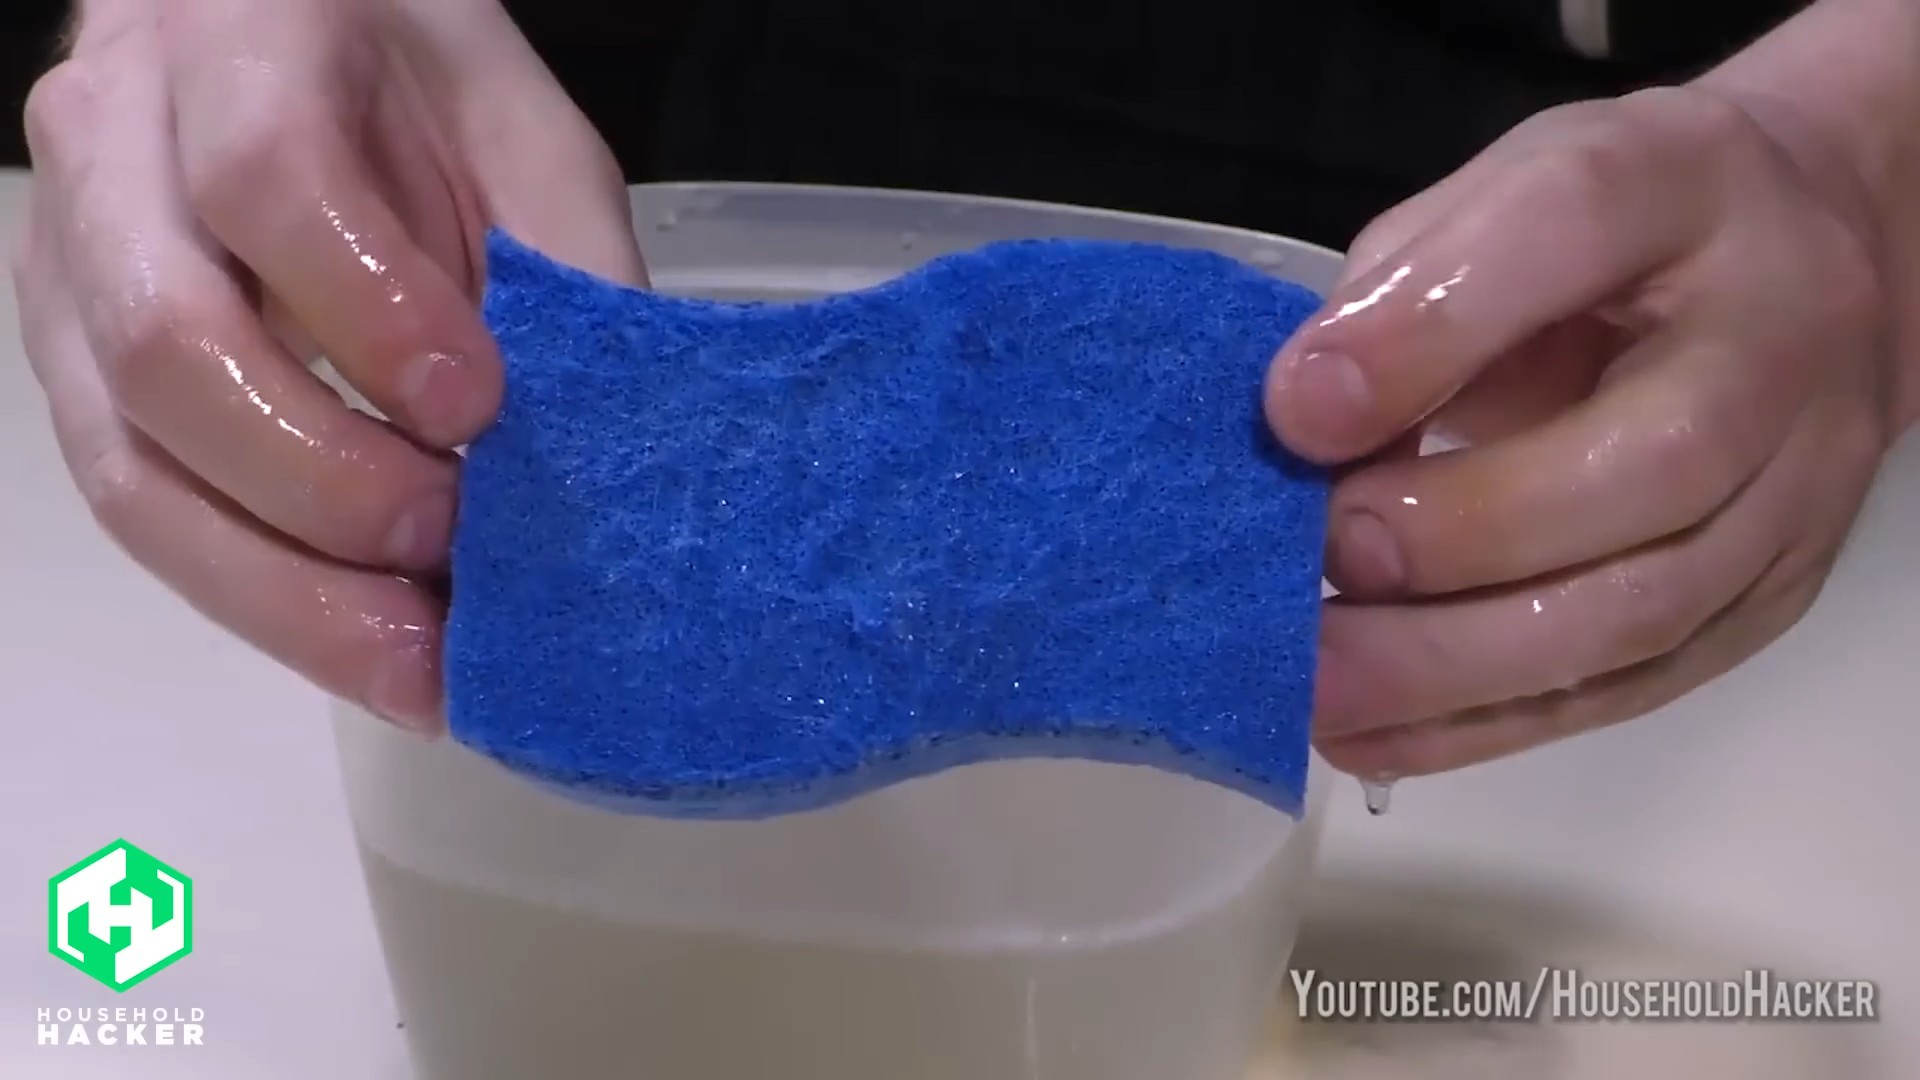
1. Rinse thoroughly: Start by rinsing your sponge under running water to remove any large food particles. Squeeze out as much excess water as possible. We don’t want a soggy mess in the microwave!
2. Soak in water: Place the sponge in a microwave-safe bowl or on a plate. Add enough water to completely submerge the sponge. Think about a cup or two, depending on the size of your bowl.
3. Add a boost (optional): For extra cleaning power, add a tablespoon of lemon juice or white vinegar to the water. These natural disinfectants will help break down grease and kill even more bacteria. I personally love the lemon juice for the fresh scent it leaves behind.
4. Microwave on high: Microwave the sponge on high for 2 minutes. This is crucial! The heat is what kills the bacteria. Be careful when removing the bowl, as it will be very hot.
5. Cool down and squeeze: Let the bowl cool down for a few minutes before carefully removing the sponge. Squeeze out any excess water. Be cautious, as the sponge will still be hot.
6. Air dry: Allow the sponge to air dry completely. This prevents bacteria from growing back quickly. I usually leave mine on a sponge holder or propped up in the sink.
Important Considerations:
* No metal: Make sure your sponge doesn’t have any metal parts, like scrubbing pads, before microwaving. Metal and microwaves don’t mix!
* Watch for burning: Keep an eye on the sponge while it’s microwaving. If you see any sparks or smoke, stop the microwave immediately.
* Not for all sponges: This method is best for cellulose sponges. Avoid microwaving sponges with plastic or synthetic materials, as they could melt or release harmful chemicals.
Hack 2: The Bleach Bath for Stubborn Stains and Odors
When your sponge is really starting to smell or has stubborn stains, a bleach bath is a powerful solution. But remember, bleach should be used with caution and always diluted.
What you’ll need:
* Your dirty sponge
* Clean sink or bucket
* Bleach (unscented)
* Water
* Gloves (optional, but recommended)
Step-by-step instructions:
1. Rinse thoroughly: As always, start by rinsing your sponge under running water to remove any loose debris. Squeeze out the excess water.
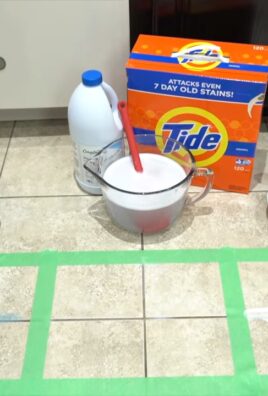
2. Prepare the bleach solution: Fill your sink or bucket with cool water. Add 1/4 cup of bleach per gallon of water. It’s important to follow this ratio to avoid damaging the sponge or creating harmful fumes.
3. Soak the sponge: Submerge the sponge in the bleach solution and let it soak for 5 minutes. Don’t soak it for longer than 10 minutes, as this can weaken the sponge fibers.
4. Rinse, rinse, rinse: This is the most important step! Thoroughly rinse the sponge under running water until all traces of bleach are gone. Squeeze and rinse repeatedly. You should no longer smell any bleach.
5. Air dry: Allow the sponge to air dry completely.
Important Considerations:
* Ventilation: Make sure you’re working in a well-ventilated area when using bleach. Open a window or turn on a fan.
* Gloves: Bleach can irritate your skin, so wearing gloves is a good idea.
* Colorfastness: Bleach can fade colored sponges, so keep that in mind.
* Not for all surfaces: Remember that bleach can damage certain surfaces. Avoid using the bleached sponge on delicate materials like wood or stainless steel until you’re absolutely sure all the bleach is gone.
Hack 3: The Dishwasher Deep Clean
Did you know your dishwasher can also sanitize your sponges? It’s a convenient way to clean them while you’re already running a load of dishes.
What you’ll need:
* Your dirty sponge
* Dishwasher
Step-by-step instructions:
1. Rinse thoroughly: You know the drill! Rinse the sponge to remove any food particles.
2. Place in the dishwasher: Place the sponge in the top rack of your dishwasher. Make sure it’s secured so it doesn’t fall onto the heating element. I usually wedge mine between some cups or plates.
3. Run a normal cycle: Run your dishwasher on a normal cycle with your regular dish soap. The hot water and detergent will sanitize the sponge.
4. Air dry: Once the cycle is complete, remove the sponge and allow it to air dry.
Important Considerations:
* No food residue: Make sure the sponge is relatively clean before putting it in the dishwasher. You don’t want to contaminate your dishes with food particles from the sponge.
* Top rack only: Always place the sponge on the top rack to avoid exposing it to the high heat of the heating element on the bottom rack.
* Avoid harsh detergents: Avoid using dishwasher detergents with bleach or other harsh chemicals, as these can damage the sponge.
Hack 4: The Vinegar Soak for Odor Removal
If your sponge has a lingering odor, a vinegar soak can work wonders. Vinegar is a natural deodorizer and disinfectant.
What you’ll need:
* Your dirty sponge
* Clean sink or bowl
* White vinegar
* Water
Step-by-step instructions:
1. Rinse thoroughly: You guessed it, rinse the sponge first!
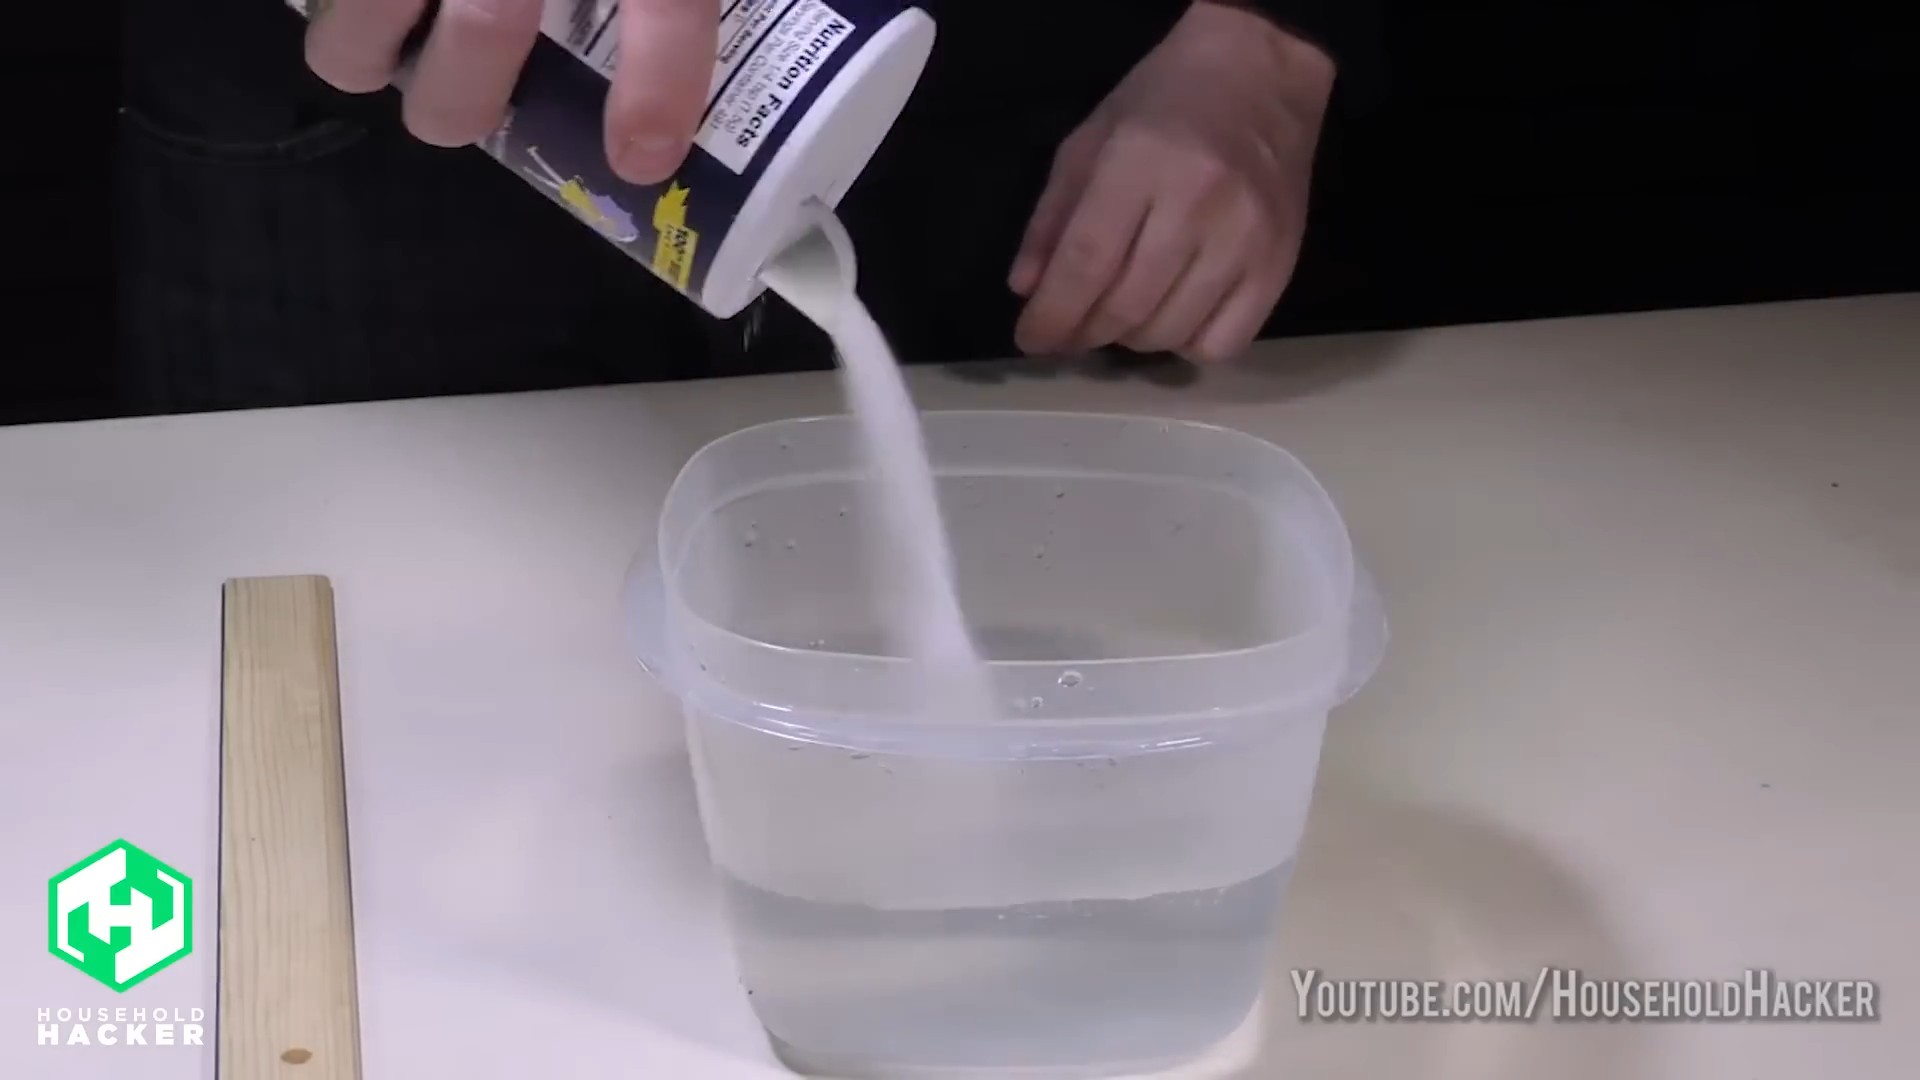
2. Prepare the vinegar solution: Fill your sink or bowl with equal parts white vinegar and water.
3. Soak the sponge: Submerge the sponge in the vinegar solution and let it soak for at least an hour, or even overnight for really stubborn odors.
4. Rinse thoroughly: Rinse the sponge thoroughly under running water until all traces of vinegar are gone.
5. Air dry: Allow the sponge to air dry completely.
Important Considerations:
* Smell: Vinegar has a strong smell, but it will dissipate as the sponge dries.
* Safe for most sponges: Vinegar is generally safe for most types of sponges.
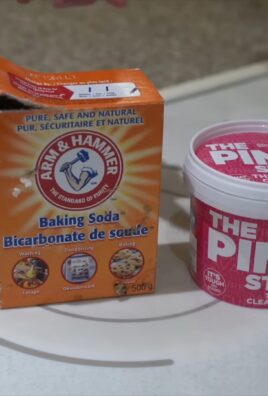
Hack 5: The Baking Soda Scrub for Grime and Stains
Baking soda is a gentle abrasive that can help remove grime and stains from your sponge.
What you’ll need:
* Your dirty sponge
* Baking soda
* Water
Step-by-step instructions:
1. Rinse thoroughly: Rinse the sponge to remove any loose debris.
2. Make a baking soda paste: Mix baking soda with a little water to form a thick paste.
3. Scrub the sponge: Apply the baking soda paste to the sponge and scrub it gently. Pay attention to any stained or grimy areas.
4. Rinse thoroughly: Rinse the sponge thoroughly under running water until all traces of baking soda are gone.
5. Air dry: Allow the sponge to air dry completely.
Important Considerations:
* Gentle scrubbing: Don’t scrub too hard, as this can damage the sponge fibers.
* Effective on stains: Baking soda is particularly effective on removing coffee stains, tea stains, and other common household stains.
Bonus Tip: Proper Sponge Storage
How you store your sponge can also affect its lifespan and cleanliness.
* Squeeze out excess water: After each use, squeeze out as much water as possible. A damp sponge is a breeding ground for bacteria.
* Store in a well-ventilated area: Store your sponge in a sponge holder or propped up in the sink to allow it to air dry completely. Avoid leaving it lying flat in the sink, as this will trap moisture.
* Replace regularly: Even with these cleaning hacks, sponges eventually wear out and become less effective. Replace your sponge every 2-4 weeks, or sooner if it starts to smell or look excessively dirty.
By incorporating these DIY sponge cleaning hacks into
Conclusion
So, there you have it! These sponge cleaning hacks aren’t just about saving a few bucks; they’re about transforming your cleaning routine into something more efficient, hygienic, and even a little bit enjoyable. Let’s face it, nobody *loves* cleaning, but knowing you’re using a sparkling clean sponge makes the task a little less daunting.
The beauty of these methods lies in their simplicity. You likely already have everything you need right in your pantry or laundry room. From the microwave zap to the vinegar soak, each technique offers a powerful way to banish bacteria and grime, extending the life of your sponges and preventing the spread of germs throughout your home.
But don’t just take our word for it. We wholeheartedly encourage you to try these sponge cleaning hacks for yourself. Experiment with different methods to see which works best for your sponges and your cleaning style. Perhaps you’ll find that a quick daily microwave session is enough to keep your sponges fresh, or maybe you prefer the deep-cleaning power of a bleach solution for those extra-grimy situations.
Variations and Suggestions:
* Essential Oil Boost: Add a few drops of your favorite essential oil (like lemon, tea tree, or eucalyptus) to your cleaning solution for an extra boost of freshness and antibacterial power.
* Dishwasher Delight: If you have a dishwasher with a sanitizing cycle, toss your sponges in the top rack for a thorough clean. Just be sure to avoid washing them with dishes that have food residue.
* Sun’s Out, Germs Out: After cleaning, let your sponges air dry in direct sunlight. The UV rays can help kill any remaining bacteria.
* Preventative Measures: To extend the life of your sponges and reduce the need for frequent deep cleaning, rinse them thoroughly after each use and squeeze out as much water as possible. Store them in a well-ventilated area to prevent mildew growth.
* Dedicated Sponges: Consider using different colored sponges for different cleaning tasks (e.g., one for dishes, one for countertops, one for bathrooms) to prevent cross-contamination.
Ultimately, the best sponge cleaning hack is the one that you’ll actually use consistently. So, find a method that fits your lifestyle and make it a part of your regular cleaning routine.
We’re confident that these tips will help you keep your sponges clean, your home healthier, and your cleaning routine more efficient. Now, it’s your turn! Give these sponge cleaning hacks a try and let us know what you think. Share your experiences, your favorite methods, and any variations you discover in the comments below. We’re eager to hear from you and learn from your cleaning adventures! Let’s work together to create a cleaner, healthier home, one sponge at a time.
Frequently Asked Questions (FAQs)
How often should I clean my sponges?
This is a crucial question! Ideally, you should clean your sponges daily or after each use, especially if you’ve been using them to clean up raw meat or poultry. A quick rinse and squeeze-out after each use is a good start. However, a more thorough cleaning using one of the methods described above (microwave, vinegar soak, bleach solution, dishwasher) should be done at least every other day, or daily if you’re a frequent cook or cleaner. If your sponge starts to smell bad or shows signs of wear and tear, it’s time to replace it, regardless of how often you’ve been cleaning it.
Which cleaning method is the most effective for sponges?
The “most effective” method depends on your priorities and the level of grime on your sponge. The bleach solution is generally considered the most powerful for killing bacteria, but it’s important to use it safely and properly diluted. The microwave method is quick and convenient for daily maintenance. Vinegar is a good natural alternative for those who prefer to avoid harsh chemicals. The dishwasher is also effective, especially if it has a sanitizing cycle. Experiment to find the method that best suits your needs and preferences.
Is it safe to microwave a sponge?
Yes, microwaving a sponge is generally safe, but there are a few precautions to take. First, make sure the sponge is thoroughly wet. A dry sponge can catch fire in the microwave. Second, don’t microwave the sponge for too long. One to two minutes is usually sufficient. Third, let the sponge cool down before handling it, as it will be very hot. Finally, be aware that some sponges may contain metal components (like scrubbing pads) that are not microwave-safe. Check the manufacturer’s instructions before microwaving.
Can I use these cleaning methods on all types of sponges?
Most of these methods are safe for cellulose sponges, which are the most common type. However, you should always check the manufacturer’s instructions for your specific sponge. Some sponges, like those with built-in scrubbing pads or special coatings, may not be suitable for microwaving or bleaching. Natural sea sponges may also require different cleaning methods.
What if my sponge still smells bad after cleaning it?
If your sponge still smells bad after cleaning it, it’s likely that it’s harboring a significant amount of bacteria or mold. In this case, it’s best to discard the sponge and replace it with a new one. No amount of cleaning can completely restore a sponge that’s heavily contaminated.
How can I prevent my sponges from getting so dirty in the first place?
Prevention is key! Here are a few tips to keep your sponges cleaner for longer:
* Rinse your sponge thoroughly after each use and squeeze out as much water as possible.
* Store your sponge in a well-ventilated area to allow it to dry completely.
* Use different sponges for different cleaning tasks to prevent cross-contamination.
* Avoid using sponges to clean up raw meat or poultry unless you’re prepared to clean them immediately and thoroughly.
* Replace your sponges regularly, even if they look clean.
Are there any natural alternatives to bleach for cleaning sponges?
Yes! Vinegar is a great natural alternative to bleach. You can soak your sponges in a solution of equal parts vinegar and water for several hours or overnight. Baking soda is another option. You can sprinkle baking soda on your sponge and then rinse it with water. Both vinegar and baking soda have antibacterial properties and can help to deodorize your sponges.
How do I know when it’s time to replace my sponge?
Even with regular cleaning, sponges will eventually wear out and need to be replaced. Here are a few signs that it’s time for a new sponge:
* The sponge is falling apart or losing its shape.
* The sponge has a persistent odor that doesn’t go away after cleaning.
* The sponge is visibly stained or discolored.
* The sponge feels slimy or sticky, even after cleaning.
As a general rule, it’s a good idea to replace your sponges every one to two weeks, depending on how frequently you use them.
Can I use these methods to clean other cleaning tools, like dishcloths or scrub brushes?
Yes, many of these methods can be adapted for cleaning other cleaning tools. Dishcloths can be washed in the washing machine with hot water and detergent. Scrub brushes can be soaked in a bleach solution or vinegar solution. Just be sure to check the manufacturer’s instructions for your specific cleaning tools before using any cleaning method.
What is the best way to dry my sponge after cleaning it?
The best way to dry your sponge is to squeeze out as much water as possible and then store it in a well-ventilated area where it can air dry completely. You can also place it in a sponge holder that allows air to circulate around it. Avoid leaving your sponge sitting in a puddle of water, as this can promote the growth of bacteria and mold.
Leave a Comment