

Grow Heirloom Tomatoes Kitchen: Imagine biting into a juicy, sun-ripened tomato bursting with flavor, a taste so unique and vibrant it transports you back to simpler times. That’s the magic of heirloom tomatoes! But what if I told you that you don’t need acres of farmland to experience this culinary delight? You can grow heirloom tomatoes right in your kitchen!
For generations, heirloom tomatoes have been cherished for their exceptional taste and fascinating history. Passed down through families, these open-pollinated varieties represent a living link to our agricultural past. They offer a delicious alternative to the often bland, commercially grown tomatoes we find in supermarkets. But, let’s be honest, the thought of growing tomatoes, especially heirloom varieties, can seem daunting, especially if you’re short on space.
That’s where this DIY guide comes in! I’m going to share some simple, effective tricks and hacks that will empower you to successfully grow heirloom tomatoes, even if you only have a small kitchen windowsill. We’ll cover everything from seed starting and choosing the right containers to providing optimal light and nutrients. Say goodbye to flavorless tomatoes and hello to a bountiful harvest of delicious, homegrown heirlooms. Let’s get started!
Growing Heirloom Tomatoes: A Beginner’s Guide to Deliciousness
Hey there, fellow gardening enthusiasts! I’m so excited to share my passion for growing heirloom tomatoes with you. There’s just something incredibly satisfying about nurturing these unique and flavorful varieties from seed to table. Trust me, once you taste a sun-ripened Brandywine or Cherokee Purple, you’ll be hooked! This guide will walk you through every step, from starting seeds indoors to harvesting your bountiful crop.
Choosing Your Heirloom Varieties
Before we get our hands dirty, let’s talk about choosing the right heirloom tomatoes for your garden. Heirlooms are open-pollinated varieties that have been passed down through generations, meaning they breed true to type. This is what gives them their incredible diversity in color, shape, size, and, most importantly, flavor!
Here are a few popular and relatively easy-to-grow heirloom varieties to consider:
* Brandywine: A classic beefsteak tomato with a rich, complex flavor. They come in pink, red, and yellow varieties.
* Cherokee Purple: A dusky rose-colored tomato with a sweet and smoky flavor.
* San Marzano: An Italian plum tomato perfect for making sauces and pastes.
* Black Krim: A dark reddish-purple tomato with a slightly salty and earthy flavor.
* Green Zebra: A unique green-striped tomato with a tangy and slightly acidic flavor.
* Yellow Pear: A small, pear-shaped yellow tomato that’s great for snacking.
Consider your local climate and growing conditions when making your selection. Some varieties are more heat-tolerant or disease-resistant than others. Don’t be afraid to experiment and try a few different types to see what grows best in your garden!
Starting Seeds Indoors (6-8 Weeks Before Last Frost)
Starting your tomato seeds indoors gives them a head start on the growing season, especially in regions with shorter summers. I usually start mine about 6-8 weeks before the last expected frost date.
Here’s what you’ll need:
* Tomato seeds (of course!)
* Seed starting trays or small pots
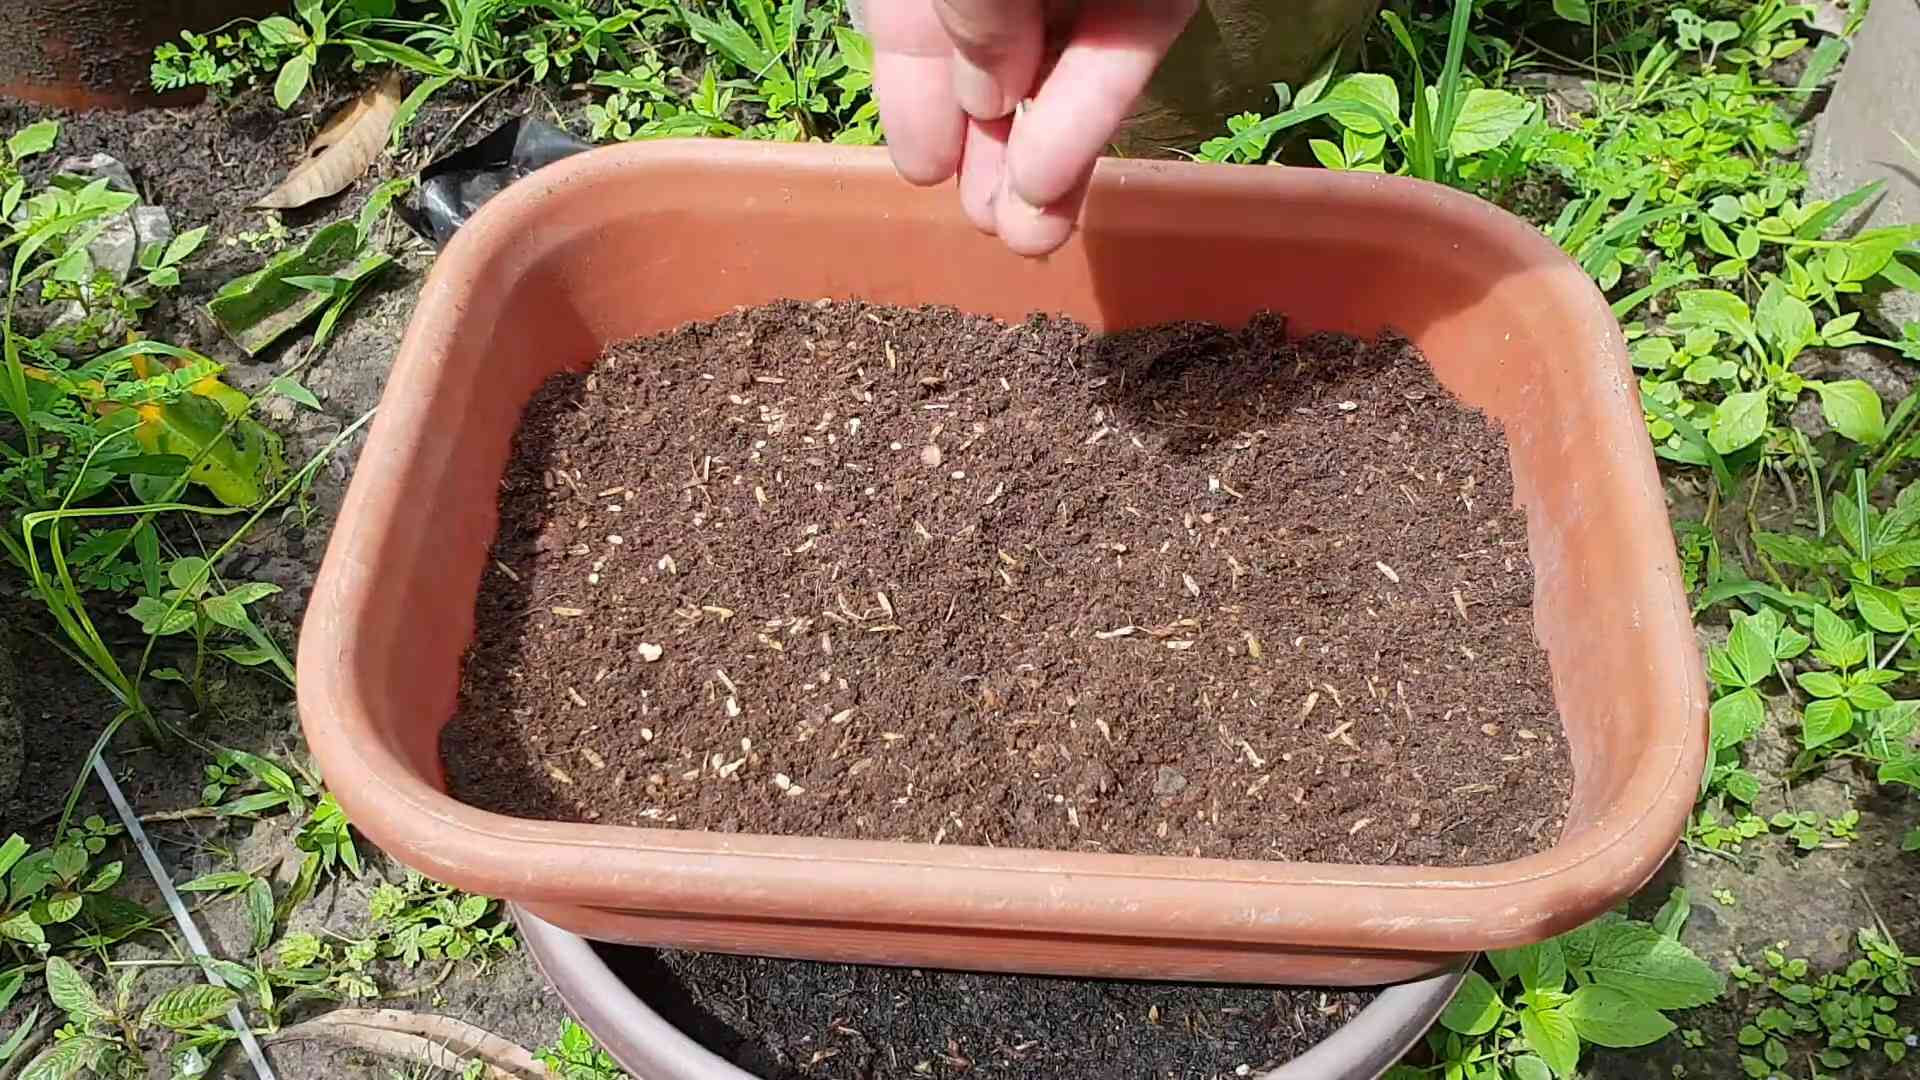
* Seed starting mix (a light, sterile mix specifically formulated for seedlings)
* Watering can or spray bottle
* Heat mat (optional, but helpful for germination)
* Grow lights (essential for strong, healthy seedlings)
* Humidity dome (optional, but helps maintain moisture)
Now, let’s get started!
1. Prepare your seed starting trays or pots: Fill each cell or pot with seed starting mix, leaving about half an inch of space at the top. Gently tap the trays to settle the mix.
2. Sow the seeds: Make a small indentation (about 1/4 inch deep) in the center of each cell or pot. Place 2-3 seeds in each indentation. This increases the chances of at least one seed germinating.
3. Cover the seeds: Gently cover the seeds with seed starting mix.
4. Water thoroughly: Use a watering can or spray bottle to thoroughly moisten the soil. Be careful not to overwater, as this can lead to damping off (a fungal disease that can kill seedlings).
5. Cover with a humidity dome (optional): This helps to maintain moisture and create a warm, humid environment for germination.
6. Place on a heat mat (optional): Tomato seeds germinate best in warm temperatures (around 75-85°F). A heat mat can help to maintain these temperatures.
7. Place under grow lights: Once the seeds germinate, they’ll need plenty of light to grow strong and healthy. Place the trays or pots under grow lights, keeping the lights about 2-4 inches above the seedlings. Adjust the height of the lights as the seedlings grow. I usually keep my grow lights on for 14-16 hours a day.
8. Monitor moisture levels: Check the soil moisture daily and water as needed to keep the soil consistently moist but not soggy.
9. Thin the seedlings: Once the seedlings have their first true leaves (the second set of leaves that appear after the cotyledons, or seed leaves), thin them to one seedling per cell or pot. Choose the strongest, healthiest-looking seedling and snip off the others at the soil line with scissors. Don’t pull them out, as this can disturb the roots of the remaining seedling.
Transplanting Seedlings
Once the danger of frost has passed and the soil has warmed up, it’s time to transplant your tomato seedlings outdoors. This is a crucial step, so take your time and be gentle with your plants.
1. Harden off the seedlings: Before transplanting, you’ll need to harden off the seedlings to acclimate them to outdoor conditions. This involves gradually exposing them to sunlight, wind, and cooler temperatures over a period of 7-10 days. Start by placing the seedlings outdoors in a sheltered location for a few hours each day, gradually increasing the amount of time they spend outdoors.
2. Prepare the garden bed: Choose a sunny location with well-drained soil. Tomatoes need at least 6-8 hours of sunlight per day. Amend the soil with compost or other organic matter to improve its fertility and drainage.
3. Dig the planting holes: Dig holes that are slightly larger than the root balls of the seedlings. Space the holes about 2-3 feet apart, depending on the variety.
4. Add fertilizer: Add a handful of slow-release tomato fertilizer to each planting hole. This will provide the seedlings with the nutrients they need to get off to a good start.
5. Remove the seedlings from their containers: Gently remove the seedlings from their seed starting trays or pots. If the roots are tightly bound, gently loosen them with your fingers.
6. Plant the seedlings: Place the seedlings in the planting holes, burying the stem up to the first set of leaves. This will encourage the development of more roots along the buried stem, resulting in a stronger, healthier plant.
7. Water thoroughly: Water the seedlings thoroughly after planting.
8. Mulch around the plants: Apply a layer of mulch around the plants to help retain moisture, suppress weeds, and regulate soil temperature. Straw, wood chips, or shredded leaves are all good options.
9. Stake or cage the plants: Heirloom tomatoes can get quite large and heavy, so it’s important to provide them with support. Use stakes, cages, or trellises to keep the plants upright and prevent the fruits from touching the ground.
Caring for Your Tomato Plants
Once your tomato plants are in the ground, it’s important to provide them with the care they need to thrive.
1. Water regularly: Tomatoes need consistent moisture, especially during hot, dry weather. Water deeply and regularly, aiming to keep the soil consistently moist but not soggy. Avoid overhead watering, as this can promote fungal diseases.
2. Fertilize regularly: Feed your tomato plants with a balanced tomato fertilizer every 2-3 weeks. Follow the instructions on the fertilizer package.
3. Prune the plants: Pruning can help to improve air circulation, reduce disease, and encourage fruit production. Remove suckers (the small shoots that grow between the main stem and the branches) to direct the plant’s energy towards fruit production.
4. Control pests and diseases: Keep an eye out for common tomato pests and diseases, such as aphids, tomato hornworms, and early blight. Take action to control these problems as soon as you notice them. Organic pest control methods, such as insecticidal soap and neem oil, are often effective.
5. Weed regularly: Keep the garden bed free of weeds, as they can compete with the tomato plants for nutrients and water.
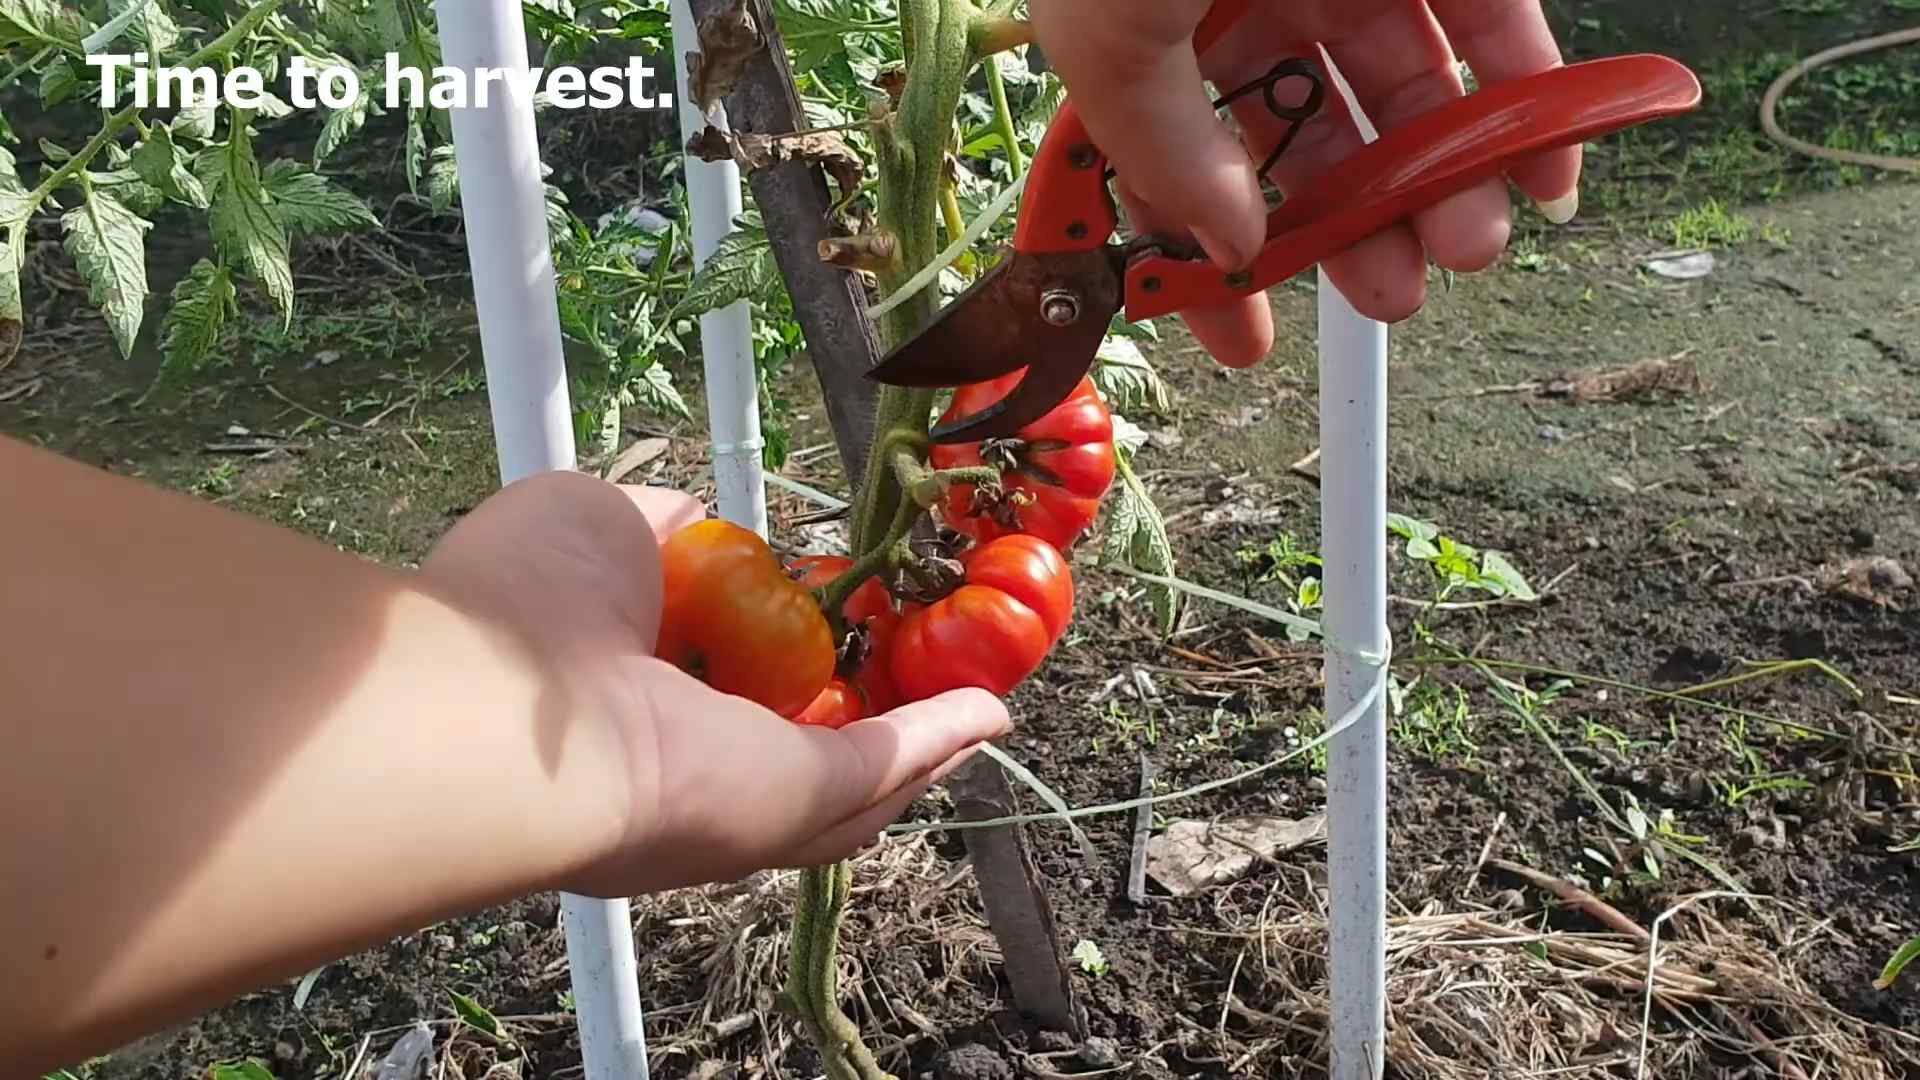
Harvesting Your Heirloom Tomatoes
The moment you’ve been waiting for! Harvesting your own homegrown heirloom tomatoes is one of the most rewarding experiences a gardener can have.
1. Harvest when ripe: Heirloom tomatoes are best harvested when they are fully ripe and have reached their peak flavor. The color of the tomato will depend on the variety, but it should be uniform and vibrant. The tomato should also feel slightly soft to the touch.
2. Gently twist or cut the tomato from the vine: Be careful not to damage the plant when harvesting.
3. Store properly: Store your harvested tomatoes at room temperature, away from direct sunlight. Do not refrigerate them, as this can affect their flavor and texture.
Troubleshooting Common Problems
Even with the best care, you may encounter some problems while growing heirloom tomatoes. Here are a few common issues and how to address them:
* Blossom end rot: This is caused by a calcium deficiency and results in a dark, leathery spot on the bottom of the tomato. To prevent blossom end rot, ensure that your soil is rich in calcium and that you are watering consistently.
* Early blight: This is a fungal disease that causes dark spots on the leaves. To prevent early blight, provide good air circulation around the plants and
Conclusion
So, there you have it! Growing heirloom tomatoes in your own kitchen, or even just starting the seedlings indoors, is not only achievable but incredibly rewarding. We’ve walked through the process, highlighting the key steps to ensure your success, from selecting the right heirloom varieties to providing the optimal growing environment.
Why is this DIY trick a must-try? Because it puts you in complete control of your food source. You know exactly what goes into nurturing your tomatoes, avoiding harmful pesticides and ensuring the freshest, most flavorful fruit possible. Heirloom tomatoes, with their unique shapes, colors, and tastes, offer a culinary experience far beyond what you find in most grocery stores. Plus, you’re contributing to the preservation of these amazing varieties, keeping their genetic diversity alive for future generations.
But the benefits extend beyond just taste and control. Starting your tomato plants indoors gives them a significant head start, especially in regions with shorter growing seasons. This means you’ll be enjoying ripe, juicy heirloom tomatoes weeks, even months, before your neighbors who rely solely on outdoor planting. Imagine the envy!
Ready to take your tomato growing to the next level? Consider these variations to personalize your experience:
* Experiment with different heirloom varieties: Don’t limit yourself to just one or two. Explore the vast world of heirloom tomatoes, from the Brandywine with its rich, complex flavor to the Cherokee Purple with its smoky sweetness. Each variety offers a unique taste profile, allowing you to create a diverse and exciting tomato harvest.
* Try hydroponics: For a truly indoor growing experience, explore hydroponic systems. These systems provide nutrients directly to the roots, eliminating the need for soil and potentially accelerating growth.
* Use grow lights: While a sunny windowsill is a great starting point, supplementing with grow lights can significantly improve seedling development, especially during the darker winter months. LED grow lights are energy-efficient and provide the optimal spectrum of light for plant growth.
* Composting: Start composting your kitchen scraps to create nutrient-rich soil for your heirloom tomatoes. This is a great way to reduce waste and provide your plants with the best possible growing medium.
We’re confident that with a little effort and attention, you can successfully grow heirloom tomatoes in your kitchen and enjoy the unparalleled flavor of these garden treasures. Don’t be afraid to experiment, learn from your mistakes, and most importantly, have fun!
Now, we want to hear from you! Have you tried growing heirloom tomatoes indoors before? What were your successes and challenges? Share your experiences, tips, and photos in the comments below. Let’s create a community of passionate heirloom tomato growers and learn from each other. Your insights could be invaluable to someone just starting out on their tomato-growing journey. So, get your hands dirty, nurture those seedlings, and get ready to savor the delicious rewards of your own homegrown heirloom tomatoes!
Frequently Asked Questions (FAQ)
What are heirloom tomatoes, and why should I grow them?
Heirloom tomatoes are open-pollinated varieties that have been passed down for generations, typically at least 50 years. They are known for their unique flavors, colors, and shapes, often surpassing the taste of commercially grown tomatoes. Growing them helps preserve genetic diversity and allows you to enjoy a wider range of tomato flavors. They often have a richer, more complex flavor profile than hybrid varieties.
What are the best heirloom tomato varieties to grow indoors?
Smaller, determinate varieties tend to do well indoors. Some popular choices include:
* Tiny Tim: A very compact variety perfect for small spaces.
* Roma: A classic paste tomato ideal for sauces.
* Patio: A compact and productive variety suitable for containers.
* Micro Tom: The smallest tomato variety, perfect for even the tiniest spaces.
* Yellow Pear: A sweet and mild yellow tomato that is easy to grow.
Consider your space and desired use when selecting varieties.
How much sunlight do heirloom tomato seedlings need?
Heirloom tomato seedlings need at least 6-8 hours of direct sunlight per day. If you don’t have a sunny windowsill, consider using grow lights. Position the lights a few inches above the seedlings and adjust as they grow.
What type of soil should I use for growing heirloom tomatoes?
Use a well-draining potting mix specifically formulated for seedlings. Avoid using garden soil, as it can be too heavy and may contain pests or diseases. You can also create your own mix using equal parts peat moss, perlite, and vermiculite.
How often should I water my heirloom tomato seedlings?
Water when the top inch of soil feels dry to the touch. Avoid overwatering, as this can lead to root rot. Ensure your containers have drainage holes to prevent water from accumulating.
When should I transplant my heirloom tomato seedlings outdoors?
Transplant your seedlings outdoors after the last frost, when the soil has warmed up to at least 60°F (15°C). Harden off the seedlings by gradually exposing them to outdoor conditions for a week before transplanting.
How do I harden off my heirloom tomato seedlings?
Hardening off is the process of gradually acclimating your seedlings to outdoor conditions. Start by placing them in a sheltered location outdoors for a few hours each day, gradually increasing the time and exposure to sunlight and wind.
What are some common pests and diseases that affect heirloom tomatoes?
Common pests include aphids, whiteflies, and tomato hornworms. Common diseases include early blight, late blight, and blossom end rot. Use organic pest control methods and choose disease-resistant varieties to minimize problems.
How do I prevent blossom end rot in my heirloom tomatoes?
Blossom end rot is caused by a calcium deficiency. Ensure your soil has adequate calcium and water your plants consistently to prevent fluctuations in moisture levels. You can also add calcium supplements to the soil.
How long does it take for heirloom tomatoes to mature?
The time to maturity varies depending on the variety, but most heirloom tomatoes take 70-90 days from transplanting to harvest.
Can I save seeds from my heirloom tomatoes?
Yes, you can save seeds from heirloom tomatoes, as they are open-pollinated. Choose ripe, healthy tomatoes and ferment the seeds to remove the gelatinous coating. Dry the seeds thoroughly and store them in a cool, dark place.
What are some tips for getting the best flavor from my homegrown heirloom tomatoes?
Allow the tomatoes to ripen fully on the vine for the best flavor. Avoid refrigerating them, as this can diminish their taste. Store them at room temperature and use them within a few days of harvesting.
How do I know when my heirloom tomatoes are ripe?
Ripe heirloom tomatoes will be fully colored, slightly soft to the touch, and have a fragrant aroma. The stem should also easily detach from the vine.
Can I grow heirloom tomatoes in containers?
Yes, you can grow heirloom tomatoes in containers, but choose larger containers (at least 5 gallons) and provide adequate support for the plants.
What kind of fertilizer should I use for my heirloom tomatoes?
Use a balanced fertilizer with equal parts nitrogen, phosphorus, and potassium. Avoid over-fertilizing, as this can lead to excessive foliage growth and reduced fruit production. Look for fertilizers specifically formulated for tomatoes.
Leave a Comment