

Grow Microgreens Kitchen Shelf: Imagine fresh, vibrant greens bursting with flavor and nutrients, ready to harvest right from your kitchen! Forget those wilted, overpriced greens from the grocery store. I’m going to show you how to cultivate your own miniature garden, transforming a simple kitchen shelf into a thriving source of microgreens.
The practice of growing sprouts and shoots has ancient roots, with evidence suggesting their consumption in various cultures for centuries. From the Far East to the Middle East, these tiny powerhouses have been valued for their concentrated nutritional benefits and ease of cultivation. Now, we’re bringing this tradition into the modern home with a DIY twist!
Why should you embark on this microgreen adventure? Well, in today’s fast-paced world, convenience and health are paramount. Grow Microgreens Kitchen Shelf offers the perfect solution. It’s a fantastic way to add a burst of freshness to your meals, even if you have limited space or gardening experience. Plus, it’s incredibly rewarding to nurture something from seed to table. This DIY project is not only budget-friendly but also allows you to control the quality and variety of greens you consume. So, let’s ditch the store-bought greens and create our own little edible oasis!
DIY Microgreens Kitchen Shelf: From Seed to Salad in Your Own Home
Okay, so you’re ready to dive into the wonderful world of microgreens? Awesome! I’m so excited for you. Growing your own microgreens is not only incredibly rewarding, but it’s also a fantastic way to add fresh, nutrient-packed greens to your diet year-round. And the best part? You don’t need a huge garden or a ton of space. This DIY kitchen shelf setup is perfect for even the smallest apartments. Let’s get started!
What You’ll Need: The Shopping List
Before we get our hands dirty, let’s gather all the necessary supplies. I’ve tried to keep this list as budget-friendly as possible, but remember, investing in quality materials will pay off in the long run.
* **Shelving Unit:** This is the foundation of our microgreens farm. I recommend a metal shelving unit, as it’s sturdy, easy to clean, and often comes with adjustable shelves. Look for one that’s at least 3-4 shelves high. The size will depend on how many microgreens you want to grow at once. I’m using a 36″ wide x 14″ deep x 54″ high unit.
* **Grow Lights:** These are essential for providing the light your microgreens need to thrive, especially if you don’t have a super sunny window. LED grow lights are energy-efficient and don’t produce excessive heat. I prefer full-spectrum LED grow lights. I’m using two 2ft LED grow lights per shelf.
* **Timer:** A timer will automate the process of turning your grow lights on and off, ensuring your microgreens get consistent light exposure. A simple plug-in timer will do the trick.
* **Growing Trays:** You’ll need two types of trays: one with drainage holes (the inner tray) and one without (the outer tray). The outer tray will act as a reservoir for bottom watering. I recommend 10″x20″ trays.
* **Growing Medium:** This is what your microgreens will grow in. Coco coir is a popular choice because it’s sustainable, holds moisture well, and is relatively inexpensive. You can also use seed starting mix or a soilless potting mix.
* **Spray Bottle:** For misting your microgreens.
* **Seeds:** Of course! Choose a variety of microgreen seeds to experiment with. Some popular options include broccoli, radish, sunflower, pea shoots, and kale. Make sure you buy seeds specifically for microgreens, as they are often untreated.
* **Water:** Filtered water is best.
* **Optional: Heat Mat:** If your home is particularly cold, a heat mat can help speed up germination.
* **Optional: Humidity Dome:** This can help maintain humidity levels, especially during the early stages of growth.
* **Optional: Small Fan:** To improve air circulation and prevent mold.
* **Optional: Labels:** To keep track of what you’re growing on each shelf.
Setting Up Your Microgreens Shelf: A Step-by-Step Guide
Now for the fun part! Let’s assemble our microgreens haven.
1. Assembling the Shelving Unit
* Follow the manufacturer’s instructions to assemble your shelving unit. Make sure it’s stable and level. I always double-check the screws to make sure everything is nice and tight.
2. Installing the Grow Lights
* This is where things get a little creative. You’ll need to attach the grow lights to the underside of each shelf. Most grow lights come with clips or hooks for easy mounting.
* I like to use zip ties to secure the lights, as they’re strong and easy to adjust. Make sure the lights are positioned evenly over the growing area.
* The distance between the lights and the trays is crucial. Start with the lights about 6-8 inches above the trays and adjust as needed. If your microgreens are getting leggy (tall and spindly), they need more light.
* Plug the grow lights into the timer. Set the timer to provide 14-16 hours of light per day. This is generally considered the sweet spot for microgreen growth.
3. Preparing the Growing Trays
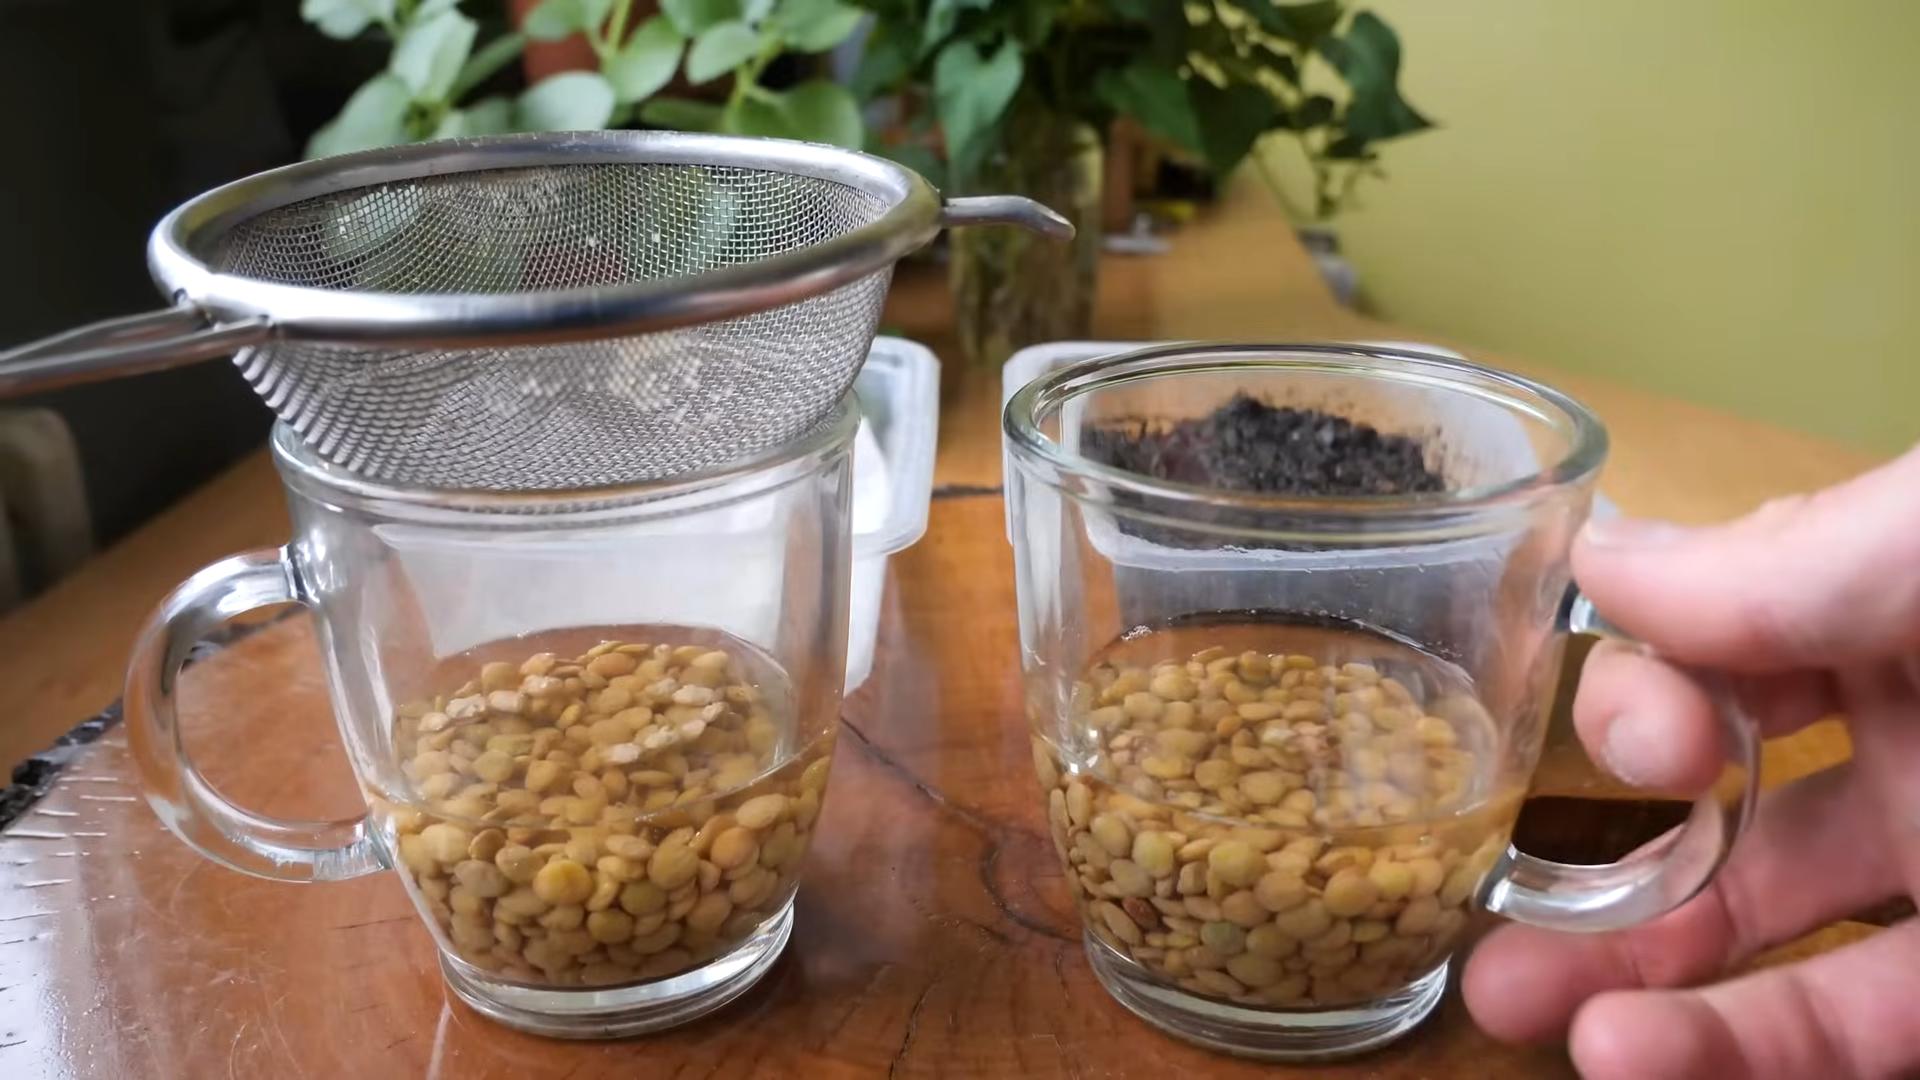
* Hydrate your growing medium. If you’re using coco coir, soak it in water until it’s fully saturated. Squeeze out any excess water. It should be damp but not dripping.
* Fill the inner trays (the ones with drainage holes) with the hydrated growing medium. Spread it evenly and gently press it down. You want a nice, flat surface for your seeds.
* Don’t pack the medium too tightly, as this can hinder root growth.
4. Sowing the Seeds
* This is where the magic happens! Sprinkle the seeds evenly over the surface of the growing medium. The density of the seeds will depend on the type of microgreen you’re growing.
* For smaller seeds like broccoli and radish, you can sow them quite densely. For larger seeds like sunflower and pea shoots, you’ll want to give them a little more space.
* I like to use a shaker bottle to distribute the seeds evenly.
* Once you’ve sown the seeds, gently mist them with water. You want to moisten the seeds without dislodging them.
5. Stacking and Blackout Period
* This step is crucial for even germination. Stack the trays on top of each other, with the tray without drainage holes on the bottom. This creates a dark, humid environment that encourages the seeds to sprout.
* Place a weight on top of the stack to ensure good seed-to-soil contact. A book or a brick wrapped in plastic works well.
* Keep the trays stacked in a dark place for 2-3 days, or until the seeds have germinated. Check them daily to make sure the growing medium is still moist. Mist with water as needed.
6. Introducing Light and Bottom Watering
* Once the seeds have germinated, it’s time to introduce them to light. Remove the weight and the top tray.
* Place the inner tray (with the microgreens) inside the outer tray (without drainage holes).
* Add water to the outer tray. The growing medium will absorb the water from the bottom, providing the microgreens with the moisture they need. This is called bottom watering.
* Place the trays under the grow lights.
7. Monitoring and Watering
* Check your microgreens daily. Make sure the growing medium is moist but not soggy. Add water to the outer tray as needed.
* If you notice any mold, increase air circulation by using a small fan. You can also spray the affected area with a diluted hydrogen peroxide solution.
* Rotate the trays regularly to ensure even light exposure.
8. Harvesting Your Microgreens
* Your microgreens will be ready to harvest in 7-14 days, depending on the variety. They’re ready when they have their first set of true leaves.
* To harvest, simply snip the microgreens just above the growing medium with scissors.
* Rinse the microgreens thoroughly and enjoy! They’re delicious in salads, sandwiches, smoothies, and more.
Troubleshooting Tips: Common Issues and Solutions
Even with the best setup, you might encounter a few challenges along the way. Here are some common issues and how to fix them:
* **Leggy Microgreens:** This means your microgreens aren’t getting enough light. Lower the grow lights or increase the light intensity.
* **Mold:** This is usually caused by poor air circulation or excessive moisture. Increase air circulation with a fan and avoid overwatering.
* **Uneven Germination:** This could be due to uneven seed distribution or inconsistent moisture levels. Make sure you’re sowing the seeds evenly and misting them regularly.
* **Slow Growth:** This could be due to low temperatures or insufficient nutrients. Use a heat mat to warm up the growing area and consider adding a diluted nutrient solution to the water.
Choosing the Right Seeds: A Microgreen Medley
The beauty of microgreens is the sheer variety you can grow. Experiment with different seeds to find your favorites! Here are a few of my go-to choices:
* **Broccoli:** A classic choice, broccoli microgreens have a mild, slightly peppery flavor. They’re packed with antioxidants and vitamins.
* **Radish:** Radish microgreens have a spicy, zesty flavor that adds a kick to any dish. They’re also a good source of vitamin C.
* **Sunflower:** Sunflower microgreens have a nutty, slightly sweet flavor. They’re a good source of protein and healthy fats.
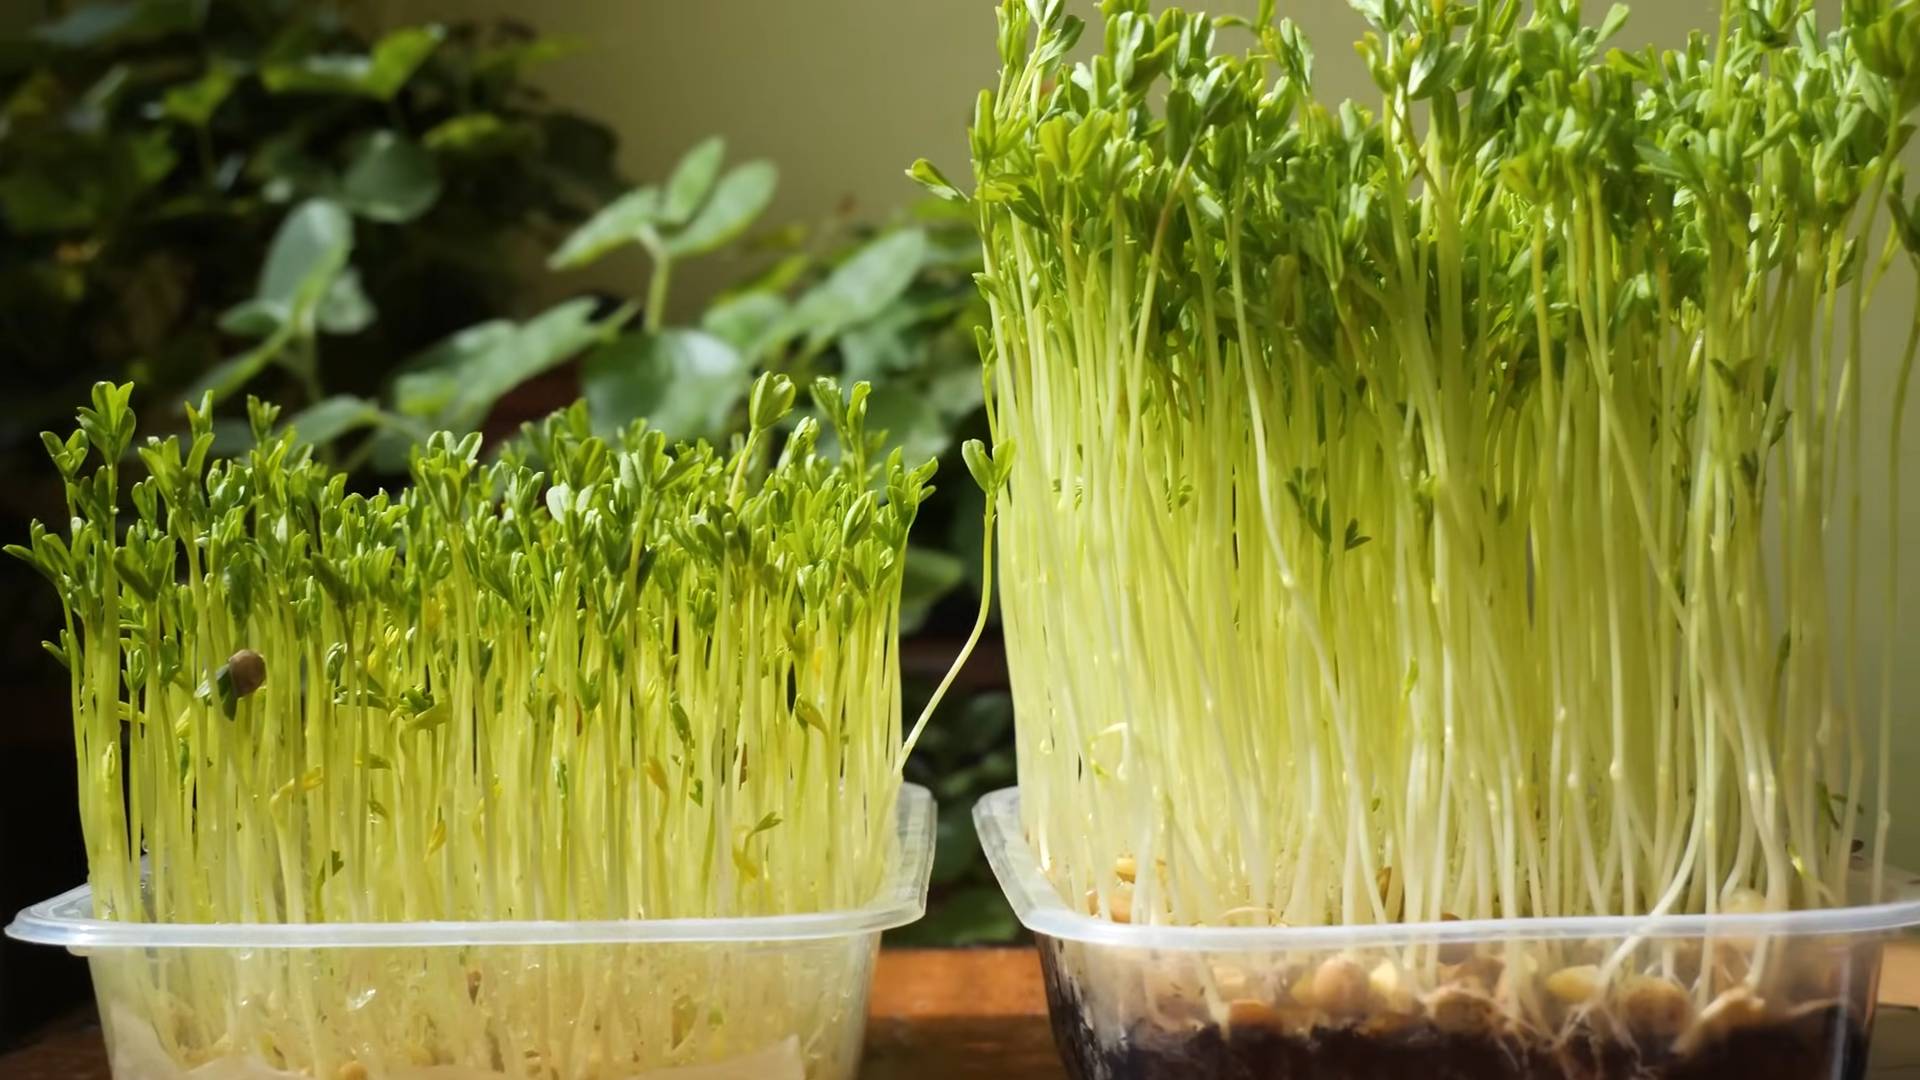
* **Pea Shoots:** Pea shoots have a sweet, delicate flavor that’s reminiscent of peas. They’re a good source of vitamin K and folate.
* **Kale:** Kale microgreens have a slightly bitter, earthy flavor. They’re packed with vitamins and minerals.
* **Arugula:** Arugula microgreens have a peppery, slightly bitter flavor. They’re a good source of vitamins A and K.
*
Conclusion
So, there you have it! Transforming a simple kitchen shelf into a thriving microgreen garden is not only achievable but also incredibly rewarding. We’ve walked you through the process, highlighting the ease, affordability, and sheer joy of cultivating your own nutrient-packed greens right in your kitchen.
Why is this DIY microgreen setup a must-try? Because it empowers you to take control of your food source, ensuring a constant supply of fresh, organic microgreens regardless of the season or your access to outdoor space. Imagine adding a vibrant burst of flavor and nutrition to your meals every single day, knowing exactly where your food came from and how it was grown. That’s the power of this simple project.
Beyond the basic setup, the possibilities for customization are endless. Experiment with different types of microgreens – from the peppery bite of radish to the delicate sweetness of sunflower shoots. Consider adding a timer to your grow lights for automated operation, or incorporating a small fan to improve air circulation and prevent mold growth. You could even explore vertical stacking systems to maximize your growing space. Think about using different types of growing medium, like coco coir or hemp mats, to see which works best for your chosen microgreens. The beauty of this DIY approach is that you can tailor it to your specific needs and preferences.
Don’t be intimidated by the thought of “gardening.” This isn’t about acres of land and complex techniques. It’s about creating a small, manageable ecosystem that provides you with a continuous harvest of delicious and nutritious microgreens. It’s about connecting with nature in a meaningful way, even within the confines of your kitchen.
We wholeheartedly encourage you to give this DIY microgreen kitchen shelf project a try. The initial investment is minimal, the learning curve is gentle, and the rewards are immense. You’ll be amazed at how quickly you can transform a simple shelf into a vibrant source of fresh, healthy food.
Once you’ve embarked on your microgreen growing journey, we’d love to hear about your experiences! Share your photos, tips, and challenges in the comments below. Let’s build a community of microgreen enthusiasts, sharing our knowledge and inspiring each other to grow more sustainably and healthily. Let us know what kind of microgreens you are growing and what kind of shelf you are using. We are excited to see your DIY microgreen success stories!
Frequently Asked Questions (FAQs)
What exactly are microgreens, and why should I grow them?
Microgreens are young vegetable greens, typically harvested 7-14 days after germination, when the first true leaves have emerged. They are packed with nutrients, often containing higher concentrations of vitamins and minerals than their mature counterparts. Growing them yourself ensures freshness, avoids pesticides, and provides a readily available source of healthy food. Plus, they add a burst of flavor and color to any dish!
What kind of kitchen shelf is best for growing microgreens?
Ideally, you want a shelf that is sturdy, well-ventilated, and can accommodate grow lights. Wire shelving is a popular choice because it allows for good airflow. Consider the height between shelves – you’ll need enough space for the microgreens to grow without touching the lights. The material of the shelf should also be water-resistant or treated to prevent damage from moisture. A shelf with adjustable height is a great option to accommodate different growth stages.
What kind of grow lights do I need for microgreens?
LED grow lights are highly recommended for microgreens. They are energy-efficient, produce minimal heat, and provide the full spectrum of light needed for optimal growth. Look for lights with a color temperature of around 6500K (cool white or daylight). The wattage will depend on the size of your shelf, but generally, 20-40 watts per shelf is sufficient. Make sure the lights are positioned close enough to the microgreens (a few inches) without burning them.
What kind of growing medium should I use?
Several options work well for microgreens, including:
* **Seed starting mix:** A fine-textured, sterile mix that provides good drainage.
* **Coco coir:** A sustainable alternative to peat moss, made from coconut husks. It retains moisture well and provides good aeration.
* **Hemp mats:** Biodegradable mats made from hemp fibers. They are easy to use and provide a clean growing surface.
* **Soil:** While possible, using soil can increase the risk of mold and disease. If you choose soil, make sure it’s a sterile potting mix.
How often should I water my microgreens?
Microgreens need consistent moisture to thrive. Water them gently once or twice a day, depending on the humidity and temperature. The growing medium should be moist but not soggy. Use a spray bottle or a watering can with a fine rose to avoid disturbing the seeds or seedlings. Bottom watering is also an option, where you place the tray in a shallow dish of water and allow the medium to absorb it.
How do I prevent mold growth on my microgreens?
Mold can be a common problem with microgreens, but it can be prevented with proper care:
* **Good airflow:** Ensure adequate ventilation around your microgreens. A small fan can help.
* **Proper watering:** Avoid overwatering, which creates a humid environment conducive to mold growth.
* **Cleanliness:** Use sterile growing medium and clean trays.
* **Hydrogen peroxide:** A diluted solution of hydrogen peroxide (3%) can be sprayed on the microgreens to kill mold spores. Use a ratio of 1 part hydrogen peroxide to 10 parts water.
* **Harvest promptly:** Harvest your microgreens as soon as they are ready to prevent them from becoming overcrowded and susceptible to mold.
What are some easy microgreens to start with?
Beginner-friendly microgreens include:
* **Radish:** Fast-growing and peppery.
* **Broccoli:** Mild flavor and high in nutrients.
* **Sunflower:** Nutty and crunchy.
* **Pea shoots:** Sweet and tender.
* **Mustard:** Spicy and flavorful.
How do I harvest my microgreens?
Harvest your microgreens when they have developed their first true leaves (the second set of leaves after the cotyledons). Use sharp scissors or a knife to cut the stems just above the growing medium. Rinse the microgreens gently and use them immediately or store them in the refrigerator for a few days.
How long does it take to grow microgreens?
The growing time varies depending on the type of microgreen, but most varieties are ready to harvest in 7-14 days. Radish microgreens are among the fastest, while others like parsley may take a bit longer.
Can I reuse the growing medium?
It’s generally not recommended to reuse the growing medium for microgreens, as it can harbor pathogens and increase the risk of mold and disease. It’s best to start with fresh medium for each batch. You can compost the used medium.


Leave a Comment