

Growing Potatoes in Bags: Imagine harvesting a bounty of fresh, homegrown potatoes right from your patio or balcony! No sprawling garden needed. This isn’t just a dream; it’s an achievable reality with a simple and rewarding DIY project. For centuries, potatoes have been a staple food in cultures worldwide, from the Andes Mountains where they originated to the bustling kitchens of today. Their versatility and nutritional value have made them a beloved ingredient across the globe.
But what if you lack the space for a traditional potato patch? That’s where the magic of growing potatoes in bags comes in! This ingenious method allows anyone, regardless of their living situation, to enjoy the satisfaction of cultivating their own spuds. I’m going to show you how easy it is to get started. This DIY trick is perfect for urban dwellers, apartment residents, or anyone looking for a space-saving gardening solution. Plus, it’s a fantastic way to involve kids in the gardening process and teach them about where their food comes from.
Why should you try growing potatoes in bags? Because it’s fun, efficient, and yields delicious results! Forget back-breaking digging and weeding; this method is all about convenience and maximizing your harvest in a minimal space. Let’s dive in and unlock the secrets to a successful potato harvest, one bag at a time!
Growing Potatoes in Bags: A Bumper Crop on Your Patio!
Hey there, fellow gardeners! I’m so excited to share one of my favorite gardening hacks with you: growing potatoes in bags! It’s a fantastic way to get a huge harvest, even if you don’t have a lot of space. Plus, it’s super easy and fun, especially for beginners. Forget digging around in the dirt – this method is clean, efficient, and yields amazing results. Let’s get started!
What You’ll Need
Before we dive in, let’s gather our supplies. Here’s a list of everything you’ll need to grow potatoes in bags:
* Large, sturdy bags: Think burlap sacks, heavy-duty garbage bags (the black ones work great!), or even those reusable shopping bags. The bigger, the better – aim for at least 15-20 gallons. You can even use grow bags specifically designed for potatoes, which often have access flaps for easy harvesting.
* Seed potatoes: These aren’t just any potatoes! Seed potatoes are specially grown to be disease-free and ready to sprout. You can find them at your local garden center or online. Choose a variety you love to eat!
* Potting mix: A good quality potting mix is essential. It needs to be well-draining and nutrient-rich. Avoid using garden soil directly, as it can compact and hinder drainage.
* Compost: Compost is like gold for your potatoes! It adds nutrients and improves soil structure. You can use homemade compost or buy it from a store.
* Water: Consistent watering is key to a successful potato crop.
* Sunlight: Potatoes need at least 6-8 hours of sunlight per day. Choose a sunny spot on your patio, balcony, or in your garden.
* Fertilizer (optional): A balanced, slow-release fertilizer can give your potatoes an extra boost. Look for one specifically formulated for vegetables.
* Scissors or a knife: For cutting the seed potatoes (if needed).
Preparing Your Seed Potatoes
This step is crucial for getting your potatoes off to a good start. Here’s how to prepare your seed potatoes:
* Chitting (optional but recommended): Chitting is the process of encouraging your seed potatoes to sprout before planting. This gives them a head start and can result in an earlier harvest. To chit your potatoes, place them in a cool, bright location (but not direct sunlight) for a few weeks. You’ll see small, green sprouts (called “eyes”) emerge from the potatoes.
* Cutting (if necessary): If your seed potatoes are large (bigger than an egg), you can cut them into smaller pieces. Make sure each piece has at least 2-3 “eyes.” Let the cut pieces dry for a day or two to allow the cut surfaces to callous over. This helps prevent rot. I usually cut mine into pieces about the size of a golf ball.
* Choosing the right seed potatoes: Make sure your seed potatoes are firm and healthy. Avoid any that are soft, mushy, or have signs of disease.
Planting Your Potatoes
Now for the fun part – planting! Here’s how to plant your potatoes in bags:
1. Prepare the bag: If you’re using a garbage bag, poke some drainage holes in the bottom. This is super important to prevent waterlogging.
2. Add the first layer of soil: Fill the bag with about 4-6 inches of potting mix. Mix in some compost for extra nutrients.
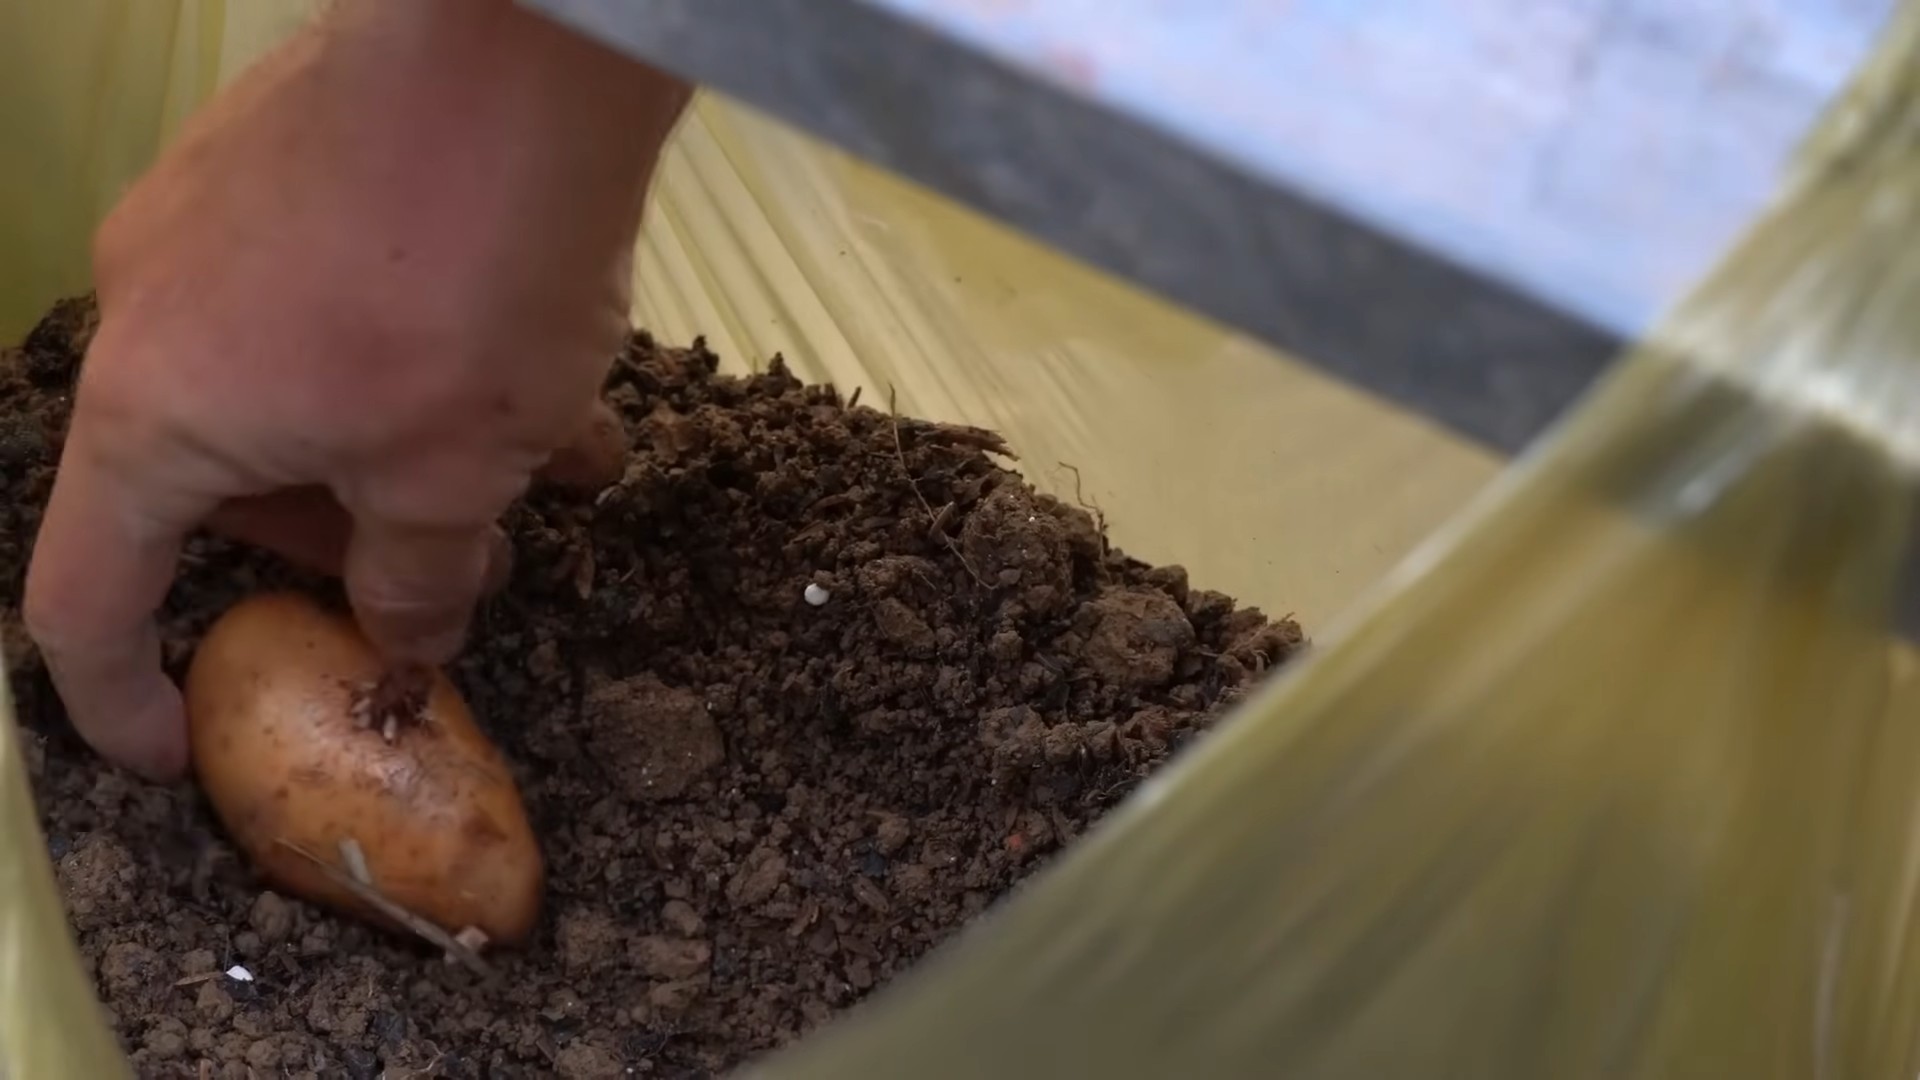
3. Place the seed potatoes: Place the seed potato pieces (or whole seed potatoes if they’re small) on top of the soil, with the “eyes” facing upwards. Space them about 8-12 inches apart. If you’re using a very large bag, you can plant more than one seed potato.
4. Cover with soil: Cover the seed potatoes with another 4-6 inches of potting mix and compost.
5. Water thoroughly: Water the bag well until the soil is moist but not soggy.
Hilling Your Potatoes
This is where the magic happens! Hilling is the process of adding more soil to the bag as the potato plants grow. This encourages the plants to produce more potatoes along the stems.
1. Wait for sprouts: After a week or two, you’ll start to see green shoots emerging from the soil.
2. Add more soil: When the shoots are about 6-8 inches tall, add another layer of potting mix and compost to the bag, covering the stems up to about halfway. Leave the top leaves exposed.
3. Repeat the process: Continue adding soil every few weeks as the plants grow, until the bag is almost full. This process is called “hilling.” The more you hill, the more potatoes you’ll get!
4. Water regularly: Keep the soil consistently moist, but not waterlogged. Check the soil moisture by sticking your finger into the soil. If it feels dry, it’s time to water.
Caring for Your Potato Plants
Here are a few tips for keeping your potato plants healthy and happy:
* Sunlight: Make sure your potato plants are getting at least 6-8 hours of sunlight per day.
* Watering: Water regularly, especially during hot, dry weather.
* Fertilizing (optional): If you want to give your potatoes an extra boost, you can fertilize them every few weeks with a balanced, slow-release fertilizer. Follow the instructions on the fertilizer package.
* Pest control: Keep an eye out for pests like aphids, potato beetles, and flea beetles. If you see any pests, you can try spraying them with insecticidal soap or neem oil.
* Disease prevention: To prevent diseases, make sure your potato plants have good air circulation and avoid overwatering.
Harvesting Your Potatoes
The moment you’ve been waiting for! Here’s how to harvest your potatoes:
1. When to harvest: You can start harvesting “new potatoes” (small, tender potatoes) about 2-3 weeks after the plants flower. For larger, mature potatoes, wait until the foliage starts to turn yellow and die back. This usually takes about 80-100 days from planting.
2. Harvesting new potatoes: To harvest new potatoes, carefully reach into the bag and pull out a few potatoes. Be careful not to damage the remaining plants.
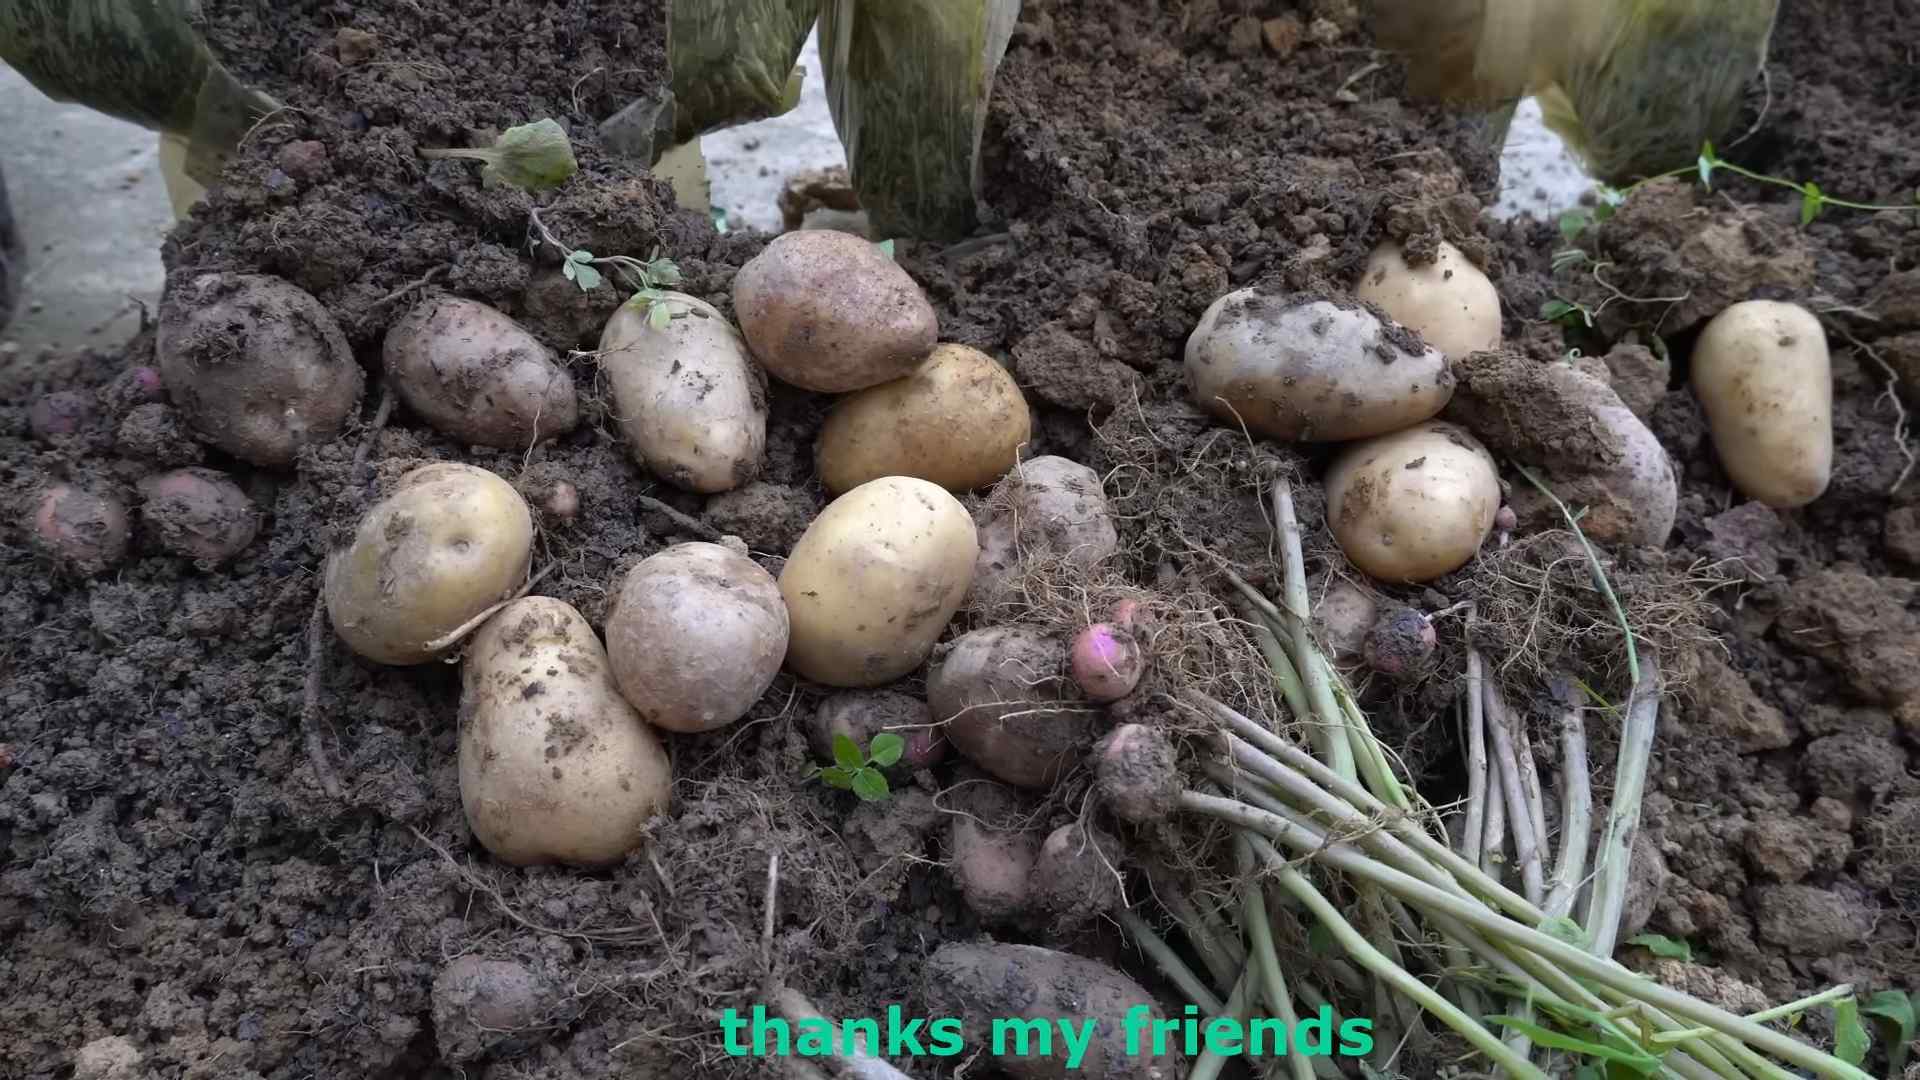
3. Harvesting mature potatoes: To harvest mature potatoes, simply tip the bag over and dump out the contents. You’ll be amazed at how many potatoes you’ve grown!
4. Storing your potatoes: Store your potatoes in a cool, dark, and dry place. They should last for several months.
Troubleshooting
Sometimes things don’t go exactly as planned. Here are a few common problems you might encounter and how to fix them:
* Potato plants not growing: Make sure your potato plants are getting enough sunlight and water. Also, check the soil pH. Potatoes prefer a slightly acidic soil (pH 6.0-6.5).
* Yellowing leaves: Yellowing leaves can be a sign of overwatering, nutrient deficiency, or disease. Check the soil moisture and fertilize if necessary.
* Pests: As mentioned earlier, keep an eye out for pests and treat them accordingly.
* Rotting potatoes: Rotting potatoes can be caused by overwatering or poor drainage. Make sure your bag has drainage holes and avoid overwatering.
Different Potato Varieties to Try
The fun part is choosing which potatoes to grow! Here are a few of my favorites:
* Yukon Gold: These are all-purpose potatoes with a creamy texture and buttery flavor.
* Red Pontiac: These are great for boiling, roasting, or making potato salad.
* Russet Burbank: These are the classic baking potatoes.
* Fingerling Potatoes: These are small, elongated potatoes with a unique flavor and texture. They are great roasted or in salads.
Tips for Maximizing Your Harvest
Want to get the most out of your potato bags? Here are a few extra tips:
* Use high-quality potting mix: Don’t skimp on the potting mix! A good quality potting mix will provide the nutrients and drainage your potatoes need to thrive.
* Add compost: Compost is like a superfood for your potatoes. It adds nutrients, improves soil structure, and helps retain moisture.
* Water consistently: Consistent watering is key to a successful potato crop. Don’t let the soil dry out completely.
* Fertilize regularly: If you want to give your potatoes an extra boost, fertilize them every few weeks with a balanced, slow-release fertilizer.
* Rotate your crops: Don’t plant potatoes in the same bag year after year. Rotate your crops to prevent soilborne diseases.
* Consider companion planting: Plant companion plants like mar
Conclusion
So, there you have it! Growing potatoes in bags is not just a gardening trend; it’s a game-changer for anyone, regardless of space or experience. We’ve walked you through the simple steps, highlighted the benefits, and hopefully, inspired you to give it a try. But why is this DIY potato-growing trick a must-try?
Firstly, it’s incredibly accessible. Forget about tilling vast fields or worrying about soil quality across a large plot. All you need are some bags, seed potatoes, soil, and a sunny spot. This makes it perfect for apartment dwellers, balcony gardeners, or anyone with limited yard space. Imagine harvesting fresh, homegrown potatoes right outside your kitchen door!
Secondly, it’s efficient. The bag method allows for better control over the growing environment. You can easily monitor moisture levels, add fertilizer as needed, and protect your precious potatoes from pests and diseases. Plus, the “rolling down the sides” technique maximizes potato production, allowing you to harvest more potatoes from a smaller space.
Thirdly, it’s rewarding. There’s something incredibly satisfying about nurturing a plant from seed to harvest, especially when that harvest is a pile of delicious, homegrown potatoes. The taste of freshly dug potatoes, still warm from the earth, is simply unmatched.
But the fun doesn’t stop there! Feel free to experiment with different potato varieties. Russets, Yukon Golds, red potatoes – the choice is yours! You can also try adding companion plants like marigolds or basil to your bags to deter pests and attract beneficial insects. Consider using different types of containers too. While grow bags are ideal, large plastic storage bins with drainage holes can also work well.
And don’t forget about the soil! While a standard potting mix will work, you can create your own custom blend by adding compost, peat moss, or even some well-rotted manure. This will provide your potatoes with the nutrients they need to thrive.
We encourage you to embrace this simple yet effective method of growing potatoes. It’s a fantastic way to connect with nature, enjoy fresh produce, and learn a new skill. Once you’ve harvested your first batch of homegrown potatoes, you’ll be hooked!
So, grab some bags, get your seed potatoes ready, and prepare to be amazed. And most importantly, don’t forget to share your experience with us! We’d love to hear about your successes, your challenges, and any tips or tricks you discover along the way. Share your photos and stories on social media using #BagPotatoes and let’s create a community of happy potato growers! This method of growing potatoes in bags is a rewarding and efficient way to enjoy fresh produce, regardless of your gardening experience or space limitations. Happy growing!
Frequently Asked Questions (FAQ)
What kind of bags are best for growing potatoes?
Grow bags specifically designed for plants are ideal because they are made of breathable fabric that allows for good drainage and aeration. This helps prevent root rot and promotes healthy growth. However, you can also use large, sturdy plastic bags or even repurposed burlap sacks. Just make sure to poke plenty of drainage holes in the bottom to prevent waterlogging. Avoid using black plastic bags, as they can overheat in direct sunlight. The size of the bag is also important; aim for a bag that is at least 2 feet in diameter and 2 feet deep to give the potatoes enough room to grow.
How many seed potatoes can I plant in one bag?
Generally, you should plant 2-3 seed potatoes per bag, depending on the size of the bag and the variety of potato. If you’re using a smaller bag (around 10 gallons), stick to 2 seed potatoes. For larger bags (20 gallons or more), you can plant 3. Make sure to space the seed potatoes evenly within the bag to allow for optimal growth. Overcrowding can lead to smaller potatoes and reduced yields.
How often should I water my potatoes in bags?
Watering frequency depends on the weather and the type of soil you’re using. In general, you should water your potatoes whenever the top inch of soil feels dry to the touch. During hot, dry weather, you may need to water them daily. Be careful not to overwater, as this can lead to root rot. The breathable fabric of grow bags helps prevent overwatering by allowing excess moisture to escape. A good rule of thumb is to water deeply and less frequently, rather than shallowly and more often.
What kind of fertilizer should I use for potatoes in bags?
Potatoes are heavy feeders, so they need plenty of nutrients to thrive. A balanced fertilizer with an NPK ratio of 10-10-10 or 14-14-14 is a good choice. You can also use a fertilizer specifically formulated for potatoes or vegetables. Apply the fertilizer according to the package instructions, usually every 2-3 weeks. You can also supplement with organic fertilizers like compost tea or fish emulsion. Avoid using fertilizers that are too high in nitrogen, as this can promote leafy growth at the expense of tuber development.
How do I know when my potatoes are ready to harvest?
The timing of harvest depends on the variety of potato and your personal preference. “New potatoes” can be harvested as early as 7-8 weeks after planting, when the plants are still flowering. These potatoes are small and tender, with thin skins. For mature potatoes, wait until the plants have flowered and the foliage starts to turn yellow and die back. This usually takes around 10-12 weeks. To harvest, simply tip the bag over and gently sift through the soil to find your potatoes.
Can I reuse the soil from my potato bags?
Yes, you can reuse the soil from your potato bags, but it’s important to amend it with fresh compost or other organic matter to replenish the nutrients that the potatoes have used. You should also check the soil for any signs of disease or pests. If you find any problems, it’s best to discard the soil and start with fresh soil. Consider rotating your crops each year to prevent the buildup of soilborne diseases.
What if my potato plants are attacked by pests or diseases?
Potatoes can be susceptible to various pests and diseases, such as aphids, potato beetles, and blight. Regularly inspect your plants for any signs of problems. If you find pests, you can try hand-picking them off or using insecticidal soap. For diseases, remove any affected foliage and treat the plants with a fungicide. Good cultural practices, such as proper watering and fertilization, can also help prevent pest and disease problems.
Can I grow potatoes in bags indoors?
While it’s possible to grow potatoes in bags indoors, it’s more challenging than growing them outdoors. Potatoes need plenty of sunlight, so you’ll need to provide them with supplemental lighting if you’re growing them indoors. You’ll also need to ensure good ventilation and humidity control. It’s generally easier and more rewarding to grow potatoes in bags outdoors, where they can get the natural sunlight and air circulation they need.
What are some good potato varieties to grow in bags?
Many potato varieties are well-suited for growing in bags. Some popular choices include Yukon Gold, Red Norland, Kennebec, and fingerling potatoes. Choose a variety that is known for its disease resistance and good yields. Consider your local climate and growing conditions when selecting a variety. Experiment with different varieties to find the ones that you enjoy the most.
How do I store my harvested potatoes?
Store your harvested potatoes in a cool, dark, and well-ventilated place. A root cellar is ideal, but a basement or garage can also work. Avoid storing potatoes in the refrigerator, as this can cause them to develop a sweet taste. Spread the potatoes out in a single layer to prevent them from rotting. Check them regularly and remove any that are showing signs of spoilage. Properly stored potatoes can last for several months.

Leave a Comment