

Yardlong Bean Gardening Guide: Unleash the Secrets to Bountiful Harvests!
Have you ever dreamed of strolling through your garden, casually plucking beans that are, well, ridiculously long? I’m talking about yardlong beans – those fascinating, slender legumes that can grow up to a meter in length! These aren’t your average green beans; they’re a conversation starter, a culinary delight, and surprisingly easy to grow with the right know-how.
The yardlong bean, also known as asparagus bean or Chinese long bean, boasts a rich history, particularly in Southeast Asia, where it has been cultivated for centuries. It’s a staple ingredient in many Asian cuisines, adding a unique texture and subtly sweet flavor to stir-fries, curries, and salads. But beyond its culinary appeal, growing yardlong beans connects us to a tradition of sustainable gardening and fresh, homegrown produce.
Why should you embark on this yardlong bean gardening adventure? Because who doesn’t want to impress their friends and family with a garden overflowing with these extraordinary vegetables? More importantly, growing your own food is incredibly rewarding. You control the quality, avoid harmful pesticides, and enjoy the unmatched taste of freshly picked produce. Plus, with the rising cost of groceries, a thriving yardlong bean patch can significantly reduce your grocery bill. This yardlong bean gardening guide will equip you with all the essential tips and tricks to cultivate a flourishing crop, even if you’re a complete beginner. So, grab your gardening gloves, and let’s get started!
DIY Vertical Yardlong Bean Trellis: From Seed to Spectacular Harvest!
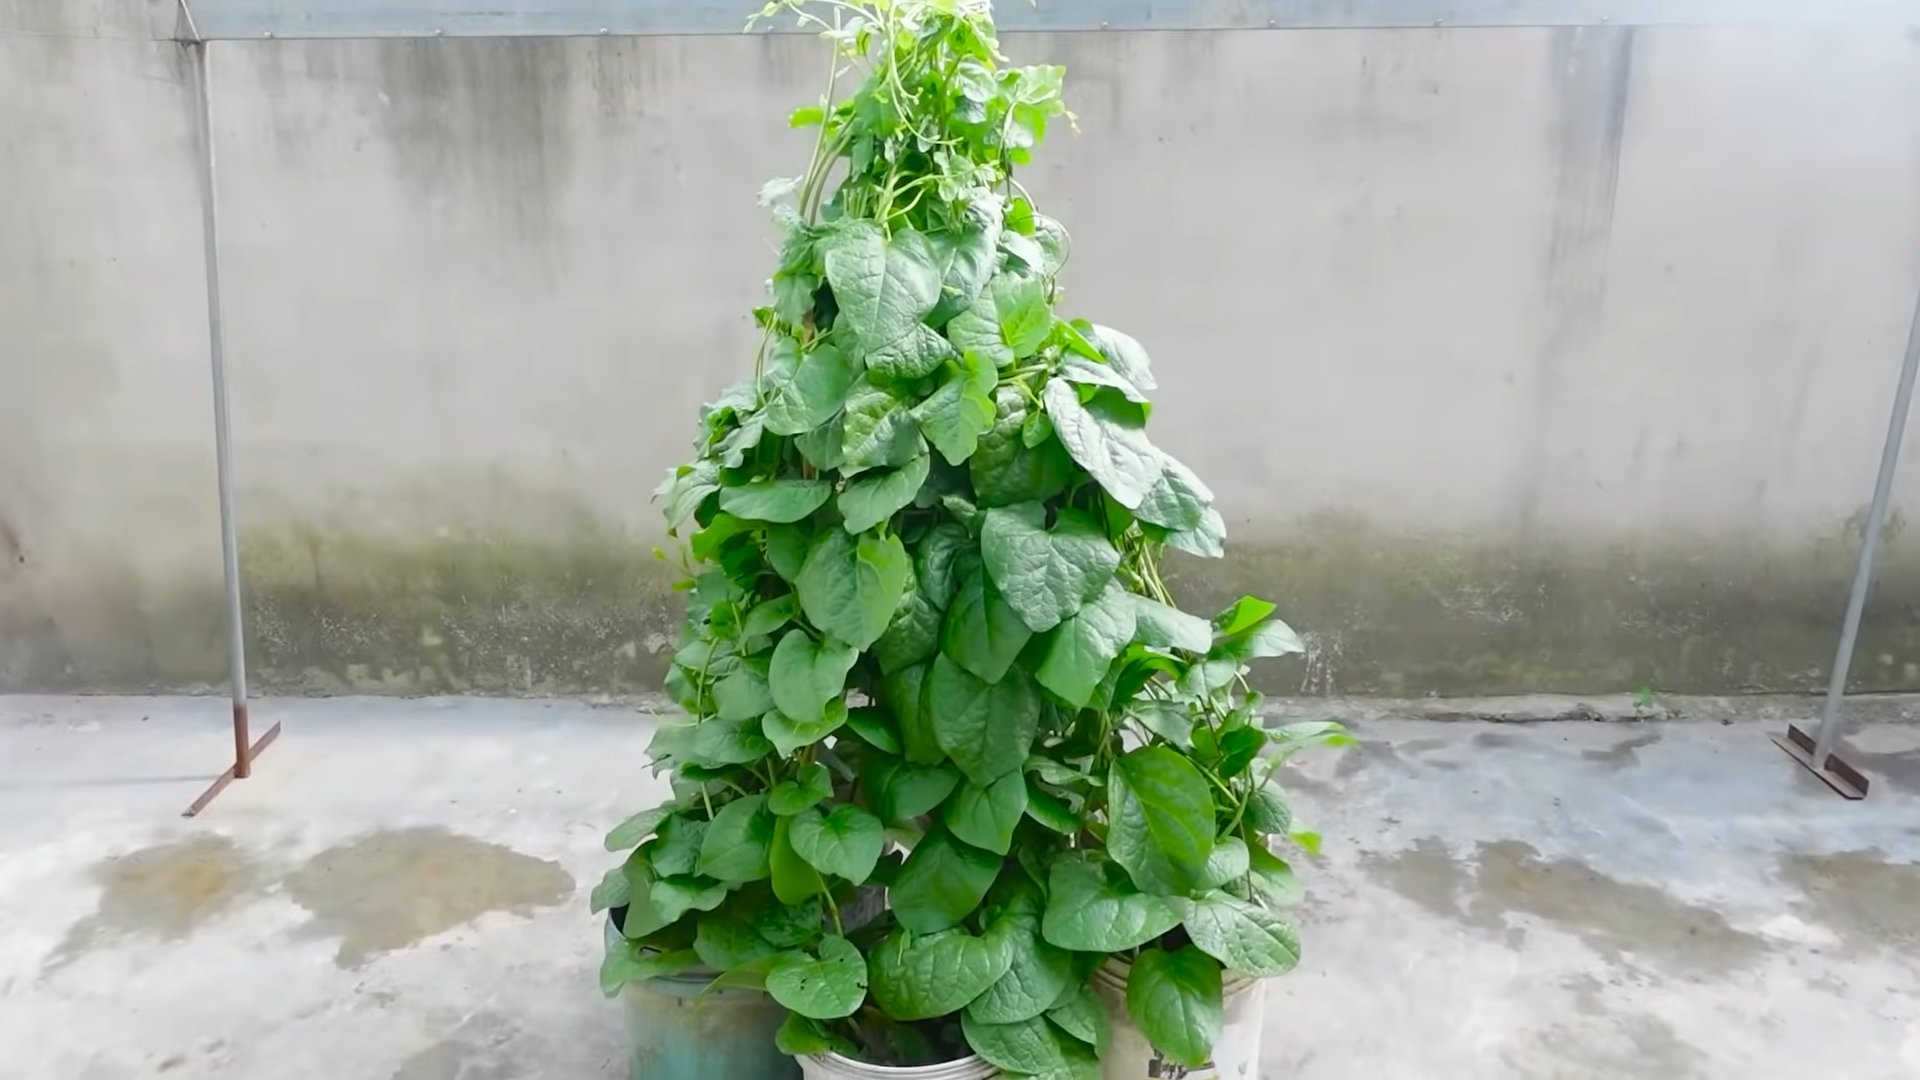
Hey there, fellow gardening enthusiasts! I’m so excited to share my tried-and-true method for growing yardlong beans – those ridiculously long, delicious beans that always impress! The secret? A sturdy, DIY vertical trellis. Trust me, this isn’t just about aesthetics; it’s about maximizing space, improving air circulation, and making harvesting a breeze. Let’s get started!
Why Vertical Gardening for Yardlong Beans?
Before we dive into the construction, let’s quickly touch on why vertical gardening is a game-changer for yardlong beans. These beans are vigorous climbers, and if left to sprawl on the ground, they’ll quickly become a tangled mess, susceptible to pests and diseases. Plus, harvesting becomes a back-breaking chore! A trellis provides support, allows for better airflow (reducing fungal issues), and makes those long beans much easier to spot and pick.
Materials You’ll Need
Okay, gather your supplies! This list might seem long, but most of these items are readily available at your local hardware store.
* Wooden Posts: Four 4×4 inch treated lumber posts, at least 8 feet long. (The length depends on how tall you want your trellis. I recommend 8 feet, burying 2 feet in the ground, leaving 6 feet above ground.)
* Horizontal Supports: Eight 2×4 inch treated lumber boards, cut to the desired width of your trellis. (I usually go for 4 feet wide, giving me ample space for the beans to climb.)
* Wire Mesh or Netting: Heavy-duty wire mesh with 2-inch openings or strong garden netting. (Choose a material that can withstand the weight of the mature bean vines.) You’ll need enough to cover the entire trellis frame.
* Fasteners:
* 3-inch exterior wood screws
* 1 1/2-inch exterior wood screws
* Heavy-duty staples (if using netting)
* Tools:
* Measuring tape
* Pencil
* Circular saw or hand saw
* Drill with various drill bits
* Level
* Post hole digger or shovel
* Staple gun (if using netting)
* Gloves
* Safety glasses
* Optional:
* Wood stain or sealant (to protect the wood)
* Concrete mix (for setting the posts)
Building the Trellis Frame
This is the foundation of our vertical garden. Take your time and ensure everything is square and level.
1. Mark Post Locations: Decide where you want your trellis to be located. Mark the four corners where the posts will go. I like to use stakes and string to visualize the final size. Remember to consider sunlight exposure and proximity to other plants.
2. Dig Post Holes: Using a post hole digger or shovel, dig holes at each marked location. The holes should be at least 2 feet deep and wide enough to accommodate the posts and some concrete (if you choose to use it).
3. Set the Posts: Place the posts into the holes. Use a level to ensure they are perfectly vertical. If you’re using concrete, mix it according to the instructions and pour it around the base of each post. This will provide extra stability. If not using concrete, backfill the holes with soil, tamping it down firmly around the posts.
4. Attach Horizontal Supports: Once the posts are securely in place (and the concrete has cured, if used), it’s time to attach the horizontal supports. These will create the frame for the wire mesh or netting.
* Measure and mark the desired locations for the horizontal supports on the posts. I usually place one support near the top, one near the bottom, and two evenly spaced in between.
* Using the 3-inch wood screws, attach the 2×4 inch boards to the posts, creating a rectangular frame. Make sure the supports are level and flush with the posts.
5. Reinforce the Frame (Optional): For added stability, you can add diagonal braces between the posts and horizontal supports. This is especially helpful if you live in a windy area. Cut the 2×4 inch lumber at a 45-degree angle and attach them using the 3-inch wood screws.
Adding the Wire Mesh or Netting
This is what the beans will actually climb on! Choose your material based on your preference and budget.
1. Measure and Cut: Measure the inside dimensions of the trellis frame. Cut the wire mesh or netting to fit, leaving a few extra inches on each side for attaching.
2. Attach the Mesh/Netting:
* For Wire Mesh: Use heavy-duty staples or U-nails to attach the wire mesh to the wooden frame. Start at one corner and work your way around, pulling the mesh taut as you go. Make sure the staples or nails are securely embedded in the wood.
* For Netting: Use a staple gun to attach the netting to the wooden frame. Again, start at one corner and work your way around, pulling the netting taut. Be careful not to tear the netting.
3. Trim Excess: Once the mesh or netting is securely attached, trim any excess material with wire cutters or scissors.
Preparing the Soil and Planting
Now for the fun part – planting those yardlong beans!
1. Soil Preparation: Yardlong beans prefer well-drained, fertile soil. Amend the soil around the base of the trellis with compost or well-rotted manure. This will provide essential nutrients for healthy growth.
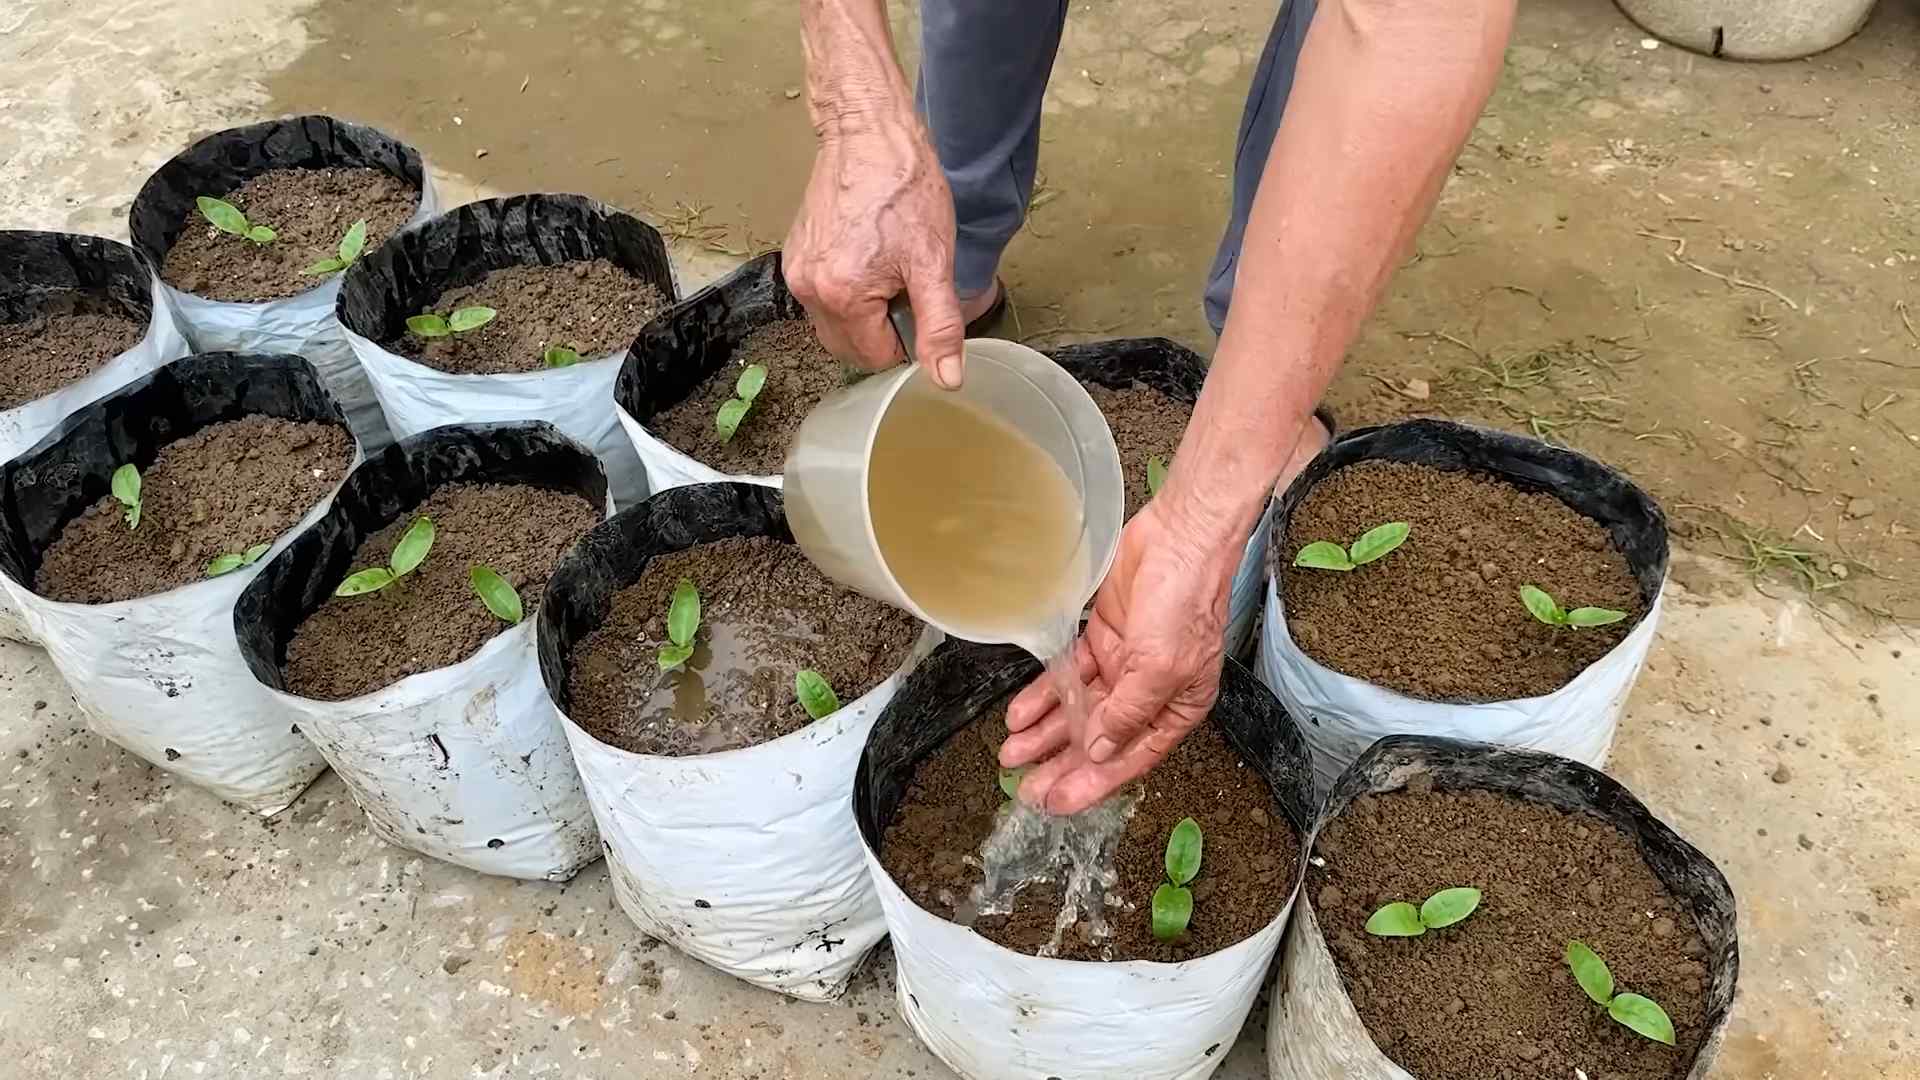
2. Planting:
* Sow the seeds directly into the soil about 1 inch deep and 2-3 inches apart.
* Water thoroughly after planting.
* Yardlong beans are warm-weather crops, so wait until the soil has warmed up to at least 65°F (18°C) before planting.
* You can also start the seeds indoors 2-3 weeks before the last expected frost and transplant them once the weather warms up.
3. Watering and Fertilizing:
* Keep the soil consistently moist, especially during hot weather.
* Fertilize every 2-3 weeks with a balanced fertilizer.
4. Training the Vines: As the bean vines grow, gently guide them onto the trellis. They will eventually start to climb on their own, but a little encouragement in the beginning helps.
Maintenance and Harvesting
A little bit of care goes a long way!
1. Weeding: Keep the area around the trellis free of weeds. Weeds compete with the beans for nutrients and water.
2. Pest Control: Monitor the plants regularly for pests such as aphids, bean beetles, and spider mites. Treat any infestations promptly with insecticidal soap or neem oil.
3. Watering: Water deeply and regularly, especially during dry spells.
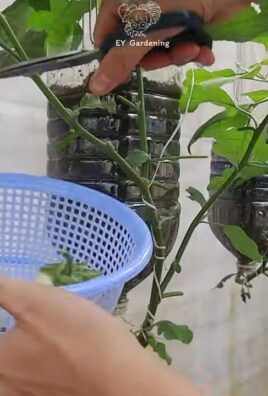
4. Harvesting: Yardlong beans are ready to harvest when they are about 12-18 inches long and still tender. Harvest regularly to encourage continued production. Use scissors or pruning shears to cut the beans from the vine.
Troubleshooting
Even with the best planning, things can sometimes go wrong. Here are a few common issues and how to address them:
* Yellowing Leaves: This could be a sign of nutrient deficiency. Try fertilizing with a balanced fertilizer.
* Lack of Flowers: This could be due to insufficient sunlight or excessive nitrogen in the soil. Make sure the plants are getting at least 6 hours of sunlight per day and avoid over-fertilizing with nitrogen-rich fertilizers.
* Pest Infestations: Treat promptly with insecticidal soap or neem oil.
* Fungal Diseases: Ensure good air circulation by spacing the plants properly and pruning any overcrowded foliage.
Enjoying Your Harvest
Congratulations! You’ve successfully built a vertical trellis and grown your own yardlong beans. Now it’s time to enjoy the fruits (or rather, vegetables) of your labor! Yardlong beans are delicious stir-fried, steamed, or added to soups and stews. They’re also a great source of vitamins and minerals.
I hope this guide has been helpful. Happy gardening!
Conclusion
So, there you have it! Mastering the art of growing yardlong beans doesn’t have to be an intimidating endeavor. With a little patience, the right techniques, and a dash of experimentation, you can cultivate a thriving yardlong bean patch that yields an abundance of these delicious and versatile vegetables. We’ve covered everything from seed selection and soil preparation to trellising and pest control, equipping you with the knowledge you need to succeed.
But why is this DIY approach to yardlong bean gardening a must-try? Simply put, it empowers you to take control of your food source, ensuring you have access to fresh, organic produce right in your backyard. Imagine the satisfaction of harvesting your own yardlong beans, knowing exactly where they came from and how they were grown. Plus, growing your own food is a sustainable practice that reduces your carbon footprint and promotes a healthier lifestyle.
Beyond the basic techniques we’ve discussed, there’s plenty of room for customization and experimentation. Consider exploring different varieties of yardlong beans to find your favorite flavor and texture. Some popular options include the classic green variety, as well as purple or red cultivars that add a splash of color to your garden and your plate. You can also experiment with different trellising methods to find what works best for your space and aesthetic preferences. A simple bamboo structure can be just as effective as a more elaborate metal trellis.
Another variation to consider is companion planting. Yardlong beans thrive when planted alongside certain other vegetables and herbs. For example, planting basil near your yardlong beans can help repel pests, while planting carrots can improve soil health. Experiment with different companion planting combinations to see what works best in your garden.
Don’t be afraid to get creative with your yardlong bean recipes, too! While they’re delicious stir-fried or steamed, they can also be added to soups, stews, and salads. Their unique texture and slightly sweet flavor make them a versatile ingredient that can be used in a wide range of dishes. Try pickling them for a tangy snack, or grilling them for a smoky flavor.
Ultimately, the key to successful yardlong bean gardening is to be observant, adaptable, and persistent. Pay attention to your plants’ needs, adjust your techniques as necessary, and don’t give up if you encounter challenges along the way. Remember, every garden is unique, and what works for one gardener may not work for another.
We wholeheartedly encourage you to give this DIY yardlong bean gardening guide a try. It’s a rewarding experience that will not only provide you with delicious, homegrown produce but also connect you with nature and empower you to become a more self-sufficient gardener.
And most importantly, we want to hear about your experiences! Share your tips, tricks, and successes in the comments below. Let us know what varieties you’re growing, what challenges you’ve faced, and what delicious recipes you’ve created. Together, we can build a community of yardlong bean enthusiasts and help each other grow the best possible crop. So, grab your seeds, get your hands dirty, and start your yardlong bean gardening adventure today! Let’s cultivate a world filled with homegrown goodness, one yardlong bean at a time.
Frequently Asked Questions (FAQ)
What is the best time of year to plant yardlong beans?
Yardlong beans are warm-weather crops, so the best time to plant them is in late spring or early summer, after the last frost has passed and the soil has warmed up to at least 65 degrees Fahrenheit (18 degrees Celsius). In warmer climates, you may be able to plant them earlier in the spring or even in the fall for a winter harvest. Check your local weather conditions and planting guides for specific recommendations for your region.
How much sunlight do yardlong beans need?
Yardlong beans require at least 6-8 hours of direct sunlight per day to thrive. Choose a planting location that receives plenty of sunlight throughout the day. If you live in a particularly hot climate, some afternoon shade may be beneficial to prevent the plants from overheating.
What type of soil is best for growing yardlong beans?
Yardlong beans prefer well-drained, fertile soil with a pH of 6.0 to 7.0. Amend your soil with compost or other organic matter to improve its drainage and fertility. Avoid planting yardlong beans in heavy clay soil, as this can lead to root rot.
How often should I water my yardlong beans?
Water your yardlong beans regularly, especially during hot, dry weather. Aim to keep the soil consistently moist but not waterlogged. Water deeply and less frequently, rather than shallowly and more often, to encourage deep root growth. Mulching around the plants can help retain moisture in the soil.
What kind of trellis should I use for yardlong beans?
Yardlong beans are climbing plants and require a trellis to support their growth. A sturdy trellis that is at least 6-8 feet tall is recommended. You can use a variety of materials to build your trellis, such as bamboo poles, wooden stakes, metal fencing, or even repurposed materials like old ladders or trellises. Ensure the trellis is strong enough to support the weight of the mature plants and their heavy bean pods.
How long does it take for yardlong beans to mature?
Yardlong beans typically take 60-80 days to mature after planting. You can start harvesting the beans when they are about 12-18 inches long and still tender. Regular harvesting will encourage the plants to produce more beans.
What are some common pests and diseases that affect yardlong beans?
Some common pests that can affect yardlong beans include aphids, bean beetles, and spider mites. Diseases that can affect yardlong beans include powdery mildew, bean rust, and anthracnose. Monitor your plants regularly for signs of pests or diseases and take appropriate action to control them. Organic pest control methods, such as insecticidal soap or neem oil, can be effective for controlling many common pests. Ensure good air circulation around the plants to prevent fungal diseases.
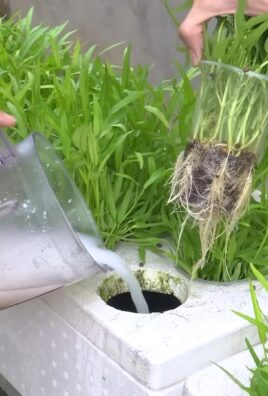
Can I grow yardlong beans in containers?
Yes, you can grow yardlong beans in containers, but you will need to choose a large container that is at least 12 inches in diameter and 12 inches deep. Use a well-draining potting mix and provide a trellis for the plants to climb on. Container-grown yardlong beans may require more frequent watering and fertilization than those grown in the ground.
How do I save seeds from my yardlong beans?
To save seeds from your yardlong beans, allow some of the pods to mature fully on the plant until they are dry and brown. Harvest the pods and remove the seeds. Dry the seeds thoroughly for several days before storing them in an airtight container in a cool, dark, and dry place.
What are some good companion plants for yardlong beans?
Good companion plants for yardlong beans include basil, carrots, cucumbers, marigolds, and rosemary. Basil helps repel pests, carrots improve soil health, cucumbers provide shade, marigolds deter nematodes, and rosemary attracts beneficial insects. Avoid planting yardlong beans near onions or garlic, as these can inhibit their growth.
Are yardlong beans nutritious?
Yes, yardlong beans are a nutritious vegetable. They are a good source of vitamins A and C, as well as fiber, potassium, and folate. They are also low in calories and fat.
How do I cook yardlong beans?
Yardlong beans can be cooked in a variety of ways. They can be stir-fried, steamed, boiled, grilled, or added to soups and stews. They are best when cooked until tender-crisp. Avoid overcooking them, as this can make them mushy.
Can I eat the yardlong bean leaves?
Yes, the young leaves of yardlong beans are edible and can be used in salads or cooked like spinach. However, it’s best to harvest the leaves sparingly to avoid stressing the plant.
What is the difference between yardlong beans and green beans?
The main difference between yardlong beans and green beans is their length. Yardlong beans can grow up to 3 feet long, while green beans are typically only a few inches long. Yardlong beans also have a slightly different flavor and texture than green beans. They are often described as having a slightly sweeter and more tender texture.
How do I prevent my yardlong beans from becoming tough?
To prevent your yardlong beans from becoming tough, harvest them when they are still young and tender, typically when they are about 12-18 inches long. Overripe beans can become tough and stringy. Also, be sure to cook them properly, avoiding overcooking.
Leave a Comment