

Container Potato Growing: Imagine harvesting a bounty of fresh, homegrown potatoes right from your patio or balcony! No sprawling garden needed. For centuries, potatoes have been a staple food source, playing a vital role in cultures worldwide, from the Andes Mountains where they originated to the tables of families everywhere. But what if you lack the space for a traditional potato patch?
That’s where the magic of container potato growing comes in! I’m excited to share some simple yet effective DIY tricks and hacks that will empower you to cultivate your own potato crop, even in the smallest of spaces. Forget back-breaking digging and endless weeding. With these easy-to-follow steps, you’ll be enjoying delicious, homegrown potatoes in no time.
Why is this DIY project so essential? Well, beyond the sheer joy of growing your own food, container potato growing offers a sustainable and cost-effective way to enjoy fresh produce. Plus, it’s a fantastic way to connect with nature and learn about the fascinating process of plant growth. So, let’s dive in and discover the secrets to successful container potato growing!
Growing Potatoes in Containers: A Bountiful Harvest on Your Patio!
Hey there, fellow gardening enthusiasts! I’m so excited to share one of my favorite DIY gardening projects with you: growing potatoes in containers. It’s surprisingly easy, super rewarding, and perfect for anyone with limited space, like an apartment balcony or a small patio. Forget sprawling fields; we’re bringing the potato patch to you!
Why Container Potatoes?
Before we dive in, let’s quickly touch on why growing potatoes in containers is such a fantastic idea:
* Space-Saving: As I mentioned, this is the biggest advantage. You don’t need a huge garden to enjoy fresh, homegrown potatoes.
* Control: You have complete control over the soil quality, watering, and sunlight exposure. This leads to healthier plants and better yields.
* Pest and Disease Management: Containers make it easier to monitor and manage pests and diseases. Plus, you can move your plants to a safer location if needed.
* Early Harvest: Container potatoes often mature faster than those grown in the ground. Get ready for early summer spuds!
* Easy Harvesting: No more digging around in the dirt! Harvesting is as simple as tipping over the container.
What You’ll Need
Alright, let’s gather our supplies. Here’s what you’ll need to get started:
* A Large Container: This is crucial! I recommend a container that’s at least 20 inches in diameter and 20 inches deep. A 10-gallon grow bag, a large plastic tub, or even a repurposed trash can (with drainage holes, of course!) will work perfectly.
* Seed Potatoes: These aren’t seeds in the traditional sense. They’re small potatoes specifically grown for planting. You can find them at your local garden center or online. Choose a variety that suits your taste and climate. I personally love Yukon Gold for their creamy texture and all-purpose use.
* Well-Draining Potting Mix: This is super important. Regular garden soil is too heavy and will compact in a container, hindering drainage and root growth. Opt for a high-quality potting mix that’s light and airy.
* Compost (Optional): Adding compost to your potting mix will provide extra nutrients and improve drainage.
* Water: Essential for all life!
* Fertilizer (Optional): A balanced, slow-release fertilizer can give your potatoes a boost.
* Gardening Gloves: To keep your hands clean and protected.
* Trowel or Shovel: For planting and adding soil.
Choosing the Right Seed Potatoes
Selecting the right seed potatoes is key to a successful harvest. Here’s what to look for:
* Certified Seed Potatoes: These are disease-free and specifically grown for planting. Avoid using potatoes from the grocery store, as they may be treated to prevent sprouting.
* Variety: Consider your climate and taste preferences. Some varieties are better suited for certain regions. Do some research to find the best option for you.
* Size: Small to medium-sized seed potatoes are ideal. If you have larger ones, you can cut them into pieces, ensuring each piece has at least one or two “eyes” (the little buds that will sprout).
* Eyes: Look for seed potatoes with healthy, well-developed eyes. These are the starting points for your potato plants.
Preparing Your Seed Potatoes
Before planting, it’s a good idea to “chit” your seed potatoes. This involves encouraging them to sprout before planting, giving them a head start. Here’s how:
1. Place the seed potatoes in a cool, bright location: A windowsill or a well-lit garage works well.
2. Allow them to sit for 1-2 weeks: You’ll notice small, green sprouts (eyes) emerging from the potatoes.
3. Handle them gently: Be careful not to break off the sprouts.
Planting Your Potatoes: The Step-by-Step Guide
Now for the fun part! Let’s get those potatoes planted.
1. Prepare the Container: Make sure your container has adequate drainage holes. If not, drill a few.
2. Add a Layer of Potting Mix: Fill the bottom of the container with about 4-6 inches of potting mix. Mix in some compost if you’re using it.
3. Place the Seed Potatoes: Position the seed potatoes on top of the soil, with the eyes facing upwards. Space them about 8-10 inches apart if you’re planting multiple potatoes in the same container.
4. Cover with Soil: Cover the seed potatoes with another 4-6 inches of potting mix.
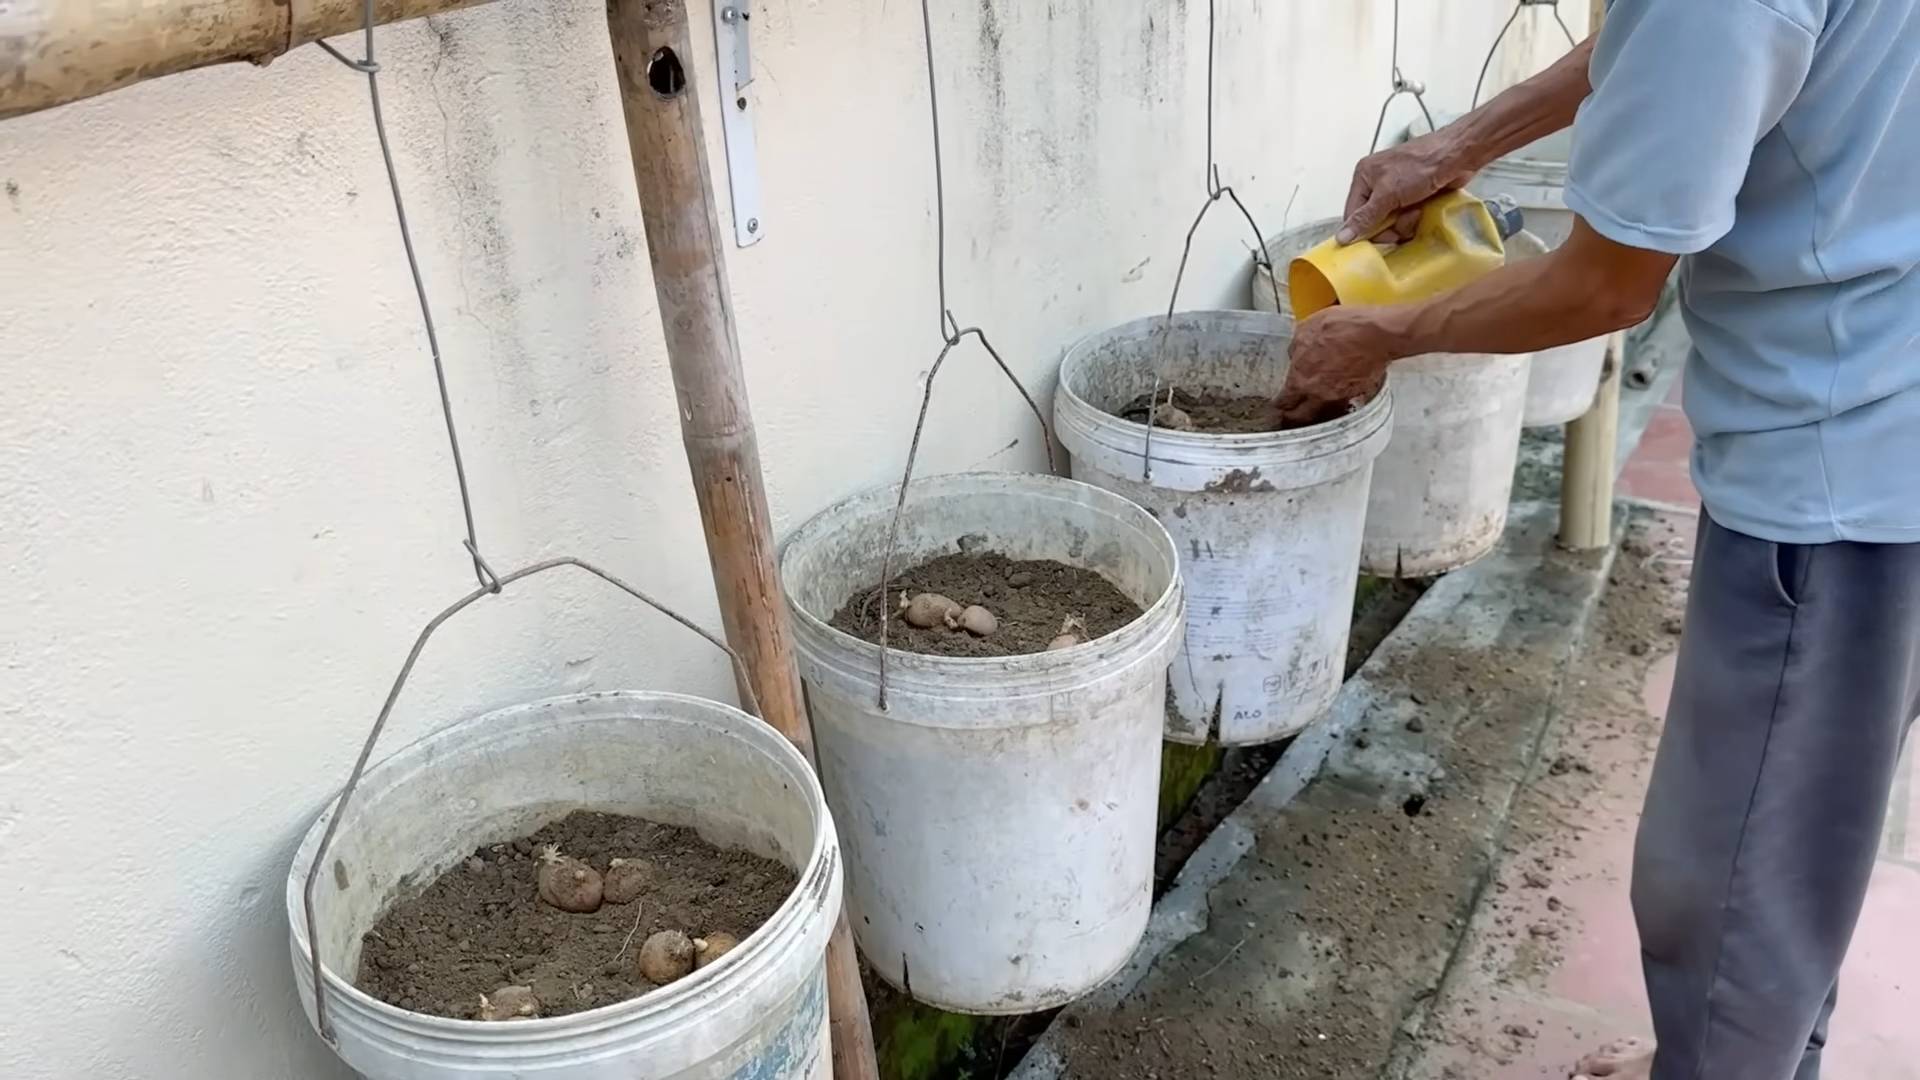
5. Water Thoroughly: Water the soil until it’s evenly moist but not soggy.
6. Place in a Sunny Location: Potatoes need at least 6-8 hours of sunlight per day. Choose a spot that gets plenty of sunshine.
“Hilling” Your Potatoes: The Secret to a Bigger Harvest
This is where the magic happens! “Hilling” is the process of adding more soil to the container as the potato plants grow. This encourages the plants to produce more potatoes along the buried stems.
1. Wait for the Shoots to Emerge: Once the potato plants have sprouted and are about 6-8 inches tall, it’s time to start hilling.
2. Add More Soil: Add a few inches of potting mix around the base of the plants, burying the lower part of the stems. Leave the top few inches of the plant exposed.
3. Repeat the Process: Continue hilling every few weeks as the plants grow, until the container is almost full.
4. Water Regularly: Keep the soil consistently moist, especially during hot weather.
Caring for Your Container Potatoes
Here are a few tips to keep your potato plants happy and healthy:
* Watering: Water deeply whenever the top inch of soil feels dry to the touch. Avoid overwatering, as this can lead to root rot.
* Fertilizing: If you’re not using a slow-release fertilizer, you can feed your plants with a balanced liquid fertilizer every few weeks.
* Sunlight: Ensure your plants get at least 6-8 hours of sunlight per day.
* Pest Control: Keep an eye out for pests like aphids, potato beetles, and flea beetles. Handpick them off the plants or use an organic insecticide if necessary.
* Disease Prevention: Good air circulation and proper watering can help prevent diseases.
Harvesting Your Bountiful Crop
The moment we’ve all been waiting for! Here’s how to know when your potatoes are ready to harvest:
* Check the Foliage: The potato plants will start to flower, and the foliage will begin to turn yellow and die back. This is a sign that the potatoes are maturing.
* Test Dig: Gently dig around the base of a plant to check the size of the potatoes. If they’re the size you want, it’s time to harvest.
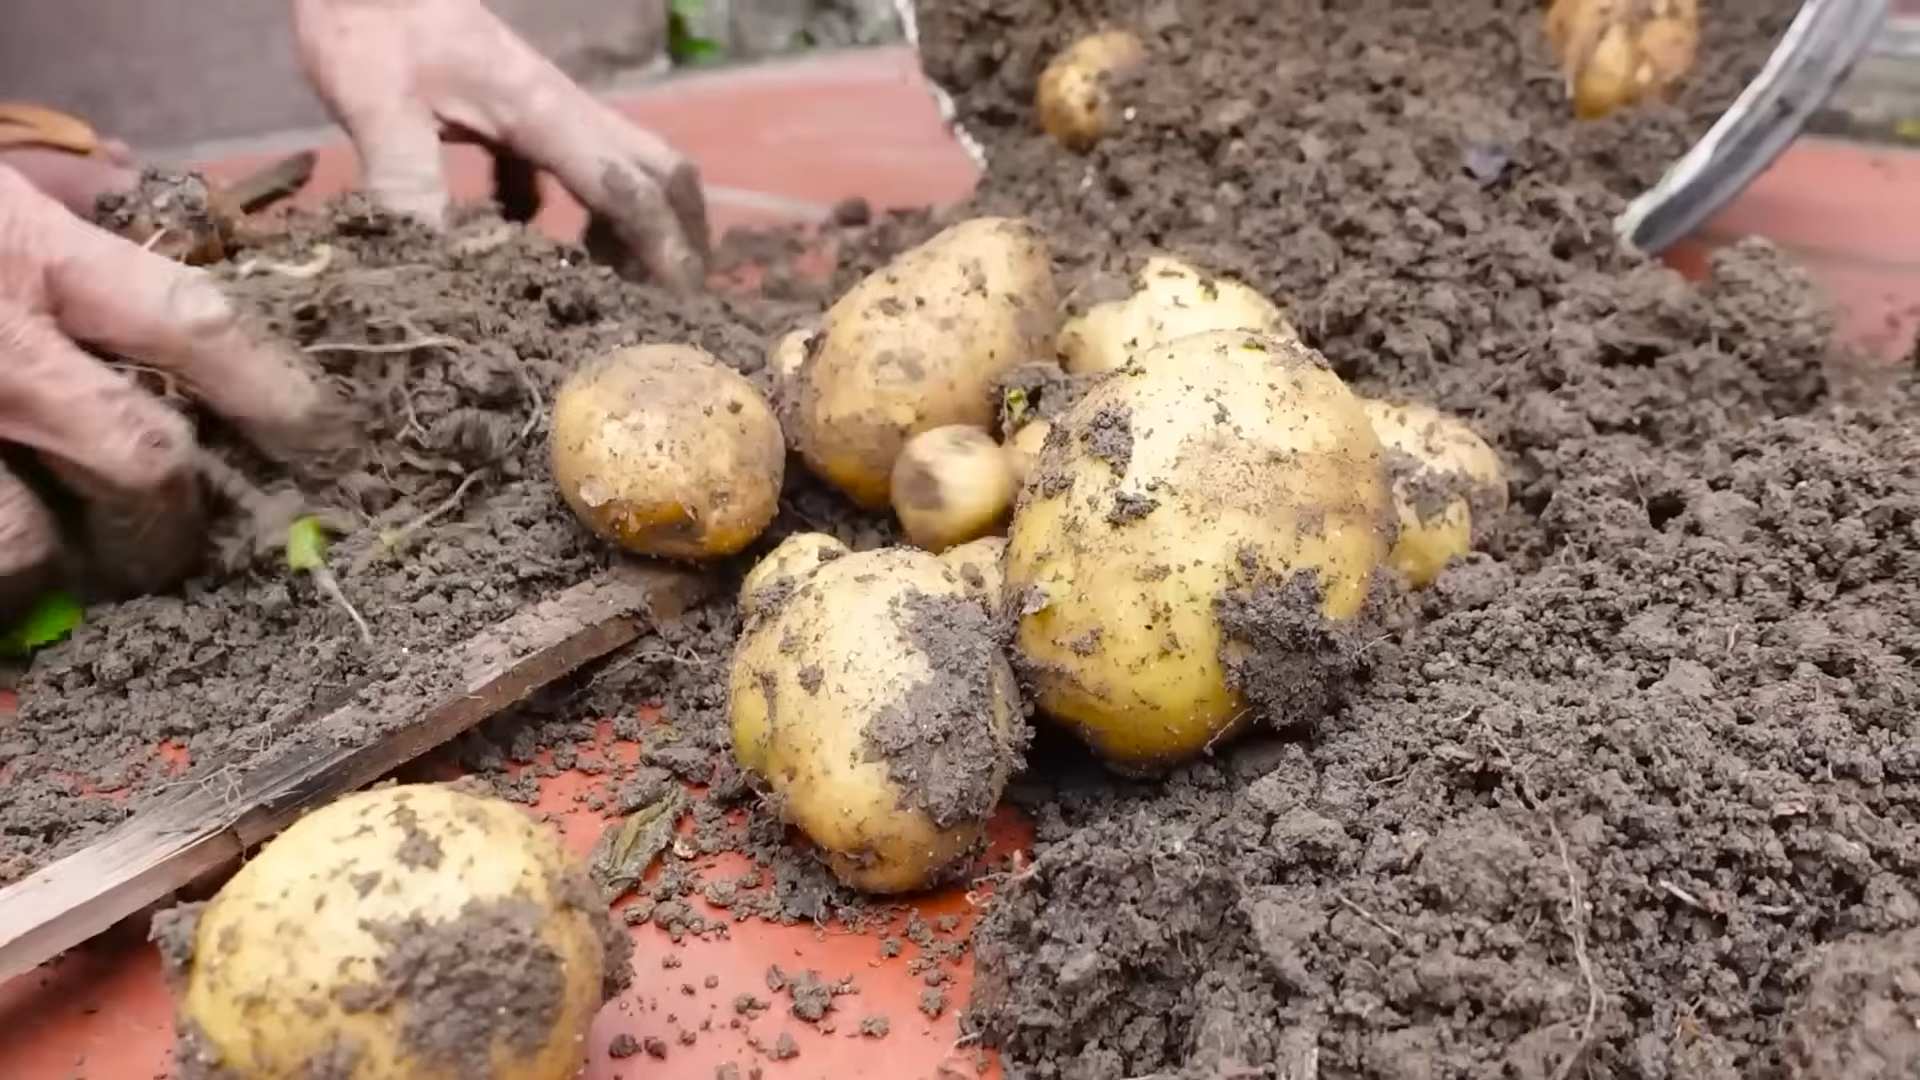
* Harvesting: Simply tip over the container and carefully remove the potatoes from the soil.
* Curing (Optional): To improve their storage life, you can cure your potatoes by spreading them out in a cool, dark, and well-ventilated place for a week or two.
Troubleshooting Common Issues
Even with the best care, you might encounter a few challenges along the way. Here are some common issues and how to address them:
* Yellowing Leaves: This could be due to overwatering, underwatering, nutrient deficiencies, or disease. Check the soil moisture, fertilize if needed, and look for signs of pests or diseases.
* Small Potatoes: This could be caused by insufficient sunlight, poor soil quality, or overcrowding. Ensure your plants get enough sunlight, use a good-quality potting mix, and space your seed potatoes properly.
* Pests: Handpick pests off the plants or use an organic insecticide.
* Diseases: Good air circulation and proper watering can help prevent diseases. If you notice signs of disease, remove the affected leaves or plants.
Enjoying Your Homegrown Potatoes
Congratulations! You’ve successfully grown potatoes in containers. Now it’s time to enjoy the fruits (or rather, tubers) of your labor. Freshly harvested potatoes taste amazing, and you can use them in countless recipes. From mashed potatoes and roasted potatoes to potato salad and potato soup, the possibilities are endless.
I hope this guide has inspired you to try growing potatoes in containers. It’s a fun, rewarding, and delicious way to enjoy fresh, homegrown produce, even if you have limited space. Happy gardening!
Conclusion
So, there you have it! Growing your own potatoes in containers is not just a fun gardening project; it’s a rewarding experience that puts fresh, flavorful potatoes right at your fingertips. Forget those bland, store-bought spuds – imagine the taste of freshly dug, homegrown potatoes gracing your dinner table. This DIY container potato growing method is a game-changer for anyone, regardless of their gardening experience or the size of their outdoor space.
Why is this a must-try? Because it’s accessible, space-saving, and incredibly satisfying. Even if you only have a small balcony or patio, you can still enjoy the pleasure of harvesting your own potatoes. Plus, container gardening gives you greater control over the growing environment, minimizing the risk of soilborne diseases and pests that can plague traditional potato patches. You’re essentially creating the perfect potato paradise!
But the fun doesn’t stop there. Feel free to experiment with different potato varieties. Russets are great for baking and frying, Yukon Golds are perfect for creamy mashed potatoes, and red potatoes add a vibrant touch to salads. You can also try different container sizes and materials. Fabric pots are excellent for drainage and aeration, while plastic containers are durable and easy to clean.
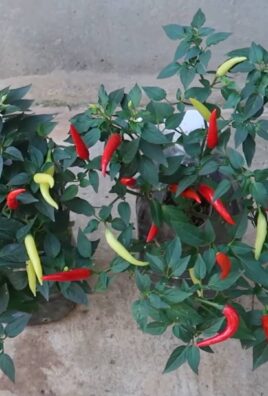
Consider adding companion plants to your potato containers. Marigolds can help deter pests, while basil can improve the flavor of your potatoes. Get creative and personalize your potato-growing setup to suit your preferences and needs.
And don’t forget the fertilizer! Regular feeding is crucial for healthy potato growth. Use a balanced fertilizer specifically formulated for vegetables, and follow the instructions carefully. You can also supplement with organic amendments like compost tea or worm castings to boost soil fertility.
We’re confident that once you try this DIY container potato growing method, you’ll be hooked. It’s a simple, effective, and incredibly rewarding way to enjoy fresh, homegrown potatoes all season long.
So, grab a container, some seed potatoes, and get ready to embark on a potato-growing adventure! We encourage you to try this method and share your experiences with us. Let us know what varieties you grow, what challenges you encounter, and what successes you celebrate. Share your photos and tips on social media using #ContainerPotatoGrowing – we can’t wait to see your potato harvests! Happy growing!
Frequently Asked Questions (FAQs)
What kind of container should I use for growing potatoes?
The ideal container for growing potatoes should be large enough to accommodate the growing root system and allow for hilling. A container that is at least 20 inches in diameter and 20 inches deep is generally recommended. You can use plastic pots, fabric pots, grow bags, or even repurposed containers like trash cans or barrels. Make sure the container has drainage holes to prevent waterlogging. Fabric pots are particularly beneficial as they allow for better aeration and drainage, which can lead to healthier potato growth.
What type of soil is best for container potato growing?
Potatoes thrive in well-draining, slightly acidic soil. A good potting mix for container potatoes should be loose and airy, allowing for proper root development. Avoid using garden soil, as it can be too heavy and compact, hindering drainage and potentially leading to root rot. A mix of equal parts potting soil, compost, and perlite or vermiculite is a great option. The compost provides essential nutrients, while the perlite or vermiculite improves drainage and aeration.
How do I plant seed potatoes in a container?
Start by filling the container with about 4-6 inches of your chosen potting mix. Place the seed potatoes (cut into pieces with at least one “eye” each, or small whole potatoes) on top of the soil, spacing them evenly. Cover the seed potatoes with another 4-6 inches of soil. As the potato plants grow, continue to add more soil to the container, burying the stems as they emerge. This process, called “hilling,” encourages the development of more potatoes along the buried stems. Continue hilling until the container is nearly full.
How often should I water my container potatoes?
Water your container potatoes regularly, keeping the soil consistently moist but not waterlogged. The frequency of watering will depend on the weather conditions, the size of the container, and the type of soil you’re using. Check the soil moisture level regularly by sticking your finger into the soil. If the top inch or two feels dry, it’s time to water. Avoid overwatering, as this can lead to root rot. During hot, dry weather, you may need to water your potatoes daily.
How much sunlight do container potatoes need?
Potatoes need at least 6-8 hours of direct sunlight per day to thrive. Choose a location for your container potatoes that receives plenty of sunlight. If you live in a particularly hot climate, you may need to provide some afternoon shade to prevent the plants from overheating.
When and how should I fertilize my container potatoes?
Potatoes are heavy feeders and require regular fertilization. Start fertilizing your potatoes about two weeks after planting, and continue fertilizing every 2-3 weeks throughout the growing season. Use a balanced fertilizer specifically formulated for vegetables, following the instructions on the package. You can also supplement with organic amendments like compost tea or worm castings to boost soil fertility.
How do I know when my container potatoes are ready to harvest?
Potatoes are typically ready to harvest when the foliage begins to turn yellow and die back. This usually occurs about 80-100 days after planting, depending on the variety. You can also gently dig around the edges of the container to check the size of the potatoes. If they are large enough for your liking, you can begin harvesting. To harvest, simply tip the container over and carefully remove the potatoes from the soil.
Can I reuse the soil from my container potatoes?
Yes, you can reuse the soil from your container potatoes, but it’s important to amend it with fresh compost and fertilizer before planting again. Potatoes are heavy feeders and deplete the soil of nutrients. Adding compost and fertilizer will replenish the nutrients and improve the soil structure. You may also want to consider rotating your crops to prevent the buildup of soilborne diseases.
What are some common pests and diseases that affect container potatoes?
Some common pests that can affect container potatoes include aphids, potato beetles, and flea beetles. Diseases that can affect potatoes include early blight, late blight, and potato scab. Regularly inspect your plants for signs of pests or diseases, and take appropriate action if necessary. Organic pest control methods, such as insecticidal soap or neem oil, can be effective for controlling many pests. Proper watering and good air circulation can help prevent diseases.
Can I grow potatoes in containers indoors?
While it’s possible to grow potatoes in containers indoors, it can be challenging to provide them with the necessary sunlight and growing conditions. Potatoes need at least 6-8 hours of direct sunlight per day, which can be difficult to achieve indoors. If you do decide to grow potatoes indoors, you’ll need to provide them with supplemental lighting, such as grow lights. You’ll also need to ensure that they have adequate ventilation and humidity.
Leave a Comment