

Drain Starfish DIY Tool: Ever stared down at a clogged bathtub drain, armed with nothing but a flimsy wire hanger and a growing sense of dread? I know I have! It’s a frustrating situation, especially when you know that lurking beneath the surface is a tangled mess of hair and gunk. But what if I told you there’s a simple, effective, and surprisingly satisfying way to conquer those drain demons without harsh chemicals or expensive plumber visits?
For generations, unclogging drains has been a household chore passed down through families. While commercial drain cleaners have their place, many of us are looking for more eco-friendly and cost-effective solutions. That’s where the magic of DIY comes in! Think of it as a modern twist on age-old problem-solving, using readily available materials to create something truly useful.
This article is all about creating your very own Drain Starfish DIY Tool. Why a starfish, you ask? Because its multiple “arms” are perfect for grabbing and pulling out all that nasty debris that’s causing your drain woes. Not only is this project incredibly easy and inexpensive, but it’s also a fantastic way to reduce your reliance on harsh chemicals that can damage your pipes and the environment. Plus, there’s a certain satisfaction that comes from tackling a problem yourself and emerging victorious. So, let’s dive in and create a tool that will make unclogging your drains a breeze!
DIY Drain Starfish: Conquer Clogged Drains with a Homemade Hero!
Okay, let’s face it: clogged drains are the bane of every homeowner’s existence. Store-bought drain cleaners can be harsh and expensive, and sometimes they just don’t cut it. That’s why I’m going to show you how to make your very own “Drain Starfish” – a simple, reusable tool that will help you pull out hair, gunk, and all sorts of nasty things from your drains. Trust me, this little guy is a lifesaver!
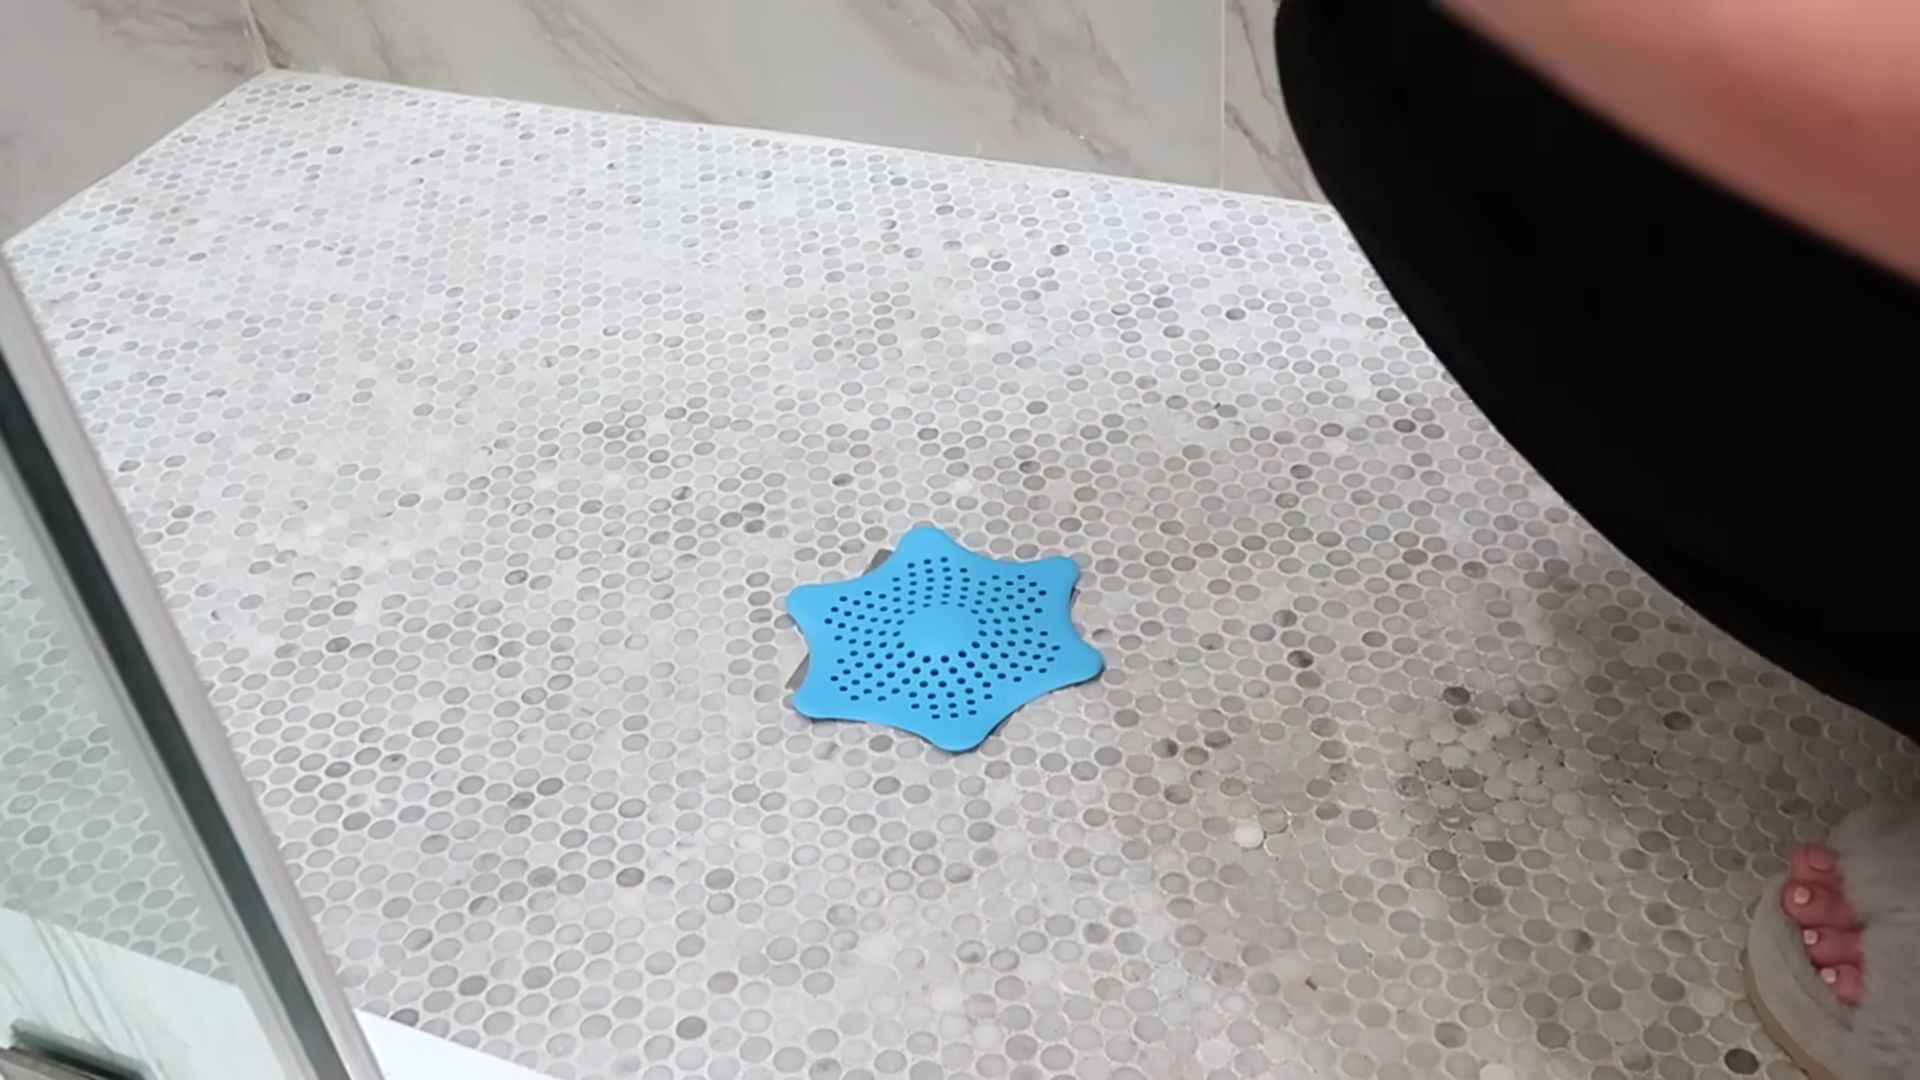
What is a Drain Starfish?
Basically, it’s a flexible tool with little hooks or barbs that you insert into your drain. As you pull it back out, the hooks snag onto any debris lurking in the pipes. It’s a mechanical solution, so no harsh chemicals are needed! Plus, you can reuse it again and again.
Materials You’ll Need
* A sturdy, flexible plastic bottle: Think a shampoo bottle, a dish soap bottle, or even a large soda bottle. The key is that it needs to be flexible enough to bend but strong enough to hold its shape. Avoid brittle plastics.
* Scissors or a craft knife: Be careful! A sharp blade is essential for clean cuts.
* A marker or pen: For marking your cutting lines.
* Gloves (optional but recommended): Because, let’s be honest, you’re going to be dealing with some pretty gross stuff.
* Needle-nose pliers (optional): For bending and shaping the “hooks” of your starfish.
* Sandpaper or a file (optional): To smooth out any sharp edges.
Making Your Drain Starfish: Step-by-Step
Alright, let’s get down to business! Here’s how to create your very own drain-clearing superhero:
1. Prepare the Bottle: First, thoroughly clean the plastic bottle. You don’t want any lingering soap or shampoo residue interfering with your drain cleaning. Remove any labels.
2. Flatten the Bottle: This step is crucial for creating a good shape for your starfish. If your bottle is naturally flat, great! If not, you can gently flatten it by placing it under a heavy book or object for a few hours. Just be careful not to crush it completely.
3. Draw the Starfish Shape: Now, grab your marker and draw a basic starfish shape onto the flattened bottle. Don’t worry about perfection; this is DIY, after all! Aim for a central body about 2-3 inches in diameter and five “arms” extending outwards, each about 4-6 inches long. The length of the arms will depend on the depth of your drain. You can adjust the size later if needed.
4. Cut Out the Starfish: Carefully use your scissors or craft knife to cut along the lines you drew. Take your time and make smooth, even cuts. Remember, safety first! If you’re using a craft knife, always cut away from yourself.
5. Create the Hooks: This is where the magic happens! On each arm of the starfish, you’re going to create small, angled cuts that will act as hooks. These hooks will snag the hair and debris in your drain.
* Start by making a small, angled cut on one side of an arm, about 1/2 inch from the base of the arm. The angle should point towards the body of the starfish.
* Repeat this process on the opposite side of the arm, slightly further down.
* Continue alternating sides, creating a series of angled cuts along the length of each arm. Aim for about 4-6 hooks per arm.
* Make sure the cuts are deep enough to create a noticeable hook, but not so deep that you weaken the arm.
6. Refine the Hooks (Optional): If you want to make your hooks even more effective, you can use needle-nose pliers to gently bend them outwards. This will help them snag onto debris more easily. Be careful not to break the plastic.
7. Smooth the Edges (Optional): To prevent any scratches or snags on your drain, use sandpaper or a file to smooth out any sharp edges on the starfish. This is especially important if you used a craft knife.
Using Your Drain Starfish: A Step-by-Step Guide
Okay, your Drain Starfish is ready for action! Here’s how to use it to conquer those clogged drains:
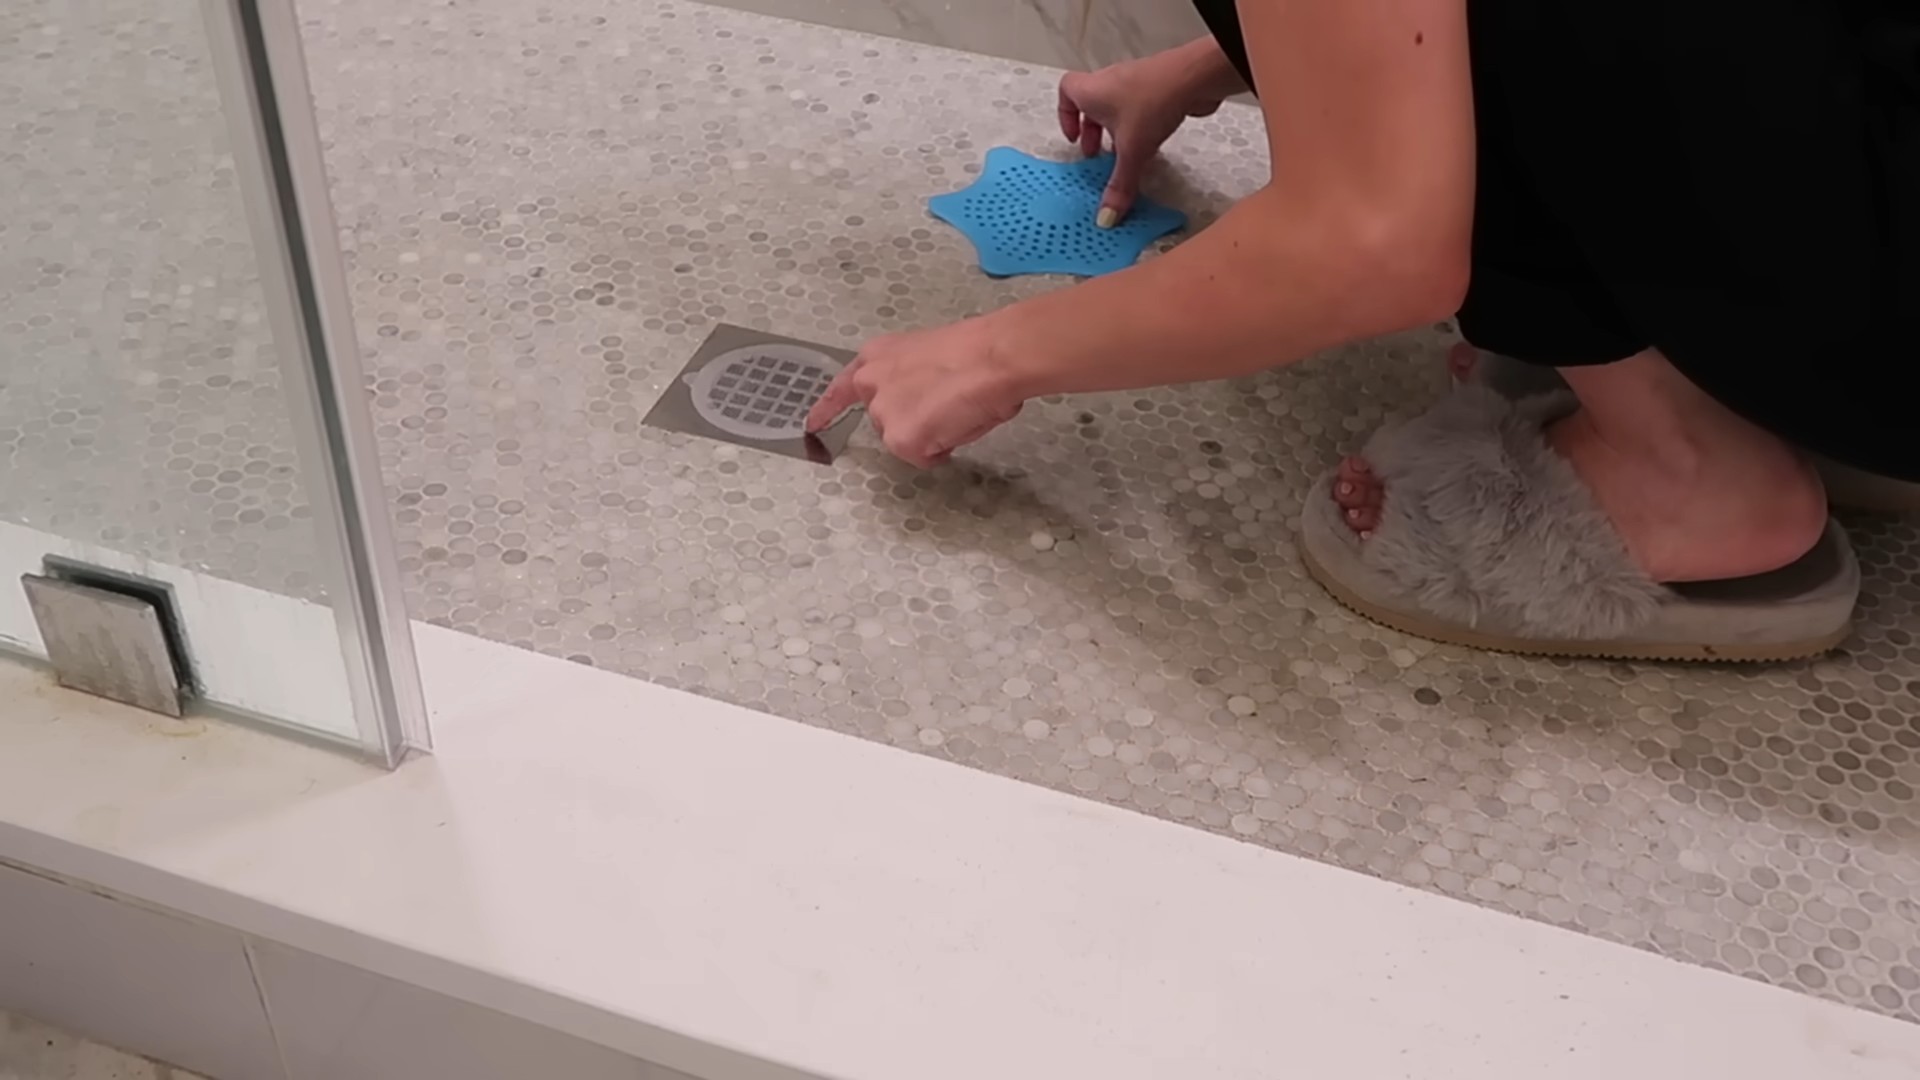
1. Prepare the Drain: Remove any drain stoppers or covers. If there’s standing water in the drain, try to remove as much as possible.
2. Insert the Starfish: Gently insert the Drain Starfish into the drain opening, pushing it down as far as it will go. Be careful not to force it if you encounter resistance.
3. Twist and Turn: Once the starfish is inserted, slowly twist and turn it as you push it further down the drain. This will help the hooks snag onto any debris.
4. Pull it Out: Slowly and steadily pull the Drain Starfish back out of the drain. Be prepared for some grossness!
5. Clean the Starfish: Once you’ve pulled the starfish out, carefully remove any hair, gunk, or debris that’s caught on the hooks. Use gloves for this step! Dispose of the debris properly.
6. Repeat as Needed: Repeat steps 2-5 until you’re no longer pulling out any debris. You may need to rinse the starfish off between each attempt.
7. Flush the Drain: After you’ve removed as much debris as possible, flush the drain with hot water to help clear any remaining blockages.
Troubleshooting and Tips
* If the Starfish Gets Stuck: Don’t panic! Gently twist and turn the starfish as you try to pull it out. If it’s really stuck, try using pliers to get a better grip. You might also try pouring a little bit of hot water down the drain to help loosen any debris.
* Adjusting the Hook Size: If you’re not pulling out much debris, try making the hooks larger or bending them outwards more. If you’re pulling out too much debris and the starfish is getting stuck, try making the hooks smaller.
* Different Bottle Types: Experiment with different types of plastic bottles to find the one that works best for you. Some bottles are more flexible than others, and some have a better shape for creating the starfish.
* Preventative Maintenance: Use your Drain Starfish regularly to prevent clogs from forming in the first place. A quick cleaning every few weeks can save you a lot of trouble down the road.
* Safety First: Always be careful when using sharp objects. Wear gloves to protect your hands from germs and debris. And never force the starfish into the drain if it encounters resistance.
Adapting the Design for Different Drains
The beauty of this DIY project is that you can customize the Drain Starfish to fit different types of drains.
* Bathroom Sink Drains: For bathroom sink drains, you might want to make the arms of the starfish shorter and more flexible, as these drains tend to be narrower and more prone to hair clogs.
* Shower Drains: For shower drains, you might want to make the arms longer and more robust, as these drains often have larger debris and more complex plumbing.
* Kitchen Sink Drains: Kitchen sink drains can be tricky, as they often contain grease and food particles. You might want to make the hooks on your starfish sharper and more aggressive to tackle these types of clogs. You could also consider adding a small “scoop” to the end of one of the arms to help collect loose debris.
Alternative Materials
While plastic bottles are a great and readily available material, you can also experiment with other materials for your Drain Starfish.
* Thick Wire: Sturdy wire can be bent into a starfish shape and the ends can be shaped into hooks. Make sure to use a wire that won’t rust easily.
* Flexible Tubing: You can cut slits into flexible tubing to create hooks. This is a good option for drains with tight bends.
* Zip Ties: Believe it or not, you can even use zip ties! Bundle a few zip ties together and cut the ends at an angle to create hooks. This is a good option for a quick and dirty solution.
Why This Works (The Science Behind It!)
The Drain Starfish works because it’s a simple mechanical solution to a common problem. The hooks on the arms of the starfish act like tiny grappling hooks, snagging onto hair, soap scum, and other debris that accumulate in your drain pipes. By twisting and turning the starfish as you insert it, you increase the chances of the hooks catching onto something. And by pulling it out slowly and steadily, you ensure that the debris is pulled out along with it. It’s a basic principle, but it’s surprisingly effective!
Beyond the Starfish: Other DIY Drain Cleaning Tips
While the Drain Starfish is a great tool,
Conclusion
So, there you have it! Creating your own Drain Starfish DIY Tool is not just a clever way to save money; it’s an empowering step towards taking control of your home maintenance. Forget those flimsy, disposable plastic drain snakes that break after a single use. This DIY solution is robust, reusable, and, frankly, a lot more satisfying to use.
Why is this a must-try? Because it addresses a common household problem – clogged drains – with an ingenious and sustainable solution. You’re not just unclogging a drain; you’re reducing waste, saving money, and gaining a valuable skill. Think about it: no more frantic trips to the hardware store, no more waiting for a plumber, and no more contributing to the ever-growing pile of plastic waste.
But the beauty of this DIY project lies in its adaptability. Feel free to experiment with different materials. If you don’t have wire coat hangers, try using sturdy floral wire or even thick gauge craft wire. The key is to find a material that’s flexible enough to navigate the drain but strong enough to grab onto debris.
Consider adding small barbs or hooks to the ends of the “starfish” arms for even better snagging power. You could also experiment with different lengths of wire to customize the tool for specific drains in your home. For shallower sinks, shorter arms might be more effective, while deeper tubs might benefit from longer ones.
Don’t be afraid to get creative! Perhaps you could even incorporate a small loop at the end of the handle for easier gripping or hanging storage. The possibilities are endless, and the only limit is your imagination.
We wholeheartedly encourage you to give this Drain Starfish DIY Tool a try. It’s a simple project that yields significant results. Not only will you be equipped to tackle those pesky clogs, but you’ll also feel a sense of accomplishment knowing you created a practical and eco-friendly solution.
Once you’ve crafted your own drain-clearing masterpiece, we’d love to hear about your experience! Share your tips, tricks, and variations in the comments below. Did you find a particularly effective material? Did you modify the design in any way? Your insights could help other readers create even better versions of this handy tool. Let’s build a community of DIY drain-clearing experts! So, grab your wire, unleash your inner maker, and say goodbye to clogged drains forever!
Frequently Asked Questions (FAQ)
What kind of wire is best for making the Drain Starfish DIY Tool?
The ideal wire is sturdy yet flexible. A wire coat hanger is a common and readily available option, but you can also use thick gauge craft wire, floral wire, or even metal welding rods (if you have them). The key is to ensure the wire is strong enough to push through the clog and grab onto debris without bending or breaking easily. Avoid using thin, flimsy wire, as it will likely be ineffective.
How do I prevent the Drain Starfish DIY Tool from scratching my sink or tub?
To minimize the risk of scratches, smooth out any sharp edges on the wire before inserting it into the drain. You can use sandpaper or a metal file to round off the ends of the “starfish” arms. Also, be gentle when maneuvering the tool inside the drain. Avoid forcing it or twisting it aggressively, as this can increase the likelihood of scratching. Consider coating the ends of the wire with a thin layer of rubber or plastic dip for added protection.
How often should I use the Drain Starfish DIY Tool to prevent clogs?
Regular maintenance is key to preventing stubborn clogs. We recommend using the Drain Starfish DIY Tool at least once a month, or even more frequently if you notice your drains are draining slowly. Regular use will help remove hair, soap scum, and other debris before they accumulate and cause a major blockage. Think of it as a preventative measure rather than just a reactive solution.
What if the Drain Starfish DIY Tool doesn’t remove the clog completely?
If the Drain Starfish DIY Tool only partially clears the clog, try using it in conjunction with other drain-clearing methods. You can pour boiling water down the drain to help dissolve grease and soap scum. Alternatively, you can use a mixture of baking soda and vinegar, followed by hot water. If the clog persists, you may need to resort to a commercial drain cleaner or call a plumber. However, the Drain Starfish DIY Tool can often dislodge enough debris to allow other methods to work more effectively.
Can I use the Drain Starfish DIY Tool in all types of drains?
The Drain Starfish DIY Tool is generally safe to use in most standard sink, tub, and shower drains. However, it’s important to exercise caution when using it in drains with delicate or intricate plumbing. Avoid using it in drains with known structural issues or in drains that are connected to septic systems, as it could potentially cause damage. If you’re unsure about the suitability of the tool for a particular drain, consult with a plumber before using it.
How do I clean the Drain Starfish DIY Tool after use?
After each use, thoroughly clean the Drain Starfish DIY Tool to remove any debris that may be clinging to it. Rinse it under hot water and use a brush or cloth to scrub away any remaining hair, soap scum, or other gunk. You can also soak it in a solution of vinegar and water to disinfect it. Allow the tool to dry completely before storing it to prevent rust or corrosion.
Is the Drain Starfish DIY Tool safe to use around children and pets?
Keep the Drain Starfish DIY Tool out of reach of children and pets when not in use. The sharp ends of the wire could pose a safety hazard. Store it in a secure location where it cannot be accessed by unauthorized individuals. When using the tool, supervise children and pets to ensure they do not come into contact with it.
What are some alternative designs for the Drain Starfish DIY Tool?
There are many variations you can try! Instead of a starfish shape, you could create a spiral shape with the wire, or even a simple hook. Some people find that adding small barbs or hooks to the ends of the wire arms helps to grab onto debris more effectively. You can also experiment with different lengths of wire to customize the tool for specific drains. The key is to find a design that works best for your particular needs and preferences.
Can I use this tool to unclog a toilet?
While the Drain Starfish DIY Tool *might* dislodge some debris in a toilet, it’s generally not recommended. Toilets have a different plumbing design than sinks and tubs, and using the tool could potentially damage the toilet or its components. It’s best to use a toilet plunger or a toilet auger (also known as a snake) specifically designed for unclogging toilets.
Where should I store my Drain Starfish DIY Tool?
Store your Drain Starfish DIY Tool in a dry, safe place where it won’t be damaged or pose a hazard. A utility drawer, a garage shelf, or even a designated hook in the laundry room are all good options. Make sure it’s easily accessible when you need it but out of reach of children and pets. Consider storing it in a small container or bag to prevent it from snagging on other items.

Leave a Comment