

Clean Frying Pan Baking Soda: Is your trusty frying pan looking a little worse for wear? Are burnt-on food and stubborn grease clinging on for dear life, despite your best scrubbing efforts? Don’t despair! I’m here to tell you that you don’t need harsh chemicals or endless elbow grease to restore your pan to its former glory. You can easily clean your frying pan with baking soda.
For generations, baking soda has been a go-to cleaning agent, a humble household staple passed down through families. Its gentle abrasive properties and natural deodorizing abilities make it a powerhouse for tackling all sorts of messes. Think about it – our grandmothers relied on baking soda for everything from whitening teeth to freshening refrigerators! Now, we’re bringing this time-tested wisdom to the modern kitchen to help you tackle that grimy frying pan.
Let’s face it, nobody enjoys spending hours scrubbing pots and pans. We all lead busy lives, and time is precious. That’s why I’m so excited to share this simple, effective, and budget-friendly DIY trick with you. Not only will it save you time and energy, but it will also help you avoid exposing yourself and your family to harsh chemicals found in many commercial cleaning products. Plus, a clean frying pan ensures even cooking and prevents food from sticking, making your culinary creations even more delicious! So, let’s dive in and discover how to use clean frying pan baking soda to bring your cookware back to life!
DIY: Revive Your Grimy Frying Pan with Baking Soda Magic!
Okay, let’s face it. We’ve all been there. You’ve cooked a delicious meal, but the aftermath? A frying pan caked in burnt-on food and stubborn grease. Scrubbing for hours seems like the only option, right? Wrong! I’m going to show you a super simple, effective, and budget-friendly way to bring your frying pan back to life using the power of baking soda. Trust me, this works wonders!
What You’ll Need:
* Baking Soda (the star of the show!)
* Water
* Dish Soap (optional, but helpful)
* White Vinegar (for extra stubborn messes)
* A Non-Abrasive Sponge or Scrubber (avoid steel wool!)
* A Soft Cloth or Paper Towels
* A Large Pot or Sink (big enough to submerge your pan)
* Heat source (Stovetop)
The Basic Baking Soda Paste Method
This method is perfect for everyday grime and light burnt-on food.
1. Prepare the Pan: First, rinse your frying pan with warm water to remove any loose food particles. This will help the baking soda paste work more effectively.
2. Create the Baking Soda Paste: In a small bowl, mix baking soda with a little water to form a thick paste. The consistency should be similar to toothpaste. You want it thick enough to stick to the pan’s surface. I usually start with about 1/4 cup of baking soda and add water a teaspoon at a time until I get the right consistency.
3. Apply the Paste: Using your fingers or a non-abrasive sponge, generously apply the baking soda paste to all the affected areas of the frying pan. Make sure to cover the burnt-on food and greasy spots completely. Don’t be shy!
4. Let it Sit: This is the crucial part! Allow the baking soda paste to sit on the pan for at least 30 minutes. For really stubborn messes, you can let it sit for a few hours, or even overnight. The longer it sits, the more time the baking soda has to loosen the grime.
5. Scrub Gently: After the soaking time, use a non-abrasive sponge or scrubber to gently scrub the pan. You should notice that the burnt-on food is much easier to remove. Avoid using steel wool or abrasive scrubbers, as they can scratch the surface of your pan.
6. Rinse Thoroughly: Once you’ve scrubbed away the grime, rinse the pan thoroughly with warm water. Make sure to remove all traces of baking soda paste.
7. Dry and Admire: Finally, dry the pan with a soft cloth or paper towels. You should be amazed at how much cleaner it looks!
The Baking Soda Boil Method (For Seriously Stubborn Messes)
Sometimes, the basic paste method just isn’t enough. For those extra-tough cases, the baking soda boil method is your best bet.
1. Prepare the Pan: Again, start by rinsing the frying pan with warm water to remove any loose food particles.
2. Fill the Pan with Water: Place the frying pan on your stovetop and fill it with enough water to cover the burnt-on areas.
3. Add Baking Soda: Add about 2 tablespoons of baking soda to the water in the pan.
4. Bring to a Boil: Bring the water to a boil over medium-high heat.
5. Simmer: Once the water is boiling, reduce the heat to low and let it simmer for about 30 minutes. Keep an eye on the water level and add more if needed to ensure the burnt areas remain submerged.
6. Let it Cool: Carefully remove the pan from the heat and let the water cool down enough to handle.
7. Scrub Gently: Once the pan is cool enough to touch, use a non-abrasive sponge or scrubber to gently scrub the remaining grime. You should find that it comes off much easier after the boiling process.
8. Rinse Thoroughly: Rinse the pan thoroughly with warm water to remove all traces of baking soda.
9. Dry and Admire: Dry the pan with a soft cloth or paper towels. You should see a significant improvement!
The Baking Soda and Vinegar Power Combo (For the Ultimate Clean)
For the absolute worst burnt-on messes, combining baking soda with vinegar creates a powerful cleaning reaction.
1. Prepare the Pan: As always, rinse the frying pan with warm water to remove any loose food particles.
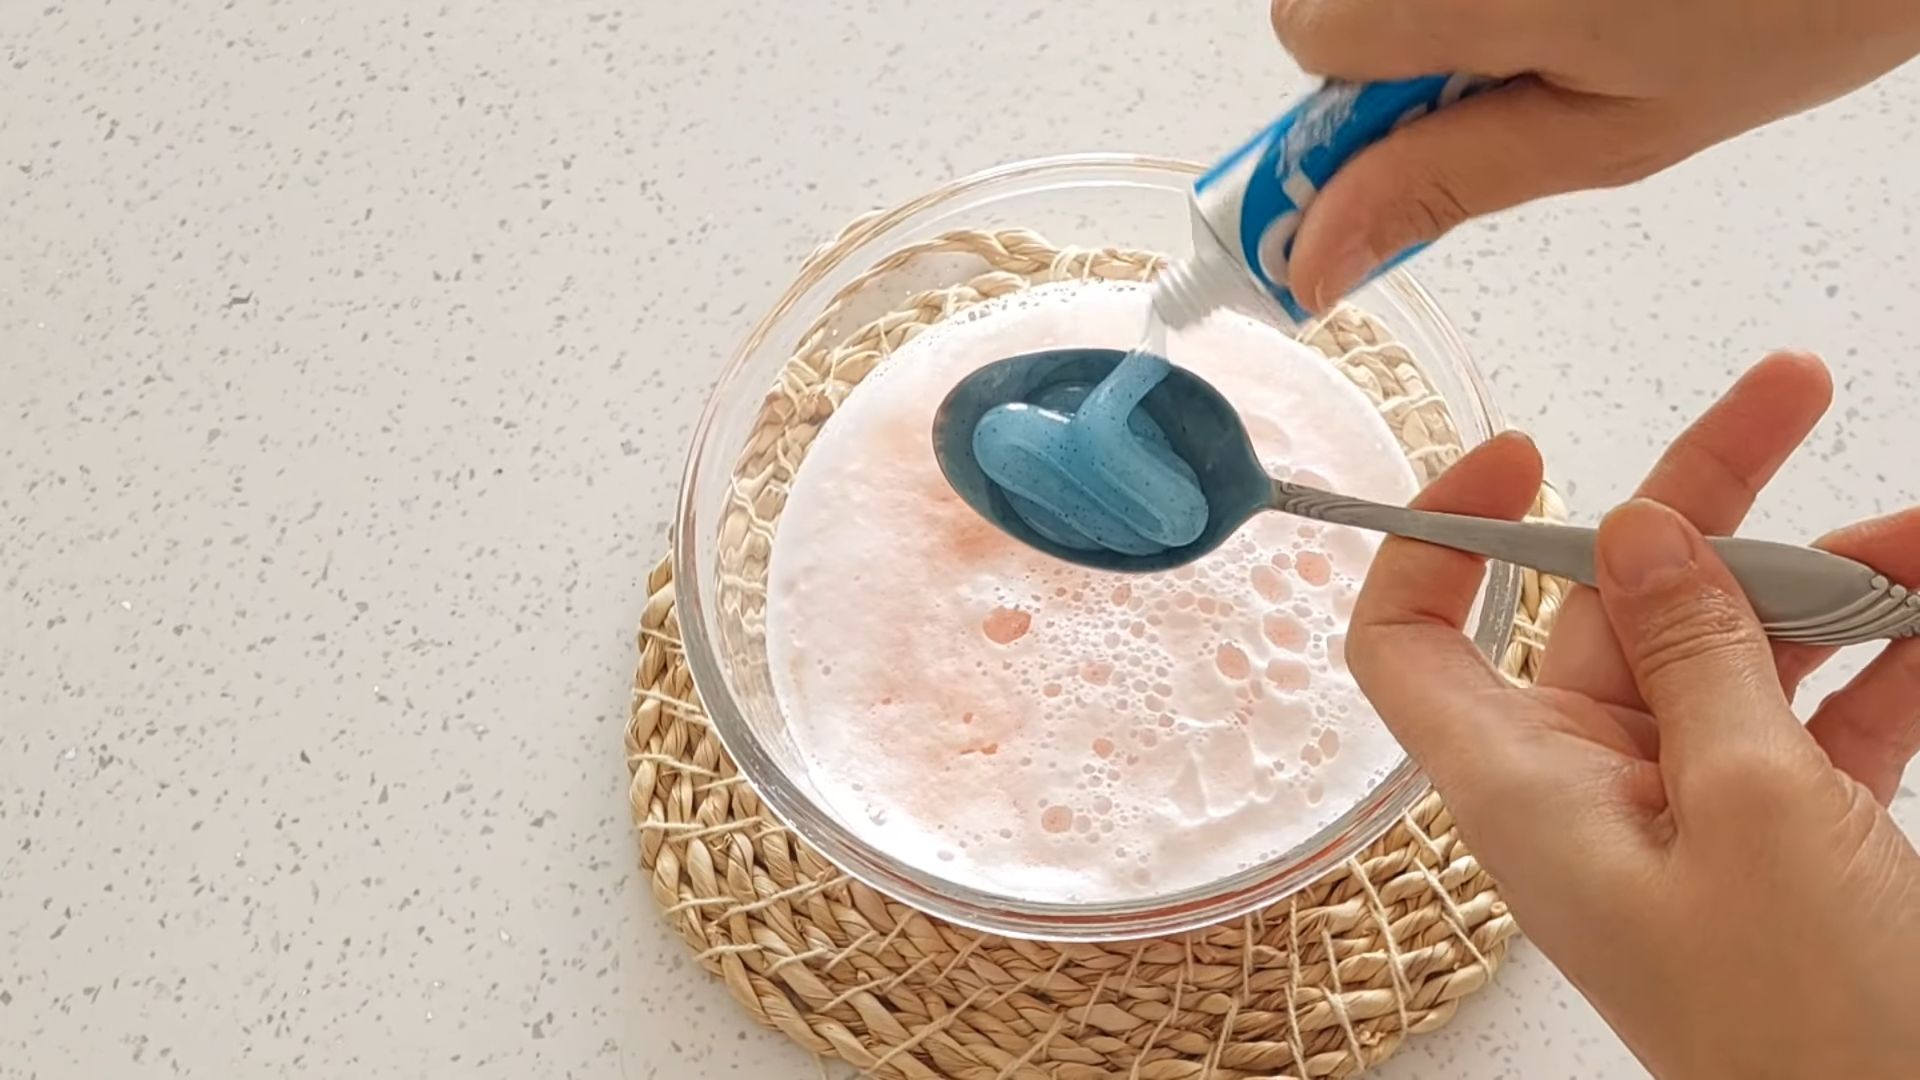
2. Cover with Baking Soda: Generously sprinkle baking soda over the burnt-on areas of the pan.
3. Add Vinegar: Pour white vinegar over the baking soda. You’ll see a fizzing reaction – that’s the magic happening!
4. Let it Fizz and Sit: Allow the mixture to fizz for a few minutes, then let it sit for about 30 minutes to an hour. The fizzing action helps to loosen the burnt-on food.
5. Add Water and Boil (Optional): For extra cleaning power, you can add water to the pan and bring it to a boil, then simmer for about 10-15 minutes. This will help to further loosen the grime.
6. Cool and Scrub: Let the pan cool down enough to handle, then use a non-abrasive sponge or scrubber to gently scrub the remaining grime.
7. Rinse Thoroughly: Rinse the pan thoroughly with warm water to remove all traces of baking soda and vinegar.
8. Wash with Dish Soap (Optional): If you want to remove any lingering odors or residue, you can wash the pan with dish soap and water.
9. Dry and Admire: Dry the pan with a soft cloth or paper towels. Your frying pan should be sparkling clean!
Tips and Tricks for Success
* Prevention is Key: The best way to avoid having to deal with burnt-on food is to prevent it in the first place. Don’t overheat your pan, and be sure to stir your food frequently.
* Don’t Use Abrasive Cleaners: Avoid using steel wool, scouring pads, or abrasive cleaners, as they can scratch the surface of your pan, especially if it’s non-stick.
* Soak Immediately: If you can’t clean your pan right away, soak it in warm, soapy water to prevent the food from hardening.
* Test in an Inconspicuous Area: Before applying any cleaning solution to the entire pan, test it in a small, inconspicuous area to make sure it doesn’t damage the finish.
* For Cast Iron Pans: If you’re cleaning a cast iron pan, be sure to re-season it after cleaning to prevent rusting.
* Dish Soap Boost: Adding a squirt of dish soap to any of these methods can help cut through grease and grime even more effectively.
* Patience is a Virtue: Don’t get discouraged if the grime doesn’t come off immediately. Sometimes, it takes a little elbow grease and a second application to get your pan sparkling clean.
* Consider the Pan Material: While baking soda is generally safe for most pan materials, always check the manufacturer’s instructions for your specific pan to ensure you’re using appropriate cleaning methods. For example, some delicate non-stick surfaces might require extra caution.
* Don’t Overboil: When using the boiling method, keep a close eye on the water level to prevent the pan from boiling dry.
* Ventilation is Important: When boiling with vinegar, ensure proper ventilation as the fumes can be strong. Open a window or turn on your kitchen fan.
Dealing with Specific Types of Pans
* Non-Stick Pans: Be extra gentle when cleaning non-stick pans. Avoid abrasive scrubbers and harsh chemicals, as they can damage the non-stick coating. The baking soda paste method is usually sufficient for cleaning non-stick pans.
* Stainless Steel Pans: Stainless steel pans are generally more durable and can withstand more aggressive cleaning methods. However, avoid using steel wool, as it can scratch the surface. The baking soda and vinegar method works well for stainless steel pans.
* Cast Iron Pans: Cast iron pans require special care. After cleaning, be sure to dry the pan thoroughly and re-season it with oil to prevent rusting.
* Copper Pans: Copper pans can be cleaned with a mixture of baking soda and lemon juice. The acidity of the lemon juice helps to remove tarnish and stains.
Why Baking Soda Works So Well
Baking soda, also known as sodium bicarbonate, is a mild alkali. This means it can react with acids, like those found in burnt food and grease, to help break them down. It’s also a gentle abrasive, which helps to scrub away the loosened grime without scratching the surface of your pan (when used with a non-abrasive sponge, of course!). Plus
Conclusion
So, there you have it! This simple yet incredibly effective DIY trick using baking soda to clean your frying pan is a game-changer. Forget spending hours scrubbing away at stubborn grease and burnt-on food. Forget harsh chemicals that leave lingering odors and potential health concerns. This method is not only eco-friendly and budget-friendly, but it also delivers remarkable results, restoring your frying pan to its former glory with minimal effort.
Why is this a must-try? Because it works! We’ve all been there, staring down at a frying pan that looks like it’s seen better days, dreading the arduous task of cleaning it. This baking soda solution cuts through the grime like a hot knife through butter, lifting away even the most persistent residue. It’s a time-saver, an energy-saver, and a sanity-saver all rolled into one.
But don’t just take our word for it. Experiment with variations to find what works best for your specific needs. For instance, if you’re dealing with particularly stubborn stains, try adding a squeeze of lemon juice to the baking soda paste. The acidity of the lemon will help to further break down the grime. Alternatively, for cast iron pans, be sure to season the pan after cleaning to maintain its non-stick properties. You can also use a slightly coarser abrasive, like kosher salt, along with the baking soda for extra scrubbing power on stainless steel pans. Remember to always test any cleaning method on a small, inconspicuous area of your pan first to ensure it doesn’t cause any damage.
The beauty of this DIY trick lies in its simplicity and adaptability. It’s a testament to the power of everyday ingredients to solve common household problems. We’re confident that once you try this method, you’ll wonder how you ever lived without it.
We wholeheartedly encourage you to give this baking soda cleaning method a try. It’s a small change that can make a big difference in your kitchen routine. And more importantly, we want to hear about your experience! Did it work wonders on your frying pan? Did you discover any helpful variations? Share your tips, tricks, and before-and-after photos in the comments below. Let’s build a community of sparkling clean frying pans together! This method is truly the best way to clean frying pan surfaces without harsh chemicals.
Frequently Asked Questions (FAQ)
Q: What type of frying pans does this baking soda cleaning method work on?
A: This method is generally safe and effective for most types of frying pans, including stainless steel, non-stick, ceramic, and even cast iron (with proper seasoning afterward). However, it’s always a good idea to test a small, inconspicuous area first, especially if you have a pan with a delicate coating. For cast iron, avoid prolonged soaking and ensure you re-season the pan immediately after cleaning to prevent rust.
Q: How much baking soda should I use?
A: The amount of baking soda you need will depend on the size and condition of your frying pan. A good starting point is about ¼ cup of baking soda. You can always add more if needed to create a thick paste. The goal is to have enough baking soda to cover the affected areas of the pan.
Q: How long should I let the baking soda paste sit on the pan?
A: For lightly soiled pans, 15-30 minutes may be sufficient. For more stubborn stains and burnt-on food, you can let the paste sit for several hours or even overnight. The longer the paste sits, the more time it has to break down the grime. Just be sure to keep the paste moist by covering the pan with a damp cloth or plastic wrap.
Q: What if the baking soda paste dries out while it’s sitting on the pan?
A: If the baking soda paste dries out, it will become less effective. To prevent this, you can cover the pan with a damp cloth or plastic wrap. If the paste does dry out, simply re-wet it with a little water before scrubbing.
Q: What type of scrubbing pad should I use?
A: The type of scrubbing pad you use will depend on the type of frying pan you have. For stainless steel pans, you can use a more abrasive scrubbing pad, such as a stainless steel scrubber or a scouring pad. For non-stick and ceramic pans, it’s important to use a non-abrasive scrubbing pad, such as a sponge or a soft-bristled brush, to avoid damaging the coating.
Q: Can I use this method to clean the outside of my frying pan?
A: Yes, this method can also be used to clean the outside of your frying pan. Simply apply the baking soda paste to the affected areas and scrub gently. For particularly stubborn stains, you can let the paste sit for a longer period of time.
Q: What if the baking soda method doesn’t completely remove all the stains?
A: If the baking soda method doesn’t completely remove all the stains, you can try repeating the process. You can also try adding a squeeze of lemon juice or a splash of vinegar to the baking soda paste for extra cleaning power. For extremely stubborn stains, you may need to use a commercial oven cleaner, but be sure to follow the manufacturer’s instructions carefully and wear appropriate safety gear.
Q: Is baking soda safe to use on all types of cookware?
A: Baking soda is generally safe to use on most types of cookware, but it’s always a good idea to test a small, inconspicuous area first. Avoid using baking soda on aluminum cookware, as it can cause discoloration. Also, be cautious when using baking soda on delicate surfaces, such as antique or vintage cookware.
Q: How often should I clean my frying pan with baking soda?
A: You can clean your frying pan with baking soda as often as needed. For lightly soiled pans, a quick cleaning with baking soda after each use may be sufficient. For more heavily soiled pans, you may need to clean them with baking soda more frequently.
Q: Can I use this method to remove rust from my cast iron frying pan?
A: While baking soda can help to remove some surface rust, it’s not a substitute for proper rust removal techniques. For more significant rust, you may need to use a steel wool or a rust remover. After removing the rust, be sure to re-season your cast iron frying pan to protect it from further rust.
Q: What are some other uses for baking soda in the kitchen?
A: Baking soda is a versatile ingredient with many uses in the kitchen. It can be used to deodorize your refrigerator, clean your microwave, unclog drains, and even leaven baked goods. It’s a true kitchen staple!

Leave a Comment