

DIY Vinegar Cleaner: Unlock the secrets to a sparkling home with a time-tested, eco-friendly solution! Are you tired of harsh chemicals and sky-high prices for cleaning products? I know I was! That’s why I dove headfirst into the world of DIY cleaning, and let me tell you, the results are amazing. This isn’t just another cleaning hack; it’s a return to simpler, more sustainable living.
Vinegar, a staple in kitchens for centuries, has a rich history that extends far beyond culinary uses. From ancient civilizations using it as a preservative to its widespread use as a disinfectant during the Middle Ages, vinegar has proven its versatility. Our grandmothers knew the power of vinegar, and now it’s time we rediscovered it too!
In today’s world, where environmental consciousness is growing and budgets are tightening, learning how to make your own DIY Vinegar Cleaner is more relevant than ever. Not only will you save money, but you’ll also reduce your exposure to harmful chemicals and minimize your environmental impact. This article will guide you through simple, effective recipes and techniques, empowering you to create a powerful, all-natural cleaner that will leave your home sparkling clean and smelling fresh. Get ready to ditch the store-bought stuff and embrace the magic of vinegar!
DIY All-Purpose Vinegar Cleaner: A Natural Cleaning Powerhouse
Hey there, fellow DIY enthusiasts! I’m so excited to share one of my absolute favorite cleaning hacks with you: making your own all-purpose vinegar cleaner. Not only is it incredibly effective, but it’s also super affordable, eco-friendly, and surprisingly easy to whip up. Forget those harsh chemicals and expensive store-bought cleaners – let’s harness the natural cleaning power of vinegar!
Why Vinegar?
Vinegar, especially white distilled vinegar, is a fantastic cleaning agent because of its acidity. It’s a natural disinfectant, deodorizer, and degreaser. It can cut through grime, kill bacteria, and leave your surfaces sparkling clean. Plus, it’s safe for most surfaces (though we’ll talk about exceptions later!).
What You’ll Need
Before we dive in, let’s gather our supplies. This is a pretty minimal list, which is part of what makes this DIY so appealing!
* White distilled vinegar
* Water (distilled water is best, but tap water works too)
* Essential oils (optional, for scent)
* Spray bottle (a clean, empty one – repurpose an old cleaner bottle!)
* Measuring cup or spoons
* Funnel (optional, but helpful for pouring)
The Basic Recipe: Vinegar and Water
The foundation of our all-purpose cleaner is a simple mixture of vinegar and water. The ratio is key, so let’s get it right.
Step 1: Choose Your Ratio
The most common ratio is a 1:1 mixture of vinegar and water. This is a good starting point for general cleaning. However, you can adjust the ratio depending on the task at hand.
* For light cleaning (windows, mirrors): Use a 1:3 ratio (1 part vinegar, 3 parts water). This will help prevent streaks.
* For tougher cleaning (grease, grime): Use a 1:1 ratio (1 part vinegar, 1 part water). You can even use straight vinegar for really stubborn messes, but be sure to rinse the surface thoroughly afterward.
Step 2: Mix the Vinegar and Water
Using your measuring cup or spoons, carefully pour the vinegar and water into your spray bottle according to your chosen ratio. If you’re using a funnel, it will make this step much easier and prevent spills.
Step 3: Shake Well
Once the vinegar and water are combined, give the spray bottle a good shake to ensure they’re thoroughly mixed.
And that’s it! You’ve created your basic all-purpose vinegar cleaner. But we can take it a step further and customize it with essential oils.
Adding Essential Oils for Scent and Extra Cleaning Power
While vinegar is a powerful cleaner, its scent can be a bit… pungent. That’s where essential oils come in! They not only add a pleasant fragrance but also offer additional cleaning and disinfecting properties.
Step 1: Choose Your Essential Oils
There are tons of essential oils that work well in cleaning solutions. Here are a few of my favorites:
* Lemon: A classic choice for its bright, citrusy scent and degreasing properties.
* Lavender: Known for its calming aroma and antibacterial properties.
* Tea Tree: A powerful antiseptic and antifungal oil, great for disinfecting.
* Eucalyptus: Has a refreshing scent and is effective against germs and bacteria.
* Peppermint: Adds a cool, invigorating scent and can help repel insects.
* Orange: Similar to lemon, it has great degreasing properties and a cheerful scent.
You can use a single essential oil or create a blend of your favorites. I often mix lemon and lavender for a fresh, clean scent.
Step 2: Add the Essential Oils to the Mixture
Add 10-20 drops of essential oil per cup of vinegar and water mixture. Start with a smaller amount and add more if you prefer a stronger scent. Remember that essential oils are potent, so a little goes a long way.
Step 3: Shake Well Again
After adding the essential oils, shake the spray bottle vigorously to ensure they’re evenly distributed throughout the mixture.
Step 4: Label Your Bottle
This is an important step! Clearly label your spray bottle with the contents (e.g., “Vinegar Cleaner – Lemon Lavender”) and the date you made it. This will prevent any confusion and ensure you know what you’re spraying.
Using Your DIY Vinegar Cleaner
Now that you’ve created your amazing all-purpose vinegar cleaner, it’s time to put it to work!
Step 1: Test on an Inconspicuous Area
Before spraying your cleaner all over, it’s always a good idea to test it on a small, hidden area first. This will ensure that it doesn’t damage or discolor the surface.
Step 2: Spray and Wipe
Spray the cleaner onto the surface you want to clean. Let it sit for a few seconds to allow the vinegar to work its magic. Then, wipe the surface clean with a damp cloth or sponge.
Step 3: Rinse (If Necessary)
For some surfaces, especially those that come into contact with food, you may want to rinse with clean water after wiping. This will remove any lingering vinegar residue.
Where to Use Your Vinegar Cleaner
This DIY cleaner is incredibly versatile and can be used on a variety of surfaces, including:
* Countertops: Great for cleaning kitchen and bathroom countertops (except for granite and marble – more on that later).
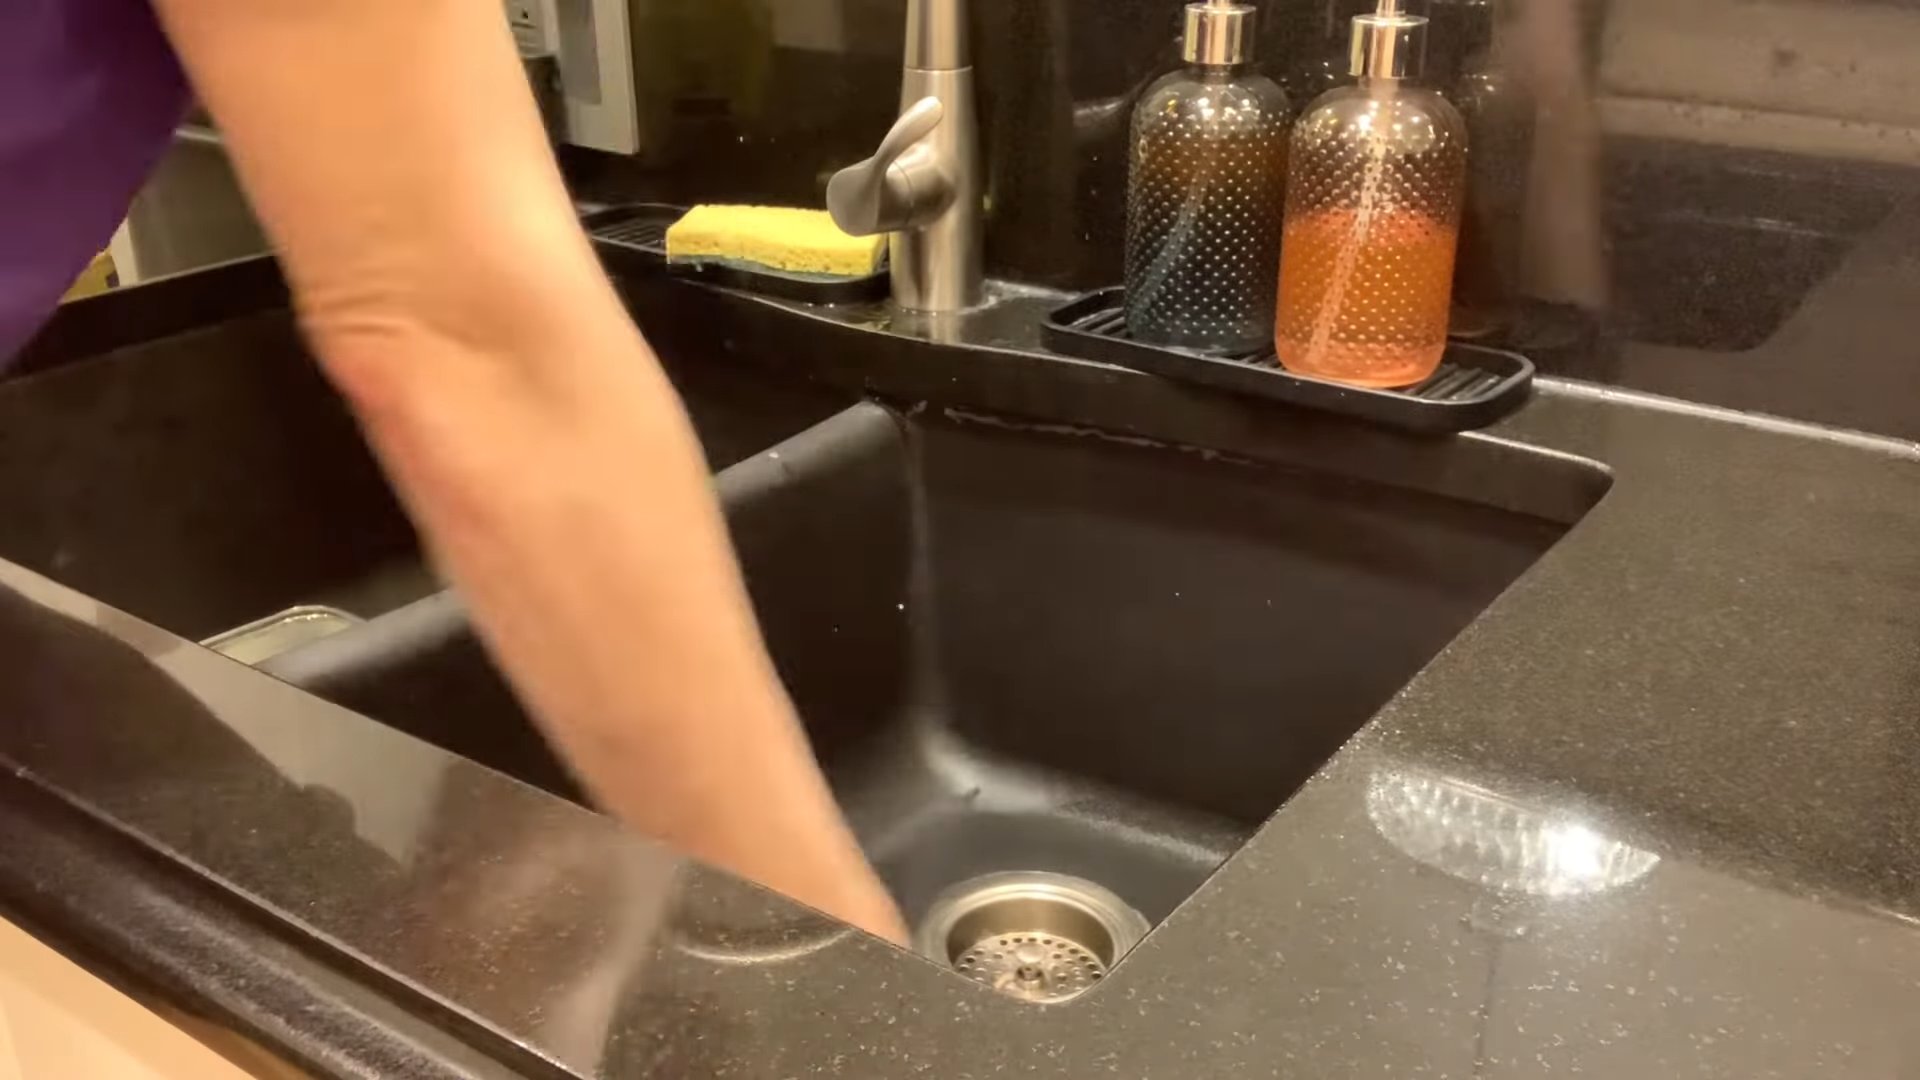
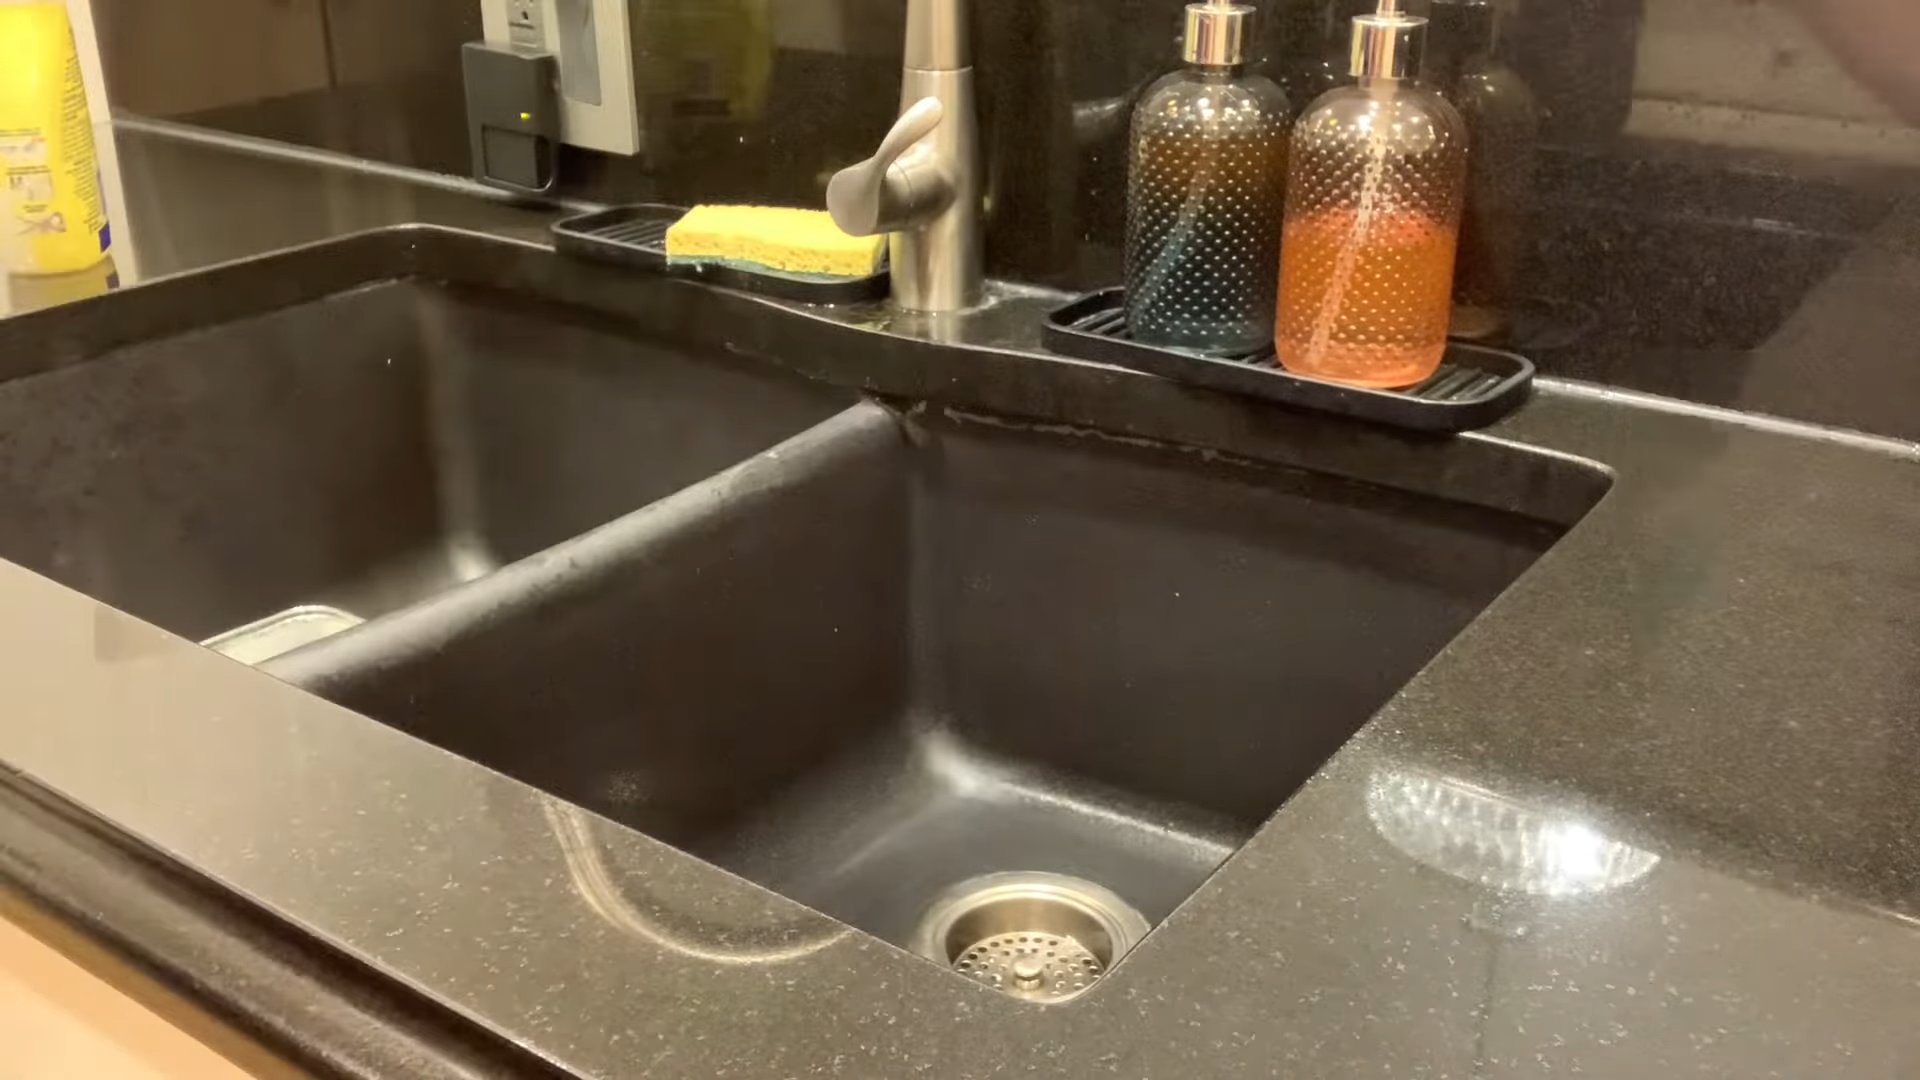
* Sinks: Removes soap scum and water spots.
* Showers and Tubs: Helps prevent mildew and soap buildup.
* Toilets: Disinfects and deodorizes.
* Floors: Works well on tile, linoleum, and vinyl floors (again, avoid using on hardwood).
* Windows and Mirrors: Creates a streak-free shine.
* Appliances: Cleans the exterior of refrigerators, ovens, and dishwashers.
* Cutting Boards: Disinfects and removes food odors.
* Coffee Makers: Descales and removes mineral buildup (run a cycle with the vinegar cleaner, then rinse thoroughly with water).
Surfaces to Avoid
While vinegar is a fantastic cleaner, it’s not suitable for all surfaces. Avoid using it on:
* Granite and Marble: The acidity of vinegar can etch and damage these natural stone surfaces.
* Hardwood Floors: Vinegar can strip the finish and dull the wood.
* Waxed Furniture: Vinegar can dissolve the wax and leave a dull finish.
* Aluminum: Vinegar can cause aluminum to corrode.
* Cast Iron: Vinegar can remove the seasoning from cast iron cookware.
* Electronics Screens: The liquid can damage the delicate components.
Always err on the side of caution and test in an inconspicuous area first!
Troubleshooting and Tips
* Vinegar Smell: If you’re concerned about the vinegar smell, don’t worry! It dissipates quickly. Adding essential oils can also help mask the scent.
* Streaks on Windows: If you’re getting streaks on your windows, try using a lower concentration of vinegar (1:3 ratio) and wiping with a microfiber cloth.
* Cloudy Cleaner: If your cleaner looks cloudy, it’s likely due to hard water. Using distilled water will prevent this.
* Mold and Mildew: For stubborn mold and mildew, you can use straight vinegar. Spray the affected area, let it sit for 30 minutes, and then scrub with a brush.
* Storage: Store your DIY vinegar cleaner in a cool, dark place. It should last for several months.
Extra Cleaning Power: Infusing Vinegar with Citrus Peels
Want to boost the cleaning power and scent of your vinegar even further? Try infusing it with citrus peels! This is a great way to use up leftover orange, lemon, or grapefruit peels.
Step 1: Collect Citrus Peels
Save your citrus peels after eating oranges, lemons, or grapefruits. Make sure the peels are clean and free of any pulp.
Step 2: Place Peels in a Jar
Place the citrus peels in a clean glass jar.
Step 3: Cover with Vinegar
Pour white distilled vinegar over the citrus peels, making sure they are completely submerged.
Step 4: Seal and Steep
Seal the jar tightly and let it steep for 2-4 weeks in a cool, dark place. The longer it steeps, the stronger the citrus scent and cleaning power will be.
Step 5: Strain and Use
After steeping, strain the vinegar through a cheesecloth or fine-mesh sieve to remove the citrus peels. Discard the peels.
Step 6: Use as Your Base
Use this citrus-infused vinegar as the vinegar component in your all-purpose cleaner recipe. Follow the same steps as before, adding water and essential oils as desired.
This citrus-infused
Conclusion
So, there you have it! Ditching those expensive, chemical-laden commercial cleaners and embracing the power of a homemade DIY vinegar cleaner is not just a trend; it’s a smart, sustainable, and surprisingly effective way to keep your home sparkling. We’ve walked you through the simple process, highlighting the versatility and cost-effectiveness of this natural cleaning solution.
Why is this a must-try? Because it’s more than just a cleaner; it’s a conscious choice. You’re reducing your exposure to harsh chemicals, minimizing plastic waste, and saving money – all while achieving impressive cleaning results. Think about it: no more mysterious ingredients lists, no more overpowering artificial fragrances, and no more contributing to overflowing landfills with empty plastic bottles. You’re taking control of your cleaning routine and creating a healthier environment for yourself and your family.
But the beauty of this DIY approach lies in its adaptability. Feel free to experiment with different essential oil combinations to create your signature scent. Lavender and lemon offer a calming and refreshing aroma, while tea tree and eucalyptus provide powerful antibacterial properties. For tougher stains, consider adding a tablespoon of baking soda to your vinegar cleaner for an extra boost of cleaning power. You can even infuse your vinegar with citrus peels for a naturally fragrant and potent cleaning solution. Let your creativity guide you!
Don’t be afraid to adjust the vinegar-to-water ratio to suit your specific needs. For light cleaning, a 1:1 ratio might suffice, while heavily soiled areas may benefit from a stronger concentration. Remember to always test your DIY vinegar cleaner on an inconspicuous area first, especially on delicate surfaces like marble or granite, to ensure it doesn’t cause any damage.
We’re confident that once you experience the cleaning power and simplicity of this DIY vinegar cleaner, you’ll never go back to store-bought alternatives. It’s a game-changer for your home and your wallet.
Now, it’s your turn! We encourage you to give this DIY trick a try. Whip up a batch of your own vinegar cleaner, experiment with different scents, and discover the joy of natural cleaning. And most importantly, share your experience with us! Let us know your favorite essential oil combinations, any modifications you made to the recipe, and the amazing results you achieved. Your feedback will not only inspire others to embrace this eco-friendly cleaning solution but also help us refine and improve our recipe. Join the movement towards a cleaner, healthier, and more sustainable home – one spray of DIY vinegar cleaner at a time!
Frequently Asked Questions (FAQ)
Is vinegar cleaner safe for all surfaces?
While vinegar is a fantastic all-purpose cleaner, it’s essential to exercise caution on certain surfaces. Avoid using vinegar on natural stone surfaces like marble, granite, and travertine, as the acidity can etch and damage them. It’s also best to steer clear of waxed wood furniture, as vinegar can strip the wax finish. Unsealed grout can also be affected by vinegar. Always test your DIY vinegar cleaner on an inconspicuous area first to ensure it doesn’t cause any discoloration or damage. For these delicate surfaces, consider using a pH-neutral cleaner specifically designed for them.
What is the best type of vinegar to use for cleaning?
Plain white distilled vinegar is the most commonly recommended type of vinegar for cleaning. It’s inexpensive, readily available, and has a consistent acidity level, making it ideal for a wide range of cleaning tasks. While other types of vinegar, such as apple cider vinegar, can also be used, they may have a stronger odor and could potentially stain light-colored surfaces. White distilled vinegar is your safest and most reliable option for a DIY vinegar cleaner.
How long does DIY vinegar cleaner last?
One of the great things about DIY vinegar cleaner is its long shelf life. Due to the acidity of vinegar, it naturally inhibits the growth of bacteria and mold. When stored in a clean, airtight container, your homemade vinegar cleaner can last indefinitely. However, the scent of any added essential oils may fade over time. To maintain the fragrance, you can add a few drops of essential oil each time you use the cleaner.
Can I mix vinegar with bleach?
Never, ever mix vinegar with bleach! This combination creates chlorine gas, a highly toxic and potentially deadly substance. The reaction can cause severe respiratory irritation, coughing, shortness of breath, and even death. Always use vinegar and bleach separately, and never in the same cleaning solution. Safety should always be your top priority when cleaning.
What essential oils are best to add to DIY vinegar cleaner?
The best essential oils to add to your DIY vinegar cleaner depend on your personal preferences and the desired cleaning benefits. Some popular choices include:
* **Lemon:** Provides a fresh, citrusy scent and has degreasing properties.
* **Lavender:** Offers a calming and relaxing aroma and has antibacterial properties.
* **Tea Tree:** A powerful antibacterial and antifungal oil, ideal for disinfecting.
* **Eucalyptus:** Has a refreshing scent and can help to clear congestion.
* **Peppermint:** Provides a refreshing and invigorating scent and has insect-repelling properties.
Experiment with different combinations to find your favorite scent and cleaning power. Remember to use pure essential oils for the best results.
My vinegar cleaner smells too strong. How can I reduce the vinegar smell?
The strong smell of vinegar is a common concern for those new to DIY vinegar cleaner. Fortunately, there are several ways to minimize the odor:
* **Add essential oils:** As mentioned earlier, essential oils can help to mask the vinegar smell and add a pleasant fragrance.
* **Ventilate the area:** Open windows and doors to allow fresh air to circulate while you’re cleaning.
* **Dilute the vinegar:** If the smell is too strong, try diluting the vinegar with more water.
* **The smell dissipates quickly:** The good news is that the vinegar smell typically dissipates within a few minutes after cleaning.
Can I use DIY vinegar cleaner to clean my toilet?
Yes, DIY vinegar cleaner is an excellent option for cleaning your toilet. Its acidity helps to dissolve mineral deposits and kill bacteria. Simply pour a cup of vinegar into the toilet bowl, let it sit for 15-30 minutes, and then scrub with a toilet brush. You can also add a few drops of tea tree oil for extra disinfecting power.
Is DIY vinegar cleaner safe for pets and children?
Yes, DIY vinegar cleaner is generally considered safe for pets and children, as it doesn’t contain harsh chemicals or toxic ingredients. However, it’s still important to exercise caution and keep the cleaner out of reach of children and pets. While vinegar is non-toxic, ingesting large amounts can cause stomach upset. If your pet or child accidentally ingests vinegar cleaner, contact your veterinarian or poison control center.
Can I use DIY vinegar cleaner on my hardwood floors?
While some sources say that you can use diluted vinegar on hardwood floors, many manufacturers advise against it. The acidity of vinegar can damage the finish on hardwood floors over time, leading to dullness and discoloration. It’s best to use a cleaner specifically designed for hardwood floors or consult with the flooring manufacturer for recommendations.
How can I make a DIY vinegar cleaner for glass and windows?
For streak-free glass and windows, use a DIY vinegar cleaner with a slightly different ratio. Mix 1 part white distilled vinegar with 10 parts water in a spray bottle. Add a few drops of dish soap for extra cleaning power. Spray the solution onto the glass, wipe with a clean microfiber cloth, and then dry with another clean, dry microfiber cloth. This will leave your glass sparkling clean and streak-free.

Leave a Comment