

Grow Kale at Home, even if you think you have a black thumb! Have you ever dreamed of stepping outside your back door and harvesting fresh, vibrant kale for a healthy smoothie or a delicious salad? It’s more achievable than you might think, and this DIY guide is packed with simple tricks to make it a reality.
Kale, a nutritional powerhouse, has been cultivated for over 2,000 years, with roots tracing back to the eastern Mediterranean. From ancient Roman gardens to medieval European farms, kale has sustained populations with its resilience and abundant vitamins. Today, we’re bringing this historical staple into your backyard!
Why should you learn to grow kale at home? Well, store-bought kale can be expensive and sometimes lacks the freshness and flavor of homegrown varieties. Plus, knowing exactly where your food comes from and how it’s grown gives you peace of mind. This DIY article will provide you with easy-to-follow steps and clever hacks to cultivate thriving kale plants, even in small spaces or with limited gardening experience. I’m excited to share these tips with you, so you can enjoy the satisfaction of harvesting your own healthy, delicious kale!
Growing Kale at Home: A Beginner’s Guide
Hey there, fellow gardening enthusiasts! I’m so excited to share my experience with growing kale at home. It’s surprisingly easy, incredibly rewarding, and gives you access to fresh, nutritious greens right in your backyard (or even on your balcony!). Kale is a superfood powerhouse, packed with vitamins and minerals, and it’s incredibly versatile in the kitchen. Whether you’re a seasoned gardener or just starting out, this guide will walk you through everything you need to know to successfully grow your own kale.
Choosing Your Kale Variety
First things first, let’s talk about kale varieties. There are so many to choose from, each with its own unique flavor, texture, and appearance. Here are a few popular options:
* **Curly Kale (Scotch Kale):** This is the classic kale you probably see most often in the grocery store. It has tightly curled, frilly leaves and a slightly bitter flavor. It’s super hardy and great for soups, stews, and kale chips.
* **Lacinato Kale (Dinosaur Kale, Tuscan Kale):** This variety has long, narrow, dark green leaves with a slightly bumpy texture. It’s also known as dinosaur kale because the leaves resemble dinosaur skin! Lacinato kale has a milder, sweeter flavor than curly kale and is delicious in salads, sauteed, or roasted.
* **Red Russian Kale:** This kale has flat, fringed leaves with reddish-purple stems. It’s incredibly beautiful and adds a pop of color to your garden. Red Russian kale has a slightly sweet and peppery flavor, making it great for salads and stir-fries.
* **Redbor Kale:** This variety is known for its vibrant purple, deeply ruffled leaves. It’s not only delicious but also adds a stunning visual element to your garden. Redbor kale has a slightly milder flavor than other varieties and is great for salads, sauteed dishes, or as a garnish.
I personally love growing a mix of different varieties to add variety to my meals and visual interest to my garden.
Getting Started: Seeds vs. Seedlings
You have two main options for starting your kale: from seeds or from seedlings (also known as transplants).
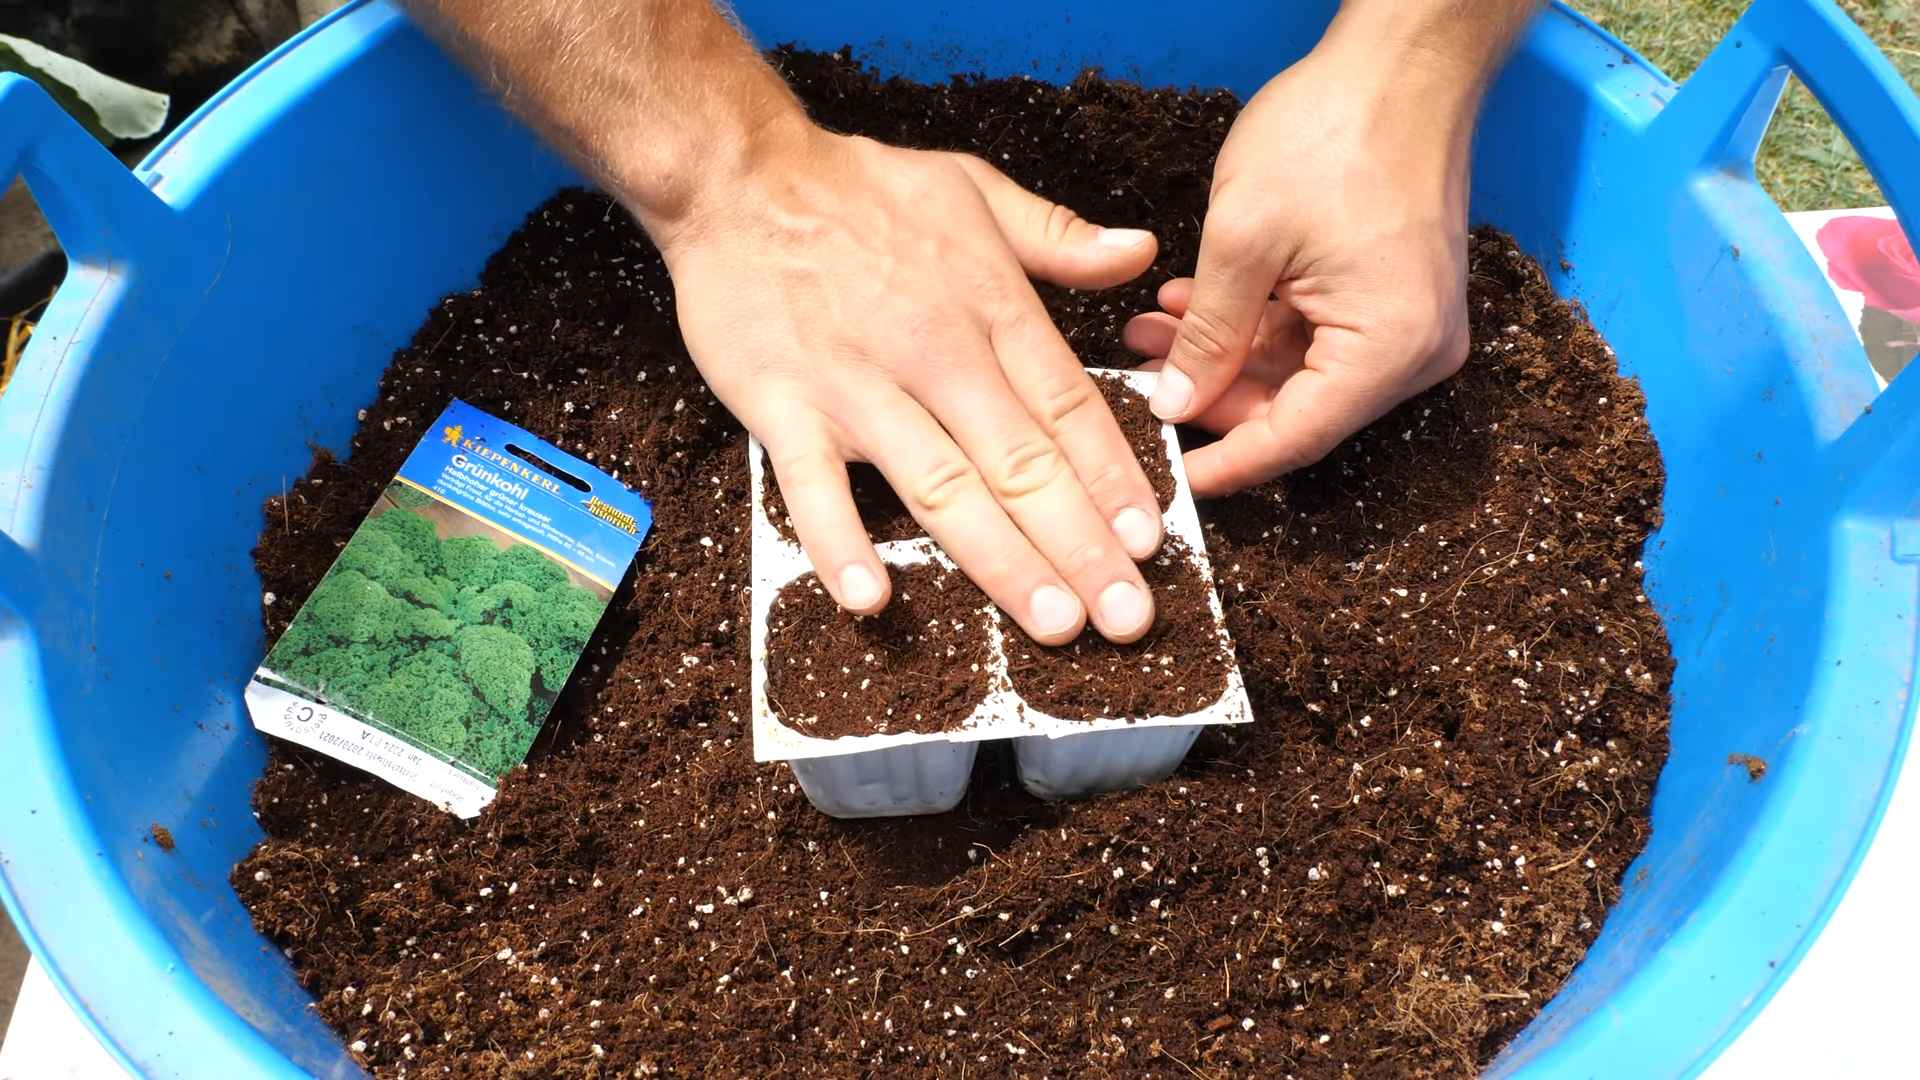
* **Starting from Seeds:** This is the more economical option, and it gives you more control over the entire growing process. You can start seeds indoors about 4-6 weeks before the last expected frost, or you can direct sow them outdoors once the soil has warmed up to at least 50°F (10°C).
* **Starting from Seedlings:** This is a great option if you’re short on time or don’t have the space to start seeds indoors. You can purchase seedlings from your local garden center or nursery. Just make sure to choose healthy-looking plants with vibrant green leaves.
I’ve done both, and honestly, both work great! Starting from seeds is definitely more budget-friendly, but seedlings give you a head start.
Step-by-Step Guide to Growing Kale
Okay, let’s get down to the nitty-gritty! Here’s a step-by-step guide to growing kale at home:
1. Preparing the Soil
Kale thrives in well-drained soil that’s rich in organic matter. Before planting, amend your soil with compost or well-rotted manure. This will improve drainage, add nutrients, and help retain moisture.
* **Soil pH:** Kale prefers a soil pH between 6.0 and 7.5. You can test your soil pH using a soil testing kit, which you can find at most garden centers. If your soil is too acidic (pH below 6.0), you can add lime to raise the pH. If it’s too alkaline (pH above 7.5), you can add sulfur to lower the pH.
* **Sunlight:** Kale needs at least 6 hours of sunlight per day to thrive. Choose a location in your garden that receives plenty of sunlight.
2. Planting Kale Seeds or Seedlings
* **From Seeds:**
1. Sow seeds about 1/2 inch deep and 1-2 inches apart.
2. Gently water the soil.
3. Keep the soil moist until the seeds germinate, which usually takes about 5-10 days.
4. Once the seedlings have a few true leaves, thin them out to about 12-18 inches apart.
* **From Seedlings:**
1. Dig a hole that’s slightly larger than the root ball of the seedling.
2. Gently remove the seedling from its container and loosen the roots.
3. Place the seedling in the hole and backfill with soil.
4. Water thoroughly.
5. Space seedlings about 12-18 inches apart.
3. Watering and Fertilizing
* **Watering:** Kale needs consistent moisture, especially during hot, dry weather. Water deeply whenever the top inch of soil feels dry to the touch. Avoid overwatering, as this can lead to root rot.
* **Fertilizing:** Kale is a heavy feeder, so it benefits from regular fertilization. Use a balanced fertilizer (such as 10-10-10) or an organic fertilizer like fish emulsion or compost tea. Fertilize every 2-3 weeks during the growing season.
4. Pest and Disease Control
Kale is generally a pretty hardy plant, but it can be susceptible to certain pests and diseases. Here are a few common problems and how to deal with them:
* **Cabbage Worms:** These green caterpillars can quickly devour kale leaves. Handpick them off the plants or use a biological insecticide like Bacillus thuringiensis (Bt).
* **Aphids:** These tiny insects suck the sap from kale leaves, causing them to become distorted and yellow. Spray aphids with a strong stream of water or use insecticidal soap.
* **Flea Beetles:** These small, jumping beetles can create tiny holes in kale leaves. Cover your plants with row covers to prevent flea beetles from reaching them.
* **Downy Mildew:** This fungal disease causes yellow spots on the upper surface of kale leaves and a white, fuzzy growth on the underside. Improve air circulation around your plants and avoid overhead watering to prevent downy mildew. If you see signs of downy mildew, remove the affected leaves and spray the plants with a fungicide.
I like to inspect my kale plants regularly for any signs of pests or diseases. Early detection is key to preventing problems from getting out of hand.
5. Harvesting Kale
You can start harvesting kale leaves once they’re about 4-6 inches long. Simply cut off the outer leaves, leaving the inner leaves to continue growing. This is known as “cut-and-come-again” harvesting, and it allows you to harvest kale continuously throughout the growing season.
* **Harvesting Tips:**
* Harvest kale in the morning, after the dew has dried.
* Choose leaves that are firm and brightly colored.
* Avoid harvesting leaves that are yellowed or damaged.
* Store harvested kale in the refrigerator for up to a week.
I find that kale tastes best after a light frost, as the cold temperatures help to sweeten the leaves.
Extending Your Kale Season
Kale is a cool-season crop, which means it grows best in the spring and fall. However, you can extend your kale season by using a few simple techniques:
* **Succession Planting:** Plant kale seeds or seedlings every few weeks to ensure a continuous harvest throughout the growing season.
* **Cold Frames or Row Covers:** Use cold frames or row covers to protect your kale plants from frost and extend the growing season into the winter.
* **Overwintering:** In mild climates, you can overwinter kale plants by mulching them heavily and protecting them from harsh weather.
I’ve successfully overwintered kale in my garden for several years, and it’s always a treat to have fresh greens available even in the dead of winter.
Enjoying Your Homegrown Kale
Now for the best part: enjoying the fruits (or rather, the leaves!) of your labor. Kale is incredibly versatile and can be used in a wide variety of dishes. Here are a few of my favorite ways to enjoy homegrown kale:
* **Salads:** Lacinato kale and Red Russian kale are particularly delicious in salads. Massage the leaves with olive oil and lemon juice to tenderize them.
* **Smoothies:** Add a handful of kale to your favorite smoothie for a boost of nutrients.
* **Soups and Stews:** Kale adds a hearty and nutritious element to soups and stews.
* **Sauteed:** Saute kale with garlic, olive oil, and a pinch of red pepper flakes for a simple and delicious side dish.
* **Kale Chips:** Toss kale leaves with olive oil, salt, and pepper, and bake them in the oven until crispy.
* **Roasted:** Roast kale with other vegetables like sweet potatoes, Brussels sprouts, and carrots for a flavorful and healthy meal.
I hope this guide has inspired you to grow your own kale at home. It’s a rewarding experience that will provide you with fresh, nutritious greens for months
Conclusion
So, there you have it! Growing kale at home is not only achievable, but it’s also incredibly rewarding. Forget those wilted, overpriced bunches at the grocery store. Imagine stepping into your own backyard or onto your balcony and harvesting fresh, vibrant kale leaves whenever you need them. The difference in taste and texture is truly remarkable – a crispness and sweetness you just can’t find in store-bought varieties.
This DIY approach to growing kale offers a multitude of benefits. You have complete control over the growing environment, ensuring your kale is free from harmful pesticides and herbicides. Plus, it’s a fantastic way to reduce your carbon footprint and connect with nature. Think of the satisfaction of knowing exactly where your food comes from and the positive impact you’re having on the environment.
But the best part? It’s surprisingly easy! Whether you have a sprawling garden or a small apartment balcony, there’s a way to make it work. Start with seeds or seedlings, provide adequate sunlight and well-drained soil, and watch your kale thrive.
Don’t be afraid to experiment! Try different varieties of kale, such as curly kale, lacinato kale (also known as dinosaur kale), or red Russian kale. Each variety offers a unique flavor and texture, adding variety to your meals. You can also experiment with companion planting, growing kale alongside other vegetables and herbs that can help deter pests and improve growth. Consider planting marigolds to repel aphids or garlic to deter cabbage moths.
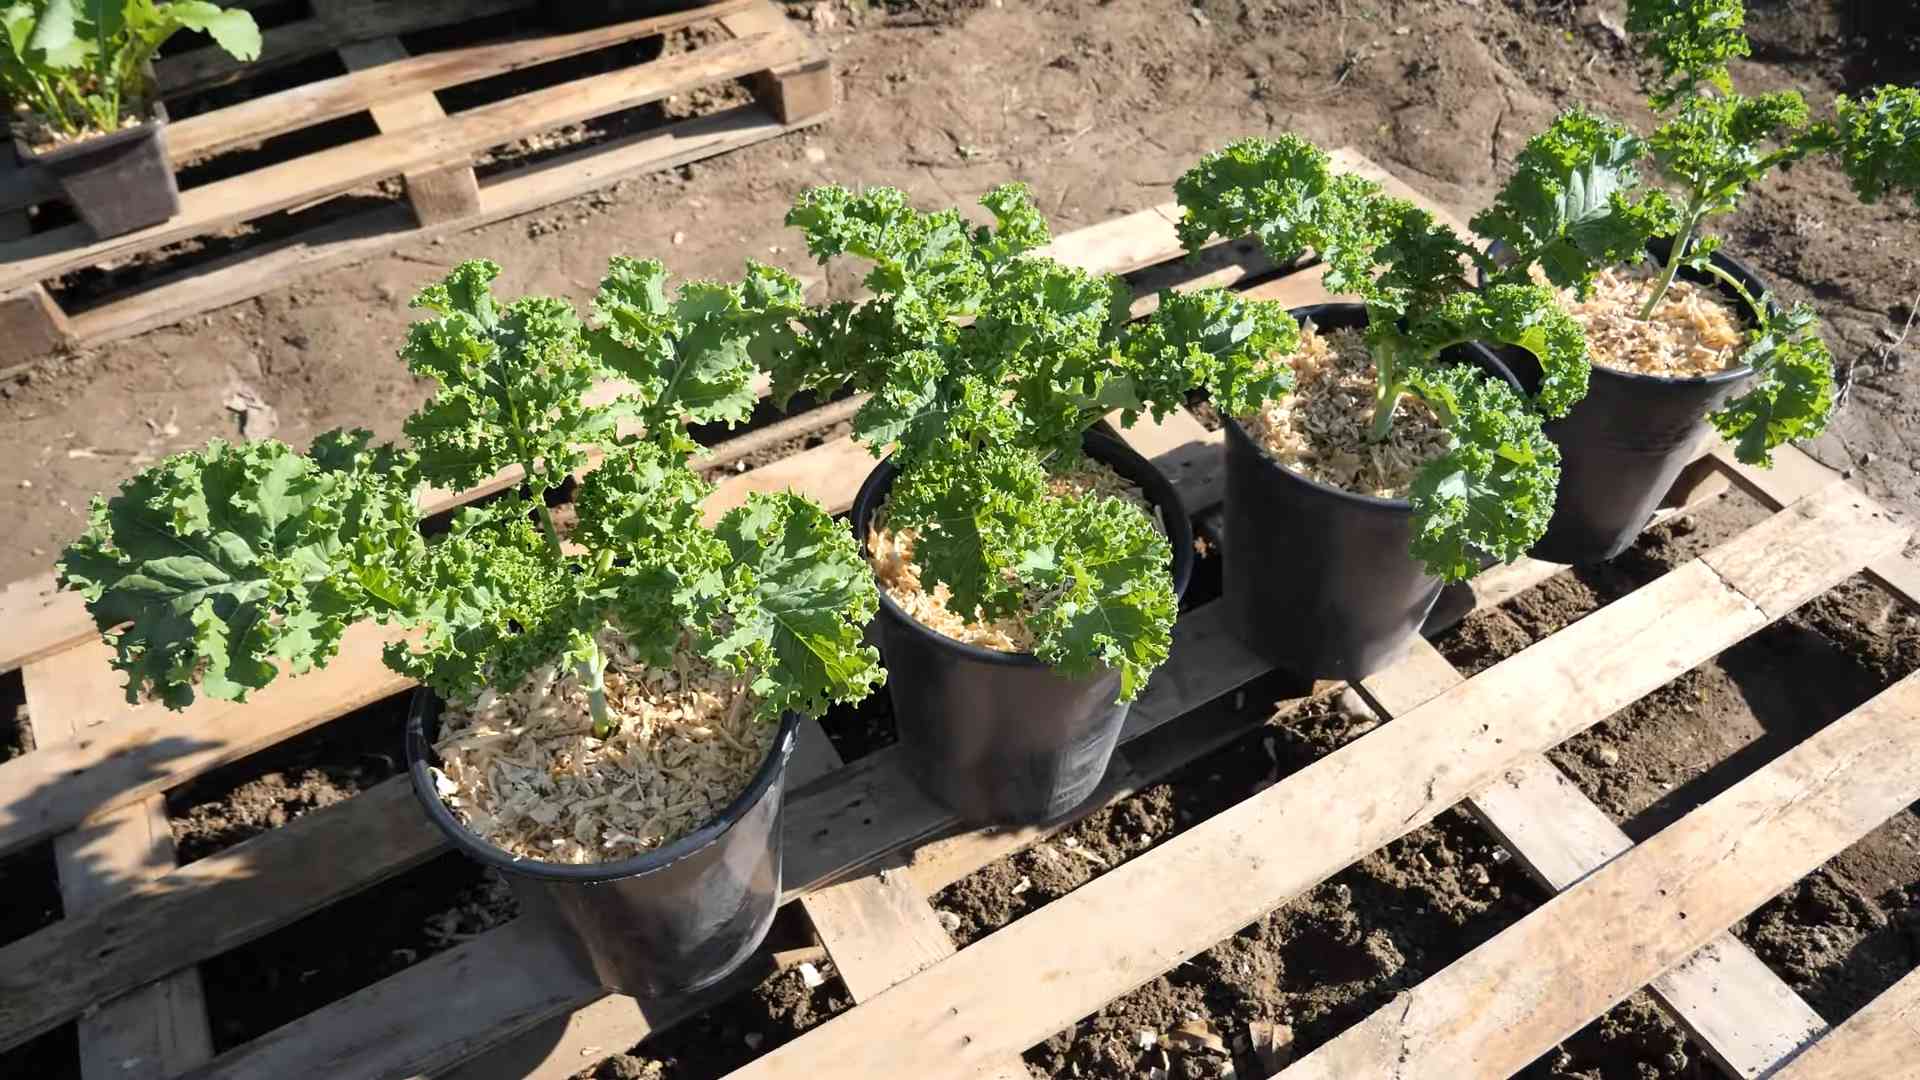
For those with limited space, container gardening is an excellent option. Choose a pot that’s at least 12 inches deep and wide to allow the kale roots to spread. Use a high-quality potting mix and be sure to water regularly. You can even grow kale indoors under grow lights, providing a year-round supply of fresh greens.
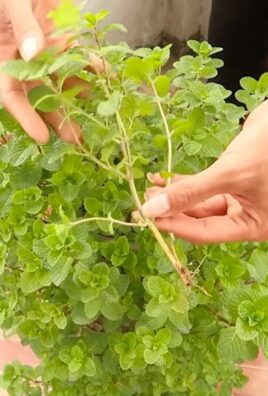
And if you’re feeling adventurous, why not try growing kale from cuttings? Simply take a cutting from a mature kale plant, remove the lower leaves, and place it in water until roots develop. Then, transplant the cutting into soil and watch it grow into a new kale plant.
Growing your own kale is more than just a way to save money and eat healthier; it’s a therapeutic and fulfilling experience. It’s a chance to connect with nature, learn new skills, and enjoy the fruits (or rather, vegetables) of your labor.
We wholeheartedly encourage you to give this DIY trick a try. You’ll be amazed at how easy and rewarding it is to grow your own kale. And once you’ve harvested your first batch of fresh, homegrown kale, be sure to share your experience with us! We’d love to hear about your successes, challenges, and favorite ways to use your homegrown kale. Share your photos and stories on social media using #HomegrownKale and inspire others to join the movement. Let’s all enjoy the benefits of fresh, homegrown kale together!
Frequently Asked Questions (FAQ)
What is the best time of year to plant kale?
Kale is a cool-season crop, meaning it thrives in cooler temperatures. The best time to plant kale is in the early spring or late summer/early fall. For a spring crop, start seeds indoors 6-8 weeks before the last expected frost. Transplant seedlings outdoors once the soil has warmed up and the risk of frost has passed. For a fall crop, sow seeds directly into the garden in late summer or early fall. This will allow the kale to mature before the first frost. In warmer climates, kale can be grown throughout the winter.
How much sunlight does kale need?
Kale needs at least 6 hours of sunlight per day to thrive. Choose a location in your garden that receives full sun. If you’re growing kale indoors, use grow lights to provide adequate light. Rotate the plants regularly to ensure even growth. Insufficient sunlight can result in leggy, weak plants with poor leaf production.
What kind of soil is best for growing kale?
Kale prefers well-drained soil that is rich in organic matter. Amend your soil with compost or other organic materials before planting. The ideal soil pH for kale is between 6.0 and 7.5. You can test your soil pH using a soil testing kit. If your soil is too acidic, add lime to raise the pH. If it’s too alkaline, add sulfur to lower the pH.
How often should I water kale?
Kale needs consistent moisture to thrive. Water deeply and regularly, especially during dry periods. Aim to keep the soil consistently moist but not waterlogged. Overwatering can lead to root rot. Use a soaker hose or drip irrigation to water at the base of the plants, avoiding wetting the leaves. This will help prevent fungal diseases.
What are some common pests and diseases that affect kale?
Kale is susceptible to a variety of pests and diseases, including aphids, cabbage worms, flea beetles, and fungal diseases. Inspect your plants regularly for signs of pests or diseases. Handpick pests off the plants or use insecticidal soap or neem oil to control infestations. To prevent fungal diseases, ensure good air circulation around the plants and avoid overhead watering. Crop rotation can also help prevent soilborne diseases.
How do I harvest kale?
You can begin harvesting kale leaves once they are large enough to eat, typically when they are about 4-6 inches long. Harvest the outer leaves first, leaving the inner leaves to continue growing. This will allow you to harvest kale continuously throughout the growing season. Use a sharp knife or scissors to cut the leaves cleanly from the stem.
How do I store kale?
Freshly harvested kale can be stored in the refrigerator for up to a week. Wrap the leaves in a damp paper towel and place them in a plastic bag or container. You can also freeze kale for longer storage. Blanch the leaves in boiling water for 2-3 minutes, then plunge them into ice water to stop the cooking process. Drain the kale thoroughly and freeze it in freezer bags or containers.
Can I grow kale in containers?
Yes, kale can be grown successfully in containers. Choose a pot that is at least 12 inches deep and wide to allow the roots to spread. Use a high-quality potting mix and be sure to water regularly. Container-grown kale may need to be fertilized more frequently than kale grown in the ground. Use a balanced fertilizer according to the package directions.
Is kale a good source of nutrients?
Yes, kale is an excellent source of nutrients. It is packed with vitamins A, C, and K, as well as calcium, iron, and antioxidants. Kale is also a good source of fiber. Adding kale to your diet can help improve your overall health and well-being.
What are some ways to use homegrown kale?
There are countless ways to use homegrown kale. You can add it to salads, smoothies, soups, stews, and stir-fries. You can also bake kale chips, sauté it with garlic and olive oil, or use it as a topping for pizza or pasta. Get creative and experiment with different recipes to find your favorite ways to enjoy this nutritious and delicious vegetable.
Leave a Comment