

Grow Taro Indoors Organically? Absolutely! Imagine harvesting your own vibrant, edible taro leaves right from your living room – a taste of the tropics without ever leaving home. For centuries, taro has been a staple food in many cultures, particularly in Polynesia and Asia, where it’s revered not just for its nutritional value but also for its cultural significance. Think of poi in Hawaii or the various taro-based dishes enjoyed across Southeast Asia. It’s a plant deeply intertwined with history and tradition.
But why should you bother trying to grow taro indoors organically? Well, beyond the sheer joy of nurturing a plant from sprout to harvest, growing your own taro allows you to control exactly what goes into it. No harsh chemicals, no questionable pesticides – just pure, organic goodness. Plus, let’s be honest, it’s a fantastic conversation starter! In this article, I’m going to share my tried-and-true DIY tricks and hacks for successfully cultivating taro indoors, even if you don’t have a green thumb. Get ready to transform your space into a mini-tropical oasis and enjoy the satisfaction of growing your own delicious, organic taro!
Growing Taro Indoors Organically: A Beginner’s Guide
Hey there, fellow plant enthusiasts! Ever thought about growing your own taro indoors? It’s totally doable, and trust me, the satisfaction of harvesting your own organically grown taro is amazing. Taro, also known as *Colocasia esculenta*, is a beautiful and useful plant. Its leaves are gorgeous, and the corms (the underground part) are edible and delicious. Plus, growing it organically means you’re avoiding harmful chemicals and creating a healthier environment for yourself and your plants. Let’s dive into how you can make this happen!
Choosing the Right Taro Variety
Not all taro varieties are created equal, especially when it comes to indoor growing. Some get HUGE, which isn’t ideal for a pot inside your house. Here are a few that tend to do well indoors:
* Bun Long: This variety is known for its relatively compact size and beautiful, slightly ruffled leaves. It’s a great choice for beginners.
* Black Magic: If you’re looking for something dramatic, Black Magic taro has stunning, almost black leaves. It adds a real visual punch to any indoor garden.
* Illustris: This one has striking green leaves with purple veins, making it a real conversation starter. It’s also relatively easy to care for.
Preparing for Planting
Before you even think about getting your hands dirty, you need to gather your supplies and prep your planting area.
* Choosing the Right Pot: Taro needs room to grow, especially its roots. I recommend a pot that’s at least 12 inches in diameter and 12 inches deep. Make sure it has drainage holes! Taro loves moisture, but soggy roots are a no-no.
* Selecting the Soil: Organic is the name of the game! I like to use a mix of equal parts:
* Compost: This provides essential nutrients and helps retain moisture.
* Coco Coir or Peat Moss: These improve drainage and aeration.
* Perlite or Vermiculite: These further enhance drainage and prevent the soil from becoming compacted.
* Finding the Right Location: Taro loves bright, indirect light. An east-facing window is usually ideal. Avoid direct sunlight, which can scorch the leaves. If you don’t have enough natural light, you can supplement with a grow light.
* Getting Your Corm or Seedling: You can start taro from a corm (the underground tuber) or a seedling. Corms are generally easier to find and get started. You can often find them at local nurseries or online.
Planting Your Taro
Okay, now for the fun part! Let’s get that taro planted.
1. Prepare the Pot: Fill your pot with the organic soil mix, leaving about an inch or two of space at the top.
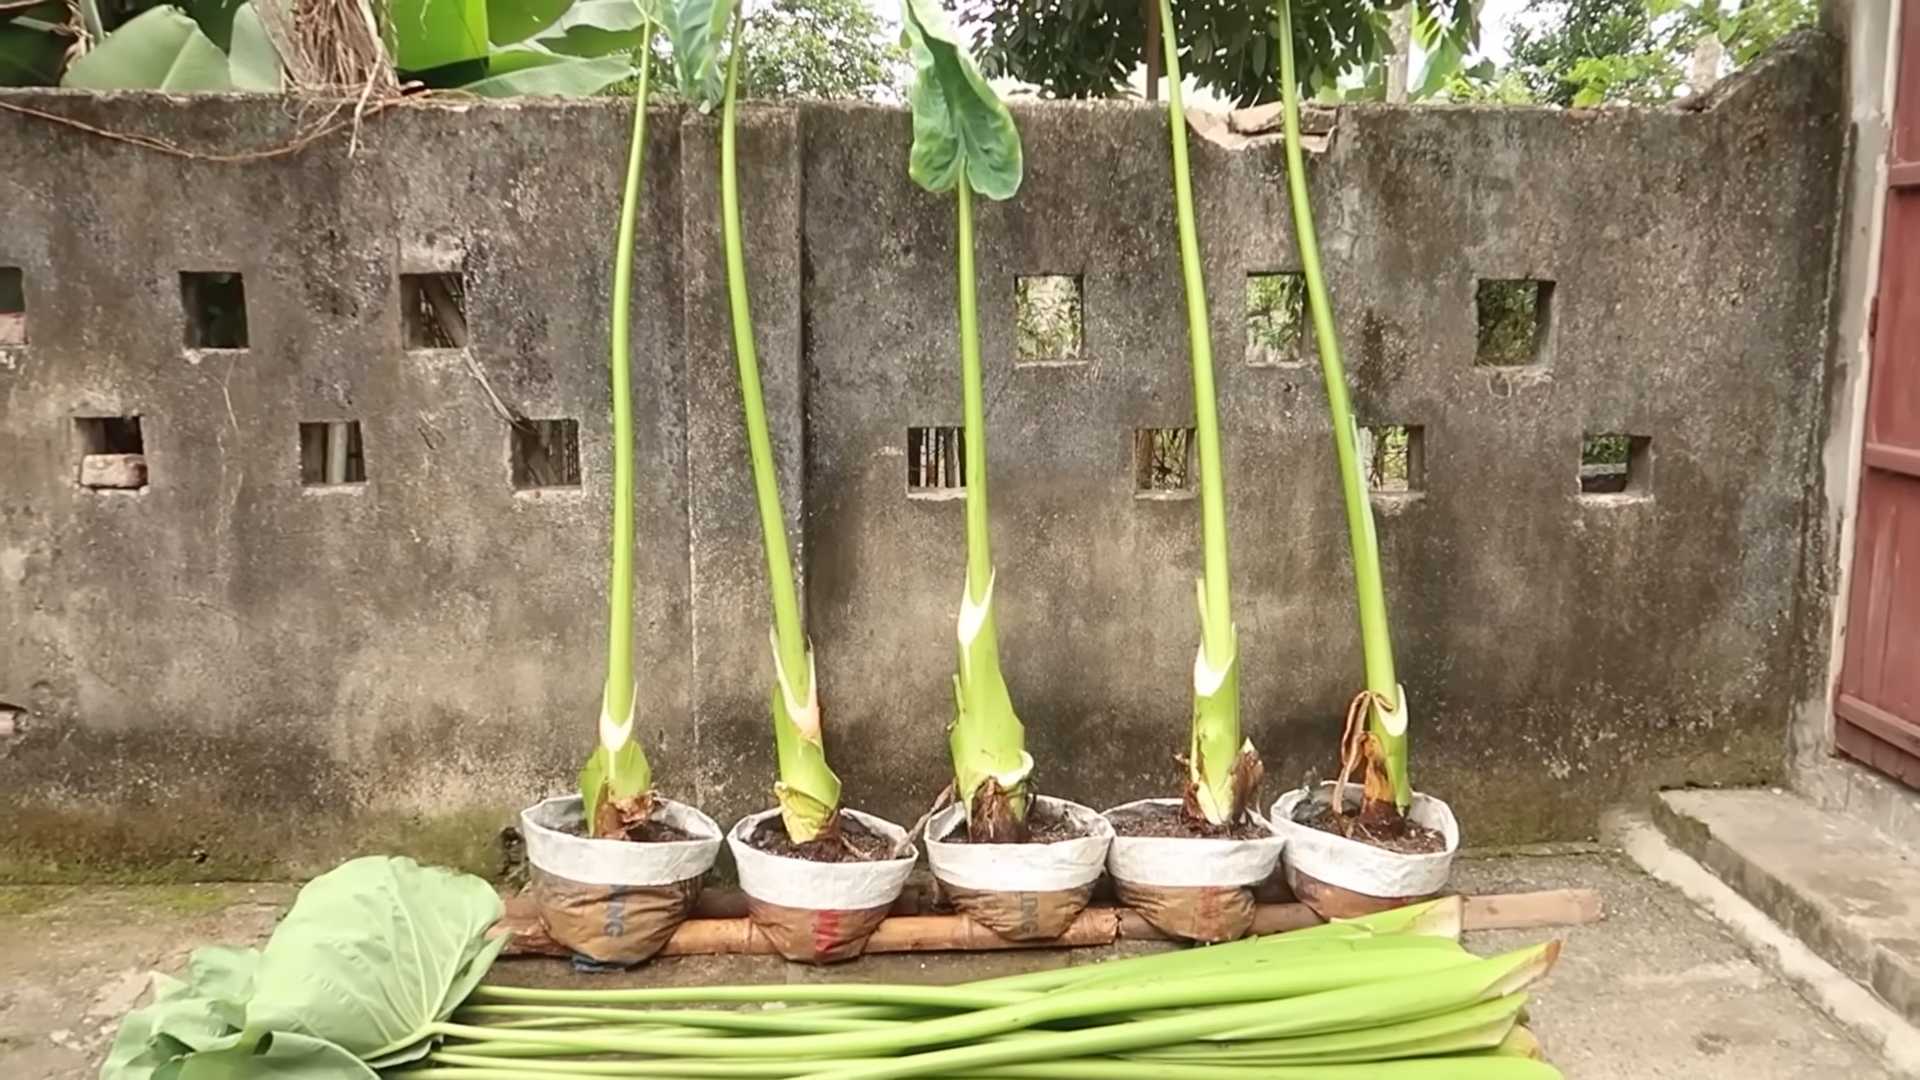
2. Plant the Corm: If you’re starting with a corm, place it horizontally on top of the soil. Then, cover it with about 2-3 inches of soil. Make sure the “eye” (the little bud where the plant will sprout) is facing upwards.
3. Plant the Seedling: If you’re starting with a seedling, gently remove it from its container and loosen the roots a bit. Dig a hole in the soil large enough to accommodate the root ball. Place the seedling in the hole and backfill with soil, gently firming it around the base of the plant.
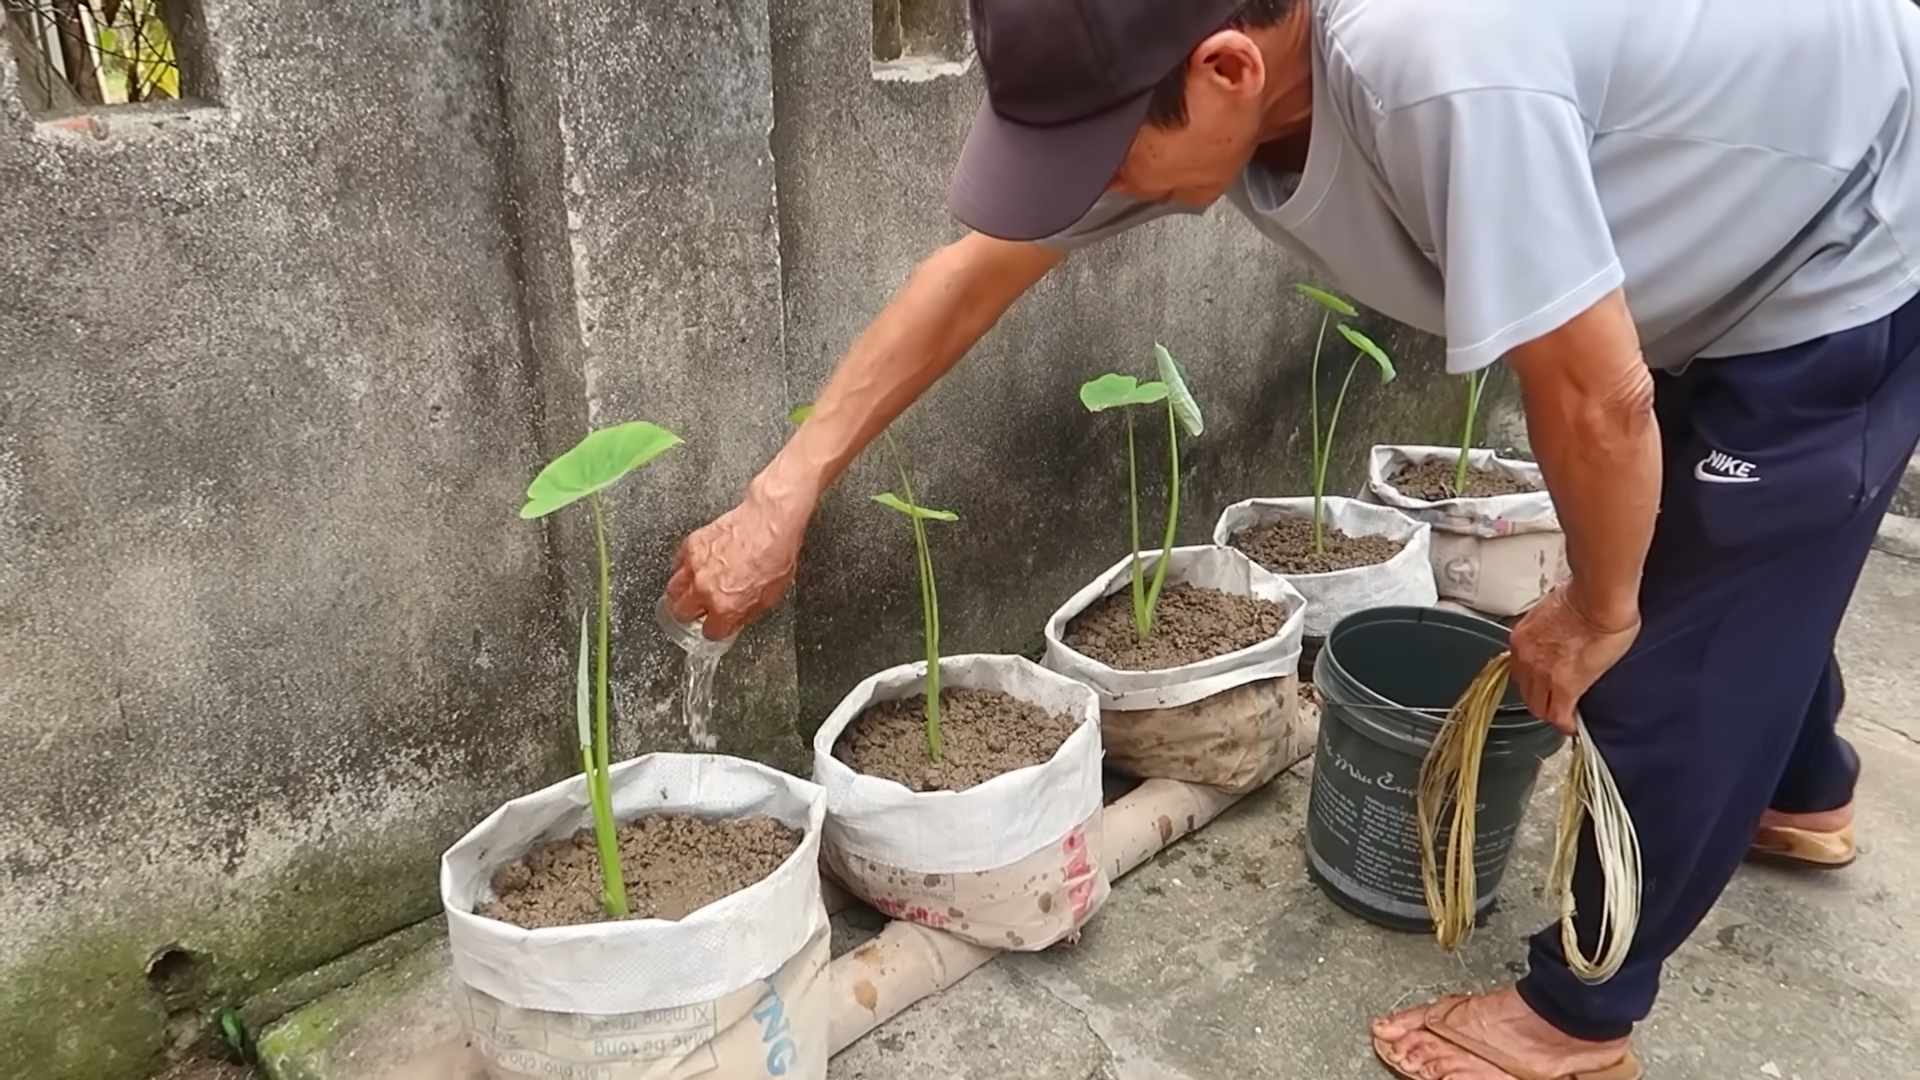
4. Water Thoroughly: After planting, water the soil thoroughly until water drains out of the bottom of the pot. This helps settle the soil and get the roots off to a good start.
Caring for Your Indoor Taro
Now that your taro is planted, it’s time to provide it with the care it needs to thrive.
* Watering: Taro loves moisture, but it doesn’t like to sit in soggy soil. Water when the top inch of soil feels dry to the touch. I usually water mine every 2-3 days, but this will depend on the humidity and temperature in your home.
* Humidity: Taro thrives in high humidity. If your home is dry, you can increase the humidity by:
* Using a Humidifier: This is the most effective way to increase humidity.
* Placing the Pot on a Pebble Tray: Fill a tray with pebbles and water, and then place the pot on top of the pebbles. As the water evaporates, it will increase the humidity around the plant.
* Misting Regularly: Mist the leaves of your taro plant with water every day or two.
* Fertilizing: Taro is a heavy feeder, so it needs regular fertilization. Use an organic liquid fertilizer diluted to half strength every 2-3 weeks during the growing season (spring and summer). I like to use a fertilizer that’s specifically formulated for leafy greens.
* Pruning: As your taro grows, you may need to prune it to keep it looking its best. Remove any yellowing or damaged leaves. You can also prune the plant to control its size and shape.
* Pest Control: Keep an eye out for pests like aphids, spider mites, and mealybugs. If you spot any pests, treat them with an organic insecticide like neem oil or insecticidal soap. I always prefer to use organic methods to avoid harming beneficial insects and pollinators.
Troubleshooting Common Problems
Even with the best care, you might encounter some problems along the way. Here are a few common issues and how to fix them:
* Yellowing Leaves: This can be caused by overwatering, underwatering, or nutrient deficiencies. Check the soil moisture and adjust your watering accordingly. If the soil is consistently moist, you’re probably overwatering. If the soil is dry, you’re probably underwatering. If you’re fertilizing regularly, nutrient deficiencies are less likely, but you can try switching to a different fertilizer or increasing the frequency of fertilization.
* Brown Leaf Tips: This is usually caused by low humidity or dry air. Increase the humidity around your plant by using a humidifier, placing the pot on a pebble tray, or misting regularly.
* Leggy Growth: This means your plant isn’t getting enough light. Move it to a brighter location or supplement with a grow light.
* Stunted Growth: This can be caused by a variety of factors, including poor soil, lack of nutrients, or pests. Check the soil quality and amend it if necessary. Fertilize regularly and inspect the plant for pests.
Harvesting Your Taro
The best part! Harvesting your own organically grown taro is incredibly rewarding.
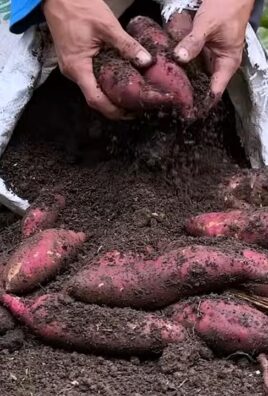
* When to Harvest: You can harvest taro corms when the plant is about 6-8 months old. The leaves will start to turn yellow and die back, which is a sign that the corms are mature.
* How to Harvest: To harvest the corms, carefully dig around the base of the plant and lift it out of the pot. Gently remove the soil from the corms.
* Storing Your Taro: Store the corms in a cool, dry place. They should keep for several weeks.
Enjoying Your Harvest
Taro corms need to be cooked before eating, as they contain calcium oxalate crystals that can cause irritation. Boiling, steaming, or roasting are all good cooking methods. Taro can be used in a variety of dishes, from soups and stews to chips and fries. The leaves are also edible and can be cooked like spinach.
Propagating Your Taro
Want more taro plants? You can propagate them by dividing the corms.
1. Divide the Corms: When you harvest your taro, you’ll likely find that the corms have multiplied. Carefully separate the corms, making sure each one has at least one “eye” or bud.
2. Plant the Corms: Plant the divided corms in individual pots, following the same planting instructions as above.
3. Care for the New Plants: Care for the new plants as you would your original taro plant.
A Few Extra Tips for Success
* Rotate Your Plant: Rotate your taro plant every week or two to ensure that all sides get equal light. This will help prevent it from leaning towards the light source.
* Clean the Leaves: Dust can accumulate on the leaves of your taro plant, which can block sunlight and hinder photosynthesis. Wipe the leaves with a damp cloth every few weeks to keep them clean.
* Be Patient: Taro can be a bit slow to get started, so don’t get discouraged if you don’t see results right away. With proper care, your taro plant will eventually thrive.
Growing taro indoors organically is a fun and rewarding experience. With a little bit of knowledge and effort, you can enjoy the beauty and bounty of this amazing plant right in your own home. Happy growing!
Conclusion
So, there you have it! Growing taro indoors organically isn’t just a whimsical dream; it’s a tangible reality within your reach. We’ve walked through the steps, demystified the process, and hopefully, ignited a spark of excitement for bringing this tropical delight into your home.
Why is this DIY trick a must-try? Because it offers a unique blend of benefits. First and foremost, you gain access to fresh, organically grown taro, free from the pesticides and herbicides often associated with commercially grown produce. Imagine the satisfaction of harvesting your own taro root, knowing exactly where it came from and how it was nurtured. Beyond the health benefits, growing taro indoors is a rewarding and educational experience. It connects you to the natural world, teaches you about plant life cycles, and provides a calming, therapeutic activity. Plus, let’s be honest, a thriving taro plant adds a touch of exotic beauty to any indoor space.
But the journey doesn’t end here! Feel free to experiment and personalize your taro-growing adventure. Consider trying different varieties of taro to discover your favorite flavor profile. Explore alternative growing mediums, such as coco coir or perlite, to see how they impact growth. You can even experiment with hydroponic systems for a more advanced and efficient approach. For those with limited space, consider growing taro in smaller containers and focusing on harvesting the leaves for culinary use. The possibilities are endless!
Remember, success in growing taro indoors organically hinges on providing the right conditions: ample light, consistent moisture, and nutrient-rich soil. Don’t be afraid to adjust your approach based on your plant’s needs and your own observations. Pay attention to the leaves, the soil, and the overall health of your taro plant, and you’ll be well on your way to a bountiful harvest.
We wholeheartedly encourage you to embark on this exciting journey of growing taro indoors organically. It’s a rewarding experience that will connect you with nature, enhance your culinary adventures, and add a touch of tropical flair to your home. And most importantly, don’t forget to share your experiences with us! We’d love to hear about your successes, challenges, and creative variations. Share your photos, tips, and stories in the comments below. Let’s build a community of indoor taro enthusiasts and learn from each other’s experiences. Happy growing!
Frequently Asked Questions (FAQs)
1. What kind of container is best for growing taro indoors?
The ideal container for growing taro indoors should be large enough to accommodate the plant’s root system and provide adequate drainage. A pot that is at least 12 inches in diameter and 12 inches deep is generally recommended. The material of the pot is less critical, but terracotta pots can help with drainage due to their porous nature. Plastic pots are also suitable and tend to retain moisture better, which can be beneficial in drier indoor environments. Ensure the pot has drainage holes to prevent waterlogging, which can lead to root rot.
2. How much sunlight does taro need when grown indoors?
Taro thrives in bright, indirect sunlight. Aim for at least 6-8 hours of indirect sunlight per day. A south-facing window is often ideal, but be sure to protect the plant from harsh, direct sunlight, especially during the hottest part of the day, as this can scorch the leaves. If you don’t have access to sufficient natural light, you can supplement with grow lights. LED grow lights are energy-efficient and can provide the necessary spectrum of light for healthy taro growth. Position the grow lights about 12-18 inches above the plant.
3. What type of soil is best for growing taro organically?
Taro prefers a rich, well-draining soil that is high in organic matter. A good mix would be equal parts of compost, peat moss (or coco coir as a sustainable alternative), and perlite. The compost provides essential nutrients, the peat moss (or coco coir) helps retain moisture, and the perlite improves drainage. You can also add a slow-release organic fertilizer to the soil mix to provide a steady supply of nutrients. Avoid using heavy clay soils, as they can become waterlogged and inhibit root growth.
4. How often should I water my indoor taro plant?
Taro needs consistent moisture to thrive. Water the plant thoroughly when the top inch of soil feels dry to the touch. Ensure that excess water drains out of the drainage holes to prevent root rot. During the growing season (spring and summer), you may need to water more frequently than during the dormant season (fall and winter). Monitor the soil moisture regularly and adjust your watering schedule accordingly. Avoid letting the soil dry out completely, as this can stress the plant.
5. What are some common pests and diseases that affect indoor taro plants, and how can I control them organically?
Common pests that can affect indoor taro plants include aphids, spider mites, and mealybugs. To control these pests organically, you can try the following:
* **Neem Oil:** Apply neem oil to the affected areas to suffocate the pests.
* **Insecticidal Soap:** Spray the plant with insecticidal soap to kill the pests on contact.
* **Handpicking:** Manually remove the pests from the plant.
* **Beneficial Insects:** Introduce beneficial insects, such as ladybugs, to prey on the pests.
Root rot is a common disease that can affect taro plants due to overwatering. To prevent root rot, ensure that the soil is well-draining and avoid overwatering. If root rot occurs, remove the affected roots and repot the plant in fresh soil.
6. How do I fertilize my taro plant organically?
Fertilize your taro plant regularly during the growing season (spring and summer) with an organic fertilizer. You can use a liquid seaweed fertilizer, compost tea, or a slow-release organic fertilizer. Follow the instructions on the fertilizer label for application rates. Avoid over-fertilizing, as this can burn the roots. During the dormant season (fall and winter), reduce the frequency of fertilization.
7. Can I grow taro in water only (hydroponically)?
Yes, taro can be grown hydroponically. To grow taro in water, you’ll need a container that can hold water and a support system to keep the plant upright. You can use a nutrient solution specifically formulated for hydroponic growing. Change the nutrient solution regularly to prevent the buildup of algae and bacteria. Ensure that the roots are submerged in the nutrient solution but that the base of the plant is not.
8. How long does it take to harvest taro root when growing indoors?
It typically takes 6-8 months to harvest taro root when growing indoors. The exact time will depend on the variety of taro, the growing conditions, and your climate. You’ll know the taro root is ready to harvest when the leaves start to turn yellow and die back. To harvest, carefully dig up the plant and separate the taro root from the rest of the plant.
9. Are taro leaves edible?
Yes, taro leaves are edible, but they must be cooked thoroughly to remove calcium oxalate crystals, which can cause irritation. Boiling or steaming the leaves for at least 30 minutes will break down these crystals. Taro leaves are a popular ingredient in many cuisines and can be used in soups, stews, and stir-fries.
10. Is growing taro indoors organically difficult?
No, growing taro indoors organically is not particularly difficult, but it does require some attention and care. By providing the right conditions – ample light, consistent moisture, nutrient-rich soil, and protection from pests and diseases – you can successfully grow taro indoors and enjoy the rewards of your efforts. Don’t be afraid to experiment and learn from your experiences. With a little patience and dedication, you’ll be harvesting your own organic taro in no time!

Leave a Comment