

DIY Sink Clog Fixes: We’ve all been there, haven’t we? Staring into a sink filled with murky water that just refuses to drain. It’s frustrating, inconvenient, and let’s be honest, a little gross! But before you reach for that expensive bottle of chemical drain cleaner (which, by the way, can be harsh on your pipes and the environment), let’s explore some simple, effective, and budget-friendly DIY sink clog fixes that you can tackle yourself.
For generations, resourceful homeowners have relied on clever tricks and homemade solutions to keep their homes running smoothly. Think about it 鈥?before the age of mass-produced cleaners, people had to get creative! These time-tested methods often involve ingredients you already have in your pantry, making them not only effective but also incredibly accessible.
Why should you bother with a DIY approach? Well, for starters, it saves you money! Plumbers can be expensive, and those chemical drain cleaners add up over time. More importantly, DIY solutions are often gentler on your plumbing system, preventing corrosion and damage that can lead to bigger problems down the road. Plus, there’s a certain satisfaction that comes from fixing something yourself, wouldn’t you agree? So, let’s dive into some easy-to-follow steps and reclaim your sink from the clutches of that stubborn clog!
DIY Sink Clog Fixes: Conquer That Drain Like a Pro!
Okay, so your sink is gurgling, the water is backing up, and you’re staring down the barrel of a potential plumbing bill. Don’t panic! Before you call a professional, let’s try some DIY sink clog fixes. I’ve been there, done that, and trust me, you can often tackle these problems yourself with a little elbow grease and some common household items. We’re going to go through a few different methods, starting with the simplest and working our way up to the more involved. Let’s get started!
Understanding the Enemy: What Causes Sink Clogs?
Before we dive into the solutions, it’s helpful to understand what’s causing the problem in the first place. Knowing the culprit can help you prevent future clogs. The most common culprits are:
* Hair: This is a big one, especially in bathroom sinks. Hair tends to clump together and trap other debris.
* Soap Scum: Over time, soap scum can build up and harden in your pipes, restricting water flow.
* Grease and Food Particles: Kitchen sinks are notorious for this. Grease solidifies as it cools, and food scraps can accumulate and create a sticky mess.
* Small Objects: Sometimes, things accidentally fall down the drain 鈥?jewelry, small toys, etc.
* Mineral Buildup: In areas with hard water, mineral deposits can gradually narrow the pipe diameter.
Method 1: The Boiling Water Blitz
This is the easiest and often the first thing I try. It’s surprisingly effective for simple grease clogs.
What you’ll need:
* A kettle or pot
* Water
Step-by-step instructions:
1. Boil the Water: Fill your kettle or pot with water and bring it to a rolling boil. Make sure you use enough water 鈥?at least a couple of quarts.
2. Pour Slowly: Carefully pour the boiling water down the drain. Pour it slowly and steadily, giving the hot water time to work its magic.
3. Wait and See: Let the water sit for a few minutes (5-10 minutes) to see if it clears the clog.
4. Repeat if Necessary: If the water is still draining slowly, repeat the process. Sometimes it takes a couple of tries to fully dissolve the clog.
Important Note: Be careful when pouring boiling water, especially if you have PVC pipes. While PVC is generally heat-resistant, repeated exposure to boiling water can potentially soften or warp it over time. If you’re concerned, try using very hot tap water instead of boiling water.
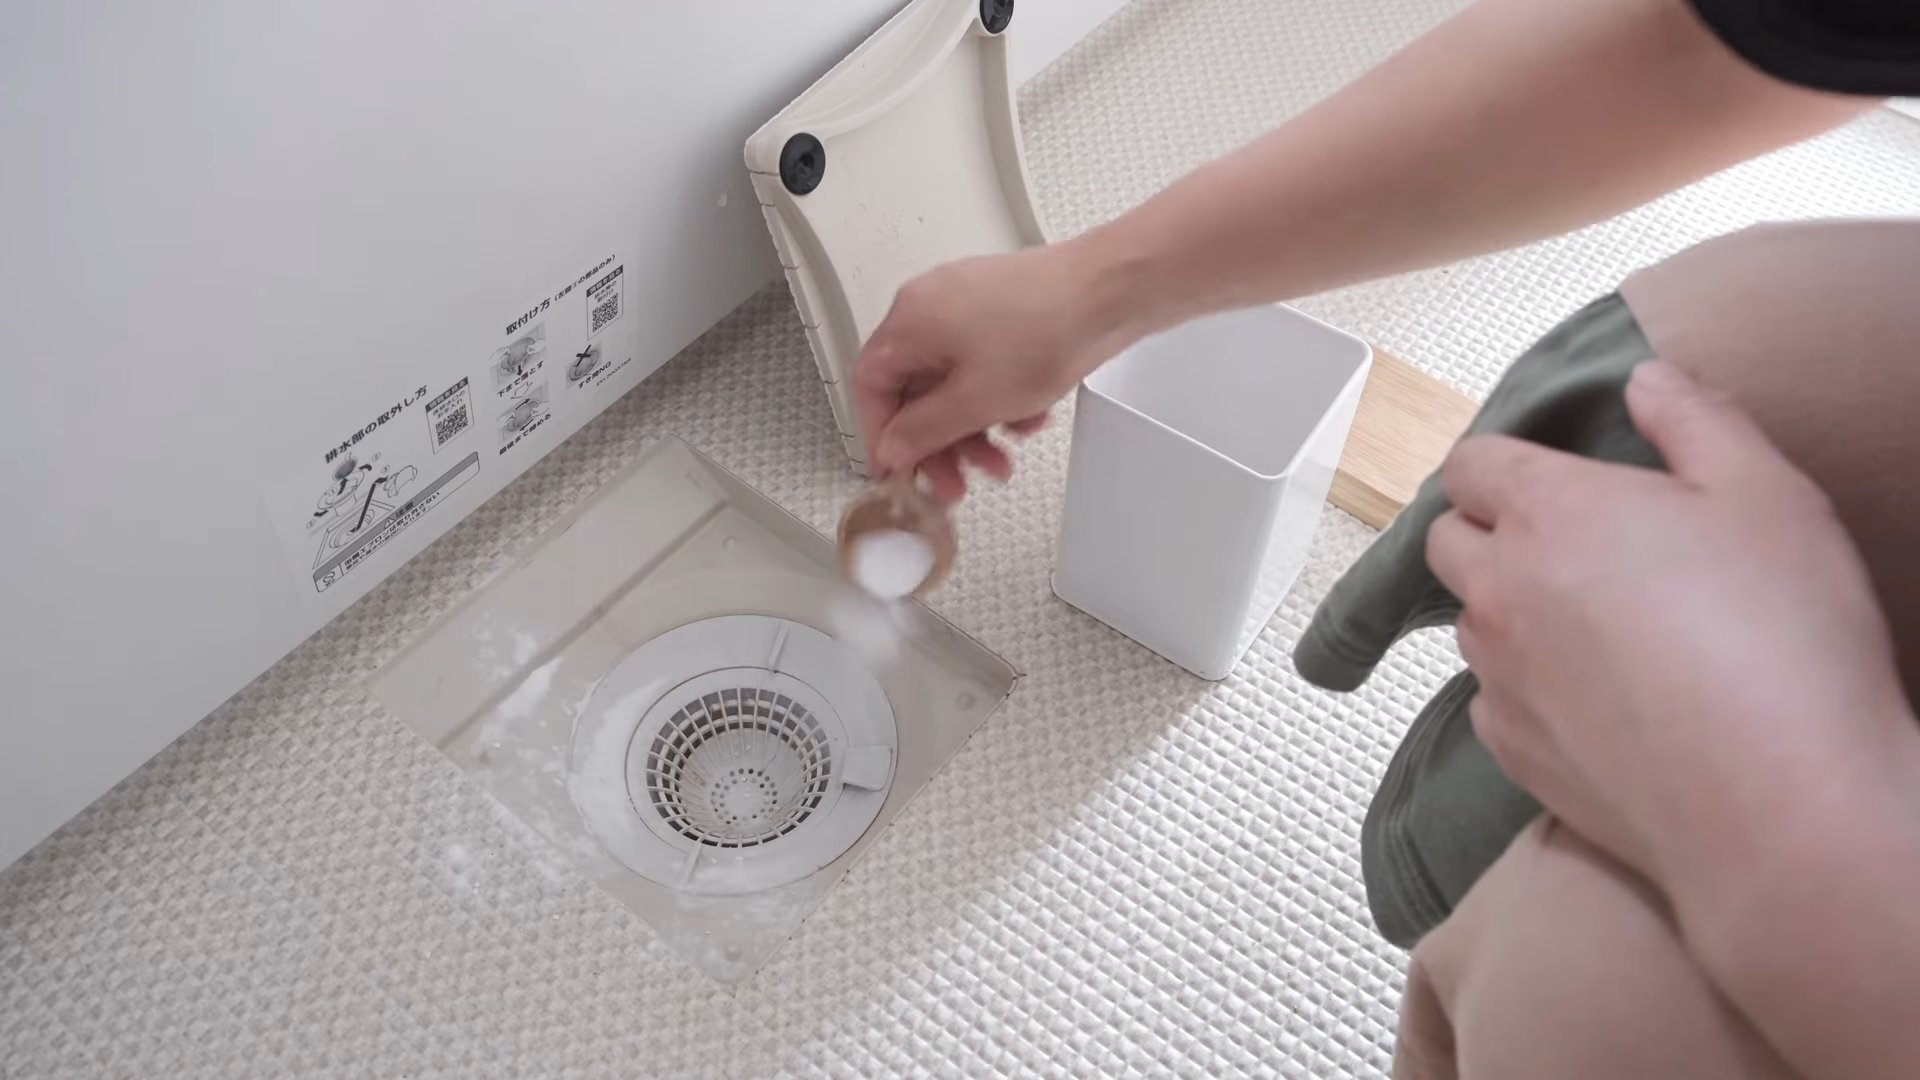
Method 2: The Dynamic Duo: Baking Soda and Vinegar
This is a classic DIY solution that works wonders for many types of clogs. The chemical reaction between baking soda and vinegar helps to break down grease, hair, and other debris.
What you’ll need:
* 1 cup baking soda
* 1 cup white vinegar
* Hot water
Step-by-step instructions:
1. Pour in the Baking Soda: Pour one cup of baking soda down the drain. Try to get as much of it down the drain as possible.
2. Add the Vinegar: Immediately follow with one cup of white vinegar. You’ll hear a fizzing sound 鈥?that’s the chemical reaction at work!
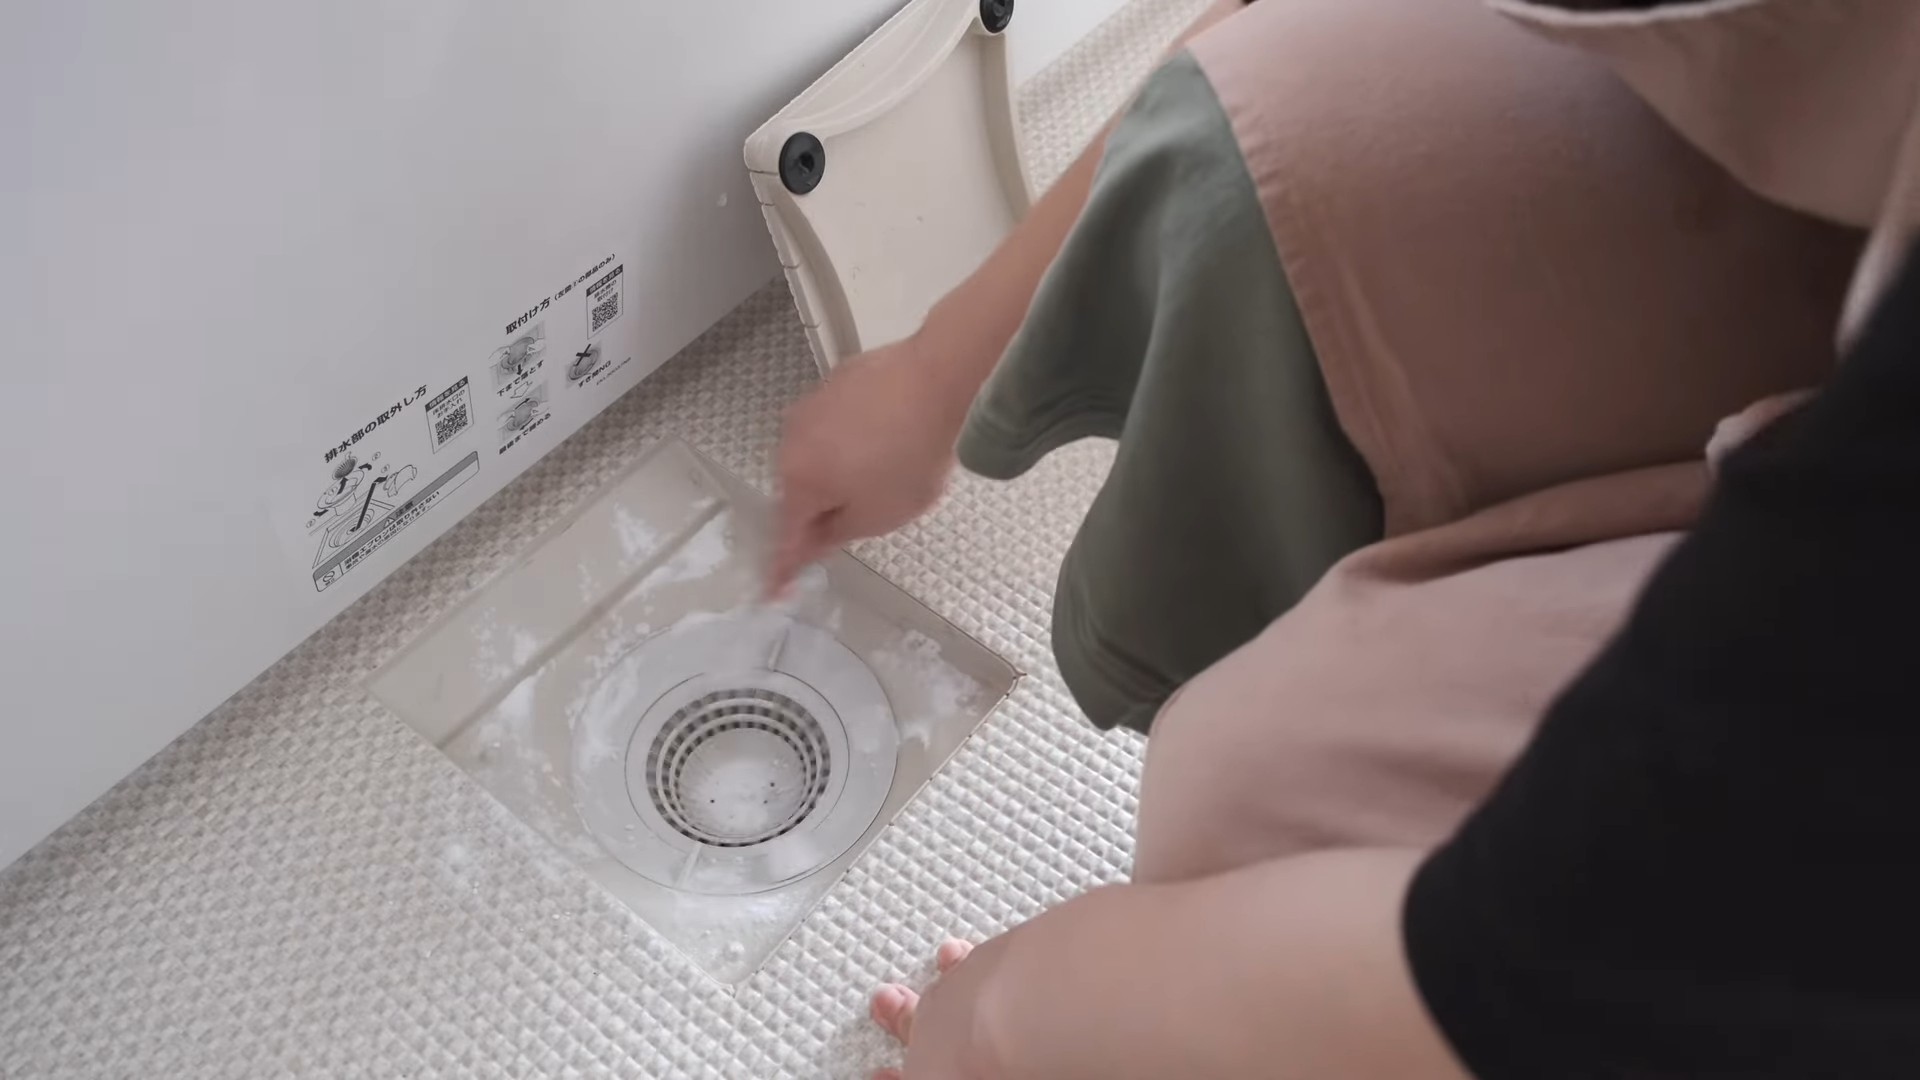
3. Let it Fizz: Let the mixture fizz and bubble for about 30 minutes. This gives the baking soda and vinegar time to break down the clog.
4. Flush with Hot Water: After 30 minutes, flush the drain with hot water. Let the water run for several minutes to ensure the clog is completely cleared.
Pro Tip: For a more powerful cleaning action, you can cover the drain with a stopper or plug after adding the vinegar. This will help to contain the fizzing action and force the mixture to work harder on the clog.
Method 3: The Plunger Power Play
The plunger is a simple but effective tool for dislodging clogs. It creates suction that can help to break up and move the blockage.
What you’ll need:
* A plunger (a cup plunger for sinks, not a toilet plunger)
* Water
Step-by-step instructions:
1. Remove the Stopper: Remove the sink stopper or drain screen.
2. Add Water: Add enough water to the sink to cover the cup of the plunger. This is important because the plunger needs water to create a seal.
3. Position the Plunger: Place the plunger over the drain opening, ensuring that the cup is completely submerged in water.
4. Plunge Vigorously: Push and pull the plunger up and down with a strong, steady motion. Maintain the seal between the plunger and the sink.
5. Repeat as Needed: Continue plunging for several minutes. You should hear a gurgling sound as the clog starts to break up.
6. Check the Drain: Remove the plunger and check if the water is draining. If not, repeat the process.
Important Note: Make sure you’re using the right type of plunger. A cup plunger is designed for flat surfaces like sinks and tubs, while a flange plunger is designed for toilets.
Method 4: The Bent Wire Hanger Rescue
This is a great way to manually remove hair and other debris that are clogging the drain.
What you’ll need:
* A wire coat hanger
* Pliers (optional)
Step-by-step instructions:
1. Straighten the Hanger: Straighten the wire coat hanger as much as possible.
2. Create a Hook: Bend one end of the hanger into a small hook. You can use pliers to help you create a sharper hook.
3. Insert into the Drain: Carefully insert the hooked end of the hanger into the drain opening.
4. Fish for Debris: Gently probe around inside the drain, trying to hook onto any hair, soap scum, or other debris.
5. Pull Out the Clog: Once you’ve hooked onto something, slowly and carefully pull the hanger out of the drain.
6. Clean the Hanger: Remove the debris from the hanger and dispose of it properly.
7. Flush with Hot Water: After removing the clog, flush the drain with hot water to clear away any remaining debris.
Caution: Be careful not to push the clog further down the drain. Work slowly and gently to avoid damaging the pipes.
Method 5: The P-Trap Pilgrimage
The P-trap is the curved pipe located under your sink. It’s designed to trap debris and prevent sewer gases from entering your home. Sometimes, the clog is located right in the P-trap, and you’ll need to remove it to clear the blockage. This is a bit more involved, but still manageable for most DIYers.
What you’ll need:
* A bucket
* Channel-lock pliers or a wrench
* Old rags or towels
Step-by-step instructions:
1. Prepare for a Mess: Place the bucket under the P-trap to catch any water or debris that will spill out when you remove it. Spread old rags or towels around the area to protect your floor.
2. Loosen the Slip Nuts: Locate the slip nuts that connect the P-trap to the drain pipes. Use channel-lock pliers or a wrench to loosen these nuts. Be careful not to overtighten them, as they can be easily damaged.
3. Remove the P-Trap: Once the slip nuts are loose, carefully remove the P-trap. Hold it over the bucket to catch any water or debris.
4. Clean the P-Trap: Inspect the P-trap for any clogs. Remove any debris that you find. You can use a wire hanger or a small brush to clean the inside of the trap.
5. Reassemble the P-Trap: Once the P-trap is clean, reassemble it by tightening the slip nuts. Make sure the nuts are snug but not overtightened.
6. Run Water: Run water into the sink to check for leaks. If you see any leaks, tighten the slip nuts a little more.
Important Note: Before you start, take a picture of the P-trap assembly. This will help you remember how to put it back together correctly.
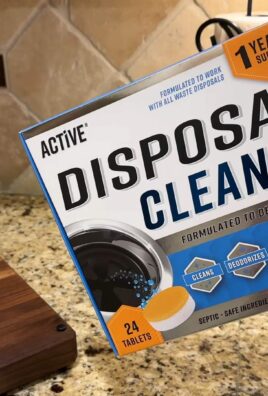
Method 6: Enzyme Drain Cleaners: The Patient Approach
If you’re dealing with a stubborn clog or want a more preventative approach, consider using an enzyme drain cleaner. These cleaners use natural enzymes to break down organic matter like hair, grease, and food particles. They’re generally safer for your pipes than chemical drain cleaners.
What you’ll need:
* Enzyme drain cleaner (follow the manufacturer’s instructions)
Step-by-step instructions:
1.
Conclusion
So, there you have it 鈥?a powerful arsenal of DIY sink clog fixes right at your fingertips! Forget the expensive plumber bills and harsh chemicals that can damage your pipes and the environment. This isn’t just about saving money; it’s about empowering yourself to tackle common household problems with simple, readily available ingredients and tools.
The beauty of these methods lies in their versatility. Whether you’re dealing with a slow drain or a completely blocked sink, one of these solutions is bound to work. The baking soda and vinegar method is a classic for a reason 鈥?its fizzing action effectively breaks down grease and grime. The boiling water flush is surprisingly effective for melting away soap scum and hair. And for those stubborn clogs, the trusty plunger or the DIY drain snake can provide the mechanical force needed to dislodge the blockage.
But don’t stop there! Feel free to experiment and adapt these techniques to suit your specific situation. For instance, if you suspect a particularly greasy clog, try adding a squirt of dish soap to the baking soda and vinegar mixture. For a more fragrant solution, add a few drops of essential oils like lemon or tea tree to the boiling water. These not only add a pleasant scent but also possess natural antibacterial properties.
Why is this DIY approach a must-try? Because it’s effective, affordable, environmentally friendly, and gives you a sense of accomplishment. It’s a win-win-win-win! You’re not just unclogging your sink; you’re also learning valuable skills and reducing your reliance on potentially harmful chemicals.
We’re confident that these DIY sink clog fixes will become your go-to solution for maintaining a smoothly running drain. But the real test is in the trying! We encourage you to put these methods to the test and see the results for yourself.
Don’t just take our word for it. Try these DIY sink clog fixes and share your experience in the comments below! Let us know which method worked best for you, any variations you tried, and any tips you have to share with fellow readers. Your feedback is invaluable and helps us create even better content. Together, we can conquer those pesky sink clogs and keep our homes running smoothly! We are eager to hear your success stories and learn from your experiences. Let’s build a community of DIY experts, one unclogged sink at a time!
Frequently Asked Questions (FAQs)
What causes sink clogs in the first place?
Sink clogs are typically caused by a buildup of various materials that accumulate over time within the drainpipe. Common culprits include hair, soap scum, grease, food particles, and mineral deposits. These substances can cling to the pipe walls and gradually restrict water flow, eventually leading to a complete blockage. The frequency of clogs can depend on factors such as the type of sink, the frequency of use, and the types of materials that are commonly washed down the drain. For example, kitchen sinks are more prone to grease and food-related clogs, while bathroom sinks often suffer from hair and soap buildup.
How often should I clean my sink drain to prevent clogs?
Preventative maintenance is key to avoiding stubborn sink clogs. A good rule of thumb is to clean your sink drain at least once a month. This can be as simple as flushing the drain with boiling water or using the baking soda and vinegar method. Regularly removing debris from the drain strainer can also significantly reduce the amount of material that enters the drainpipe. For sinks that are used frequently or are prone to clogs, you may want to increase the frequency of cleaning to every two weeks. Consistent preventative measures can save you time and effort in the long run by preventing major blockages from forming.
Is baking soda and vinegar really effective for unclogging sinks?
Yes, the baking soda and vinegar method is a highly effective and popular DIY solution for unclogging sinks. The combination of these two ingredients creates a chemical reaction that produces carbon dioxide gas. This fizzing action helps to break down and dislodge grease, hair, and other debris that are causing the clog. While it may not be as powerful as commercial drain cleaners, it is a safer and more environmentally friendly alternative. For best results, use a generous amount of baking soda (about 1 cup) followed by an equal amount of vinegar. Allow the mixture to fizz for at least 30 minutes, then flush with hot water. You may need to repeat the process a few times for stubborn clogs.
Can I use these DIY methods on all types of sinks and pipes?
Generally, these DIY methods are safe for most types of sinks and pipes. However, it’s essential to exercise caution, especially with older or more delicate plumbing. Boiling water, for example, should be used with care on PVC pipes, as extreme heat can potentially soften or warp the plastic. If you have concerns about the integrity of your pipes, start with warm water instead of boiling water. Similarly, the DIY drain snake should be used gently to avoid damaging the pipe walls. If you’re unsure about the type of pipes you have, it’s always best to consult with a professional plumber before attempting any DIY fixes.
What if these DIY methods don’t work? When should I call a plumber?
While these DIY methods are often effective, there are times when a professional plumber is necessary. If you’ve tried multiple DIY solutions without success, or if the clog is causing significant water backup or other plumbing issues, it’s time to call in the experts. A plumber has specialized tools and expertise to diagnose and resolve more complex plumbing problems. They can also identify underlying issues, such as damaged pipes or sewer line problems, that may be contributing to the clogs. Ignoring persistent plumbing problems can lead to more serious damage and costly repairs in the long run.
Are there any precautions I should take when using these DIY methods?
Yes, safety should always be a priority when attempting any DIY plumbing fixes. When using boiling water, be extremely careful to avoid burns. Wear gloves and use a kettle or pot with a handle to pour the water safely. When using the baking soda and vinegar method, be aware that the fizzing reaction can create pressure, so avoid completely sealing the drain. If you’re using a DIY drain snake, wear gloves to protect your hands from bacteria and debris. Always work in a well-ventilated area, especially when using vinegar, as the fumes can be irritating. And remember, if you’re ever unsure about a particular method or have concerns about your plumbing, it’s always best to consult with a professional.


Leave a Comment