

Household routine hacks – we all crave them, don’t we? Imagine a life where your daily chores feel less like a burden and more like a breeze. I know I do! For centuries, people have been searching for ways to streamline their lives, from ancient civilizations developing ingenious tools to modern-day tech innovations. But sometimes, the simplest solutions are the most effective, and that’s where these DIY tricks come in.
Let’s face it, keeping up with the demands of a household can be overwhelming. Whether you’re juggling work, family, or simply trying to carve out some “me time,” those everyday tasks can quickly pile up. That’s why I’m so excited to share these game-changing household routine hacks with you. These aren’t just random tips; they’re tried-and-true methods that can save you time, money, and a whole lot of stress.
Think of this as your personal toolkit for conquering the chaos and creating a more efficient and enjoyable home life. Ready to transform your daily grind? Let’s dive in!
DIY Household Routine Hacks to Simplify Your Life
Okay, let’s dive into some awesome DIY household routine hacks that I’ve personally found incredibly helpful. These are designed to save you time, money, and a whole lot of sanity!
Hack 1: The “Never Scrub Again” Shower Cleaner
Tired of spending your weekends scrubbing soap scum off your shower walls? Me too! This DIY shower cleaner is a game-changer. It’s a spray you apply *after* each shower, preventing buildup before it even starts.
What You’ll Need:
* Spray bottle (a clean, empty one, of course!)
* 1 cup white vinegar
* 1 cup dish soap (Dawn works wonders!)
* Optional: A few drops of your favorite essential oil (tea tree, lavender, or eucalyptus are great for their antibacterial and refreshing properties)
Step-by-Step Instructions:
1. Heat the Vinegar: Gently heat the vinegar in the microwave for about 1-2 minutes. You want it warm, but not boiling. This helps the vinegar mix better with the dish soap.
2. Combine Ingredients: Carefully pour the warm vinegar into your spray bottle. Then, add the dish soap.
3. Add Essential Oils (Optional): If you’re using essential oils, add a few drops now.
4. Gently Mix: Gently swirl the bottle to combine the ingredients. Avoid shaking vigorously, as this will create a lot of bubbles.
5. Label Your Bottle: This is important! Clearly label the bottle “Shower Cleaner” so no one accidentally uses it for something else.
6. After-Shower Application: After each shower, while the shower walls are still wet, spray the cleaner all over the tile, glass, and shower door.
7. No Rinsing Required: That’s right! Just let it air dry. The cleaner will prevent soap scum and mildew from forming.
Why this works: The vinegar is a natural disinfectant and helps dissolve mineral deposits. The dish soap cuts through grease and grime. Together, they create a powerful cleaning solution that keeps your shower sparkling with minimal effort.
Hack 2: DIY Dusting Spray for a Sparkling Home
Commercial dusting sprays can be expensive and often contain harsh chemicals. This DIY version is just as effective, smells amazing, and is much gentler on your furniture and the environment.
What You’ll Need:
* Spray bottle
* 1 cup water
* 1/4 cup white vinegar
* 2 tablespoons olive oil
* 10-15 drops of your favorite essential oil (lemon, orange, or cedarwood are great choices)
* A clean microfiber cloth
Step-by-Step Instructions:
1. Combine Ingredients: In your spray bottle, combine the water, vinegar, and olive oil.
2. Add Essential Oils: Add your chosen essential oils.
3. Shake Well: Shake the bottle vigorously to ensure all ingredients are well combined. The olive oil and water will naturally separate, so you’ll need to shake it before each use.
4. Spray and Wipe: Lightly spray the dusting spray onto your microfiber cloth. Avoid spraying directly onto your furniture, as this can cause buildup.
5. Dust Away: Wipe down your furniture, shelves, and other surfaces with the damp cloth.
6. Buff to Shine: Use a clean, dry section of the microfiber cloth to buff the surfaces to a shine.
Why this works: The vinegar helps to remove dust and grime, while the olive oil conditions and protects your furniture. The essential oils add a pleasant scent and can also have antibacterial properties.
Hack 3: Homemade Laundry Detergent: Save Money and Reduce Waste
Making your own laundry detergent is surprisingly easy and can save you a significant amount of money. Plus, you’ll be reducing your plastic waste!
What You’ll Need:
* 1 cup Borax
* 1 cup washing soda (sodium carbonate)
* 1 bar of castile soap (like Dr. Bronner’s), grated
* Optional: 10-15 drops of your favorite essential oil (lavender, lemon, or tea tree)
Step-by-Step Instructions:
1. Grate the Castile Soap: Use a cheese grater to finely grate the castile soap. This will help it dissolve more easily.
2. Combine Dry Ingredients: In a large bowl, combine the Borax, washing soda, and grated castile soap.
3. Add Essential Oils (Optional): If you’re using essential oils, add them to the dry ingredients.
4. Mix Thoroughly: Mix all the ingredients together until they are well combined.
5. Store in an Airtight Container: Transfer the detergent to an airtight container, such as a glass jar or plastic tub.
6. Usage: Use 1-2 tablespoons of detergent per load of laundry, depending on the size and soil level of the load.
Why this works: Borax helps to boost the cleaning power of the detergent and soften water. Washing soda helps to remove stains and grease. Castile soap is a gentle and effective cleanser.
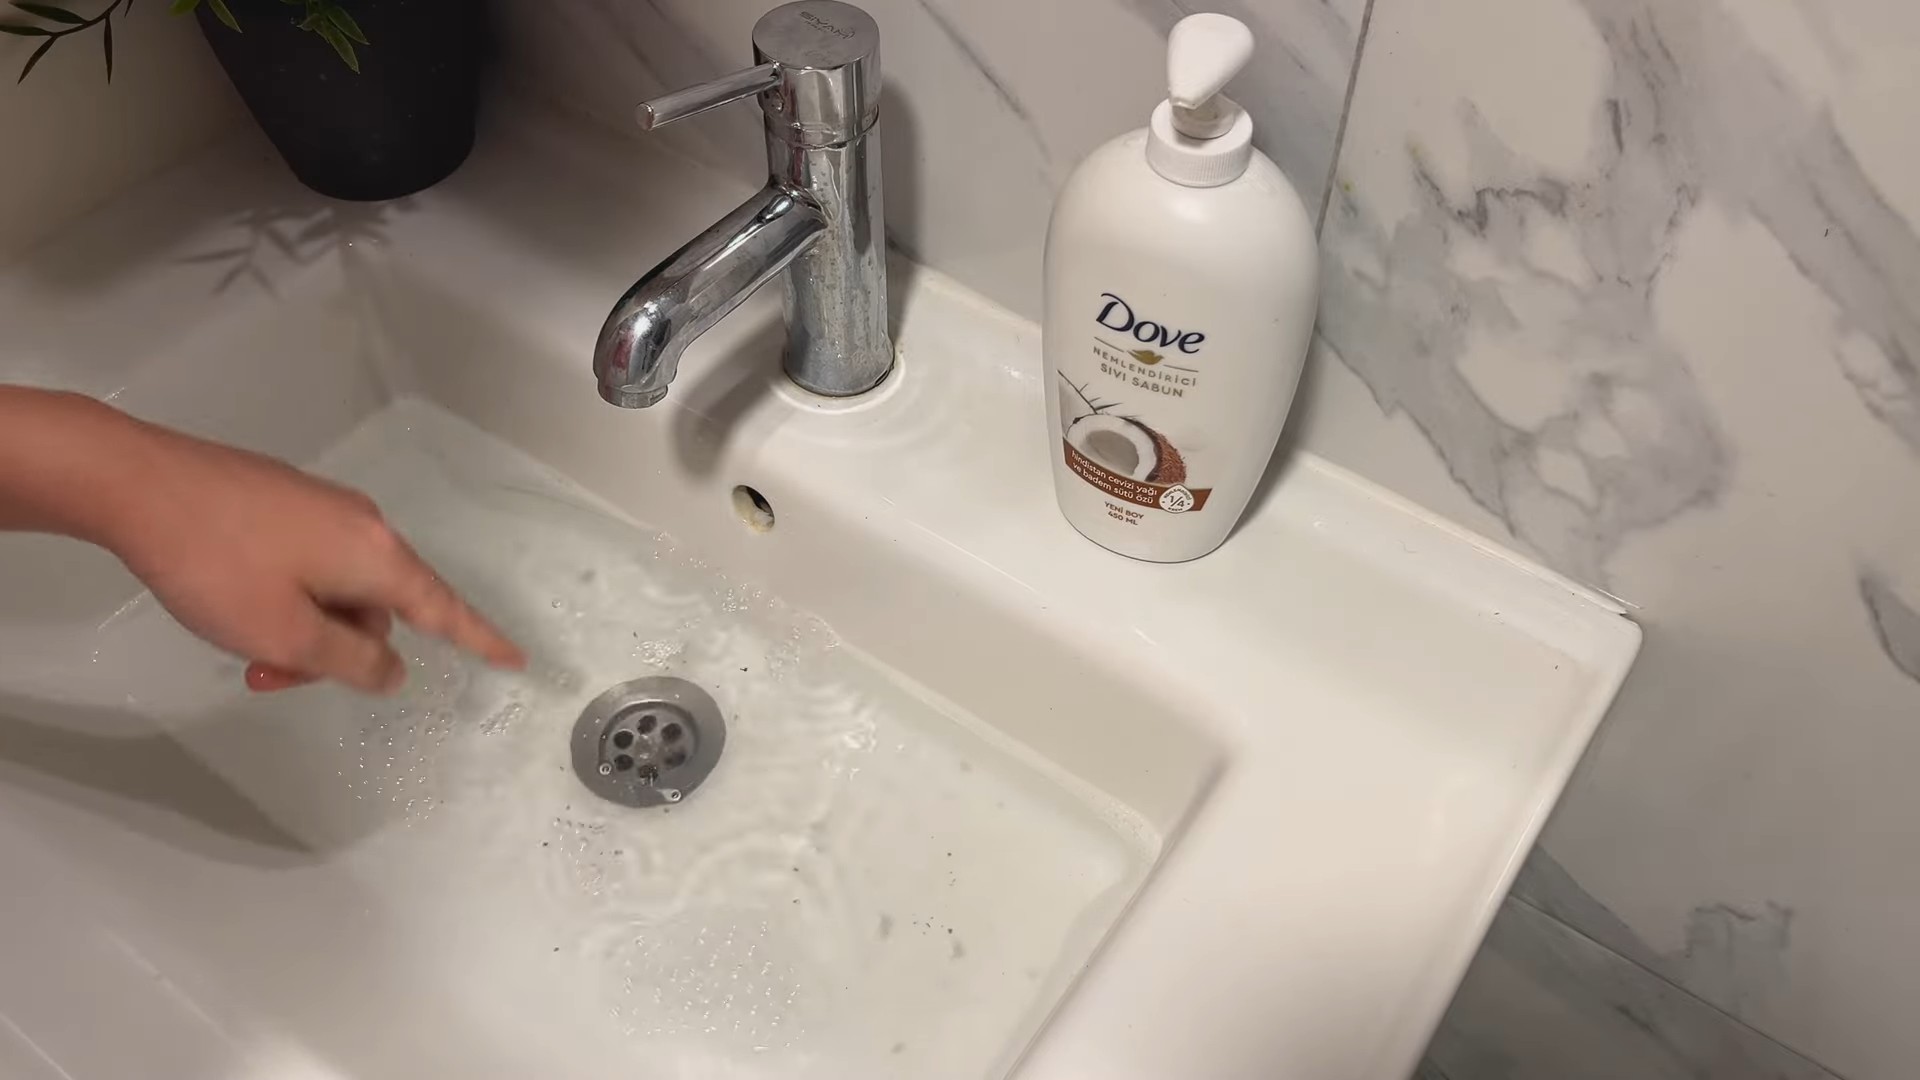
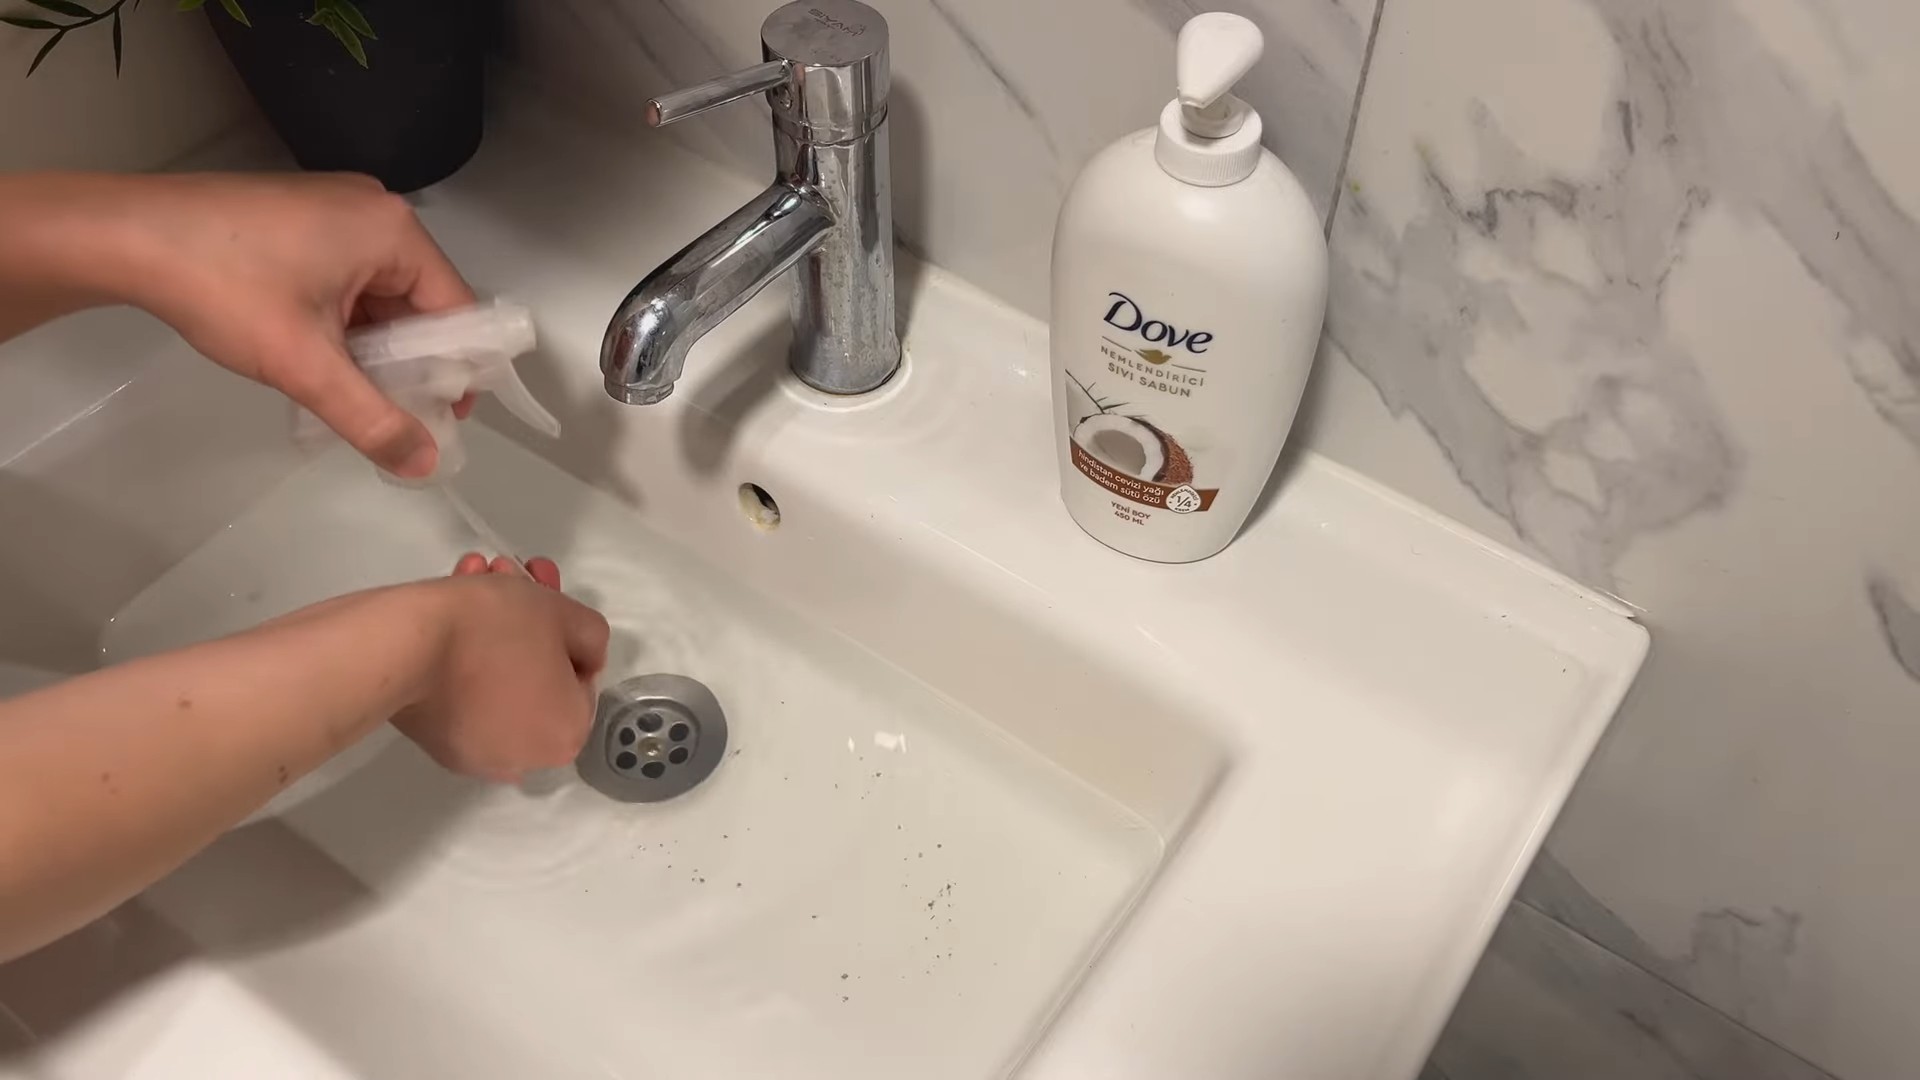
Hack 4: DIY All-Purpose Cleaner: One Cleaner for Everything!
This all-purpose cleaner is perfect for cleaning countertops, sinks, floors, and just about any other surface in your home. It’s simple, effective, and uses ingredients you probably already have on hand.
What You’ll Need:
* Spray bottle
* 1 cup water
* 1/4 cup white vinegar
* 1/4 teaspoon dish soap
* Optional: 10-15 drops of your favorite essential oil (lemon, tea tree, or eucalyptus)
Step-by-Step Instructions:
1. Combine Ingredients: In your spray bottle, combine the water, vinegar, and dish soap.
2. Add Essential Oils (Optional): Add your chosen essential oils.
3. Shake Gently: Gently shake the bottle to combine the ingredients. Avoid shaking vigorously, as this will create a lot of bubbles.
4. Spray and Wipe: Spray the cleaner onto the surface you want to clean.
5. Wipe Clean: Wipe the surface clean with a damp cloth or sponge.
Why this works: The vinegar is a natural disinfectant and helps to remove dirt and grime. The dish soap cuts through grease and oil. The essential oils add a pleasant scent and can also have antibacterial properties.
Hack 5: Reusable Dryer Sheets: Save Money and Reduce Waste
Dryer sheets can be expensive and contribute to landfill waste. These reusable dryer sheets are a great alternative.
What You’ll Need:
* Several small pieces of clean cloth (old t-shirts, towels, or washcloths work well)
* White vinegar
* Essential oils (optional)
* Airtight container
Step-by-Step Instructions:
1. Prepare the Cloths: Cut your chosen fabric into small squares or rectangles (about 6×6 inches).
2. Prepare the Vinegar Solution: In a container, mix 1/2 cup of white vinegar with 5-10 drops of your favorite essential oil. Lavender, lemon, or tea tree are good choices.
3. Soak the Cloths: Dip each cloth into the vinegar solution, making sure it’s fully saturated.
4. Wring Out Excess Liquid: Wring out the excess liquid from each cloth. You want them to be damp, not dripping wet.
5. Store in an Airtight Container: Place the damp cloths in an airtight container.
6. Usage: Add one cloth to your dryer with each load of laundry.
7. Re-Soak as Needed: After a few uses, the cloths will lose their scent and softening power. Simply re-soak them in the vinegar solution.
Why this works: The vinegar acts as a natural fabric softener and helps to reduce static cling. The essential oils add a pleasant scent to your laundry.
Hack 6: DIY Produce Wash: Keep Your Fruits and Veggies Clean
Washing your fruits and vegetables is essential for removing dirt, pesticides, and bacteria. This DIY produce wash is a safe and effective way to clean your produce.
What You’ll Need:
* Large bowl or sink
* Water
* 1 cup white vinegar
* 1 tablespoon baking soda
* Optional: A few drops of lemon essential oil
Step-by-Step Instructions:
1. Fill the Bowl or Sink: Fill a large bowl or your sink with cool water.
2. Add Vinegar and Baking Soda: Add the vinegar and baking soda to the water. The mixture will fizz slightly.
3. Add Essential Oil (Optional): If you’re using lemon essential oil, add a few drops.
4. Soak the Produce: Place your fruits and vegetables
Conclusion
So, there you have it! This simple yet incredibly effective DIY trick for creating your own all-purpose cleaner is more than just a cost-saving measure; it’s a step towards a healthier home and a more sustainable lifestyle. We’ve shown you how to harness the power of readily available ingredients to create a cleaning solution that rivals store-bought options, without the harsh chemicals and overwhelming fragrances.
Why is this DIY cleaner a must-try? Because it’s:
* Economical: Significantly reduces your spending on cleaning supplies.
* Eco-Friendly: Minimizes plastic waste and reduces your exposure to harmful chemicals.
* Customizable: Allows you to tailor the scent and strength to your specific needs.
* Effective: Cleans a wide range of surfaces without leaving behind residue.
* Easy: Requires minimal effort and readily available ingredients.
But the benefits don’t stop there. Think about the peace of mind knowing exactly what you’re using to clean your home, especially if you have children or pets. This DIY approach empowers you to take control of your household environment and create a space that is both clean and safe.
Looking for variations? Absolutely!
* For a stronger disinfectant: Add a few drops of tea tree oil or eucalyptus oil. These essential oils have natural antibacterial and antiviral properties.
* For a citrus boost: Infuse your vinegar with citrus peels (lemon, orange, grapefruit) for a few weeks before using it in the recipe. This will add a refreshing scent and enhance its cleaning power.
* For a gentler cleaner: Reduce the amount of vinegar and increase the amount of water. This is ideal for delicate surfaces like wood or marble.
* For a grease cutter: Add a tablespoon of washing soda (sodium carbonate) to the mixture. Be sure to wear gloves when handling washing soda.
We encourage you to give this DIY all-purpose cleaner a try. It’s a simple change that can make a big difference in your home and your wallet. Once you experience the effectiveness and versatility of this homemade solution, you’ll wonder why you didn’t try it sooner. This is one of the best household routine hacks you can implement today.
Don’t just take our word for it! Experiment with different variations, find what works best for your needs, and share your experiences with us. We’d love to hear your tips, tricks, and success stories in the comments below. Let’s build a community of DIY enthusiasts who are passionate about creating cleaner, healthier homes. So, grab your ingredients, mix up a batch, and get ready to experience the joy of homemade cleaning!
Frequently Asked Questions (FAQ)
What surfaces can I use this DIY all-purpose cleaner on?
This cleaner is generally safe for most non-porous surfaces, including countertops (granite, quartz, laminate), sinks, tiles, glass, and stainless steel. However, it’s always a good idea to test it on an inconspicuous area first, especially on delicate surfaces like wood or marble. Avoid using it on unsealed stone, waxed furniture, or electronics.
Can I use this cleaner on wood floors?
While some people use diluted vinegar solutions on wood floors, it’s generally not recommended. Vinegar can strip the finish over time and dull the wood. If you choose to use it, dilute it heavily with water and test it in an inconspicuous area first. Consider using a cleaner specifically designed for wood floors for optimal results.
How long does this DIY cleaner last?
This cleaner has a relatively long shelf life due to the preservative properties of vinegar. It can typically last for several months when stored in a cool, dark place. However, it’s best to use it within 6 months for optimal effectiveness. If you notice any changes in color, odor, or consistency, discard the cleaner.
What kind of vinegar should I use?
White distilled vinegar is the most common and readily available type of vinegar for cleaning. It’s inexpensive, effective, and has a neutral odor that can be easily masked with essential oils. You can also use apple cider vinegar, but it may leave a slight residue and has a stronger odor. Avoid using cleaning vinegar, which is more acidic and may damage some surfaces.
Can I use essential oils other than tea tree or eucalyptus?
Absolutely! Feel free to experiment with different essential oils to create a scent that you enjoy. Lavender, lemon, orange, peppermint, and rosemary are all popular choices for cleaning. Just be sure to use pure essential oils and not fragrance oils, which don’t have the same antibacterial properties.
Is this cleaner safe for pets and children?
This cleaner is generally considered safe for pets and children, as it doesn’t contain harsh chemicals. However, it’s still important to keep it out of their reach and avoid direct contact with their skin or eyes. If ingested, it may cause mild irritation. If you’re concerned, you can use a milder vinegar solution or opt for a cleaner specifically designed for pet-friendly homes.
Why does my cleaner smell like vinegar?
Vinegar has a distinct odor that can be off-putting to some people. However, the smell typically dissipates quickly after cleaning. You can mask the vinegar smell by adding essential oils to the mixture. Citrus oils like lemon and orange are particularly effective at neutralizing the vinegar odor. You can also infuse your vinegar with citrus peels for a more subtle scent.
Can I use this cleaner in a spray bottle?
Yes, this cleaner is perfect for use in a spray bottle. Just be sure to use a clean, empty spray bottle that hasn’t been used for other cleaning products. Label the bottle clearly to avoid confusion.
What if I don’t have all the ingredients?
The basic recipe only requires vinegar, water, and optionally, essential oils. If you don’t have essential oils, you can still use the cleaner without them. The vinegar and water alone will provide effective cleaning power.
How does this DIY cleaner compare to store-bought cleaners?
This DIY cleaner is a great alternative to store-bought cleaners because it’s more economical, eco-friendly, and customizable. It also allows you to avoid harsh chemicals and artificial fragrances. While it may not be as powerful as some specialized cleaners, it’s effective for everyday cleaning tasks and can be easily adjusted to suit your needs. Plus, it’s a fantastic way to incorporate simple household routine hacks into your life.


Leave a Comment