

Grow carrots at home? Absolutely! Imagine plucking vibrant, sweet carrots straight from your own backyard, ready to be enjoyed in a salad, roasted to perfection, or even juiced for a healthy boost. Forget those bland, store-bought carrots – with a few simple tricks, you can cultivate a carrot patch bursting with flavor and freshness, right outside your door.
For centuries, carrots have been a staple in gardens worldwide, evolving from their humble, often purple or white, wild ancestors. The bright orange variety we know and love today was popularized in the Netherlands in the 17th century, reportedly as a patriotic tribute to the House of Orange. Now, you can continue this rich history in your own backyard!
But why bother learning how to grow carrots at home? Well, beyond the unparalleled taste and freshness, home-grown carrots are often free from the pesticides and herbicides used in commercial farming. Plus, gardening is a fantastic way to de-stress, connect with nature, and get some much-needed Vitamin D. In this article, I’m going to share some of my favorite DIY tricks and hacks to ensure you have a bountiful carrot harvest, even if you’re a complete beginner. Let’s get digging!

DIY Concrete Countertops: A Step-by-Step Guide to a Stunning Kitchen Upgrade
Okay, so you’re thinking about concrete countertops? Awesome! I get it. They’re modern, durable, and surprisingly customizable. Plus, the satisfaction of saying “I made that!” every time someone compliments your kitchen is pretty unbeatable. This guide will walk you through the entire process, from building the mold to the final sealing. Trust me, it’s totally doable, even if you’re not a seasoned DIYer. Just be prepared for a bit of work and a whole lot of fun.
Materials You’ll Need:
Before we dive in, let’s gather our supplies. This is crucial for a smooth process.
* Concrete Mix: I recommend a high-strength concrete mix specifically designed for countertops. It’ll give you a smoother finish and better durability. Get more than you think you’ll need – it’s always better to have extra than to run out mid-pour.
* Reinforcement: Wire mesh or rebar is essential for preventing cracks. I prefer wire mesh for countertops, as it’s easier to cut and shape.
* Melamine Boards: These will form the mold for your countertop. They’re smooth and easy to work with. Get the thickness you want for your final countertop (usually 1.5-2 inches).
* Silicone Caulk: Use a high-quality, paintable silicone caulk to seal the seams of your mold. This prevents concrete from leaking out.
* Concrete Sealer: This is what protects your countertop from stains and water damage. Choose a food-safe sealer specifically designed for concrete countertops.
* Concrete Pigment (Optional): If you want to add color to your countertop, grab some concrete pigment. A little goes a long way!
* Mixing Tools: You’ll need a concrete mixer (rent one if you don’t have one), a wheelbarrow or large mixing tub, shovels, and buckets.
* Finishing Tools: A concrete trowel, a rubber float, and various grits of sandpaper (from coarse to very fine) are essential for achieving a smooth finish.
* Safety Gear: Don’t forget safety glasses, gloves, and a dust mask! Concrete dust is not something you want to inhale.
* Release Agent: A concrete release agent will help you remove the countertop from the mold without damaging it.
* Measuring Tools: Tape measure, level, and square.
* Drill and Screws: For assembling the mold.
* Clamps: To hold the mold pieces together while the caulk dries.
* Vibrating Sander (Optional): This helps remove air bubbles from the concrete after pouring.
Phase 1: Building the Mold
This is arguably the most important step. A well-built mold will result in a beautiful countertop. A poorly built mold… well, let’s just say you’ll be starting over.
1. Measure and Cut the Melamine: Carefully measure the dimensions of your desired countertop. Remember to account for any overhangs or special features. Cut the melamine boards to size using a circular saw or table saw. Accuracy is key here!
2. Assemble the Mold: Arrange the melamine pieces to form the mold. The bottom piece will be the largest, and the side pieces will be attached to it. Use screws to secure the pieces together. Make sure the screws are countersunk so they don’t interfere with the concrete.
3. Reinforce the Mold: Add extra support to the outside of the mold using scrap wood. This will prevent the mold from bowing outwards when you pour the concrete.
4. Caulk the Seams: This is crucial! Apply a generous bead of silicone caulk to all the seams inside the mold. Smooth the caulk with your finger to create a watertight seal. Let the caulk dry completely according to the manufacturer’s instructions.
5. Create Cutouts (If Needed): If you need to create cutouts for sinks or faucets, now’s the time. Use a jigsaw to cut the holes in the melamine. Remember to caulk around the cutouts to prevent leaks. You can use foam to create the cutouts, securing them with silicone.
6. Apply Release Agent: Apply a generous coat of concrete release agent to the inside of the mold. This will make it much easier to remove the countertop later.
Phase 2: Mixing and Pouring the Concrete
Now for the fun part! But remember, concrete sets relatively quickly, so you need to work efficiently.
1. Prepare the Concrete Mix: Follow the manufacturer’s instructions for mixing the concrete. Add water gradually until you achieve a thick, but pourable consistency. The mix should be similar to oatmeal. If you’re adding pigment, mix it in with the water before adding it to the concrete.
2. Pour the First Layer: Pour a layer of concrete into the mold, about one-third of the way up.
3. Add Reinforcement: Place the wire mesh or rebar into the concrete. Make sure it’s completely embedded in the concrete.
4. Pour the Remaining Concrete: Pour the remaining concrete into the mold, filling it to the top.
5. Vibrate the Concrete: This is important for removing air bubbles. Use a vibrating sander (without sandpaper) or tap the sides of the mold with a rubber mallet. Do this for several minutes to ensure the concrete is well-consolidated.
6. Screed the Surface: Use a straight edge (like a piece of wood) to screed the surface of the concrete. This will level the concrete and remove any excess.
7. Let it Cure: Cover the mold with plastic sheeting to prevent the concrete from drying out too quickly. Let the concrete cure for at least 7 days. The longer it cures, the stronger it will be.
Phase 3: Demolding and Finishing
This is where you’ll see your hard work pay off!
1. Demold the Countertop: After the concrete has cured, carefully remove the screws from the mold. Gently pry the melamine pieces away from the concrete. If the countertop is stuck, use a rubber mallet to tap the sides of the mold.
2. Initial Grind: Once the countertop is out of the mold, use a concrete grinder with a coarse grit diamond pad to remove any imperfections and smooth the surface. Be sure to wear a dust mask and eye protection.
3. Fill Voids (Optional): If you have any small voids or air bubbles, you can fill them with a concrete slurry. Mix a small amount of concrete with water to create a paste. Apply the paste to the voids and let it dry.
4. Progressive Grinding: Gradually work your way up through the grits of sandpaper, from coarse to very fine. This will create a smooth, polished surface. Wet sanding is recommended to reduce dust. Rinse the countertop frequently to remove any slurry.
5. Sealing: Once you’re happy with the finish, clean the countertop thoroughly and let it dry completely. Apply several coats of concrete sealer, following the manufacturer’s instructions. Be sure to use a food-safe sealer if you’re using the countertop for food preparation. Allow each coat to dry completely before applying the next.
6. Final Polish (Optional): After the sealer has dried, you can buff the countertop with a soft cloth to create a final polish.
Tips and Tricks for Success:
* Practice Makes Perfect: Consider making a small test piece before tackling the full countertop. This will give you a chance to practice your mixing and finishing techniques.
* Control the Environment: Concrete cures best in a cool, humid environment. Avoid pouring concrete in direct sunlight or extreme temperatures.
* Don’t Rush the Process: Take your time and follow the instructions carefully. Rushing will only lead to mistakes.
* Be Patient: Concrete countertops take time and effort to create. But the end result is well worth it!
* Consider Adding Inlays: Before pouring, you can embed objects like glass, stones, or metal into the concrete for a unique look.
* Edge Profiles: You can create different edge profiles by using special forms or by grinding the edges after demolding.
* Color Variations: Experiment with different concrete pigments to create unique color variations.
* Sealer is Key: Choose a high-quality sealer and apply it properly to protect your countertop from stains and water damage. Reapply the sealer periodically to maintain its effectiveness.
* Clean Up: Clean your tools and workspace immediately after pouring the concrete. Concrete is much easier to remove when it’s wet.
* Consult Professionals: If you’re unsure about any aspect of the process, don’t hesitate to consult with a concrete professional.
Troubleshooting:
* Cracking: Cracking can occur if the concrete dries out too quickly or if there isn’t enough reinforcement. Make sure to cover the mold with plastic sheeting and use wire mesh
Conclusion
So, there you have it! Growing carrots at home, while it might seem daunting at first, is surprisingly achievable and incredibly rewarding. We’ve walked you through the essential steps, from selecting the right carrot varieties to nurturing those tiny seedlings into vibrant, crunchy delights. But why is this DIY trick a must-try?
Firstly, the taste. Forget those bland, store-bought carrots that have traveled miles and lost their zest. Homegrown carrots burst with a sweetness and freshness that you simply can’t replicate. The difference is truly remarkable. Imagine pulling a carrot straight from the earth, rinsing it off, and enjoying its crisp, earthy flavor – a taste of pure, unadulterated goodness.
Secondly, control. When you grow your own carrots, you have complete control over what goes into them. No harmful pesticides, no artificial fertilizers – just good old-fashioned care and attention. This is especially important if you’re concerned about your family’s health and want to ensure they’re consuming the most nutritious produce possible.
Thirdly, the satisfaction. There’s an undeniable sense of accomplishment that comes with nurturing something from seed to harvest. Watching those tiny green shoots emerge from the soil, tending to them, and finally reaping the rewards of your labor is an incredibly fulfilling experience. It’s a connection to nature that’s often missing in our modern lives.
Variations and Suggestions:
Don’t be afraid to experiment! Try different carrot varieties to find your favorites. Nantes carrots are known for their sweetness and cylindrical shape, while Chantenay carrots are shorter and sturdier, perfect for heavier soils. Rainbow carrots add a splash of color to your garden and your plate.
Consider companion planting. Carrots thrive alongside onions, garlic, and rosemary, which can help deter pests. Marigolds are also excellent companions, adding beauty to your garden while repelling nematodes.
If you’re short on space, container gardening is a great option. Choose a large pot with good drainage and fill it with a well-draining potting mix. Dwarf carrot varieties are particularly well-suited for containers.
Ready to Get Started?
Growing carrots at home is an investment in your health, your taste buds, and your well-being. It’s a simple yet profound way to connect with nature and enjoy the fruits (or rather, vegetables) of your labor.
We encourage you to give this DIY trick a try. Don’t be discouraged if your first attempt isn’t perfect. Gardening is a learning process, and every mistake is an opportunity to grow (pun intended!).
And most importantly, share your experience! We’d love to hear about your successes, your challenges, and your favorite carrot recipes. Post photos of your homegrown carrots on social media using #HomegrownCarrots and tag us! Let’s create a community of carrot-loving gardeners and inspire others to embrace the joy of growing their own food. Happy gardening!
Frequently Asked Questions (FAQ)
What is the best time of year to plant carrots?
The best time to plant carrots depends on your climate. In general, carrots are a cool-season crop and thrive in temperatures between 60°F and 70°F (15°C and 21°C). For most regions, this means planting in early spring or late summer/early fall. Spring plantings should occur as soon as the soil can be worked, typically a few weeks before the last expected frost. Fall plantings should be timed so that carrots have enough time to mature before the first hard frost. In warmer climates, you can often grow carrots throughout the winter. Check your local gardening calendar for specific planting dates in your area.
What kind of soil is best for growing carrots?
Carrots need loose, well-drained soil to grow properly. Rocky or compacted soil can cause them to become stunted, forked, or misshapen. The ideal soil is sandy loam, which is a mixture of sand, silt, and clay. It should be rich in organic matter and have a pH between 6.0 and 6.8. Before planting, amend your soil with compost or well-rotted manure to improve its fertility and drainage. Avoid using fresh manure, as it can cause forking. If your soil is heavy clay, consider growing carrots in raised beds or containers filled with a suitable potting mix.
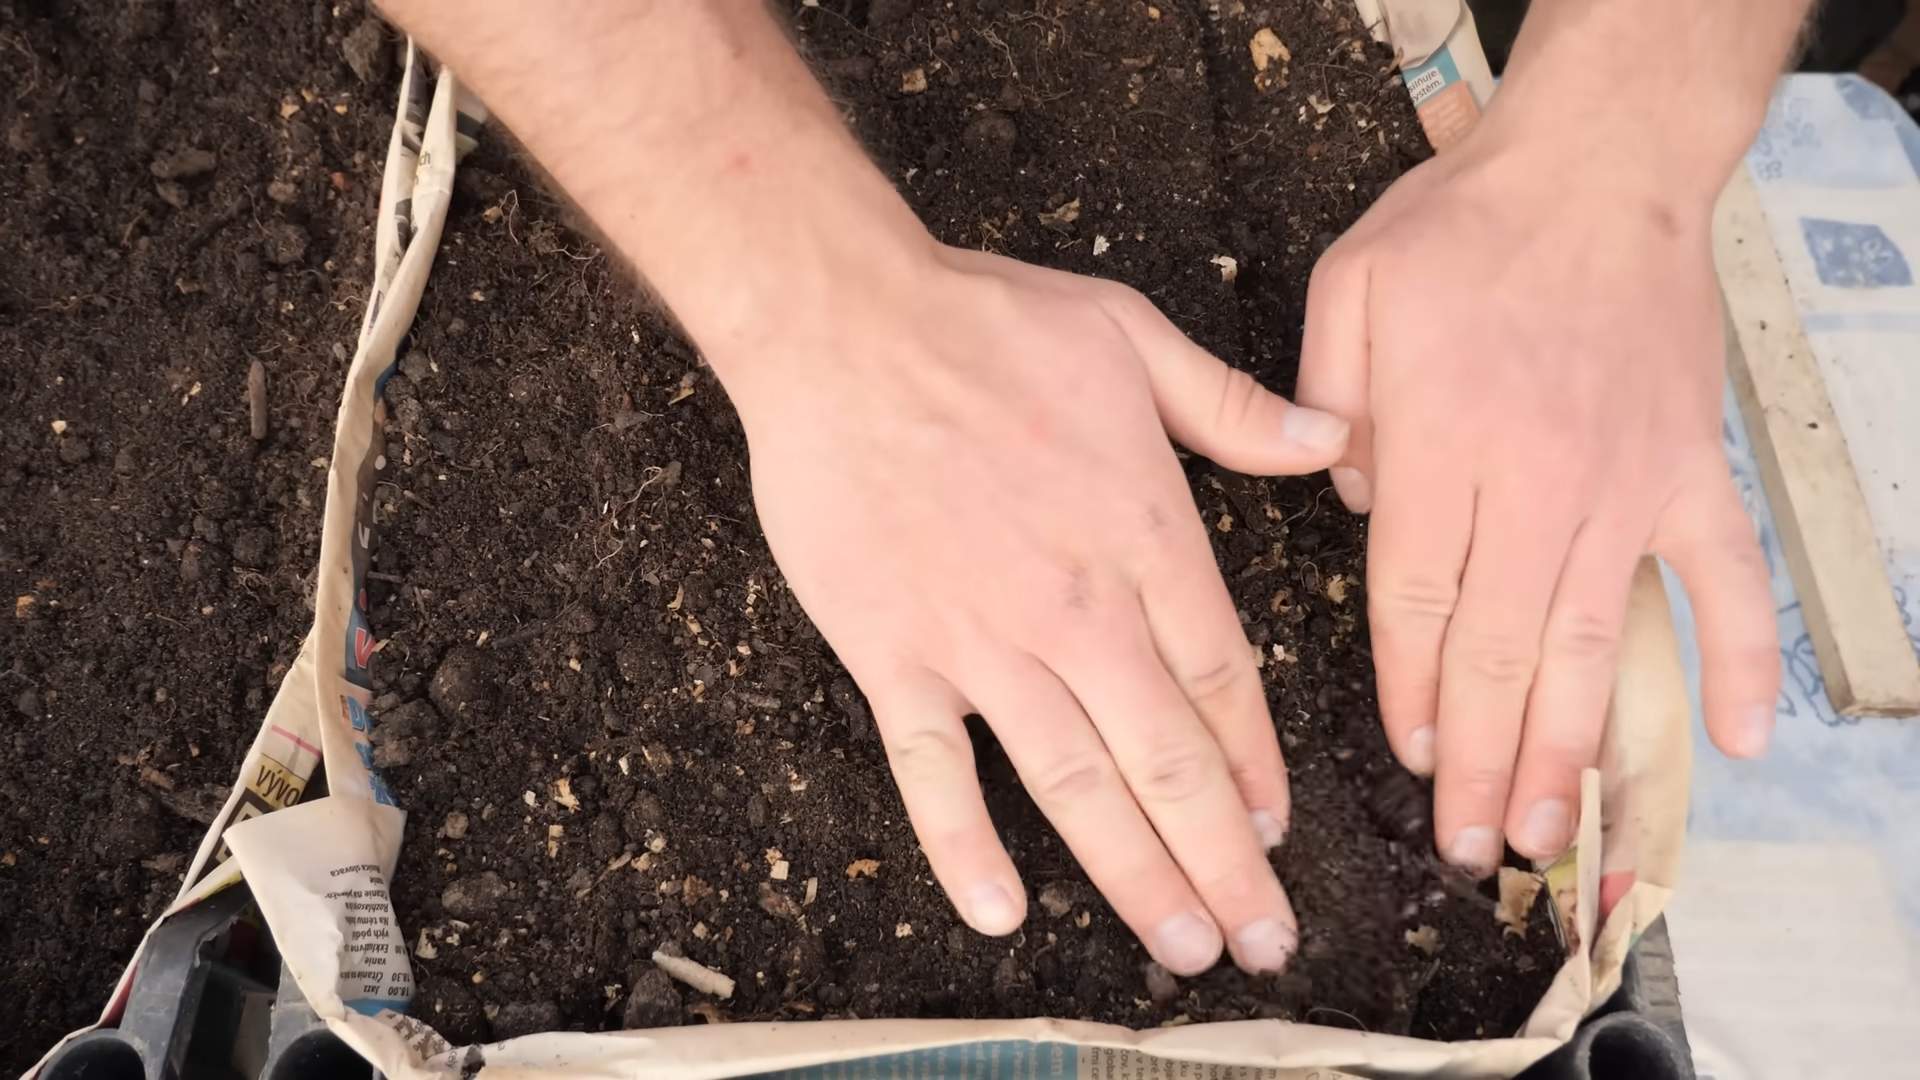
How deep should I plant carrot seeds?
Carrot seeds are very small and should be planted shallowly. Sow them about ¼ to ½ inch deep and space them about 1-2 inches apart in rows that are 12-18 inches apart. Gently cover the seeds with soil and water thoroughly. Keep the soil consistently moist until the seeds germinate, which usually takes 1-3 weeks. You can use a light layer of mulch, such as straw or grass clippings, to help retain moisture and prevent the soil from crusting over.
How often should I water my carrot plants?
Carrots need consistent moisture to grow well. Water them deeply whenever the top inch of soil feels dry to the touch. Avoid overwatering, as this can lead to root rot. During hot, dry weather, you may need to water your carrots more frequently. A good rule of thumb is to provide about 1 inch of water per week, either through rainfall or irrigation. Use a soaker hose or drip irrigation to water at the base of the plants, avoiding wetting the foliage, which can encourage fungal diseases.
When and how should I thin my carrot seedlings?
Thinning is essential for growing healthy, well-formed carrots. When the seedlings are about 2 inches tall, thin them to about 1-2 inches apart. When they are about 4 inches tall, thin them again to about 3-4 inches apart. This will give the remaining carrots enough space to develop properly. To thin, gently pull out the unwanted seedlings, being careful not to disturb the roots of the remaining plants. You can also use small scissors to snip off the seedlings at soil level.
What are some common pests and diseases that affect carrots?
Carrot rust flies, carrot weevils, aphids, and nematodes are common pests that can affect carrots. Carrot rust flies lay their eggs near the base of the plants, and the larvae tunnel into the roots, causing damage. Carrot weevils also damage the roots. Aphids suck sap from the leaves, weakening the plants. Nematodes are microscopic worms that can cause root knotting and stunting. To prevent pest problems, practice crop rotation, use row covers, and encourage beneficial insects.
Common diseases that affect carrots include leaf blight, powdery mildew, and root rot. Leaf blight causes brown spots on the leaves, while powdery mildew creates a white, powdery coating. Root rot is caused by overwatering and poor drainage. To prevent diseases, provide good air circulation, avoid overhead watering, and ensure proper drainage.
How do I know when my carrots are ready to harvest?
Carrots are typically ready to harvest 60-80 days after planting, depending on the variety. The best way to tell if they’re ready is to check the size of the roots. Gently brush away the soil around the top of the carrot to see how thick it is. Most carrot varieties are ready to harvest when they are about ½ to 1 inch in diameter at the top. You can also harvest a few carrots early to check their flavor and texture. To harvest, loosen the soil around the carrot with a garden fork and gently pull it out of the ground.
Can I store my homegrown carrots?
Yes, you can store homegrown carrots for several months if you do it properly. After harvesting, remove the tops, leaving about ½ inch of stem. Gently brush off any excess soil, but don’t wash the carrots. Store them in a cool, dark, and humid place, such as a root cellar or refrigerator. You can store them in a plastic bag or container filled with slightly damp sand or sawdust to help maintain humidity. Check the carrots periodically and remove any that are starting to rot.

Leave a Comment