

DIY Mop from Old Towels: Tired of spending money on disposable mop heads that end up in landfills? I know I was! There’s something incredibly satisfying about breathing new life into old items, and that’s exactly what this project is all about. For generations, resourceful homemakers have found clever ways to repurpose textiles, turning worn-out clothes and linens into useful household items. Think of it as a modern take on the “make do and mend” philosophy that our grandparents embraced.
This isn’t just about saving a few bucks, though. In today’s world, where sustainability is more important than ever, finding ways to reduce waste is crucial. Creating a DIY mop from old towels is a fantastic way to contribute to a greener lifestyle. Plus, let’s be honest, who doesn’t love a good DIY project that’s both practical and eco-friendly? I’m going to show you how to transform those forgotten towels into a super-absorbent, reusable mop head that will make cleaning your floors a breeze. Get ready to ditch those disposable mop heads and embrace a more sustainable cleaning routine!
DIY Mop from Old Towels: A Sustainable Cleaning Solution
Hey there, fellow DIY enthusiasts! Are you tired of throwing away old towels and contributing to textile waste? Do you also want to save some money on cleaning supplies? Well, I’ve got the perfect solution for you: a DIY mop made from old towels! It’s a fantastic way to repurpose those worn-out towels and create an effective and eco-friendly cleaning tool. Plus, it’s super easy to make! Let’s get started!
What You’ll Need
Before we dive into the step-by-step instructions, let’s gather all the necessary materials. Here’s what you’ll need:
* **Old Towels:** The star of the show! Gather your old bath towels, hand towels, or even washcloths. The more absorbent, the better. I recommend using at least 3-4 towels for a good mop head.
* **Mop Handle:** You can repurpose an old mop handle from a broken mop, purchase a new one from a hardware store, or even use a sturdy broom handle. Make sure it’s in good condition and comfortable to hold.
* **Mop Head Base (Optional):** While not strictly necessary, a mop head base can make the mop more durable and easier to use. You can use a plastic mop head base from an old mop, a sturdy piece of wood, or even a thick piece of cardboard.
* **Scissors:** For cutting the towels into strips.
* **Measuring Tape or Ruler:** To ensure consistent strip sizes.
* **Sewing Machine (Optional):** A sewing machine will make the mop head more durable, but you can also hand-sew it if you don’t have one.
* **Needle and Thread:** If you’re hand-sewing. Choose a strong thread that matches the color of your towels.
* **Hot Glue Gun and Glue Sticks (Optional):** For extra reinforcement and attaching the towels to the mop head base.
* **Drill (If using a wooden mop head base):** To create holes for attaching the mop handle.
* **Screws or Bolts (If using a wooden mop head base):** To secure the mop handle to the base.
* **Safety Glasses:** To protect your eyes when drilling.
Preparing the Towels
This is where we transform those old towels into mop-ready strips!
1. **Wash and Dry the Towels:** Before you start cutting, make sure your towels are clean and dry. This will prevent any dirt or odors from transferring to your floors.
2. **Cut the Towels into Strips:** Lay a towel flat on a cutting surface. Using your measuring tape or ruler, measure and mark strips that are approximately 2-3 inches wide. The length of the strips will depend on the size of your towels and how long you want your mop head to be. I usually aim for strips that are at least 12 inches long.
3. **Cut Along the Marked Lines:** Carefully cut along the marked lines using your scissors. Repeat this process for all your towels until you have a pile of towel strips.
4. **Optional: Hem the Edges:** If you want to prevent fraying, you can hem the edges of each strip using a sewing machine or by hand. This step is optional but will make your mop head more durable.
Assembling the Mop Head
Now comes the fun part – putting everything together!
Using a Mop Head Base
This method provides a more structured and durable mop head.
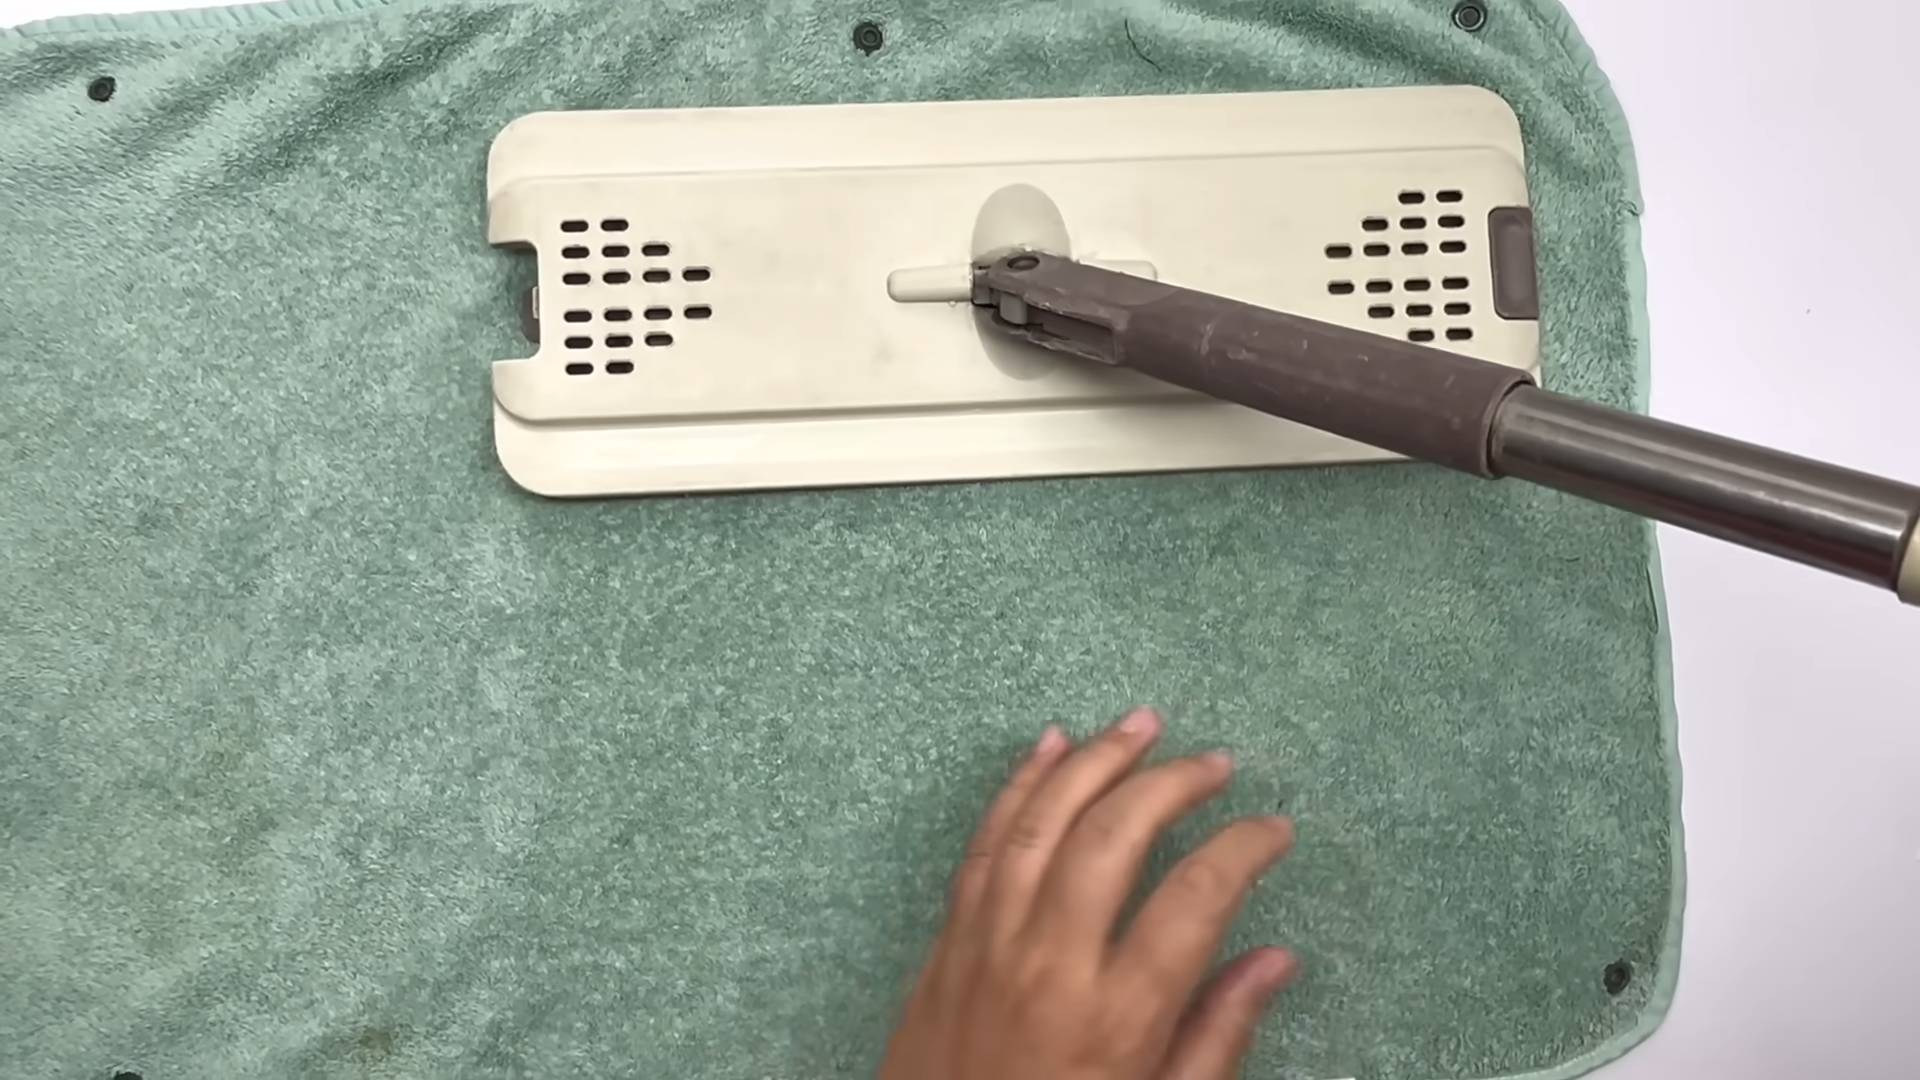
1. **Prepare the Mop Head Base:** If you’re using a plastic mop head base, make sure it’s clean and free of any debris. If you’re using a wooden base, drill a hole in the center that’s large enough to accommodate your mop handle. You may also want to drill additional smaller holes around the center hole for attaching the towel strips.
2. **Attach the Towel Strips:** Take a bundle of towel strips and fold them in half. Loop the folded end around the mop head base, either through the existing slots in a plastic base or through the drilled holes in a wooden base.
3. **Secure the Strips:** If you’re using a sewing machine, sew the folded ends of the towel strips to the mop head base. If you’re hand-sewing, use a needle and thread to securely stitch the strips in place. You can also use hot glue to further secure the strips.
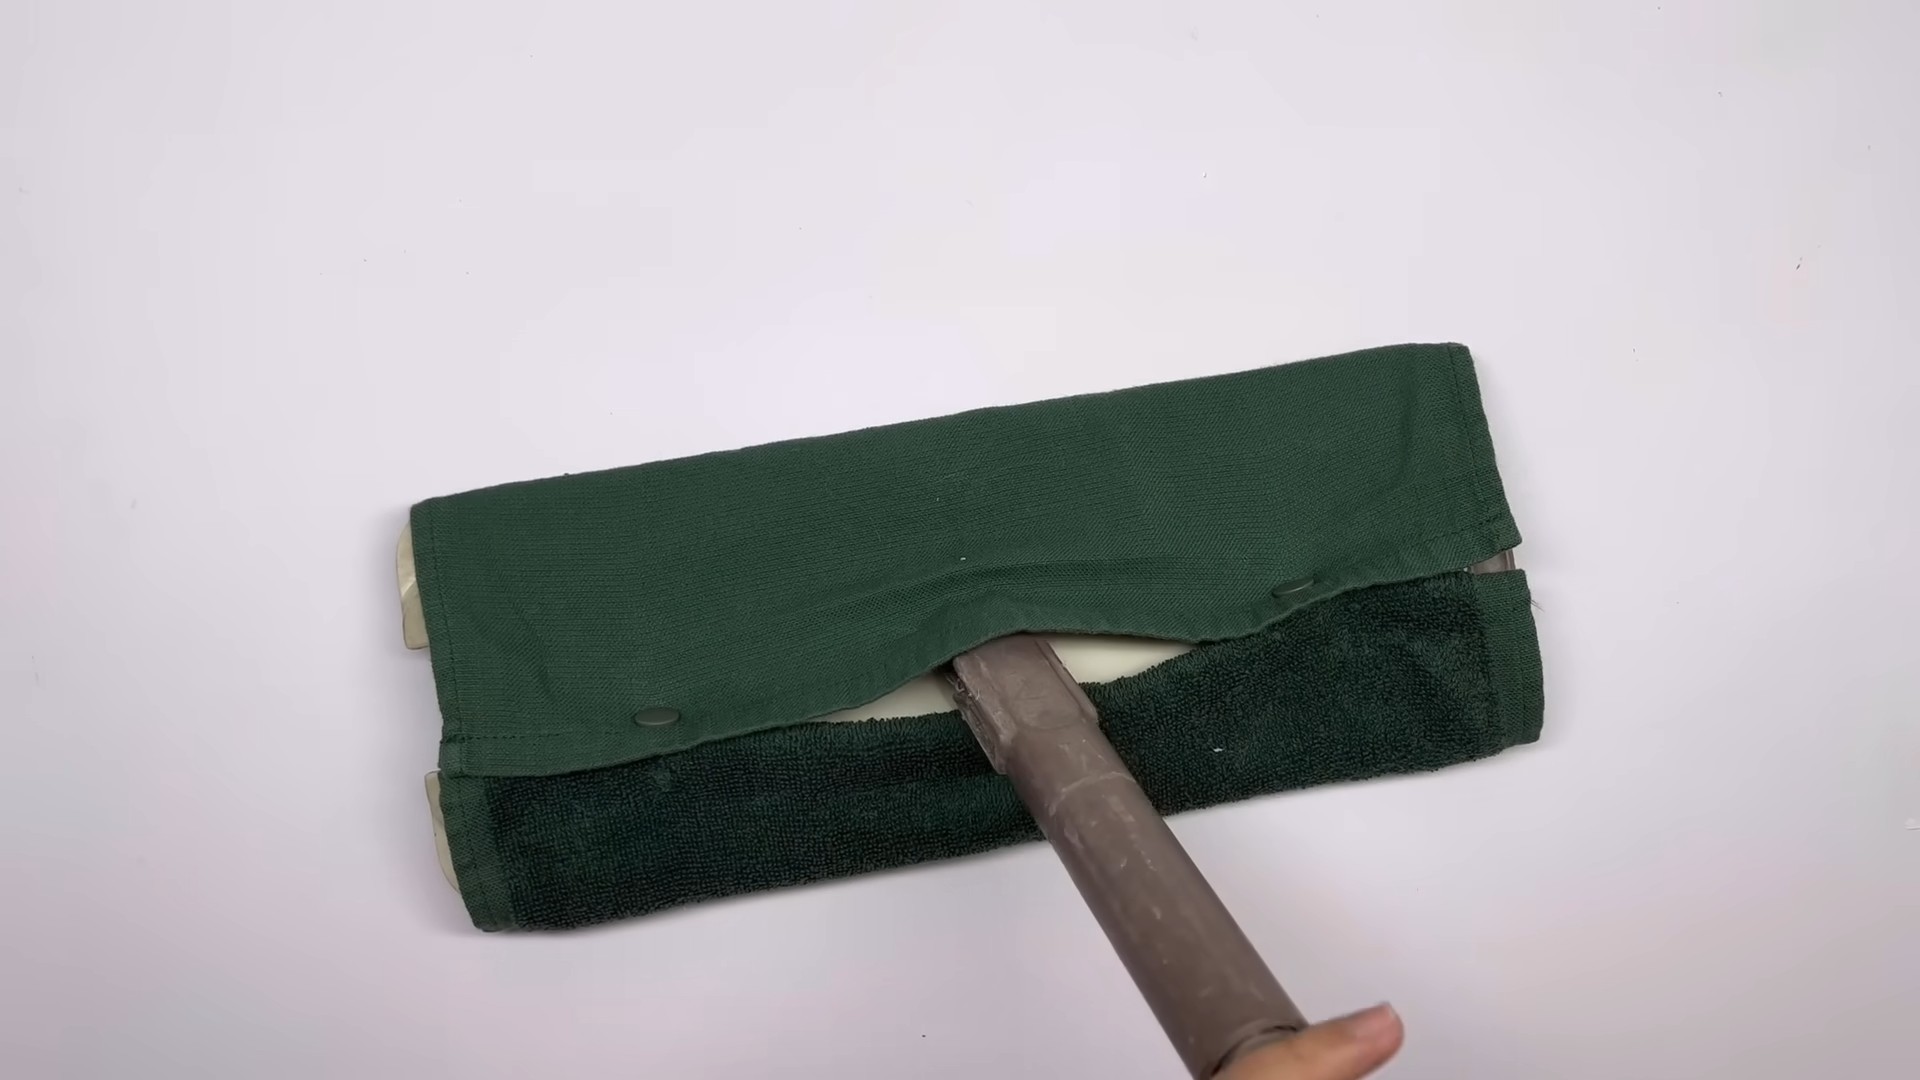
4. **Repeat the Process:** Continue attaching towel strips around the entire mop head base until it’s completely covered. Make sure the strips are evenly distributed to create a full and fluffy mop head.
5. **Attach the Mop Handle:** Insert the mop handle into the hole in the mop head base. If you’re using a wooden base, secure the handle with screws or bolts. Make sure the handle is firmly attached and doesn’t wobble.
Without a Mop Head Base
This method is simpler and requires less hardware.
1. **Gather the Towel Strips:** Take all your towel strips and gather them together in a bundle.
2. **Tie the Bundle:** Use a strong piece of twine, rope, or even a strip of towel to tie the bundle tightly together in the center. Make sure the knot is secure and won’t come undone.
3. **Create a Loop:** Create a loop at the top of the bundle, just above the knot. This loop will be used to attach the mop handle.
4. **Secure the Loop:** Use a sewing machine or needle and thread to securely stitch the loop in place. You can also use hot glue to reinforce the loop.
5. **Attach the Mop Handle:** Insert the mop handle through the loop. You may need to use a clamp or other device to hold the handle in place.
Finishing Touches
Almost there! Just a few more steps to ensure your DIY mop is ready for action.
1. **Trim the Towel Strips:** If the towel strips are too long or uneven, trim them to your desired length using scissors.
2. **Fluff the Mop Head:** Fluff the mop head by shaking it vigorously. This will help to separate the towel strips and create a more effective cleaning surface.
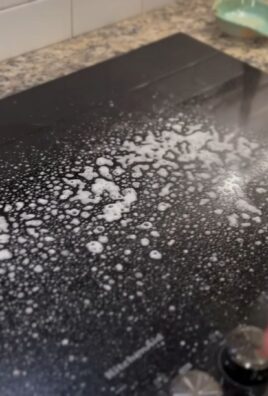
3. **Test the Mop:** Before you start cleaning your entire house, test the mop on a small, inconspicuous area to make sure it doesn’t scratch or damage your floors.
Tips for Using Your DIY Towel Mop
Now that you’ve created your awesome DIY towel mop, here are a few tips to help you get the most out of it:
* **Use the Right Cleaning Solution:** Choose a cleaning solution that’s appropriate for your floor type. For hardwood floors, use a pH-neutral cleaner. For tile floors, you can use a stronger cleaner.
* **Wring Out the Mop Head:** Before you start mopping, wring out the mop head thoroughly to remove excess water. You want the mop head to be damp, not soaking wet.
* **Mop in Overlapping Strokes:** Mop in overlapping strokes to ensure that you cover the entire floor surface.
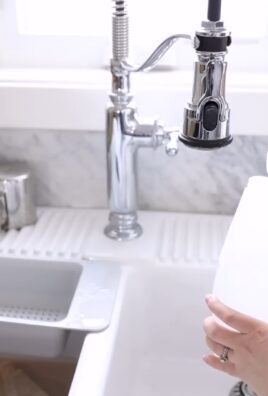
* **Rinse the Mop Head Regularly:** Rinse the mop head regularly in a bucket of clean water to remove dirt and debris.
* **Wash the Mop Head:** After each use, wash the mop head in your washing machine with hot water and detergent. This will help to keep it clean and prevent the growth of bacteria.
* **Replace the Mop Head:** Over time, the towel strips will wear out and become less absorbent. When this happens, simply replace the mop head with a new one made from old towels.
Benefits of Using a DIY Towel Mop
Besides being a great way to repurpose old towels, using a DIY towel mop offers several other benefits:
* **Eco-Friendly:** You’re reducing textile waste and preventing old towels from ending up in landfills.
* **Cost-Effective:** You’re saving money on cleaning supplies by using materials you already have.
* **Customizable:** You can customize the size and absorbency of the mop head to suit your specific needs.
* **Easy to Clean:** The mop head is easy to wash and reuse.
* **Effective Cleaning:** Towel mops are surprisingly effective at cleaning floors, especially when used with the right cleaning solution.
So there you have it! A simple and sustainable way to clean your floors using old towels. I hope you found this tutorial helpful. Happy mopping!
Conclusion
So, there you have it! Transforming your old towels into a highly effective and eco-friendly DIY mop is not just a clever way to repurpose textiles; it’s a game-changer for your cleaning routine. We’ve walked you through the simple steps, highlighting how easy it is to create a mop head that’s both absorbent and durable. But why is this DIY trick a must-try?
Firstly, it’s incredibly cost-effective. Instead of constantly buying disposable mop heads or expensive replacements, you’re utilizing materials you already have on hand. Think of the savings adding up over time! Secondly, it’s a sustainable choice. By giving your old towels a new lease on life, you’re reducing textile waste and contributing to a more environmentally conscious lifestyle. Every time you use your DIY mop, you’re making a small but significant difference.
Beyond the practical and environmental benefits, this DIY project offers a level of customization that store-bought mops simply can’t match. You control the size, the thickness, and even the type of towel you use. Want a super-absorbent mop for tackling spills? Use thicker, more absorbent towels. Need a lighter mop for quick touch-ups? Opt for thinner, more lightweight options.
Variations and Suggestions
The possibilities are endless! Consider these variations to personalize your DIY mop even further:
* **Scented Cleaning:** Add a few drops of your favorite essential oil to the water you use with your mop for a fresh, clean scent throughout your home. Lavender, lemon, and eucalyptus are all excellent choices.
* **Microfiber Power:** If you have old microfiber cloths, incorporate them into your mop head for extra cleaning power. Microfiber is excellent at trapping dirt and grime.
* **Handle Hack:** If your mop handle is looking a little worse for wear, consider painting it or wrapping it with decorative tape to give it a fresh new look.
* **Different Attachment Methods:** Experiment with different ways to attach the towel mop head to the handle. While we suggested using zip ties or sturdy string, you could also try using heavy-duty Velcro for easy removal and washing.
* **Floor Type Specific Mops:** Create different mop heads for different floor types. A softer mop head for delicate hardwood floors and a more abrasive one for tile.
This DIY mop is more than just a cleaning tool; it’s a testament to the power of resourcefulness and creativity. It’s a chance to reduce waste, save money, and create a cleaning solution that’s perfectly tailored to your needs.
We wholeheartedly encourage you to give this DIY trick a try. It’s a simple, rewarding project that will transform your cleaning routine and leave you feeling good about your contribution to a more sustainable lifestyle. Once you’ve created your own DIY mop from old towels, we’d love to hear about your experience! Share your tips, variations, and photos in the comments below. Let’s inspire each other to embrace a more eco-friendly and resourceful way of cleaning!
Frequently Asked Questions (FAQ)
**Q: What types of towels work best for making a DIY mop?**
A: The best towels for a DIY mop are those that are absorbent and durable. Old bath towels, hand towels, and even microfiber cloths are all excellent choices. Avoid using towels that are heavily worn or have holes, as they may not hold up well during cleaning. Thicker towels will generally provide more absorbency, while thinner towels will be lighter and easier to maneuver. Experiment with different types of towels to find what works best for your needs and floor types.
**Q: How do I clean the DIY mop head after use?**
A: Cleaning your DIY mop head is easy! Simply detach it from the mop handle and toss it in the washing machine. Use a mild detergent and wash on a warm or hot cycle. Avoid using fabric softeners, as they can reduce the absorbency of the towels. You can also add a cup of white vinegar to the wash to help remove any lingering odors or stains. Once washed, you can either air dry the mop head or tumble dry it on a low setting. Make sure the mop head is completely dry before storing it to prevent mildew growth.
**Q: How often should I replace the DIY mop head?**
A: The lifespan of your DIY mop head will depend on how frequently you use it and the types of surfaces you clean. In general, you should replace the mop head when it starts to show signs of wear and tear, such as fraying edges, thinning fabric, or a decrease in absorbency. If you notice that the mop head is no longer effectively cleaning your floors, it’s time for a replacement. With regular use, a DIY mop head made from durable towels can last for several months.
**Q: Can I use this DIY mop on all types of floors?**
A: While the DIY mop is versatile, it’s important to consider the type of flooring you’ll be cleaning. For delicate surfaces like hardwood floors, use a softer mop head made from gentle materials like microfiber or cotton. Avoid using abrasive cleaners or excessive water, as these can damage the finish. For more durable surfaces like tile or linoleum, you can use a more robust mop head and stronger cleaning solutions. Always test the mop on a small, inconspicuous area first to ensure it doesn’t cause any damage or discoloration.
**Q: What if I don’t have a traditional mop handle? Can I still make a DIY mop?**
A: Absolutely! You don’t necessarily need a traditional mop handle to create a DIY mop. You can use a broom handle, a sturdy stick, or even a repurposed paint roller handle. The key is to find a handle that is comfortable to grip and long enough to reach the floor without straining your back. Securely attach the towel mop head to the handle using zip ties, string, or Velcro, ensuring that it’s firmly in place before you start cleaning.
**Q: Can I use cleaning solutions with my DIY mop?**
A: Yes, you can definitely use cleaning solutions with your DIY mop. In fact, using a cleaning solution can help to effectively remove dirt, grime, and stains from your floors. Choose a cleaning solution that is appropriate for your floor type and follow the manufacturer’s instructions carefully. You can also make your own natural cleaning solutions using ingredients like vinegar, baking soda, and lemon juice. Just be sure to test the solution on a small, inconspicuous area first to ensure it doesn’t damage or discolor your floors.
**Q: Is this DIY mop environmentally friendly?**
A: Yes, this DIY mop is a very environmentally friendly option! By repurposing old towels, you’re reducing textile waste and preventing them from ending up in landfills. You’re also avoiding the need to purchase disposable mop heads or expensive replacements, which further reduces your environmental impact. Additionally, you can use natural cleaning solutions with your DIY mop, which are less harmful to the environment than conventional chemical cleaners. Overall, this DIY project is a great way to embrace a more sustainable and eco-conscious cleaning routine.
**Q: How does this DIY mop compare to commercial mops in terms of cleaning effectiveness?**
A: The cleaning effectiveness of a DIY mop can be comparable to, or even surpass, that of commercial mops, depending on the materials used and the technique employed. The absorbency of the towel material is a key factor; using highly absorbent towels will result in a more effective cleaning. Additionally, the ability to customize the mop head to suit specific floor types and cleaning needs gives the DIY mop an advantage. While some commercial mops may offer specialized features, the DIY mop provides a cost-effective and sustainable alternative that can deliver excellent cleaning results.
**Q: Can I use this DIY mop to clean walls or other surfaces besides floors?**
A: While primarily designed for floor cleaning, the DIY mop can be adapted for cleaning walls and other surfaces. To clean walls, ensure the mop head is clean and slightly damp, not soaking wet, to prevent water damage. Use gentle, even strokes and avoid applying excessive pressure. For other surfaces, such as baseboards or ceilings, consider using a smaller, more manageable mop head. Always test the mop on a small, inconspicuous area first to ensure it doesn’t damage or discolor the surface.
Leave a Comment