

Growing Watermelons at Home might seem like a challenge reserved for seasoned farmers, but I’m here to tell you it’s totally achievable, even in your own backyard! Imagine biting into a juicy, sweet watermelon that you nurtured from seed to fruit – the satisfaction is unparalleled. For centuries, watermelons have been a symbol of summer, abundance, and community, enjoyed in celebrations across cultures. From ancient Egypt, where they were buried with pharaohs, to modern-day picnics, watermelons hold a special place in our hearts (and stomachs!).
But let’s be honest, buying watermelons from the store can be a gamble. Are they truly ripe? Were they grown with care? That’s where the magic of growing watermelons at home comes in. This DIY guide is packed with simple tricks and hacks that will empower you to cultivate your own delicious watermelons, regardless of your gardening experience. I’ll walk you through everything from selecting the right variety for your climate to protecting your precious melons from pests.
Why spend money on store-bought watermelons when you can have a thriving watermelon patch just steps from your door? Not only will you save money, but you’ll also enjoy the rewarding experience of watching your garden flourish. Plus, homegrown watermelons simply taste better! So, grab your gardening gloves, and let’s dive into the wonderful world of growing watermelons at home!
Growing Watermelons: From Seed to Sweetness in Your Backyard!
Okay, watermelon lovers, let’s get real. There’s nothing quite like biting into a juicy, homegrown watermelon on a hot summer day. And guess what? You don’t need a sprawling farm to make it happen! I’m going to walk you through everything you need to know to grow your own watermelons right in your backyard (or even in containers!). Trust me, it’s easier than you think, and the reward is oh-so-sweet.
Choosing Your Watermelon Variety
Before we get our hands dirty, let’s talk about watermelon varieties. This is important because some are better suited for smaller spaces or shorter growing seasons.
* Consider your climate: If you live in a region with a short summer, opt for faster-maturing varieties like ‘Sugar Baby’ (around 75 days to maturity) or ‘Bush Sugar Baby’ (perfect for containers!). For longer growing seasons, you have more options like ‘Crimson Sweet’ (around 85 days) or ‘Charleston Gray’ (around 90 days).
* Think about space: Watermelons are vines, and they need room to spread. If you’re limited on space, bush varieties are your best bet. They stay more compact. Vining varieties will need plenty of room to sprawl or a sturdy trellis to climb.
* Flavor preferences: Do you prefer a super sweet, red-fleshed watermelon? Or maybe a slightly tangier, yellow-fleshed one? Do some research and read reviews to find a variety that tickles your taste buds. Some popular choices include:
* ‘Sugar Baby’: Classic, small, and super sweet.
* ‘Crimson Sweet’: Large, juicy, and disease-resistant.
* ‘Yellow Doll’: Yellow flesh, very sweet, and early maturing.
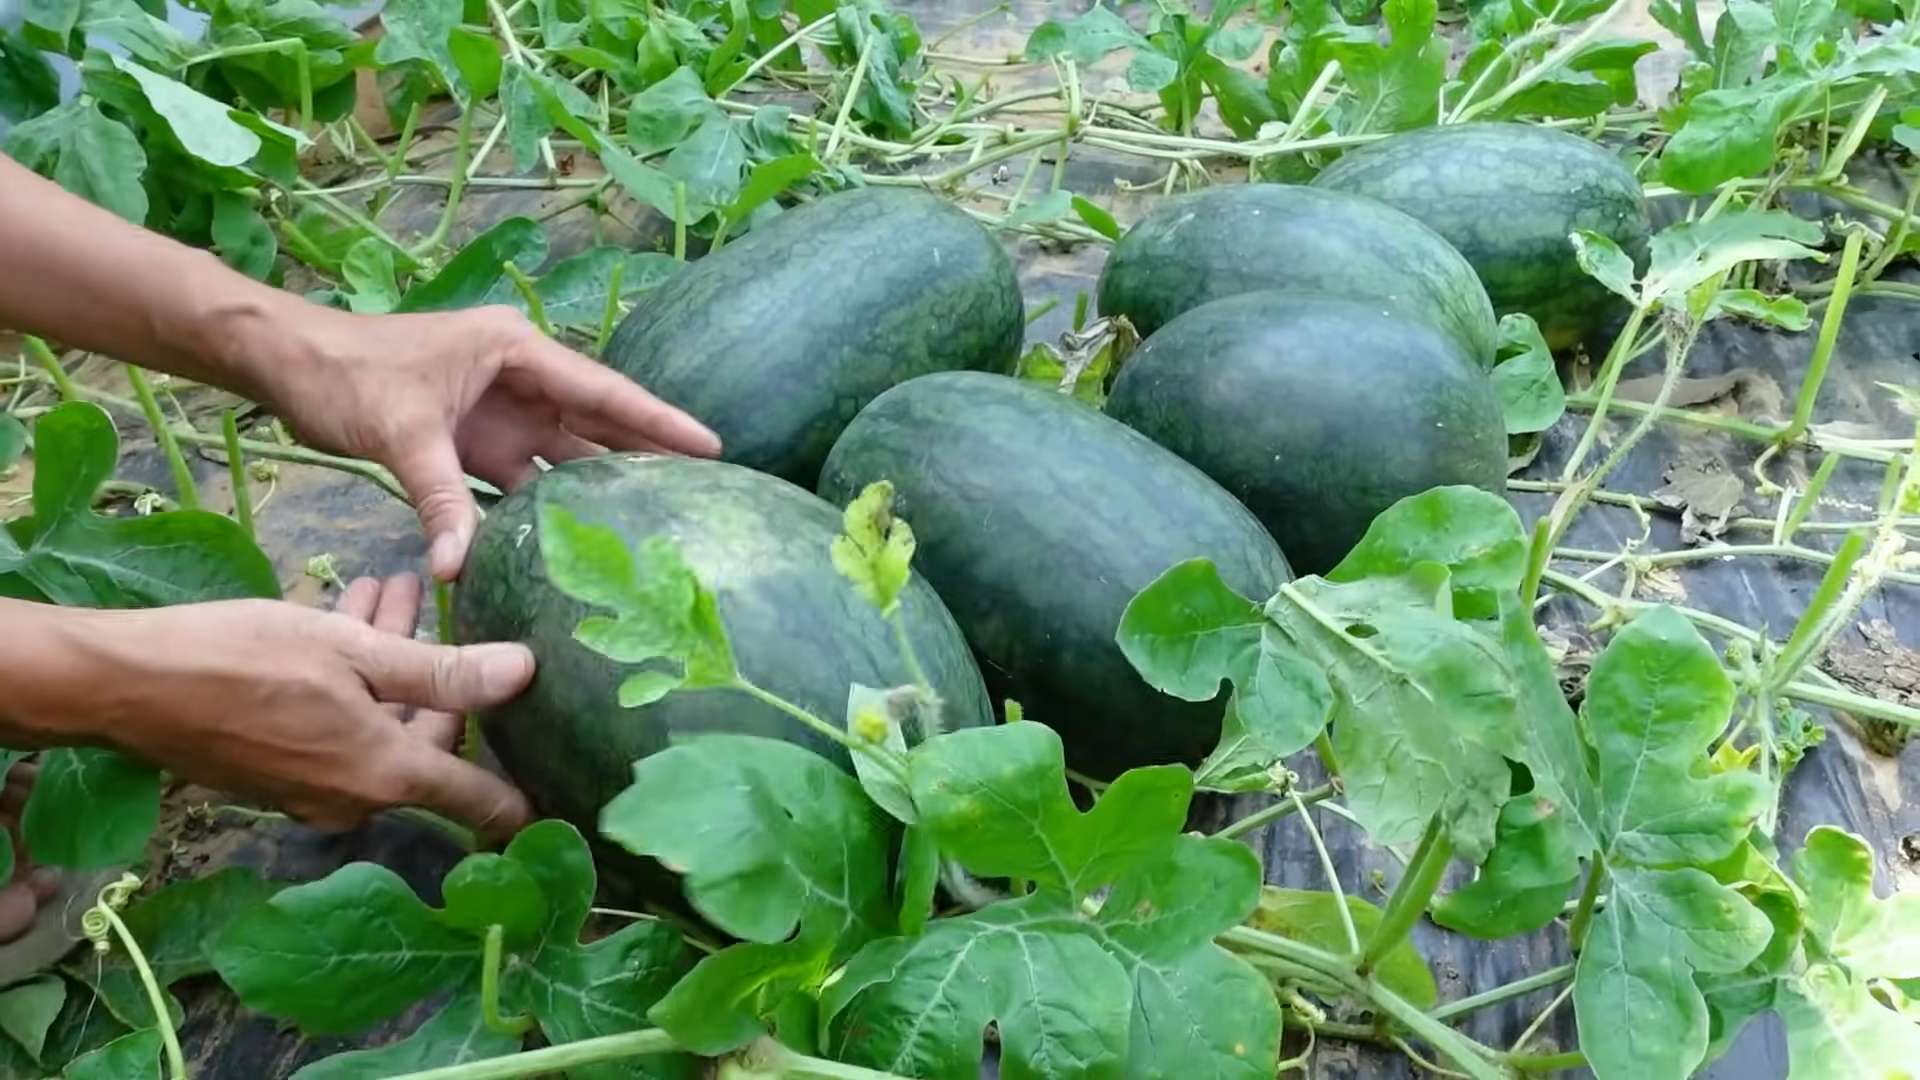
* ‘Black Diamond’: Large, dark green rind, and intensely flavored.
* ‘Icebox Watermelons’: Smaller varieties perfect for smaller families or single servings.
Starting Your Watermelon Seeds
You have two options here: direct sowing or starting seeds indoors. I usually prefer starting indoors, especially if I want a head start on the growing season.
Starting Seeds Indoors (Recommended for Cooler Climates)
1. Gather your supplies: You’ll need:
* Watermelon seeds
* Seed starting trays or individual pots (peat pots or biodegradable pots are great)
* Seed starting mix (a light, well-draining mix is crucial)
* A spray bottle or watering can with a gentle nozzle
* A heat mat (optional, but helpful for germination)
* A grow light (optional, but recommended if you don’t have a sunny windowsill)
2. Sow the seeds: Fill your seed starting trays or pots with seed starting mix. Moisten the mix thoroughly, but don’t soak it. Plant 2-3 watermelon seeds per cell or pot, about 1 inch deep.
3. Provide warmth and moisture: Cover the trays or pots with a clear plastic dome or plastic wrap to create a humid environment. Place them on a heat mat if you’re using one. Keep the soil consistently moist, but not soggy. Use a spray bottle to mist the soil regularly.
4. Wait for germination: Watermelon seeds typically germinate in 5-10 days. Once the seedlings emerge, remove the plastic dome or wrap and place them under a grow light or in a sunny windowsill.
5. Thin the seedlings: Once the seedlings have a few true leaves (the second set of leaves), thin them to one strong seedling per cell or pot. Snip off the weaker seedlings at the soil line with scissors.
6. Harden off the seedlings: About a week before you plan to transplant the seedlings outdoors, start hardening them off. This means gradually exposing them to outdoor conditions. Start by placing them outside for an hour or two each day in a sheltered location, gradually increasing the amount of time they spend outdoors each day.
Direct Sowing (Suitable for Warmer Climates)
1. Prepare the soil: Choose a sunny spot with well-drained soil. Amend the soil with compost or well-rotted manure to improve its fertility and drainage.
2. Sow the seeds: Sow the seeds directly into the soil, about 1 inch deep and 2-3 feet apart. Plant 2-3 seeds per hill.
3. Water thoroughly: Water the soil thoroughly after planting.
4. Thin the seedlings: Once the seedlings emerge, thin them to one strong seedling per hill.
Preparing the Garden Bed
Watermelons are heavy feeders, so preparing the soil properly is key to a successful harvest.
1. Choose a sunny location: Watermelons need at least 6-8 hours of direct sunlight per day.
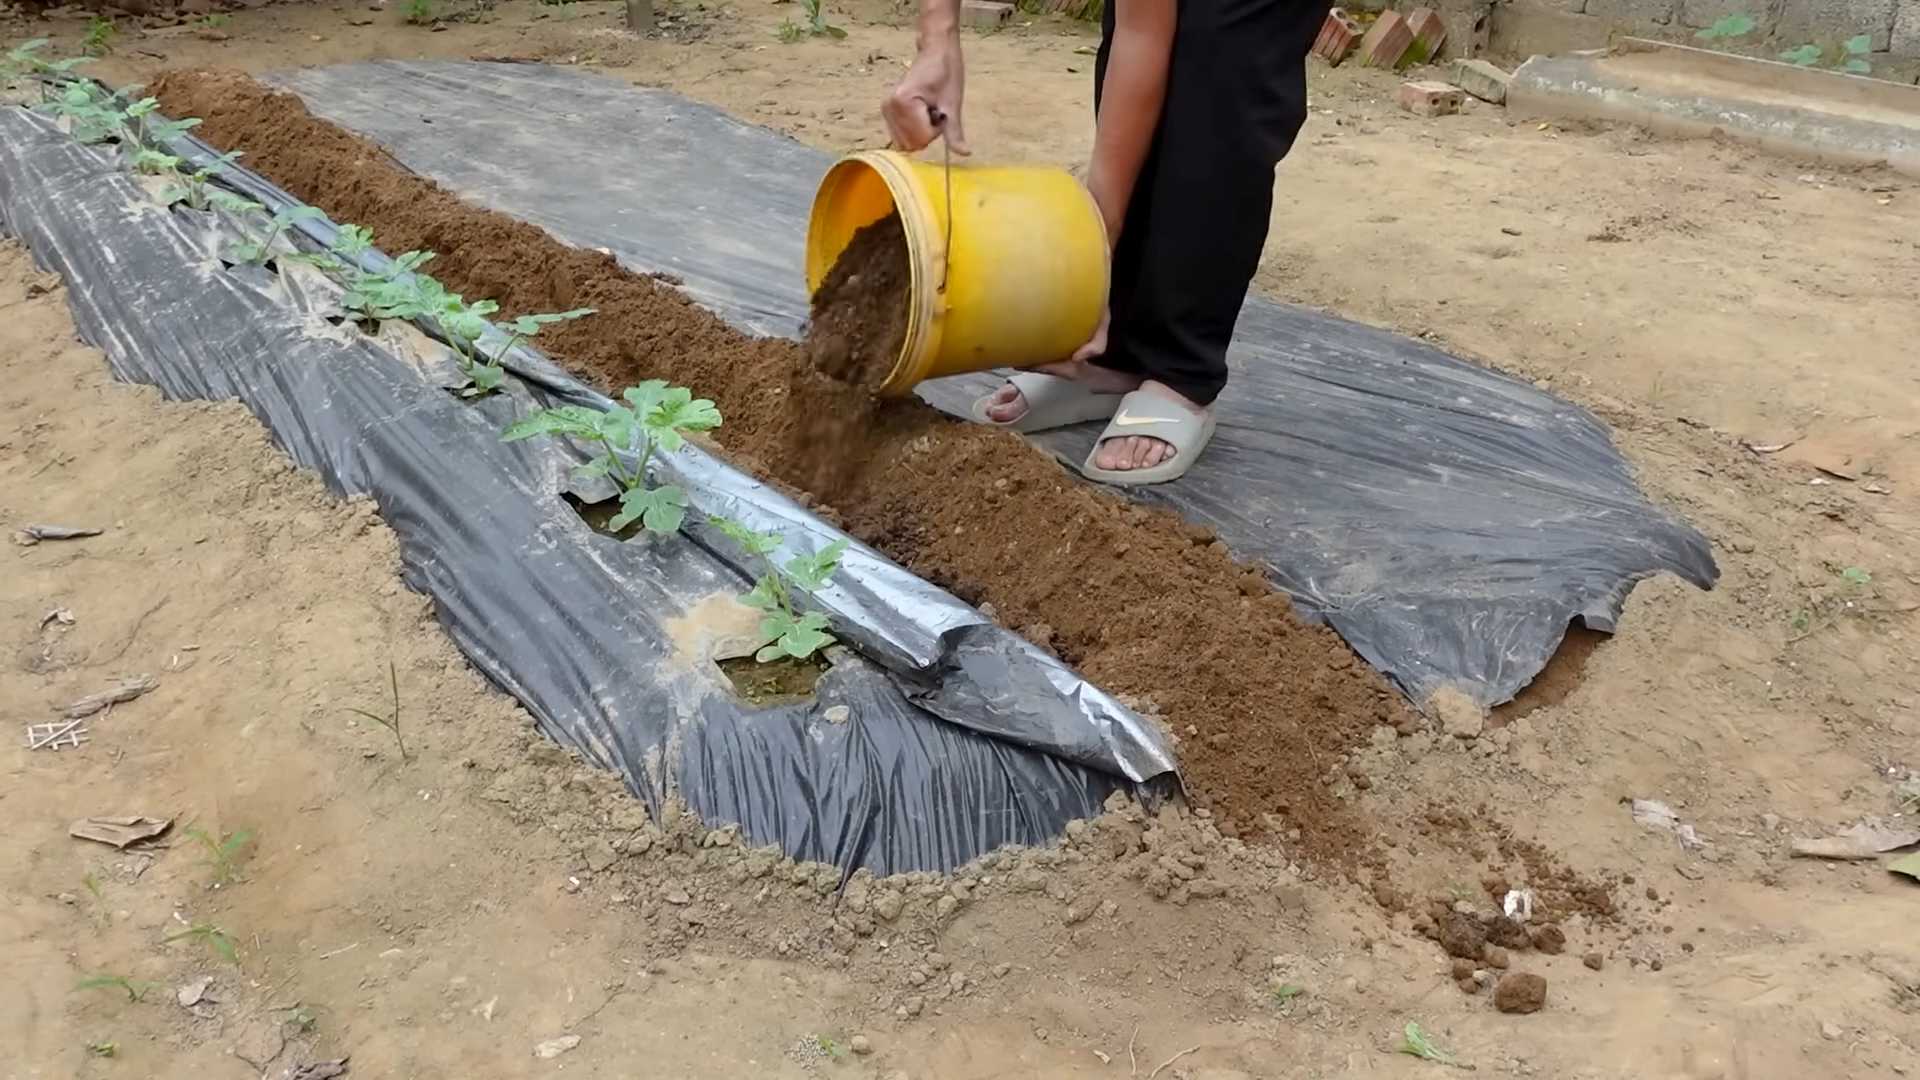
2. Amend the soil: Watermelons thrive in well-drained, fertile soil. Amend the soil with plenty of compost or well-rotted manure. This will improve drainage, add nutrients, and help retain moisture.
3. Check the pH: Watermelons prefer a soil pH of 6.0 to 6.8. You can test your soil pH with a soil testing kit. If the pH is too low, add lime to raise it. If the pH is too high, add sulfur to lower it.
4. Create mounds or hills: Watermelons grow best when planted on mounds or hills. This helps improve drainage and warms the soil more quickly. Create mounds that are about 1 foot high and 3-4 feet in diameter.
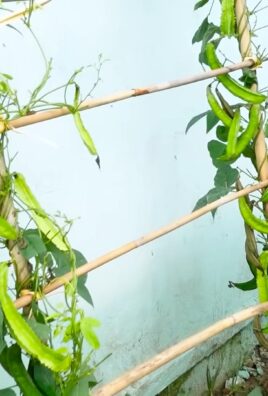
5. Consider adding a trellis: If you’re growing a vining variety and have limited space, consider adding a trellis. This will help keep the vines off the ground and prevent the watermelons from rotting. Make sure the trellis is strong enough to support the weight of the watermelons.
Transplanting Your Watermelon Seedlings
Once the danger of frost has passed and the soil has warmed up to at least 60°F (15°C), it’s time to transplant your watermelon seedlings into the garden.
1. Choose a cloudy day: Transplanting on a cloudy day will help reduce transplant shock.
2. Dig a hole: Dig a hole that is slightly larger than the root ball of the seedling.
3. Gently remove the seedling: Gently remove the seedling from its pot, being careful not to damage the roots. If you used peat pots, you can plant the entire pot directly into the ground.
4. Place the seedling in the hole: Place the seedling in the hole and backfill with soil. Gently firm the soil around the base of the plant.
5. Water thoroughly: Water the seedling thoroughly after planting.
6. Mulch around the plants: Mulch around the plants with straw or hay to help retain moisture, suppress weeds, and keep the soil cool.
Caring for Your Watermelon Plants
Now that your watermelon plants are in the ground, it’s time to give them the care they need to thrive.
1. Watering: Watermelons need consistent moisture, especially during fruit development. Water deeply and regularly, especially during dry spells. Aim for about 1-2 inches of water per week. Avoid overhead watering, as this can promote fungal diseases. Drip irrigation is a great option.
2. Fertilizing: Watermelons are heavy feeders, so they need regular fertilization. Use a balanced fertilizer (e.g., 10-10-10) every 2-3 weeks. You can also side-dress the plants with compost or well-rotted manure.
3. Weeding: Keep the garden bed free of weeds, as weeds can compete with the watermelon plants for nutrients and water. Hand-pull weeds regularly or use a hoe to cultivate the soil.
4. Pruning (Optional): Some gardeners prune their watermelon vines to encourage larger fruit. If you choose to prune, remove any suckers (small shoots that grow from the base of the plant) and any excess vines.
5. Protecting the fruit: As the watermelons develop, you may want to protect them from pests and diseases. Place a piece of cardboard or straw under each watermelon to prevent it from rotting. You can also cover the watermelons with netting to protect them from birds and other animals.
Dealing with Pests and Diseases
Watermelons can be susceptible to a few pests and diseases. Here’s how to deal with them:
* Squash bugs: These pests can suck the sap from watermelon leaves, causing them to wilt and die. Hand-pick squash bugs off the plants or spray them with insecticidal soap.
* Cucumber beetles: These beetles can damage watermelon leaves and transmit diseases. Cover the plants with row covers to prevent cucumber beetles from reaching them.
* Aphids: These small, sap-sucking insects can weaken watermelon plants. Spray aphids with insect
Conclusion
So, there you have it! Growing watermelons at home, while it might seem daunting at first, is entirely achievable with a little patience, the right techniques, and a dash of DIY ingenuity. We’ve explored a simple yet effective trick to boost your watermelon yield and ensure those juicy, sweet fruits are the envy of the neighborhood. This isn’t just about saving money; it’s about connecting with nature, understanding the growing process, and experiencing the unparalleled satisfaction of harvesting something you nurtured from seed to table.
This DIY trick, focusing on strategic pruning and support, is a game-changer because it directly addresses common watermelon growing challenges. By carefully managing vine growth, you’re directing the plant’s energy towards fruit production rather than excessive foliage. The support system, whether it’s a simple sling or a more elaborate trellis, protects your precious watermelons from ground pests, rot, and sunscald, leading to healthier, more flavorful fruits.
But don’t stop there! Experiment with different watermelon varieties to find your personal favorite. Try growing smaller, personal-sized watermelons like Sugar Baby or Yellow Doll if you have limited space. Consider companion planting with herbs like basil or marigolds to deter pests naturally. You can also adjust the DIY support system to suit your specific needs and available materials. For example, if you’re growing in containers, a sturdy tomato cage can be adapted to provide excellent support.
This DIY watermelon growing trick is a must-try for any home gardener looking to maximize their harvest and enjoy the unparalleled taste of homegrown watermelon. It’s a simple, cost-effective way to overcome common challenges and unlock the full potential of your watermelon plants.
We’re confident that with a little effort and this helpful trick, you’ll be enjoying delicious, homegrown watermelons in no time. Don’t be afraid to get your hands dirty, experiment, and learn from your experiences. Gardening is a journey, and every season brings new opportunities for growth and discovery.
Now, it’s your turn! We encourage you to try this DIY trick for growing watermelons at home. Document your progress, take pictures, and share your experiences with us and other gardening enthusiasts. Let us know what worked well for you, what challenges you faced, and any variations you tried. Your insights can help others succeed and inspire even more people to embrace the joy of homegrown watermelons. Share your stories and photos on our social media pages using #HomegrownWatermelon and #DIYGardening. We can’t wait to see your amazing results!
Frequently Asked Questions (FAQ)
What exactly is the DIY trick you’re referring to?
The DIY trick we’ve been discussing involves two key components: strategic pruning of watermelon vines and providing support for the developing fruits. Pruning helps to direct the plant’s energy towards fruit production rather than excessive vine growth. Supporting the watermelons, whether with slings or trellises, protects them from ground pests, rot, and sunscald, leading to healthier and more flavorful fruits. It’s a simple yet effective way to maximize your watermelon harvest.
Why is pruning watermelon vines important?
Pruning watermelon vines is crucial for several reasons. First, it helps to control the size and spread of the plant, making it more manageable, especially in smaller gardens. Second, it directs the plant’s energy towards fruit development. Watermelon plants tend to produce numerous vines, but only a few will bear fruit. By pruning away excess vines, you’re ensuring that the plant’s resources are concentrated on the fruits that are already developing. This results in larger, sweeter, and more flavorful watermelons. Finally, pruning improves air circulation around the plant, reducing the risk of fungal diseases.
How do I know which vines to prune?
The general rule of thumb is to focus on pruning the secondary and tertiary vines that don’t have any developing fruits. Once a watermelon has set on a vine, you can prune the vine beyond the fruit, leaving a few leaves to provide shade and nourishment. Avoid pruning the main vine unless it’s damaged or diseased. Also, remove any yellowing or dead leaves to improve air circulation and prevent the spread of disease.
What materials can I use to support my watermelons?
There are several options for supporting watermelons, depending on their size and your available resources. For smaller watermelons, you can use slings made from old t-shirts, pantyhose, or burlap. Simply create a pouch to cradle the watermelon and tie it to a sturdy support, such as a trellis or fence. For larger watermelons, you might need a more robust support system, such as a wooden frame or a heavy-duty trellis. You can also use plastic crates or even old tires to elevate the watermelons off the ground. The key is to ensure that the support is strong enough to hold the weight of the watermelon and that it doesn’t restrict air circulation.
When should I start supporting my watermelons?
You should start supporting your watermelons as soon as they reach the size of a softball. This is when they start to become heavy enough to benefit from the extra support. Waiting too long can increase the risk of the fruit breaking off the vine or developing rot from contact with the ground.
Can I use this DIY trick for all watermelon varieties?
Yes, this DIY trick can be used for most watermelon varieties. However, it’s particularly beneficial for larger varieties that are prone to ground contact and rot. Smaller, personal-sized watermelons may not require as much support, but pruning can still help to improve their overall size and flavor.
What are some common problems I might encounter when growing watermelons at home?
Some common problems include pests like squash bugs and vine borers, fungal diseases like powdery mildew and anthracnose, and blossom-end rot. Regular monitoring of your plants and prompt action can help to prevent or minimize these problems. Companion planting with herbs like basil or marigolds can also help to deter pests naturally. Ensure proper watering and fertilization to prevent blossom-end rot.
How often should I water my watermelon plants?
Watermelon plants need consistent moisture, especially during fruit development. Water deeply and regularly, aiming for about 1-2 inches of water per week. Avoid overhead watering, as this can increase the risk of fungal diseases. Mulching around the plants can help to retain moisture and suppress weeds.
What kind of fertilizer should I use for my watermelon plants?
Watermelon plants benefit from a balanced fertilizer with a slightly higher phosphorus content to promote fruit development. You can use a granular fertilizer or a liquid fertilizer, following the instructions on the package. Avoid over-fertilizing, as this can lead to excessive vine growth at the expense of fruit production.
How long does it take to grow a watermelon from seed?
The time it takes to grow a watermelon from seed varies depending on the variety and growing conditions. Generally, it takes about 70-90 days from planting to harvest. You can start seeds indoors 4-6 weeks before the last expected frost to get a head start on the growing season.
What are the signs that my watermelon is ripe?
There are several signs that indicate a watermelon is ripe. The tendril closest to the fruit should be brown and dry. The underside of the watermelon, where it rests on the ground, should be a creamy yellow color. When you thump the watermelon, it should sound hollow and deep. Finally, the skin should be dull rather than shiny.
Leave a Comment