

Growing Garlic at Home can seem daunting, but trust me, it’s one of the most rewarding experiences for any home gardener! Imagine the satisfaction of harvesting your own pungent, flavorful garlic, knowing exactly where it came from and how it was grown. For centuries, garlic has been revered not only for its culinary uses but also for its medicinal properties, dating back to ancient Egypt where it was even used as currency.
But let’s be honest, store-bought garlic just doesn’t compare to the robust taste of homegrown. Plus, with rising grocery prices, learning how to grow your own food is becoming increasingly important. That’s where this DIY guide comes in! I’m going to share some simple yet effective tricks and hacks that will have you growing garlic at home like a pro, even if you’re a complete beginner.
Forget complicated gardening jargon and expensive equipment. We’ll focus on easy-to-follow steps, using readily available materials, to ensure a bountiful harvest. Get ready to ditch the bland store-bought stuff and embrace the delicious, homegrown goodness of your very own garlic!
Growing Garlic: Your DIY Guide for a Bountiful Harvest
Hey everyone! Growing your own garlic is easier than you think and incredibly rewarding. Imagine harvesting your own aromatic garlic directly from your garden or even your balcony! In this guide, I’ll show you step-by-step how to do it. Don’t worry, even if you don’t have a green thumb, you can do this!
What You Need: The Preparation
Before we get started, we naturally need the right equipment and materials. Here’s a list to make sure you have everything ready:
- Garlic Cloves: Preferably organic garlic from the supermarket or farmer’s market. Avoid supermarket garlic that has been treated to prevent sprouting.
- Suitable Location: A sunny spot in the garden or a large pot on the balcony. Garlic loves the sun!
- Good Soil: Loose, well-draining soil is ideal. You can mix garden soil with compost or sand to loosen it up.
- Watering Can: For watering the garlic plants.
- Optional: Fertilizer (organic or mineral), mulch (straw, leaves, or grass clippings).
The Right Time to Plant
The best time to plant garlic is in the fall (September to November). The cloves will then have enough time to form roots before winter arrives. However, you can also plant garlic in the spring (March/April), but the harvest will be a bit later.
Step-by-Step Guide: Planting Garlic
Now let’s get down to business! Follow these steps to successfully plant your garlic:
- Prepare Garlic Cloves: Carefully separate the garlic cloves from the bulb. Choose the largest and healthiest cloves, as they will yield the best results. Leave the outer skin of the cloves on; it protects them.
- Prepare the Soil: Loosen the soil well in the area where you want to plant the garlic. Remove weeds and stones. If you are using a pot, fill it with the prepared soil.
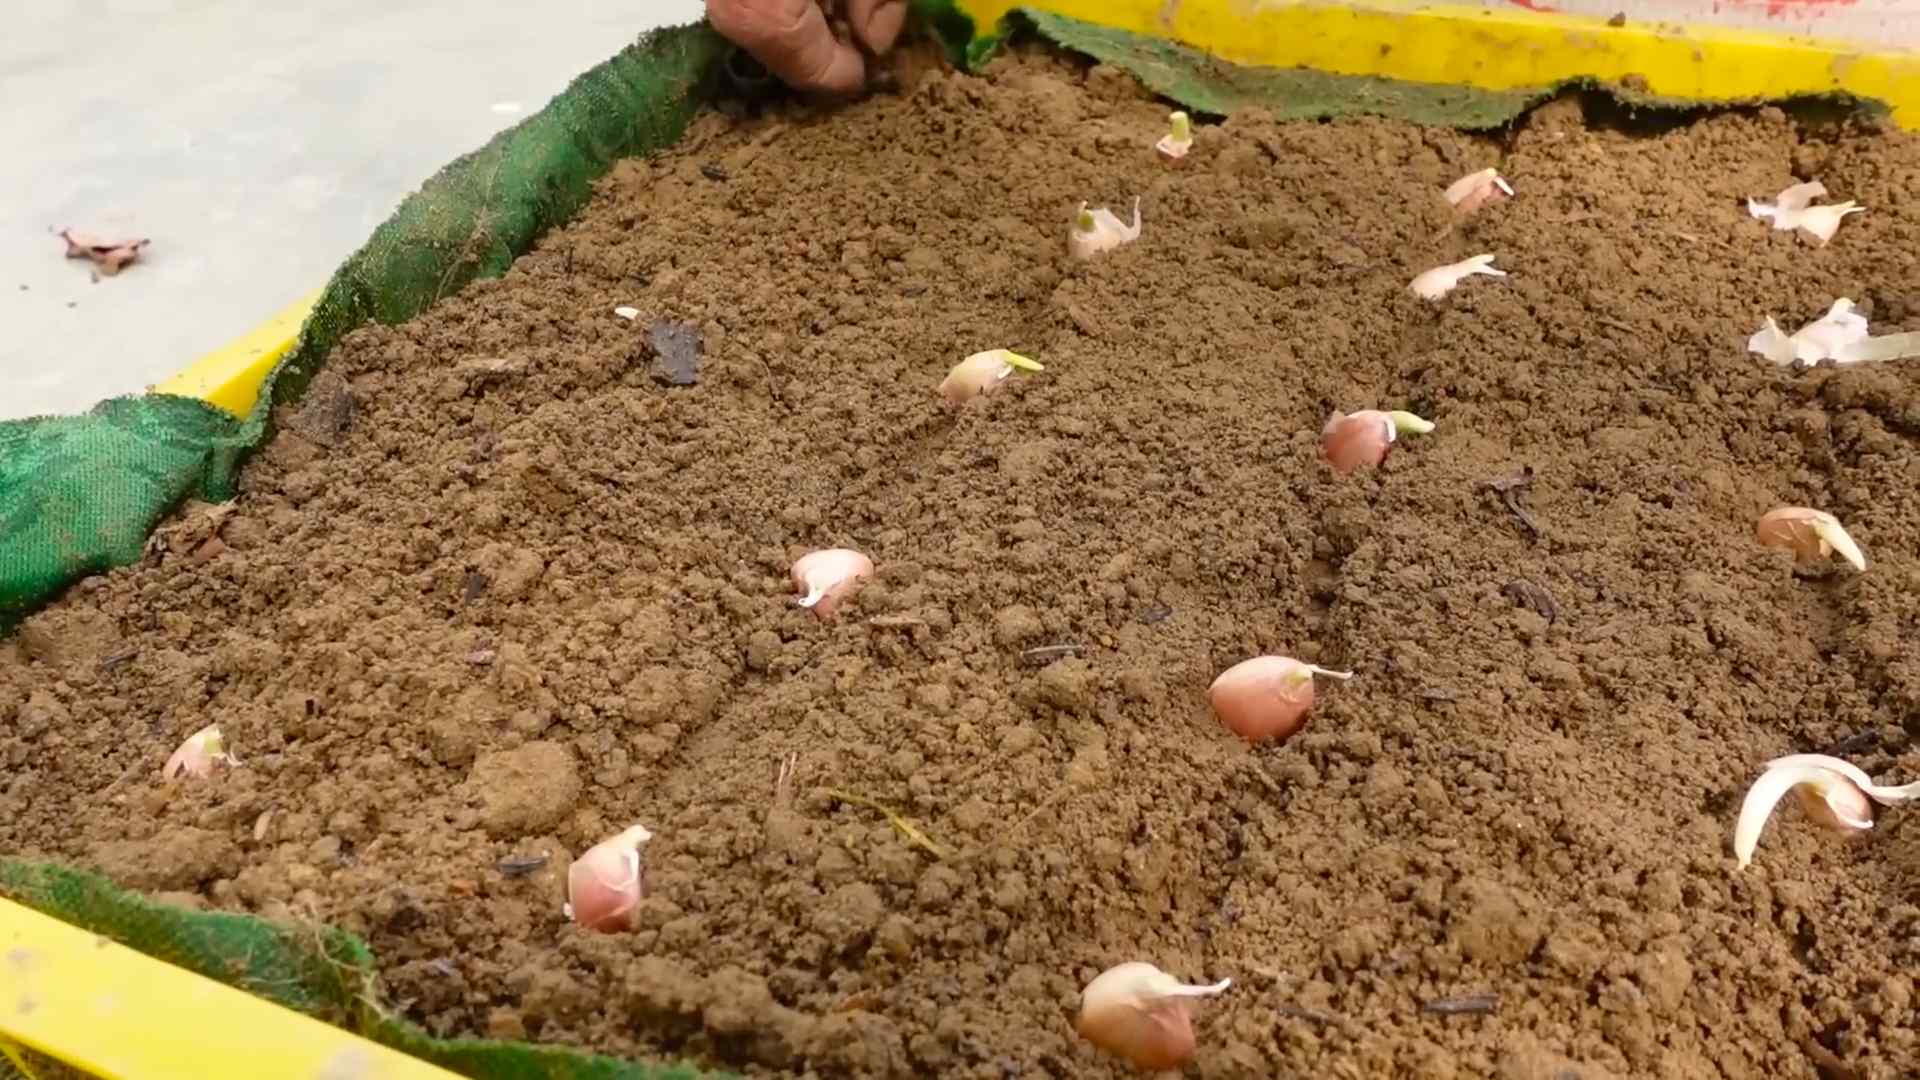
- Plant the Cloves: Press the cloves into the soil with the pointed end facing upwards. The spacing between cloves should be about 10-15 cm (4-6 inches), and rows should be about 20-25 cm (8-10 inches) apart. The cloves should be about 5 cm (2 inches) deep in the soil.
- Water: Carefully water the planted cloves. The soil should be moist but not soaking wet.
- Mulch (optional): Cover the soil with a layer of mulch. This helps retain moisture in the soil, suppress weeds, and protect the soil from frost in winter.
Care During Growth
Garlic is relatively low-maintenance, but there are a few things to keep in mind for good growth:
- Watering: Water the garlic regularly, especially during dry periods. Make sure the soil doesn’t dry out, but avoid waterlogging.
- Weed Removal: Keep the area around the garlic weed-free. Weeds compete with garlic for nutrients and water.
- Fertilizing (optional): If you wish, you can fertilize the garlic during growth. Use an organic fertilizer like compost or horn meal, or a mineral fertilizer specifically for vegetables. It’s best to fertilize in spring when growth begins.
- Removing Flower Stalks: If the garlic forms flower stalks (called “garlic scapes”), you should remove them. This redirects the plant’s energy into developing the bulb.
Pests and Diseases
Garlic is relatively resistant to pests and diseases, but there are a few things to watch out for:
- Onion Flies: These can infest the roots of the garlic. You can combat them with nets or insecticides.
- Downy Mildew: This fungal disease can affect garlic leaves. Ensure good ventilation and avoid waterlogging to prevent it. If infected, you can use fungicides.
- Garlic Rust: Appears as orange pustules on the leaves. Again, good ventilation helps, and fungicides can be used if necessary.
The Harvest: When is Garlic Ripe?
Harvest time depends on the planting time and the variety. Generally, garlic is ripe in summer (July/August). You’ll know it’s ready when the leaves turn yellow and fall over.
Step-by-Step Guide: Harvesting Garlic
- Dig Up Garlic: Carefully dig up the garlic with a digging fork or spade. Be careful not to damage the bulbs.
- Remove Soil: Remove the soil from the bulbs.
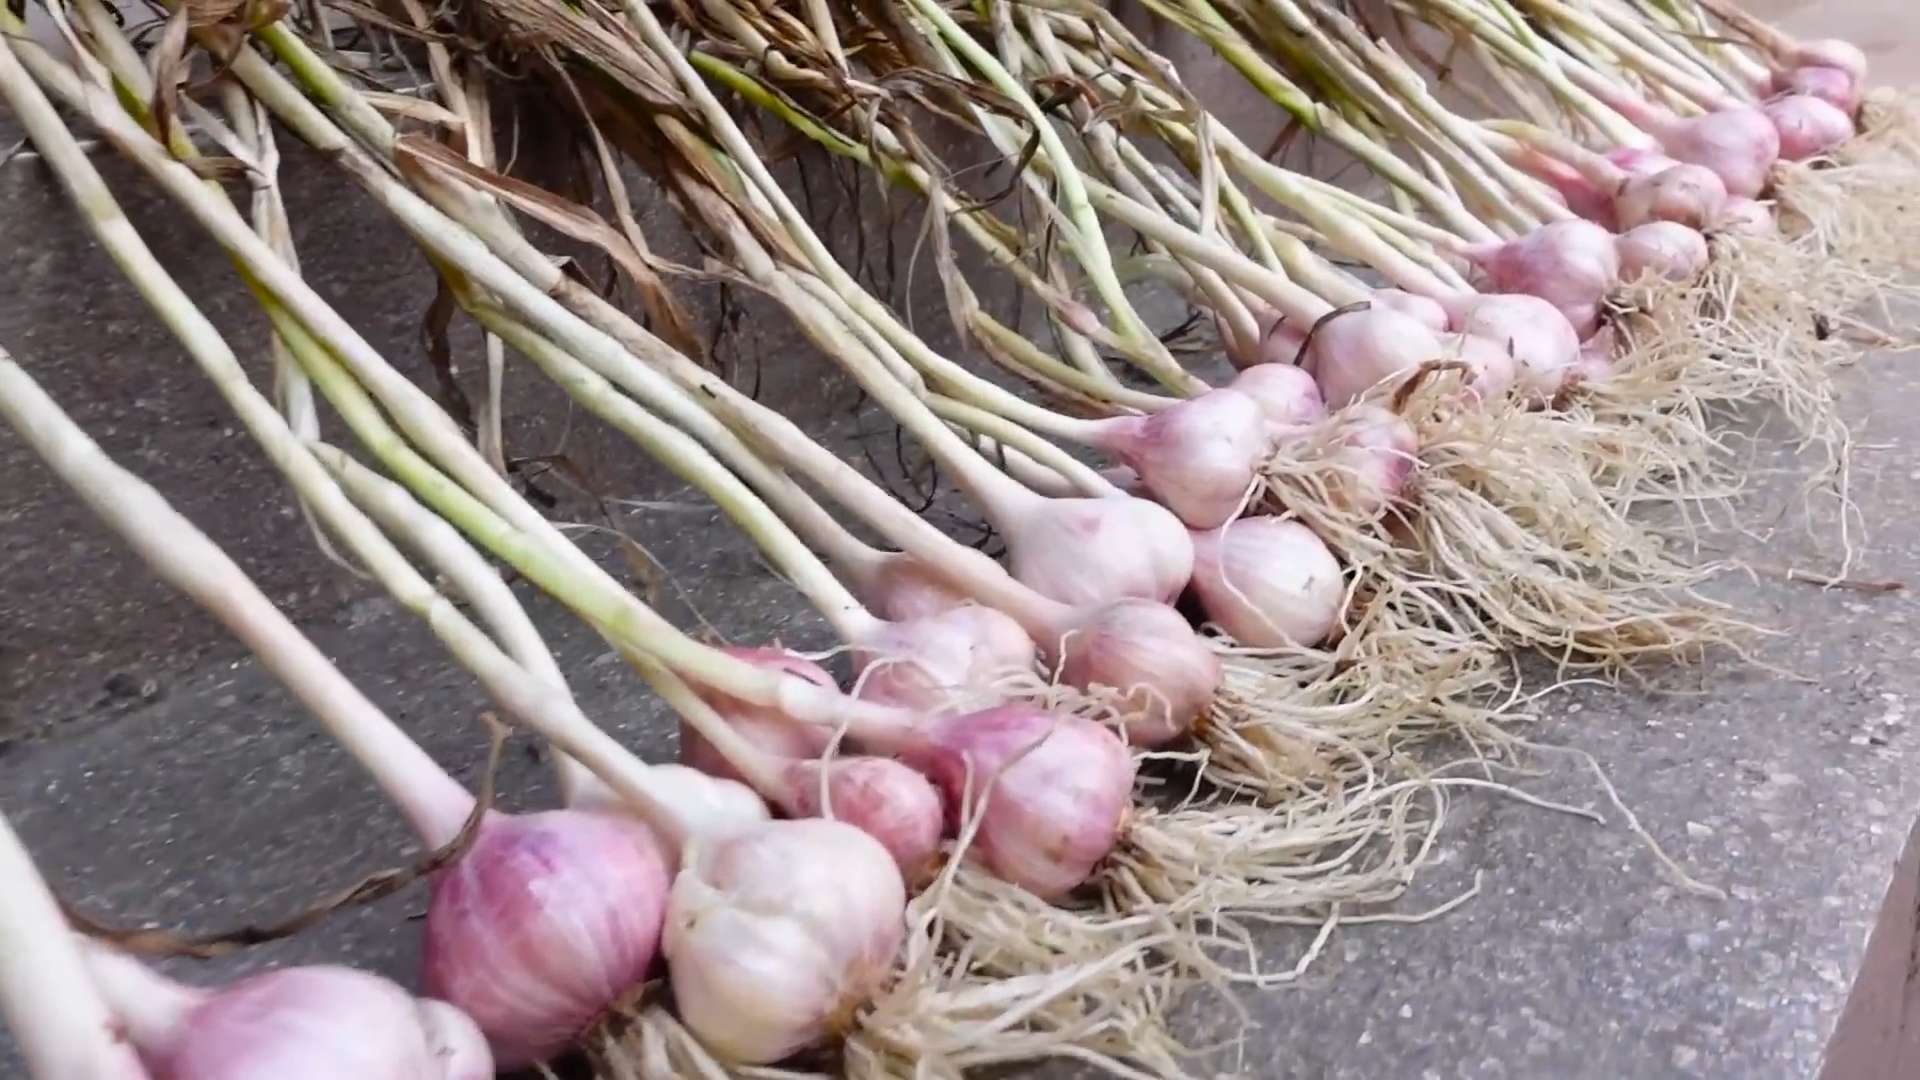
- Curing: Tie the garlic plants into bundles and hang them in a dry, airy place to cure. This can take 2-3 weeks.
- Storage: After curing, trim the roots and leaves (leaving about 5 cm / 2 inches). Store the garlic in a cool, dry, and dark place. This way, it will last for several months.
Variety of Types: Which Garlic is Right for You?
There are different garlic varieties that differ in taste, size, and storage life. Here are a few examples:
- Hardneck Garlic (Winter Garlic): Planted in autumn and more robust than softneck garlic. It often forms larger bulbs and has a stronger flavor. Examples: ‘German Extra Hardy’, ‘Music’.
- Softneck Garlic (Summer Garlic): Planted in spring and less winter hardy. It often has a milder flavor. Examples: ‘California Early’, ‘Silverskin’.
It’s best to check with your local garden center or online to find out which varieties are best suited for your climate and preferences.
Growing Garlic in Pots: How to Do It on the Balcony
Even if you don’t have a garden, you can grow garlic! A large pot on the balcony is perfectly sufficient.
- Choose a Pot: Choose a pot with a diameter of at least 20 cm (8 inches) and a depth of at least 25 cm (10 inches).
- Prepare the Soil: Use good, loose, well-draining soil. Mix garden soil with compost or sand.
- Plant the Cloves: Plant the cloves into the soil as described above. Pay attention to the correct spacing.
- Care: Water the garlic regularly and fertilize if necessary. Place the pot in a sunny spot.
- Harvest: Harvest the garlic when the leaves turn yellow and fall over.
Common Mistakes and How to Avoid Them
Even when growing garlic, mistakes can happen. Here are a few common mistakes and how to avoid them:
Not Fertilizing: If the garlic is not growing well, it may be due to a nutrient deficiency. Fertilize it if necessary.
Incorrect Planting Time: Don’t plant garlic too late in the fall or too early in the spring.
Poor Soil: Do not use compacted or poorly draining soil.
Too Little Sun: Garlic needs a lot of sun to grow well.
Too Much or Too Little Water: Water the garlic regularly, but avoid waterlogging.
Conclusion
So, there you have it! Growing garlic at home is not only achievable, but it’s also incredibly rewarding. From the unparalleled fresh flavor that store-bought garlic simply can’t match to the satisfaction of nurturing your own food, the benefits are numerous. We’ve walked you through the simple steps, from selecting the right garlic variety to harvesting your pungent bounty.
This isn’t just about saving a few dollars at the grocery store; it’s about connecting with the earth, understanding the growing process, and enjoying the fruits (or rather, the bulbs!) of your labor. Imagine the aroma of freshly harvested garlic filling your kitchen as you prepare your favorite dishes. Picture yourself sharing your homegrown garlic with friends and family, knowing you’ve provided them with something truly special.
Don’t be intimidated by the thought of gardening. Growing garlic is surprisingly easy, even for beginners. It’s a forgiving plant that thrives in a variety of conditions, making it an excellent choice for those just starting their gardening journey. And the best part? You can adapt this method to suit your own space and preferences.
Consider these variations to personalize your garlic-growing experience:
* Container Gardening: If you’re short on space, grow your garlic in pots on your balcony or patio. Just ensure the containers are large enough to accommodate the bulb’s growth.
* Different Varieties: Experiment with different garlic varieties to discover your favorite flavor profiles. From the mild and sweet softneck varieties to the bold and spicy hardneck types, there’s a garlic for every palate.
* Companion Planting: Plant garlic alongside other vegetables like tomatoes, peppers, and eggplant to deter pests and improve the overall health of your garden.
* Garlic Scapes: Don’t forget about the delicious garlic scapes that appear in the spring! These curly flower stalks can be used in pesto, stir-fries, or grilled for a unique and flavorful treat.
We truly believe that everyone should experience the joy of growing their own garlic. It’s a simple, sustainable, and incredibly satisfying way to enhance your culinary creations and connect with nature. So, grab some garlic cloves, find a sunny spot, and get planting!
We’re eager to hear about your experiences growing garlic at home. Share your tips, successes, and even your challenges in the comments below. Let’s create a community of garlic growers and learn from each other. Happy gardening!
Frequently Asked Questions (FAQ)
What is the best time of year to plant garlic?
The ideal time to plant garlic is in the fall, typically 4-6 weeks before the ground freezes. This allows the cloves to establish roots before winter sets in. In colder climates, this is usually around October or November. In milder climates, you can plant as late as December. Spring planting is possible, but the bulbs may not be as large as those planted in the fall. If you plant in the spring, choose the earliest variety you can find and get it in the ground as soon as the soil is workable.
What kind of soil is best for growing garlic?
Garlic thrives in well-drained, fertile soil that is rich in organic matter. Amend your soil with compost or well-rotted manure before planting to improve drainage and nutrient content. A slightly acidic to neutral pH (around 6.0 to 7.0) is ideal. Avoid heavy clay soils, as they can retain too much moisture and lead to bulb rot. If you have clay soil, consider planting in raised beds or containers.
How deep should I plant garlic cloves?
Plant garlic cloves about 2 inches deep, with the pointed end facing up. Space the cloves about 6-8 inches apart in rows that are 12-18 inches apart. This spacing allows for adequate air circulation and prevents overcrowding.
How much water does garlic need?
Garlic needs consistent moisture, especially during the spring when the bulbs are actively growing. Water deeply whenever the top inch of soil feels dry. Avoid overwatering, as this can lead to bulb rot. Reduce watering as the plants mature and the leaves begin to yellow.
How do I know when my garlic is ready to harvest?
Garlic is typically ready to harvest in mid-summer, around July or August. The leaves will begin to turn yellow and brown, and the stems may start to fall over. To check if the bulbs are ready, carefully dig up a test bulb. The bulb should be plump and well-formed, with papery skins. If the skins are thin and easily damaged, the garlic is not yet ready to harvest.
What are garlic scapes, and what do I do with them?
Garlic scapes are the curly flower stalks that emerge from hardneck garlic varieties in the spring. They are a delicious and versatile ingredient that can be used in a variety of dishes. To harvest scapes, simply cut them off near the base of the plant when they are still young and tender. Use them in pesto, stir-fries, soups, or grilled as a side dish. Removing the scapes encourages the plant to put more energy into bulb development.
How do I store my harvested garlic?
After harvesting, cure your garlic by laying the bulbs out in a well-ventilated, dry place for 2-3 weeks. This allows the skins to dry and harden, which helps to prevent spoilage. Once cured, store the garlic in a cool, dry, and dark place, such as a pantry or basement. Braiding the garlic bulbs together and hanging them is a traditional and attractive storage method. Properly stored garlic can last for several months.
Can I use store-bought garlic to grow more garlic?
While you can technically use store-bought garlic to grow more garlic, it’s generally not recommended. Store-bought garlic may have been treated with chemicals to prevent sprouting, and it may also carry diseases that could infect your garden. It’s best to purchase seed garlic from a reputable source to ensure you’re getting healthy, disease-free cloves.
What are some common pests and diseases that affect garlic?
Some common pests that affect garlic include onion maggots, thrips, and nematodes. Diseases include white rot, bulb rot, and downy mildew. To prevent pests and diseases, practice good garden hygiene, such as removing plant debris and rotating crops. Use organic pest control methods, such as neem oil or insecticidal soap, if necessary. Choose disease-resistant garlic varieties whenever possible.
My garlic bulbs are small. What can I do to get bigger bulbs next year?
Several factors can contribute to small garlic bulbs. Make sure you are planting in fertile, well-drained soil and providing adequate water and nutrients. Plant in the fall to give the bulbs plenty of time to develop. Remove garlic scapes to encourage bulb growth. Choose a garlic variety that is well-suited to your climate. Finally, ensure that your garlic is not competing with weeds for resources.

Leave a Comment