

Grow Celery From Cuttings? Absolutely! Imagine turning those leftover celery stalks, the ones you usually toss in the compost, into a thriving patch of fresh, crunchy celery right in your own backyard. It sounds like magic, doesn’t it? But trust me, it’s a surprisingly simple and rewarding DIY project that anyone can tackle, even if you don’t have a green thumb.
For centuries, resourceful gardeners have been finding clever ways to propagate their favorite plants, and this method of regrowing celery is a testament to that ingenuity. While we might not know exactly when someone first discovered this trick, the spirit of resourcefulness and sustainability has always been at the heart of home gardening. Think about it – our grandparents and great-grandparents often relied on these kinds of techniques to stretch their food budgets and ensure a steady supply of fresh produce.
In today’s world, where grocery prices seem to be constantly climbing, and we’re all looking for ways to reduce waste, learning how to grow celery from cuttings is more relevant than ever. Not only will you save money, but you’ll also experience the satisfaction of nurturing new life from something you would have otherwise discarded. Plus, homegrown celery tastes so much better than store-bought! So, let’s dive in and discover the secrets to transforming those humble celery scraps into a flourishing garden bounty. I’m excited to share this easy and effective method with you!

“`html
Sellerie aus Strunkresten ziehen: Eine einfache DIY-Anleitung
Hey Leute! Habt ihr euch jemals gefragt, ob man Sellerie einfach so aus dem Strunkrest, den man normalerweise wegwirft, nachwachsen lassen kann? Die Antwort ist: Ja, das geht! Und es ist super einfach und macht Spaß. Ich zeige euch, wie ihr mit ein paar einfachen Schritten euren eigenen Sellerie ziehen könnt. Das ist nicht nur nachhaltig, sondern ihr habt auch immer frischen Sellerie zur Hand.
Was ihr braucht:
* Ein Selleriestrunkrest (am besten mit einem intakten Wurzelansatz)
* Ein scharfes Messer
* Ein Glas oder eine Schale
* Wasser
* Blumenerde
* Einen Topf (ca. 15-20 cm Durchmesser)
* Einen sonnigen Standort
Die Vorbereitung: Der Selleriestrunk wird zum Leben erweckt
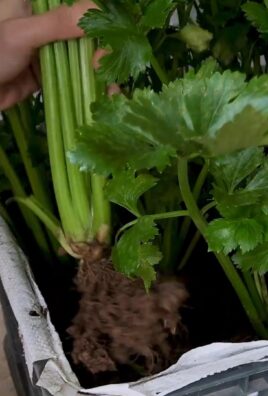
1. Den Selleriestrunk vorbereiten: Nehmt euren Selleriestrunkrest und schneidet ihn mit einem scharfen Messer etwa 5-7 cm vom unteren Ende ab. Achtet darauf, dass ihr den Wurzelansatz nicht beschädigt. Wenn der Strunk schon etwas trocken aussieht, ist das kein Problem. Er wird sich wieder erholen.
2. Das Wasserbad: Füllt euer Glas oder eure Schale mit etwa 2-3 cm Wasser. Stellt den Selleriestrunkrest mit der Schnittfläche nach unten in das Wasser. Achtet darauf, dass nur der untere Teil des Strunks im Wasser steht, damit er nicht fault.
3. Der richtige Standort: Stellt das Glas mit dem Selleriestrunk an einen hellen, aber nicht direkt sonnigen Standort. Ein Fensterbrett ist ideal. Vermeidet direkte Sonneneinstrahlung, da diese den Strunk austrocknen kann.
4. Wasserwechsel nicht vergessen: Wechselt das Wasser alle 1-2 Tage, um die Bildung von Bakterien zu verhindern und dem Sellerie frisches Wasser zu geben. Ihr werdet sehen, dass sich nach einigen Tagen neue Wurzeln bilden und kleine grüne Blätter aus dem Strunk sprießen. Das ist ein gutes Zeichen!
Das Umpflanzen: Vom Wasser ins Erdreich
Sobald die Wurzeln etwa 5-7 cm lang sind und die Blätter deutlich gewachsen sind (das dauert in der Regel 1-2 Wochen), ist es Zeit, den Sellerie in einen Topf mit Erde umzupflanzen.
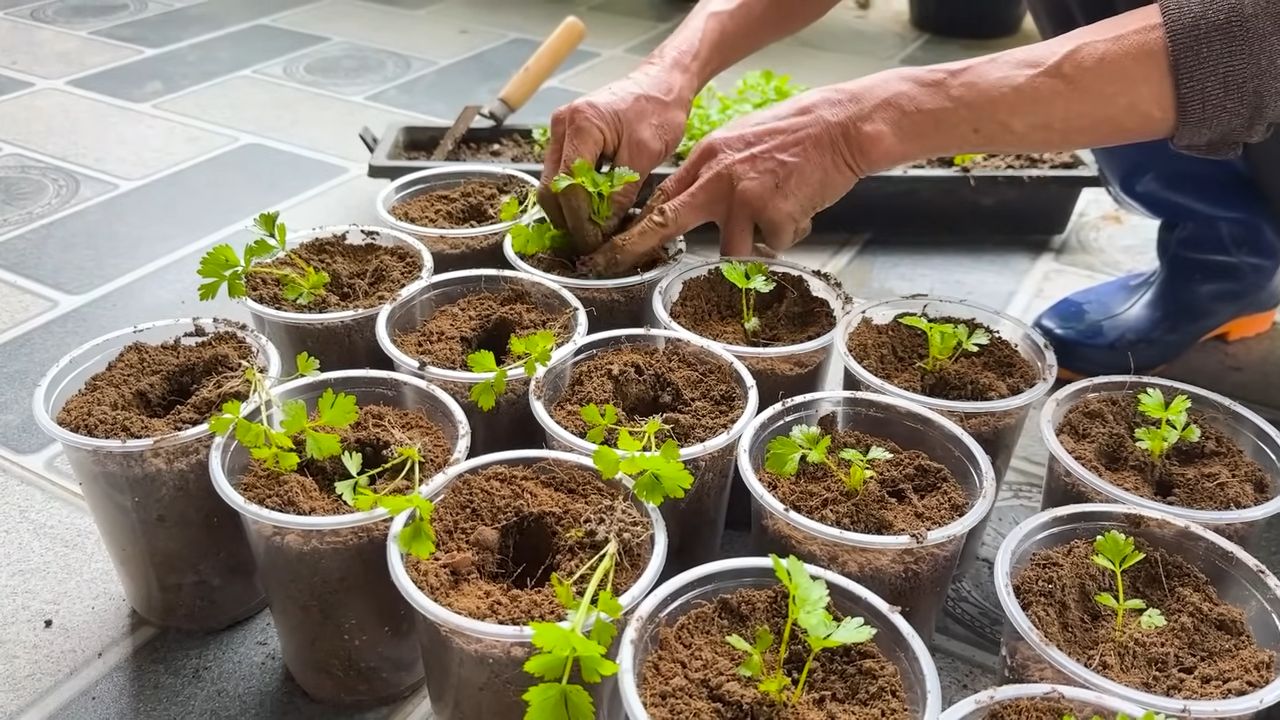
1. Den Topf vorbereiten: Füllt euren Topf mit Blumenerde. Achtet darauf, dass die Erde locker und gut durchlässig ist. Sellerie mag keine Staunässe.
2. Ein kleines Loch graben: Macht in der Mitte des Topfes ein kleines Loch, das groß genug ist, um den Selleriestrunk aufzunehmen.
3. Den Sellerie einsetzen: Nehmt den Selleriestrunk vorsichtig aus dem Wasser und setzt ihn in das Loch im Topf. Achtet darauf, dass die Wurzeln nicht beschädigt werden. Füllt das Loch mit Erde auf und drückt die Erde leicht an.
4. Angießen nicht vergessen: Gießt den Sellerie nach dem Umpflanzen gründlich an. Achtet darauf, dass die Erde feucht, aber nicht nass ist.
Die Pflege: Damit euer Sellerie prächtig gedeiht
Nach dem Umpflanzen braucht euer Sellerie regelmäßige Pflege, damit er gut wächst und gedeiht.
1. Der richtige Standort: Stellt den Topf mit dem Sellerie an einen sonnigen Standort. Sellerie braucht viel Licht, um zu wachsen.
2. Regelmäßiges Gießen: Gießt den Sellerie regelmäßig, aber vermeidet Staunässe. Die Erde sollte immer leicht feucht sein. An heißen Tagen müsst ihr möglicherweise täglich gießen.
3. Düngen nicht vergessen: Düngt den Sellerie alle 2-3 Wochen mit einem organischen Dünger. Das sorgt für ein gesundes Wachstum und kräftige Blätter.
4. Schädlinge im Auge behalten: Achtet auf Schädlinge wie Blattläuse oder Schnecken. Bei Bedarf könnt ihr natürliche Schädlingsbekämpfungsmittel einsetzen.
5. Ernten: Ihr könnt die äußeren Stängel des Selleries ernten, sobald sie groß genug sind. Schneidet sie einfach mit einem scharfen Messer ab. Der Sellerie wird weiterwachsen und neue Stängel bilden.
Geduld zahlt sich aus: Vom Strunk zum Sellerie
Es braucht etwas Geduld, bis aus dem Strunkrest ein ausgewachsener Sellerie geworden ist. Aber es lohnt sich! Ihr werdet mit frischem, knackigem Sellerie belohnt, den ihr selbst gezogen habt. Und das Beste daran: Ihr habt einen Beitrag zur Nachhaltigkeit geleistet, indem ihr einen vermeintlichen Abfall wiederverwertet habt.
Zusätzliche Tipps und Tricks:
* Sellerie im Freien anbauen: Wenn ihr einen Garten habt, könnt ihr den Sellerie auch ins Freie pflanzen, sobald die Temperaturen wärmer werden. Achtet darauf, dass der Standort sonnig und der Boden gut durchlässig ist.
* Sellerie im Winter: Im Winter könnt ihr den Sellerie im Haus an einem hellen Fensterbrett weiterziehen. Achtet darauf, dass die Temperaturen nicht zu niedrig sind.
* Sellerie vermehren: Ihr könnt den Sellerie auch durch Teilung vermehren. Teilt den Wurzelstock einfach in mehrere Teile und pflanzt sie in separate Töpfe.
* Sellerieblüten: Wenn der Sellerie blüht, könnt ihr die Blütenstände abschneiden, um die Bildung von Samen zu verhindern. Die Samen können jedoch auch zur Vermehrung verwendet werden.
* Sellerie als Gemüsebrühe: Die Sellerieblätter und -abschnitte eignen sich hervorragend zur Herstellung von Gemüsebrühe. Einfach mit anderen Gemüseresten auskochen und schon habt ihr eine leckere und gesunde Brühe.
Häufige Probleme und Lösungen:
* Sellerie fault: Wenn der Selleriestrunk fault, liegt das meistens an Staunässe. Achtet darauf, dass das Wasser gut abfließen kann und wechselt das Wasser regelmäßig.
* Sellerie wächst nicht: Wenn der Sellerie nicht wächst, kann das an zu wenig Licht oder Nährstoffen liegen. Stellt den Sellerie an einen sonnigeren Standort und düngt ihn regelmäßig.
* Sellerie hat gelbe Blätter: Gelbe Blätter können ein Zeichen für Nährstoffmangel oder Schädlingsbefall sein. Düngt den Sellerie und kontrolliert ihn auf Schädlinge.
Ich hoffe, diese Anleitung hilft euch dabei, euren eigenen Sellerie aus Strunkresten zu ziehen. Es ist ein tolles Projekt für Groß und Klein und macht einfach Spaß! Viel Erfolg und guten Appetit!
“`
Conclusion
So, there you have it! Growing celery from cuttings isn’t just a quirky gardening experiment; it’s a genuinely rewarding way to reduce food waste, save money, and enjoy fresh, homegrown celery right from your own backyard (or even your windowsill!). We’ve walked you through the simple steps, from selecting the right celery base to nurturing those tender new shoots.
But why is this DIY trick a must-try? Beyond the obvious benefits of cost savings and sustainability, it’s about connecting with the food you eat. There’s a unique satisfaction in watching something you would normally discard transform into a vibrant, edible plant. It’s a small act of self-sufficiency that can bring a surprising amount of joy. Plus, it’s a fantastic project for kids, teaching them about plant life cycles and the importance of reducing waste.
Think of the possibilities! You’re not just limited to standard green celery. Look for different varieties at your grocery store or farmer’s market. Perhaps you can try growing pink celery or even experiment with different celery cultivars to see which thrives best in your local climate. You could even try growing celery from cuttings in a hydroponic setup for an even faster and more efficient growth cycle.
And don’t stop at just one! Once you’ve mastered the basic technique, you can start multiple celery plants from a single bunch. Imagine having a continuous supply of fresh celery for soups, salads, snacks, and more. You can even share your extra celery plants with friends and neighbors, spreading the joy of homegrown goodness.
We encourage you to give this DIY celery growing method a try. It’s easier than you might think, and the rewards are well worth the effort. Don’t be afraid to experiment and adapt the process to suit your own needs and preferences.
Most importantly, we want to hear about your experiences! Did you find this guide helpful? Did you encounter any challenges along the way? What tips and tricks did you discover? Share your stories, photos, and videos with us in the comments below. Let’s create a community of celery-growing enthusiasts and learn from each other. Your insights could help other gardeners succeed and inspire even more people to embrace this sustainable and rewarding practice. So, grab a celery stalk, get your hands dirty, and start growing! You’ll be amazed at what you can achieve.
Frequently Asked Questions (FAQ)
What kind of celery works best for growing from cuttings?
The best celery for regrowing is organic celery, as it’s less likely to be treated with chemicals that could inhibit growth. Look for celery stalks with a healthy, firm base and vibrant green leaves. Avoid celery that is wilted, discolored, or shows signs of rot. The fresher the celery, the better your chances of success.
How long does it take to see new growth when growing celery from cuttings?
You should start to see new growth within 5-7 days. Small roots will begin to emerge from the base, and new leaves will sprout from the center of the stalk. Be patient, as the growth rate can vary depending on factors such as temperature, light, and humidity.
What kind of water should I use for regrowing celery?
Tap water is generally fine, but if your tap water is heavily chlorinated, it’s best to let it sit out for 24 hours before using it. This allows the chlorine to dissipate. Alternatively, you can use filtered water or rainwater. Avoid using distilled water, as it lacks the minerals that plants need to thrive.
How often should I change the water when growing celery from cuttings?
Change the water every 1-2 days to prevent the growth of bacteria and algae. This will also ensure that the celery base has access to fresh, oxygenated water. When you change the water, gently rinse the celery base to remove any debris.
When should I transplant my celery cutting to soil?
Once the roots are about 2-3 inches long and you see significant new leaf growth, it’s time to transplant your celery cutting to soil. This usually takes about 1-2 weeks.
What kind of soil is best for growing celery?
Celery prefers rich, well-draining soil with plenty of organic matter. A good potting mix amended with compost or aged manure is ideal. Ensure the soil is slightly acidic to neutral, with a pH between 6.0 and 7.0.
How much sunlight does celery need?
Celery needs at least 6 hours of sunlight per day. If you’re growing celery indoors, place it near a sunny window or use a grow light. When transplanting outdoors, choose a location that receives full sun.
How often should I water celery after transplanting it to soil?
Keep the soil consistently moist, but not waterlogged. Water deeply whenever the top inch of soil feels dry to the touch. Celery is a thirsty plant, so regular watering is essential for healthy growth.
Can I grow celery from cuttings in a container?
Yes, celery can be successfully grown in a container. Choose a pot that is at least 8-10 inches in diameter to allow for adequate root growth. Make sure the pot has drainage holes to prevent waterlogging.
What are some common problems when growing celery and how can I fix them?
Some common problems include bolting (premature flowering), pest infestations (such as aphids or celery leaf miners), and fungal diseases (such as early blight). Bolting can be prevented by providing consistent moisture and avoiding temperature fluctuations. Pests can be controlled with insecticidal soap or neem oil. Fungal diseases can be prevented by ensuring good air circulation and avoiding overhead watering.
Can I use fertilizer when growing celery from cuttings?
Yes, once the celery is transplanted to soil, you can start fertilizing it with a balanced liquid fertilizer diluted to half strength. Fertilize every 2-3 weeks during the growing season.
How do I harvest celery that I’ve grown from cuttings?
You can harvest individual stalks as needed, starting with the outer stalks. Simply cut them off at the base of the plant. Alternatively, you can harvest the entire plant by cutting it off at the soil level.
Is it possible to grow celery from cuttings multiple times from the same base?
While it’s possible to get a second round of growth from the same base, the subsequent growth may be weaker and less productive. It’s generally best to start with a fresh celery base for each new plant.
How can I prevent celery from becoming bitter?
Bitterness in celery can be caused by stress, such as lack of water or extreme temperatures. Ensure that your celery receives consistent moisture and is protected from harsh weather conditions.
Can I grow celery from cuttings indoors year-round?
Yes, with adequate light and consistent care, you can grow celery from cuttings indoors year-round. Use a grow light to supplement natural sunlight during the winter months.
What are some creative ways to use homegrown celery?
Beyond the usual soups and salads, try using homegrown celery in smoothies, juices, stir-fries, or as a crunchy snack with peanut butter. You can also use the celery leaves to make pesto or add flavor to stocks and broths.
How do I store celery after harvesting it?
Wrap the celery stalks in a damp paper towel and store them in a plastic bag in the refrigerator. This will help keep them crisp and fresh for up to a week.
Is growing celery from cuttings a sustainable practice?
Absolutely! Growing celery from cuttings is a highly sustainable practice as it reduces food waste, saves money, and minimizes your reliance on commercially grown produce. It’s a small but meaningful step towards a more environmentally friendly lifestyle.
Leave a Comment