

Growing Pink Radishes at Home can be surprisingly easy and rewarding, even if you don’t have a sprawling garden! Have you ever dreamed of pulling vibrant, peppery pink radishes straight from your own soil? Imagine adding a pop of color and a burst of fresh flavor to your salads, tacos, or even just enjoying them as a crunchy snack. This isn’t just a pipe dream; it’s an achievable reality with a few simple DIY tricks and hacks that I’m excited to share with you.
Radishes, in general, have a rich history, dating back to ancient times. They were cultivated in Egypt and Greece, prized for their nutritional value and quick growth. While the classic red radish is well-known, the pink variety offers a delightful twist, both visually and in taste. They are a symbol of spring and new beginnings in many cultures.
But why bother with growing your own radishes, especially pink ones? Well, store-bought radishes often lack the crispness and intense flavor of freshly harvested ones. Plus, you have complete control over the growing process, ensuring they’re free from harmful pesticides. Growing Pink Radishes at Home allows you to enjoy the freshest, most flavorful radishes possible, and it’s a fantastic way to connect with nature and learn about where your food comes from. In this article, I’ll guide you through some easy-to-follow DIY tricks that will have you harvesting your own beautiful pink radishes in no time!

Rosa Radieschen selbst anbauen: Ein DIY-Leitfaden für Anfänger
Hallo Gartenfreunde! Habt ihr Lust auf knackige, leicht scharfe und wunderschön rosa Radieschen aus eurem eigenen Garten? Ich zeige euch, wie ihr das ganz einfach selbst hinbekommt. Es ist wirklich kinderleicht und macht super viel Spaß! Lasst uns loslegen!
Was ihr für den Anbau von rosa Radieschen braucht:
* Radieschensamen (rosa Sorten): Es gibt verschiedene rosa Sorten, wie z.B. ‘French Breakfast’ (länglich, rosa mit weißer Spitze) oder ‘Cherry Belle’ (rund, leuchtend rosa). Sucht euch eine aus, die euch gefällt!
* Gute Erde: Radieschen mögen lockere, humusreiche Erde.
* Einen sonnigen bis halbschattigen Standort: Mindestens 4 Stunden Sonne am Tag sind ideal.
* Eine Gießkanne oder einen Gartenschlauch: Radieschen brauchen regelmäßige Bewässerung.
* Einen Rechen oder eine Harke: Zum Vorbereiten des Bodens.
* Einen Pflanzstab oder eine Schnur: Zum Ziehen gerader Reihen.
* Geduld und Freude am Gärtnern!
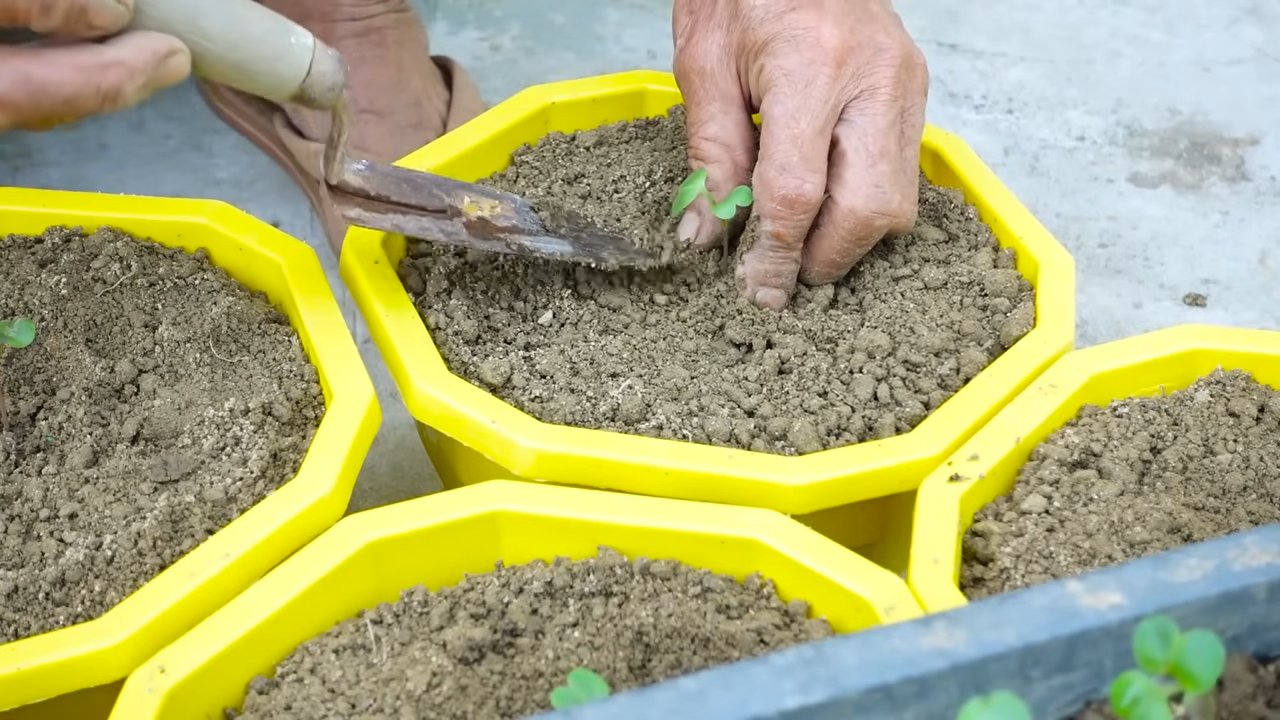
Vorbereitung des Bodens
Bevor wir mit dem Säen beginnen, müssen wir den Boden vorbereiten. Das ist wichtig, damit die Radieschen gut wachsen können.
1. Boden lockern: Nehmt einen Rechen oder eine Harke und lockert den Boden gründlich auf. Entfernt Steine, Wurzeln und andere Hindernisse. Radieschen mögen es, wenn der Boden locker ist, damit sie sich gut entwickeln können.
2. Kompost einarbeiten: Wenn euer Boden nicht so humusreich ist, könnt ihr etwas Kompost einarbeiten. Das verbessert die Bodenstruktur und versorgt die Radieschen mit Nährstoffen. Einfach den Kompost auf dem Boden verteilen und einarbeiten.
3. Boden ebnen: Zum Schluss ebnet ihr den Boden mit dem Rechen. So habt ihr eine schöne, ebene Fläche zum Säen.
Aussaat der Radieschensamen
Jetzt kommt der spannende Teil: das Säen!
1. Reihen ziehen: Nehmt einen Pflanzstab oder eine Schnur und zieht damit gerade Reihen in den Boden. Die Reihen sollten etwa 10-15 cm auseinander liegen. Ich mache das immer freihändig, aber mit einer Schnur wird es natürlich gerader.
2. Samen säen: Streut die Radieschensamen in die Reihen. Achtet darauf, dass die Samen nicht zu dicht liegen, sonst haben die Radieschen später zu wenig Platz zum Wachsen. Ein Abstand von 2-3 cm zwischen den Samen ist ideal.
3. Samen bedecken: Bedeckt die Samen mit einer dünnen Schicht Erde (ca. 1 cm). Drückt die Erde leicht an.
4. Gießen: Gießt die Reihen vorsichtig mit einer Gießkanne oder einem Gartenschlauch. Achtet darauf, dass ihr die Samen nicht wegschwemmt.
Pflege der Radieschen
Radieschen sind pflegeleicht, aber ein paar Dinge solltet ihr beachten, damit sie gut wachsen.
1. Regelmäßig gießen: Radieschen brauchen regelmäßige Bewässerung, besonders bei trockenem Wetter. Der Boden sollte immer leicht feucht sein, aber nicht nass.
2. Unkraut jäten: Entfernt regelmäßig Unkraut, das zwischen den Radieschen wächst. Unkraut nimmt den Radieschen Nährstoffe und Licht weg.
3. Vereinzeln (optional): Wenn die Radieschen zu dicht stehen, könnt ihr sie vereinzeln. Das bedeutet, dass ihr einige Radieschen ausreißt, damit die anderen mehr Platz zum Wachsen haben. Ich mache das meistens nicht, weil ich es nicht übers Herz bringe, gesunde Pflänzchen wegzuwerfen.
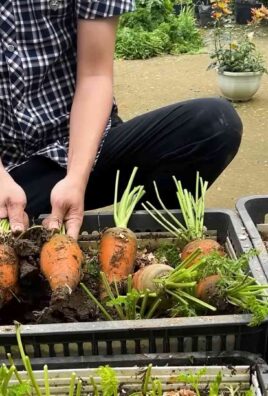
Ernte der rosa Radieschen
Das ist der beste Teil: die Ernte!
1. Erntezeitpunkt: Radieschen sind schnellwüchsig und können schon nach 3-4 Wochen geerntet werden. Die genaue Erntezeit hängt von der Sorte und den Wetterbedingungen ab.
2. Ernte: Zieht die Radieschen vorsichtig aus der Erde. Wenn sie sich schwer ziehen lassen, könnt ihr sie mit einer kleinen Schaufel ausgraben.
3. Reinigen: Entfernt die Erde von den Radieschen und schneidet die Blätter ab.
4. Genießen: Wascht die Radieschen und genießt sie frisch aus dem Garten! Sie schmecken super lecker in Salaten, auf Brot oder einfach so als Snack.
Häufige Probleme und Lösungen
Auch beim Anbau von Radieschen kann es mal zu Problemen kommen. Hier sind ein paar häufige Probleme und wie ihr sie lösen könnt:
* Radieschen werden nicht dick: Das kann verschiedene Ursachen haben. Möglicherweise haben die Radieschen zu wenig Wasser oder Nährstoffe. Gießt regelmäßig und düngt gegebenenfalls mit einem organischen Dünger. Es kann auch sein, dass die Radieschen zu dicht stehen. Vereinzeln kann helfen.
* Radieschen sind scharf: Das kann daran liegen, dass die Radieschen zu lange in der Erde waren oder dass es zu trocken war. Erntet die Radieschen rechtzeitig und achtet auf eine regelmäßige Bewässerung.
* Radieschen haben Risse: Das kann durch unregelmäßige Bewässerung verursacht werden. Achtet darauf, dass der Boden immer gleichmäßig feucht ist.
* Schädlinge: Radieschen können von verschiedenen Schädlingen befallen werden, wie z.B. Erdflöhen oder Schnecken. Kontrolliert eure Radieschen regelmäßig und bekämpft Schädlinge gegebenenfalls mit natürlichen Mitteln.
Zusätzliche Tipps für den erfolgreichen Anbau
* Direktsaat: Radieschen werden direkt ins Freiland gesät. Eine Vorkultur ist nicht notwendig.
* Nachsaat: Um über einen längeren Zeitraum Radieschen ernten zu können, könnt ihr alle 2-3 Wochen neue Radieschen säen.
* Mischkultur: Radieschen sind gute Nachbarn für viele andere Gemüsesorten, wie z.B. Karotten, Salat oder Spinat.
* Sortenwahl: Es gibt viele verschiedene Radieschensorten. Probiert verschiedene Sorten aus, um eure Lieblingssorte zu finden.
* Bodenanalyse: Wenn ihr unsicher seid, ob euer Boden für den Anbau von Radieschen geeignet ist, könnt ihr eine Bodenanalyse durchführen lassen.
Noch ein paar Worte zum Schluss
Ich hoffe, dieser Leitfaden hat euch geholfen und inspiriert, selbst rosa Radieschen anzubauen. Es ist wirklich ein tolles Gefühl, eigenes Gemüse zu ernten und zu essen. Und rosa Radieschen sind einfach ein Hingucker! Also, ran an die Samen und viel Spaß beim Gärtnern! Lasst mich wissen, wie es bei euch läuft! Ich freue mich über eure Kommentare und Erfahrungen.
Conclusion
So, there you have it! Growing pink radishes at home isn’t just a gardening project; it’s a gateway to fresher, tastier, and more vibrant meals. We’ve walked through the simple steps, debunked common myths, and armed you with the knowledge to cultivate your own little patch of peppery goodness. Why settle for bland, store-bought radishes when you can have a rainbow of rosy hues and a burst of flavor straight from your backyard?
This isn’t just about saving a few dollars at the grocery store, although that’s certainly a perk. It’s about connecting with your food, understanding where it comes from, and experiencing the satisfaction of nurturing something from seed to table. Imagine the pride you’ll feel serving a salad adorned with radishes you grew yourself, knowing that each crisp bite is a testament to your green thumb.
But the real magic lies in the variations. Experiment with different radish varieties to discover your favorite flavor profiles. Try interplanting your radishes with carrots or lettuce to maximize space and create a symbiotic relationship in your garden. Consider succession planting, sowing seeds every few weeks, to ensure a continuous harvest throughout the growing season. You can even pickle your homegrown pink radishes for a tangy treat that will last for months.
Don’t be afraid to get your hands dirty and embrace the learning process. Gardening is all about trial and error, and even if you encounter a few hiccups along the way, the rewards are well worth the effort. Remember, the key to successful radish growing is consistent moisture, well-drained soil, and plenty of sunlight.
We wholeheartedly encourage you to give this DIY trick a try. It’s an easy, affordable, and incredibly rewarding way to enhance your culinary creations and connect with nature. And once you’ve harvested your first batch of homegrown pink radishes, we’d love to hear about your experience! Share your photos, tips, and triumphs in the comments below. Let’s create a community of radish enthusiasts and inspire others to embark on this delicious gardening adventure. After all, the best way to spread the joy of fresh, homegrown food is to share it with others. So, grab your seeds, get planting, and prepare to be amazed by the vibrant flavors and colors of your very own pink radish harvest!
Frequently Asked Questions (FAQ)
What are the benefits of growing my own pink radishes compared to buying them from the store?
Growing your own pink radishes offers several advantages. Firstly, you have complete control over the growing process, ensuring that your radishes are free from harmful pesticides and chemicals. Secondly, homegrown radishes are often fresher and more flavorful than store-bought ones, as they haven’t been sitting on shelves for days or weeks. Thirdly, growing your own food is a rewarding and therapeutic experience that connects you with nature and provides a sense of accomplishment. Finally, it can be more cost-effective in the long run, especially if you grow a large quantity of radishes.
How much space do I need to grow pink radishes?
One of the great things about radishes is that they don’t require a lot of space. They can be grown in small gardens, raised beds, or even containers on a balcony or patio. A space of just a few square feet can yield a surprisingly large harvest. The key is to ensure that the soil is well-drained and that the radishes receive at least six hours of sunlight per day.
What kind of soil is best for growing pink radishes?
Radishes prefer loose, well-drained soil that is rich in organic matter. Before planting, amend your soil with compost or other organic materials to improve its fertility and drainage. Avoid heavy clay soils, as they can become compacted and prevent the radishes from developing properly. A slightly acidic to neutral soil pH (around 6.0 to 7.0) is ideal.
How often should I water my pink radishes?
Consistent moisture is crucial for growing healthy radishes. Water your radishes regularly, especially during dry periods. Aim to keep the soil consistently moist but not waterlogged. Overwatering can lead to root rot, while underwatering can cause the radishes to become tough and bitter. A good rule of thumb is to water deeply whenever the top inch of soil feels dry to the touch.
How long does it take for pink radishes to mature?
Radishes are one of the fastest-growing vegetables, making them a great choice for impatient gardeners. Most varieties mature in just 20 to 30 days. Check the seed packet for specific information on the maturity time of the variety you are growing.
What are some common problems that can affect pink radishes, and how can I prevent them?
Some common problems that can affect radishes include flea beetles, root maggots, and fungal diseases. To prevent flea beetles, cover your plants with row covers or use insecticidal soap. To prevent root maggots, practice crop rotation and avoid planting radishes in the same spot year after year. To prevent fungal diseases, ensure good air circulation and avoid overwatering.
Can I grow pink radishes in containers?
Yes, radishes are well-suited for container gardening. Choose a container that is at least 6 inches deep and has drainage holes. Use a high-quality potting mix and water regularly. Place the container in a sunny location that receives at least six hours of sunlight per day.
What are some creative ways to use my homegrown pink radishes?
Beyond salads, there are many creative ways to enjoy your homegrown pink radishes. You can roast them with other vegetables, pickle them for a tangy snack, or add them to soups and stews. The radish greens are also edible and can be used in salads, stir-fries, or pesto. Don’t be afraid to experiment and discover your own favorite ways to use this versatile vegetable.
How do I know when my pink radishes are ready to harvest?
Radishes are typically ready to harvest when they are about 1 inch in diameter. Gently loosen the soil around the radish and pull it out of the ground. If the radish is too small, leave it in the ground for a few more days. If it’s too large, it may become tough and bitter.
Can I save the seeds from my pink radishes to plant next year?
Saving radish seeds is possible, but it requires allowing the plants to bolt (flower and produce seeds). This process takes longer than growing radishes for their roots, and the resulting radishes may not be true to type (meaning they may not look or taste exactly like the parent plant). If you’re interested in seed saving, research the specific requirements for your radish variety. For most home gardeners, it’s easier to purchase fresh seeds each year.
Leave a Comment