

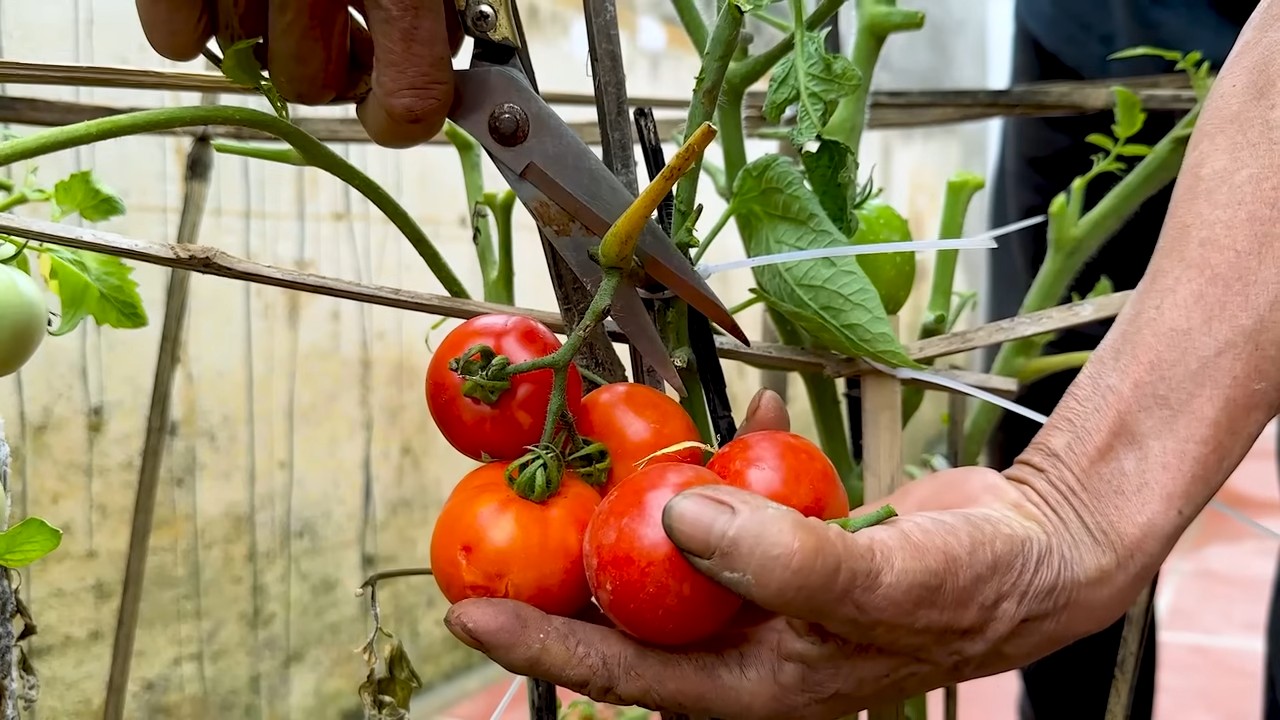
Tomato yield tin can – sounds a bit odd, right? But trust me, this simple trick can be a game-changer for your home garden! Have you ever dreamt of harvesting baskets overflowing with juicy, red tomatoes, only to be met with a disappointing handful? I know I have! For centuries, gardeners have sought the secret to maximizing their tomato harvests, experimenting with everything from soil amendments to companion planting. While modern techniques offer a lot, sometimes the simplest solutions are the most effective.
This DIY hack, using something as readily available as a tin can, taps into a fundamental need for tomato plants: strong root development. A robust root system is the key to absorbing nutrients and water, which directly translates to bigger, healthier fruits and a more abundant tomato yield. In this article, I’m going to show you exactly how to use a tin can to give your tomato plants the boost they need. Forget expensive fertilizers and complicated techniques; this is a budget-friendly, eco-conscious way to achieve the tomato harvest of your dreams. Let’s get started and turn those green thumbs even greener!
Tomaten-Ernte-Booster: Der DIY-Trick mit der Konservendose!
Hey Leute, habt ihr auch manchmal das Gefühl, eure Tomatenpflanzen könnten ein bisschen mehr Power vertragen? Ich kenne das nur zu gut! Man steckt so viel Liebe und Mühe in den Anbau, und dann ist die Ernte doch nicht so üppig, wie man sich das vorgestellt hat. Aber keine Sorge, ich habe da einen super einfachen und kostengünstigen Trick für euch, der eure Tomatenernte garantiert ankurbeln wird: Der Konservendosen-Hack!
Dieser Trick ist nicht nur super effektiv, sondern auch noch nachhaltig, weil wir etwas wiederverwenden, was sonst im Müll landen würde. Und das Beste daran? Ihr braucht dafür fast nichts außer einer leeren Konservendose und ein paar Handgriffen.
Was bewirkt der Konservendosen-Trick?
Bevor wir loslegen, kurz zur Erklärung, warum das Ganze überhaupt funktioniert. Der Trick basiert auf zwei Prinzipien:
* Gezielte Bewässerung: Die Konservendose dient als eine Art Bewässerungstrichter direkt an den Wurzeln der Tomatenpflanze. Das Wasser gelangt so genau dorthin, wo es gebraucht wird, ohne dass viel verdunstet oder an der Oberfläche abfließt.
* Langsame Nährstoffabgabe: Wenn ihr die Dose mit organischem Material wie Kompost, Kaffeesatz oder Eierschalen füllt, werden diese Nährstoffe langsam und kontinuierlich an die Wurzeln abgegeben. Das sorgt für eine optimale Versorgung der Pflanze über einen längeren Zeitraum.
Materialien, die du brauchst:
* Leere Konservendosen (am besten ohne scharfe Kanten)
* Hammer und Nagel (oder ein Dosenöffner mit Bohraufsatz)
* Gartenschere oder Messer
* Kompost, Kaffeesatz, Eierschalen oder anderer organischer Dünger
* Gießkanne oder Schlauch
Schritt-für-Schritt-Anleitung:
Phase 1: Vorbereitung der Konservendose
1. Reinigung der Dose: Zuerst müsst ihr die Konservendose gründlich reinigen. Entfernt alle Etiketten und spült sie mit warmem Wasser und Spülmittel aus. Achtet darauf, dass keine Essensreste mehr vorhanden sind, da diese Schädlinge anlocken könnten.
2. Löcher bohren: Jetzt kommt der wichtigste Schritt: Wir müssen Löcher in die Dose bohren, damit das Wasser und die Nährstoffe später auch zu den Wurzeln gelangen können.
* Mit Hammer und Nagel: Legt die Dose auf eine stabile Unterlage (z.B. ein Holzbrett). Nehmt Hammer und Nagel und schlagt vorsichtig mehrere Löcher in den Boden der Dose. Achtet darauf, dass die Löcher nicht zu groß werden, damit der Kompost später nicht einfach herausfällt. Ich empfehle etwa 5-7 Löcher.
* Mit Dosenöffner mit Bohraufsatz: Wenn ihr einen Dosenöffner mit Bohraufsatz habt, ist das natürlich noch einfacher. Bohrt einfach mehrere Löcher in den Boden der Dose.
* Zusätzliche Löcher (optional): Ihr könnt auch noch ein paar kleine Löcher an den Seiten der Dose bohren, um die Belüftung zu verbessern. Das ist aber kein Muss.
3. Entfernen scharfer Kanten: Überprüft die Dose auf scharfe Kanten, besonders am oberen Rand. Wenn ihr welche findet, könnt ihr sie vorsichtig mit einer Zange oder einem Hammer umbiegen, um Verletzungen zu vermeiden.
Phase 2: Vorbereitung der Tomatenpflanze
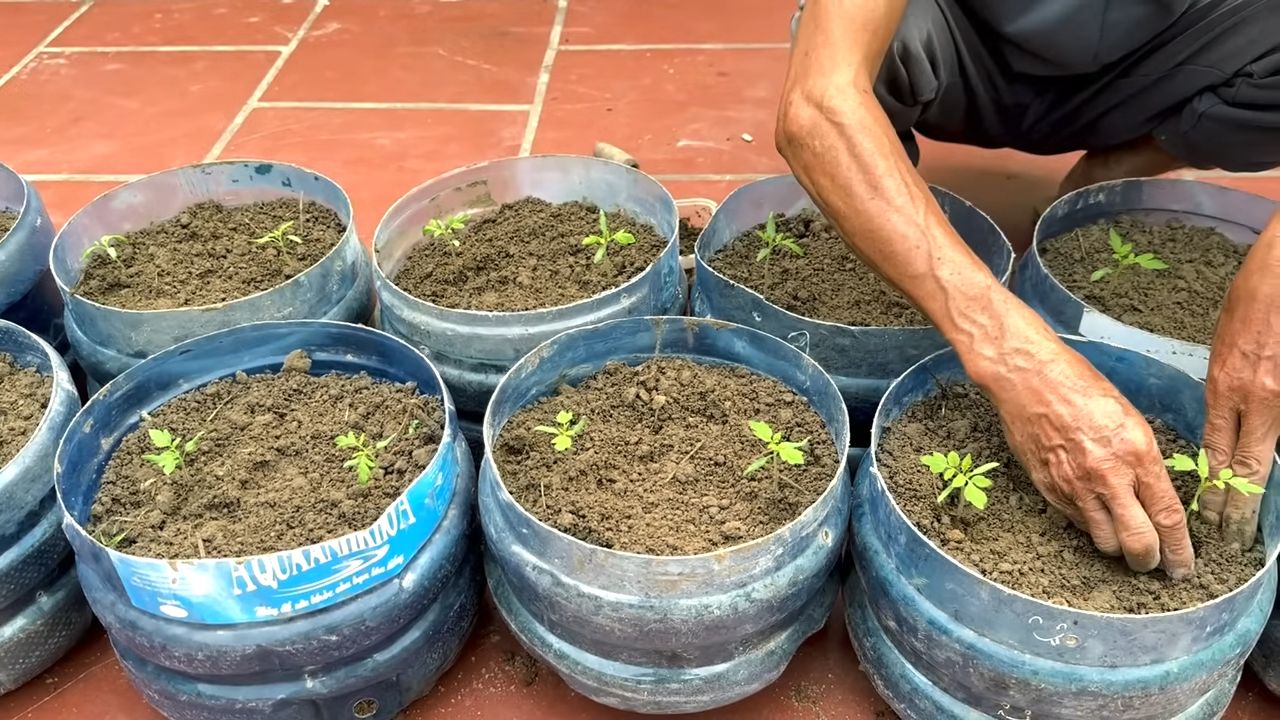
1. Auswahl der Pflanze: Dieser Trick funktioniert am besten bei Tomatenpflanzen, die bereits im Garten oder in einem großen Topf stehen. Bei kleinen Sämlingen ist es noch nicht notwendig.
2. Vorbereitung des Bodens: Lockert den Boden rund um die Tomatenpflanze vorsichtig auf. Entfernt Unkraut und Steine.
Phase 3: Einsetzen der Konservendose
1. Positionierung der Dose: Grabt ein kleines Loch neben der Tomatenpflanze, etwa 5-10 cm vom Stamm entfernt. Das Loch sollte so tief sein, dass die Konservendose darin versenkt werden kann, sodass der obere Rand der Dose etwa 2-3 cm aus dem Boden herausragt.
2. Einsetzen der Dose: Setzt die Konservendose in das Loch ein und füllt den Zwischenraum zwischen Dose und Erde mit Erde auf. Drückt die Erde leicht an, damit die Dose stabil steht.
3. Befüllung der Dose: Jetzt kommt der spaßige Teil! Füllt die Konservendose mit eurem organischen Dünger. Ich verwende gerne eine Mischung aus Kompost, Kaffeesatz und zerstoßenen Eierschalen. Ihr könnt aber auch andere organische Materialien verwenden, wie z.B. Grasschnitt, Laub oder Gemüsereste. Achtet darauf, dass die Dose nicht zu voll wird, lasst etwa 2-3 cm Platz bis zum oberen Rand.
4. Abdeckung (optional): Ihr könnt die Dose mit einer dünnen Schicht Mulch oder Stroh abdecken, um die Verdunstung zu reduzieren und das Wachstum von Unkraut zu verhindern.
Phase 4: Bewässerung und Pflege
1. Bewässerung: Gießt die Konservendose regelmäßig mit Wasser. Das Wasser sickert dann langsam durch die Löcher im Boden und versorgt die Wurzeln der Tomatenpflanze optimal. Achtet darauf, dass die Erde rund um die Pflanze nicht zu trocken wird.
2. Nachfüllen des Düngers: Überprüft die Dose regelmäßig und füllt sie bei Bedarf mit neuem organischen Dünger auf. Je nachdem, wie schnell der Dünger abgebaut wird, müsst ihr das etwa alle 2-4 Wochen tun.
3. Beobachtung: Beobachtet eure Tomatenpflanze genau. Ihr werdet bald feststellen, dass sie kräftiger wächst und mehr Früchte trägt.
Zusätzliche Tipps und Tricks:
* Mehrere Dosen pro Pflanze: Bei größeren Tomatenpflanzen könnt ihr auch mehrere Konservendosen verwenden, um eine noch bessere Versorgung zu gewährleisten.
* Verschiedene Dünger: Experimentiert mit verschiedenen organischen Düngern, um herauszufinden, was für eure Tomatenpflanzen am besten funktioniert.
* Kombination mit anderen Methoden: Der Konservendosen-Trick lässt sich gut mit anderen Methoden zur Verbesserung der Tomatenernte kombinieren, wie z.B. dem Ausgeizen der Seitentriebe oder dem Anbinden der Pflanzen an Stäben.
* Schutz vor Schnecken: Wenn ihr Probleme mit Schnecken habt, könnt ihr einen Schneckenkragen um die Konservendose legen, um die Tomatenpflanze zu schützen.
* Upcycling: Anstatt neue Konservendosen zu kaufen, könnt ihr auch alte Dosen wiederverwenden, die ihr sonst weggeworfen hättet. Das ist nicht nur gut für die Umwelt, sondern auch für euren Geldbeutel.
* Verschiedene Dosengrößen: Ihr könnt auch verschiedene Dosengrößen verwenden, je nachdem, wie groß eure Tomatenpflanzen sind. Für kleinere Pflanzen reichen kleinere Dosen, für größere Pflanzen könnt ihr auch größere Dosen verwenden.
* Langzeitdünger: Wenn ihr nicht ständig Dünger nachfüllen wollt, könnt ihr auch Langzeitdünger in die Dose geben. Dieser gibt die Nährstoffe langsam und kontinuierlich über einen längeren Zeitraum ab.
* Bodenverbesserung: Der Trick hilft auch dabei, den Boden rund um die Tomatenpflanze zu verbessern. Der organische Dünger lockert den Boden auf und verbessert seine Struktur.
* Weniger Gießen: Durch die gezielte Bewässerung mit der Konservendose müsst ihr insgesamt weniger gießen, da das Wasser nicht so schnell verdunstet.
* Gesündere Pflanzen: Durch die optimale Versorgung mit Wasser und Nährstoffen werden eure Tomatenpflanzen gesünder und widerstandsfähiger gegen Krankheiten und Schädlinge.
Ich hoffe, dieser DIY-Trick hilft euch dabei, eine reiche Tomatenernte zu erzielen! Probiert es einfach mal aus, ihr werdet überrascht sein, wie einfach und effektiv es ist. Viel Spaß beim Gärtnern!
Conclusion
So, there you have it! This simple, yet incredibly effective, DIY trick using a tin can to boost your tomato yield is a game-changer for any gardener, regardless of experience level. We’ve walked you through the process, highlighting how burying a tin can near your tomato plants provides a slow-release, targeted watering and nutrient delivery system. This method not only conserves water, reducing your environmental impact and saving you money, but it also minimizes the risk of fungal diseases that can plague tomato plants when their foliage gets wet.
The beauty of this technique lies in its simplicity and adaptability. It’s a low-cost, readily available solution that addresses two critical factors in tomato cultivation: consistent hydration and targeted fertilization. By placing the can strategically near the root zone, you ensure that your plants receive the water and nutrients they need directly where they can best utilize them. This leads to stronger, healthier plants, more abundant blooms, and ultimately, a significantly increased tomato yield.
But don’t just take our word for it! We encourage you to experiment with this DIY trick in your own garden. Try different variations to see what works best for your specific soil type and climate. For example, if you have particularly sandy soil, you might consider lining the bottom of the can with a layer of gravel to prevent the water from draining too quickly. Or, if you’re growing tomatoes in containers, you can use smaller cans to accommodate the limited space.
Consider adding different amendments to the water you pour into the can. A diluted solution of Epsom salts can provide magnesium, which is essential for chlorophyll production and overall plant health. Bone meal can provide phosphorus, which is crucial for root development and flowering. Seaweed extract is another excellent option, as it contains a wide range of micronutrients that can boost plant growth and resilience. Remember to always dilute these amendments properly to avoid burning the roots.
Another variation to explore is the type of tin can you use. While any clean, empty tin can will work, you might consider using cans with different sizes and shapes. Taller cans can hold more water, while wider cans can provide a larger surface area for nutrient absorption. You can also experiment with painting the cans to make them more aesthetically pleasing and to prevent them from rusting. Just be sure to use non-toxic paint that won’t leach harmful chemicals into the soil.
The possibilities are endless! The key is to observe your plants closely and adjust your approach as needed. Pay attention to their growth rate, leaf color, and fruit production. If you notice any signs of nutrient deficiency, such as yellowing leaves or stunted growth, you can adjust the amount and type of fertilizer you add to the water.
We are confident that this DIY trick will revolutionize your tomato growing experience. It’s a simple, effective, and sustainable way to increase your tomato yield and enjoy a bountiful harvest. So, grab a few tin cans, head out to your garden, and give it a try!
And most importantly, we want to hear about your results! Share your experiences, tips, and variations in the comments section below. Let us know what worked well for you, what challenges you encountered, and any other insights you gained along the way. Together, we can learn from each other and become even better tomato growers. Let’s unlock the full potential of our tomato plants and enjoy the delicious rewards of our hard work! Happy gardening!
Frequently Asked Questions (FAQ)
What kind of tin can should I use?
Any clean, empty tin can will work for this DIY trick. However, it’s important to ensure that the can is free of any sharp edges or rust that could potentially harm your plants or yourself. Wash the can thoroughly with soap and water to remove any food residue. You can also remove the label to prevent it from attracting pests. Consider the size of your tomato plants and the space available in your garden when choosing the size of the can. Larger plants may benefit from larger cans that can hold more water and nutrients.
How often should I fill the tin can with water?
The frequency with which you need to fill the tin can will depend on several factors, including the weather, the type of soil you have, and the size of your tomato plants. In general, you should aim to keep the soil around the base of the plant consistently moist, but not waterlogged. Check the soil moisture level regularly by sticking your finger into the soil near the base of the plant. If the soil feels dry to the touch, it’s time to refill the can. During hot, dry weather, you may need to fill the can every day or even twice a day. During cooler, wetter weather, you may only need to fill it every few days.
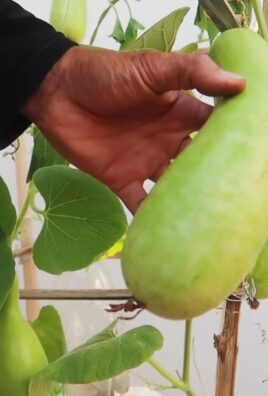
Can I use this trick for other plants besides tomatoes?
Yes, this DIY trick can be used for other plants that benefit from deep watering and targeted fertilization. Some other plants that may benefit from this technique include peppers, eggplants, cucumbers, and squash. However, it’s important to consider the specific needs of each plant when determining the size and placement of the can, as well as the type and amount of fertilizer you add to the water. For example, plants that prefer drier conditions may not benefit from this technique, as it could lead to overwatering.
Will this trick attract pests to my garden?
While this trick is generally safe and effective, it’s possible that it could attract certain pests to your garden, such as slugs and snails. To minimize this risk, make sure to keep the area around the base of the plant clean and free of debris. You can also use organic pest control methods, such as diatomaceous earth or copper tape, to deter pests from reaching your plants. Regularly inspect your plants for signs of pests and take action promptly if you notice any problems.
What kind of fertilizer should I add to the water in the tin can?
The type of fertilizer you add to the water in the tin can will depend on the specific needs of your tomato plants and the type of soil you have. In general, it’s best to use a balanced fertilizer that contains all three essential nutrients: nitrogen, phosphorus, and potassium. You can also add other amendments to the water, such as Epsom salts, bone meal, or seaweed extract, to provide additional micronutrients. Always dilute the fertilizer properly according to the manufacturer’s instructions to avoid burning the roots. It’s also a good idea to test your soil before adding any fertilizer to determine its nutrient content and pH level. This will help you choose the right type and amount of fertilizer for your plants.
How deep should I bury the tin can?
The depth at which you bury the tin can will depend on the size of the can and the size of your tomato plants. In general, you should bury the can deep enough so that the top rim is level with the soil surface. This will prevent water from spilling out of the can and ensure that the water and nutrients are delivered directly to the root zone. Be careful not to damage the roots of your plants when burying the can. You can also use a trowel or shovel to create a small hole for the can before placing it in the ground.
What if my tomato plants are already established? Can I still use this trick?
Yes, you can still use this trick even if your tomato plants are already established. However, you’ll need to be careful not to damage the roots when burying the tin can. Gently dig a hole near the base of the plant, being mindful of the root system. Place the can in the hole and backfill with soil, making sure the top rim of the can is level with the soil surface. Water the plant thoroughly after burying the can to help settle the soil and encourage root growth.
Can I use plastic containers instead of tin cans?
While tin cans are a readily available and inexpensive option, you can also use plastic containers for this DIY trick. However, it’s important to choose containers that are food-grade and BPA-free to avoid leaching harmful chemicals into the soil. You’ll also need to make sure the containers are durable enough to withstand the weight of the soil and water. Drill a few small holes in the bottom of the container to allow for drainage.
Is this method suitable for all types of tomato plants?
This method is generally suitable for most types of tomato plants, including determinate and indeterminate varieties. However, it’s important to adjust the size and placement of the can, as well as the type and amount of fertilizer you add to the water, based on the specific needs of each variety. For example, larger, indeterminate varieties may require larger cans and more frequent watering than smaller, determinate varieties.
How does this trick help increase tomato yield?
This trick helps increase tomato yield by providing a consistent and targeted supply of water and nutrients directly to the root zone of the plants. This promotes stronger, healthier plants, more abundant blooms, and ultimately, a greater number of tomatoes. By minimizing water loss through evaporation and runoff, this method also conserves water and reduces the risk of fungal diseases. The consistent moisture level also prevents blossom end rot, a common problem in tomatoes caused by calcium deficiency due to inconsistent watering. Ultimately, this simple DIY method optimizes the growing conditions for your tomato plants, leading to a more bountiful harvest.

Leave a Comment