

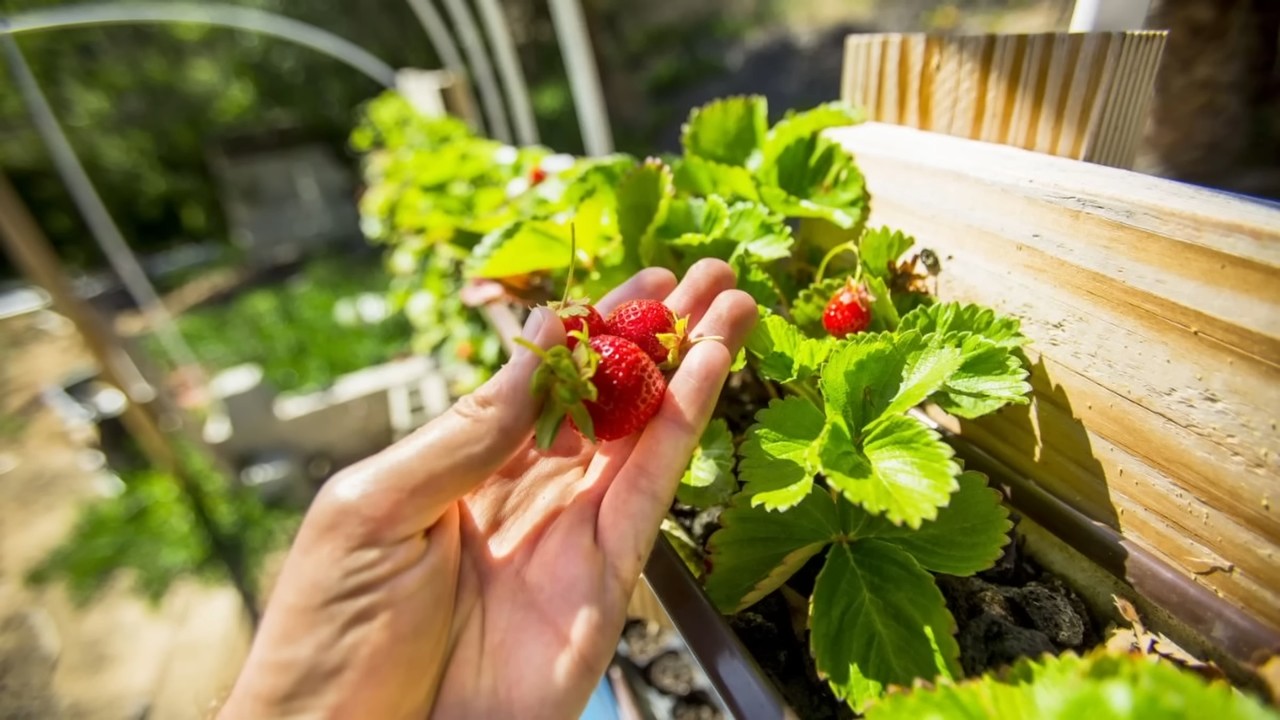
Strawberry yield raised beds are the secret weapon every home gardener needs to unlock a bountiful harvest of juicy, red berries! Imagine stepping into your backyard and being greeted by the sweet aroma of ripe strawberries, ready to be plucked and enjoyed. Sounds like a dream, right? Well, it doesn’t have to be! For centuries, gardeners have sought ways to maximize their yields, and raised beds have emerged as a champion for strawberry cultivation.
From ancient civilizations cultivating herbs in raised plots to modern-day urban farmers maximizing space, the concept of raised beds has deep roots. But why are they so effective, especially for strawberries? Well, strawberries are notoriously picky about their soil. They crave well-draining, nutrient-rich conditions, and raised beds provide the perfect environment to create just that. Plus, they offer better weed control, improved drainage, and easier harvesting – all factors that contribute to a significantly higher strawberry yield raised beds can provide.
In this article, I’m going to share some simple yet incredibly effective DIY tricks and hacks to help you build and maintain the perfect strawberry raised bed. Whether you’re a seasoned gardener or just starting out, these tips will empower you to create a thriving strawberry patch that will have you swimming in berries all season long. Get ready to roll up your sleeves and transform your garden into a strawberry paradise!
DIY Strawberry Yield Boost: Building the Ultimate Raised Bed
Okay, strawberry lovers, let’s talk about maximizing your harvest! I’m going to walk you through building a raised bed specifically designed to make your strawberry plants thrive. We’re not just throwing some dirt in a box; we’re creating a strawberry paradise. This project is perfect for beginners, and I promise, the juicy results will be worth the effort.
Why a Raised Bed for Strawberries?
Before we dive in, let’s quickly cover why a raised bed is so beneficial for strawberries:
* Improved Drainage: Strawberries hate soggy feet! Raised beds provide excellent drainage, preventing root rot and other moisture-related problems.
* Warmer Soil: The soil in a raised bed warms up faster in the spring, giving your strawberry plants a head start.
* Better Soil Control: You can customize the soil mix to create the perfect environment for your strawberries.
* Pest Control: Raised beds can help deter some ground-dwelling pests.
* Easier Harvesting: No more bending over and straining your back!
Materials You’ll Need
Here’s a list of everything you’ll need for this project. Don’t worry, you can adjust the dimensions to fit your space. I’m going to build a 4ft x 8ft bed, which is a good size for a decent strawberry patch.
* Untreated Lumber: I recommend using cedar or redwood because they are naturally rot-resistant. You’ll need:
* Two 8-foot long boards (for the long sides)
* Two 4-foot long boards (for the short sides)
* Four 12-inch long boards (for corner supports)
* Hardware:
* 3-inch exterior wood screws
* Landscaping fabric
* Staple gun and staples
* Soil Mix:
* Equal parts compost, topsoil, and peat moss (or coconut coir)
* Tools:
* Measuring tape
* Saw (circular saw or hand saw)
* Drill with screwdriver bit
* Level
* Shovel
* Gloves
Building the Raised Bed Frame
This is where the fun begins! We’re going to assemble the frame of our strawberry haven.
1. Cut the Lumber: If you haven’t already, cut your lumber to the correct lengths. Remember, we need two 8-foot boards, two 4-foot boards, and four 12-inch boards. Double-check your measurements before cutting!
2. Assemble the Frame:
* Lay one of the 8-foot boards on its edge.
* Position one of the 4-foot boards against the end of the 8-foot board, forming a corner.
* Use your drill and wood screws to attach the two boards together. I usually use at least three screws per corner for a strong connection.
* Repeat this process for the remaining corners until you have a rectangular frame.
3. Add Corner Supports:
* Place one of the 12-inch boards in the inside corner of the frame, flush with the top edge.
* Attach the corner support to both sides of the frame using wood screws.
* Repeat for the remaining three corners. These supports will add extra stability to your raised bed.
4. Level the Bed:
* Choose a location for your raised bed that gets at least 6-8 hours of sunlight per day. Strawberries love sunshine!
* Place the frame in the desired location.
* Use a level to check if the frame is level. If not, use a shovel to add or remove soil underneath the frame until it is level. This is important for even drainage and plant growth.
Lining the Raised Bed
Lining the bed with landscaping fabric is crucial for weed control and preventing soil erosion.
1. Cut the Landscaping Fabric: Measure the inside dimensions of your raised bed. Cut a piece of landscaping fabric that is slightly larger than these dimensions, allowing for some overlap.
2. Install the Fabric:
* Carefully place the landscaping fabric inside the raised bed, making sure it covers the bottom and sides.
* Fold the excess fabric over the top edges of the frame.
* Use a staple gun to secure the fabric to the inside of the frame. Space the staples about 4-6 inches apart.
Filling the Raised Bed with Soil
Now for the good stuff – creating the perfect soil mix for your strawberries!
1. Prepare the Soil Mix: In a wheelbarrow or large container, combine equal parts compost, topsoil, and peat moss (or coconut coir). Mix thoroughly until well combined. Compost provides nutrients, topsoil provides structure, and peat moss (or coconut coir) helps with drainage and moisture retention.
2. Fill the Bed:
* Using a shovel, fill the raised bed with the soil mix.
* Fill the bed to within a few inches of the top edge.
* Gently pat down the soil to remove any air pockets.
3. Water the Soil: Water the soil thoroughly until it is evenly moist. This will help settle the soil and prepare it for planting.
Planting Your Strawberries
Finally, the moment we’ve been waiting for – planting those delicious strawberry plants!
1. Choose Your Strawberry Varieties: There are three main types of strawberries:
* June-bearing: Produce a large crop of strawberries in a short period, usually in June.
* Everbearing: Produce two or three crops of strawberries throughout the growing season.
* Day-neutral: Produce strawberries continuously throughout the growing season, regardless of day length.
Choose the type that best suits your needs and climate. I personally like to plant a mix of everbearing and day-neutral varieties for a continuous harvest.
2. Space Your Plants: Space your strawberry plants about 12 inches apart in the raised bed. This will allow them plenty of room to grow and produce fruit.
3. Planting Depth: The most important thing when planting strawberries is to make sure the crown (the point where the roots meet the stem) is not buried. The crown should be just above the soil surface.
4. Planting Instructions:
* Dig a small hole in the soil that is large enough to accommodate the roots of the strawberry plant.
* Gently loosen the roots of the plant.
* Place the plant in the hole, making sure the crown is at the correct height.
* Fill the hole with soil and gently pat it down.
* Water the plant thoroughly.
Caring for Your Strawberry Plants
Now that your strawberries are planted, it’s important to provide them with the care they need to thrive.
1. Watering: Water your strawberry plants regularly, especially during dry periods. Aim to keep the soil consistently moist, but not soggy. A good rule of thumb is to water deeply once or twice a week, depending on the weather.
2. Fertilizing: Fertilize your strawberry plants every 4-6 weeks with a balanced fertilizer. Follow the instructions on the fertilizer package. I like to use an organic fertilizer specifically formulated for berries.
3. Weeding: Keep your raised bed free of weeds. Weeds compete with your strawberry plants for nutrients and water. Hand-pull weeds regularly, or use a hoe to cultivate the soil.
4. Mulching: Mulch around your strawberry plants with straw or wood chips. Mulch helps to retain moisture, suppress weeds, and keep the berries clean.
5. Pest and Disease Control: Monitor your strawberry plants regularly for pests and diseases. Common strawberry pests include aphids, spider mites, and slugs. Common strawberry diseases include powdery mildew and gray mold. Treat any problems promptly with appropriate organic pesticides or fungicides.
6. Pruning:
* June-bearing strawberries: After harvesting, prune away the old leaves and runners (the stems that grow out from the plant). This will encourage new growth and fruit production for the following year.
* Everbearing and day-neutral strawberries: Remove runners throughout the growing season to encourage more fruit production. You can also pinch off the first few flowers to encourage stronger plant growth.
7. Winter Protection: In colder climates, protect your strawberry plants from frost and freezing temperatures. Cover the plants with straw or a blanket during cold snaps.
Harvesting Your Strawberries
The best part!
1. When to Harvest: Strawberries are ready to harvest when they are fully red and slightly soft to the touch.
2. How to Harvest: Gently twist the strawberry from the stem, leaving the green cap attached.
3. Enjoy! Eat your strawberries fresh, or use them in

Conclusion
So, there you have it! Building your own strawberry yield raised beds isn’t just a fun weekend project; it’s a game-changer for your strawberry harvest. We’ve walked you through the process, highlighting the benefits and offering tips to ensure your success. But why is this DIY trick a must-try?
Firstly, raised beds provide superior drainage, a critical factor for healthy strawberry plants. Strawberries hate soggy roots, and raised beds naturally elevate them above waterlogged soil. This alone can dramatically reduce the risk of root rot and other moisture-related diseases that can decimate your crop.
Secondly, you have complete control over the soil composition. You can create the perfect blend of nutrients and organic matter, giving your strawberry plants the ideal environment to thrive. Forget struggling with compacted clay or nutrient-poor soil – with raised beds, you’re in charge of the recipe for success.
Thirdly, raised beds make gardening more accessible and manageable. Bending and kneeling become less of a burden, making tending to your strawberry plants a more enjoyable experience. This is especially beneficial for gardeners with back problems or mobility issues.
But the benefits don’t stop there. Raised beds also warm up faster in the spring, allowing you to get a head start on the growing season. They also help to deter pests and weeds, making maintenance easier and reducing the need for harmful chemicals.
Now, let’s talk about variations. While we’ve focused on a basic wooden raised bed, feel free to get creative! You could use reclaimed materials like old pallets or cinder blocks for a more rustic look. Consider adding a trellis to support climbing strawberry varieties or incorporating companion plants like basil or marigolds to further enhance your garden’s ecosystem. You can also experiment with different shapes and sizes to fit your available space and aesthetic preferences. For example, a long, narrow raised bed might be perfect for a small balcony, while a larger, square bed could be ideal for a backyard garden.
Another variation is to incorporate a self-watering system into your raised bed. This can be as simple as burying a few plastic bottles with holes drilled in them or as elaborate as installing a drip irrigation system. Self-watering systems can help to conserve water and ensure that your strawberry plants receive consistent moisture, even when you’re away.
Don’t be afraid to experiment with different soil amendments to further improve your soil quality. Compost, aged manure, and worm castings are all excellent additions that can boost nutrient levels and improve drainage. You can also add perlite or vermiculite to improve aeration and water retention.
Ultimately, the best way to learn is by doing. So, gather your materials, follow our guide, and get ready to enjoy a bountiful harvest of delicious, homegrown strawberries. We’re confident that you’ll be amazed by the difference that raised beds can make.
We encourage you to try this DIY trick and share your experience with us! Post photos of your strawberry yield raised beds on social media using #StrawberryRaisedBeds and let us know what worked well for you and what challenges you encountered. Your feedback will help other gardeners learn and grow, and together, we can create a community of thriving strawberry growers. Happy gardening!
FAQ
What are the ideal dimensions for a strawberry raised bed?
The ideal dimensions for a strawberry raised bed depend on your available space and personal preferences. However, a good starting point is 4 feet wide by 8 feet long and 12 inches deep. The width allows you to easily reach the center of the bed from either side, while the length provides ample space for multiple strawberry plants. The depth ensures that the roots have enough room to grow and that the soil drains properly. You can adjust these dimensions to fit your specific needs. For example, if you have limited space, you could build a smaller, narrower raised bed. If you want to grow a large number of strawberry plants, you could build a larger, wider raised bed. Just be sure to consider the accessibility of the bed and the amount of sunlight it will receive.
What type of soil is best for strawberries in raised beds?
Strawberries thrive in well-draining, slightly acidic soil with a pH between 5.5 and 6.5. A good soil mix for strawberry raised beds typically consists of equal parts topsoil, compost, and peat moss or coco coir. The topsoil provides a base for the soil mix, while the compost adds nutrients and improves drainage. The peat moss or coco coir helps to retain moisture and improve aeration. You can also add other amendments to the soil mix, such as perlite or vermiculite, to further improve drainage and aeration. Avoid using heavy clay soil, as it can become waterlogged and suffocate the roots of the strawberry plants. Before planting, it’s a good idea to test the soil pH and adjust it if necessary. You can use a soil testing kit or send a soil sample to a local agricultural extension office for testing.
How often should I water my strawberry plants in raised beds?
The frequency of watering depends on several factors, including the weather, the type of soil, and the age of the plants. In general, strawberry plants in raised beds need to be watered regularly, especially during hot, dry weather. The soil should be kept consistently moist but not waterlogged. A good rule of thumb is to water deeply whenever the top inch of soil feels dry to the touch. Avoid watering the foliage of the plants, as this can promote fungal diseases. Instead, water at the base of the plants, using a soaker hose or drip irrigation system. During periods of heavy rain, you may not need to water at all. However, it’s important to monitor the soil moisture levels and adjust your watering schedule accordingly. Young strawberry plants need more frequent watering than established plants.
What are some common pests and diseases that affect strawberries in raised beds, and how can I prevent them?
Strawberries are susceptible to a variety of pests and diseases, including aphids, spider mites, slugs, snails, gray mold, and root rot. To prevent these problems, it’s important to choose disease-resistant varieties of strawberries and to practice good garden hygiene. Remove any dead or diseased leaves and fruit from the plants and the surrounding area. Keep the soil well-drained and avoid overwatering. Use organic pest control methods, such as insecticidal soap or neem oil, to control aphids and spider mites. Use slug and snail bait or traps to control slugs and snails. To prevent gray mold, ensure good air circulation around the plants and avoid overhead watering. To prevent root rot, plant strawberries in well-drained soil and avoid overwatering. You can also add beneficial microbes to the soil to help protect the roots from disease. Regularly inspect your strawberry plants for signs of pests or diseases and take action promptly if you notice any problems.
Can I grow strawberries in raised beds in containers?
Yes, you can absolutely grow strawberries in raised beds in containers! This is a great option for gardeners with limited space or those who want to grow strawberries on a balcony or patio. When growing strawberries in containers, it’s important to choose a container that is at least 12 inches deep and wide to provide enough room for the roots to grow. Use a well-draining potting mix and water regularly. You may also need to fertilize the plants more frequently, as the nutrients in the potting mix can be depleted more quickly than in the ground. Choose a sunny location for your container strawberries, as they need at least 6 hours of sunlight per day. You can also move the containers indoors during the winter to protect the plants from frost. Consider using self-watering containers to simplify watering and ensure consistent moisture levels.


Leave a Comment