

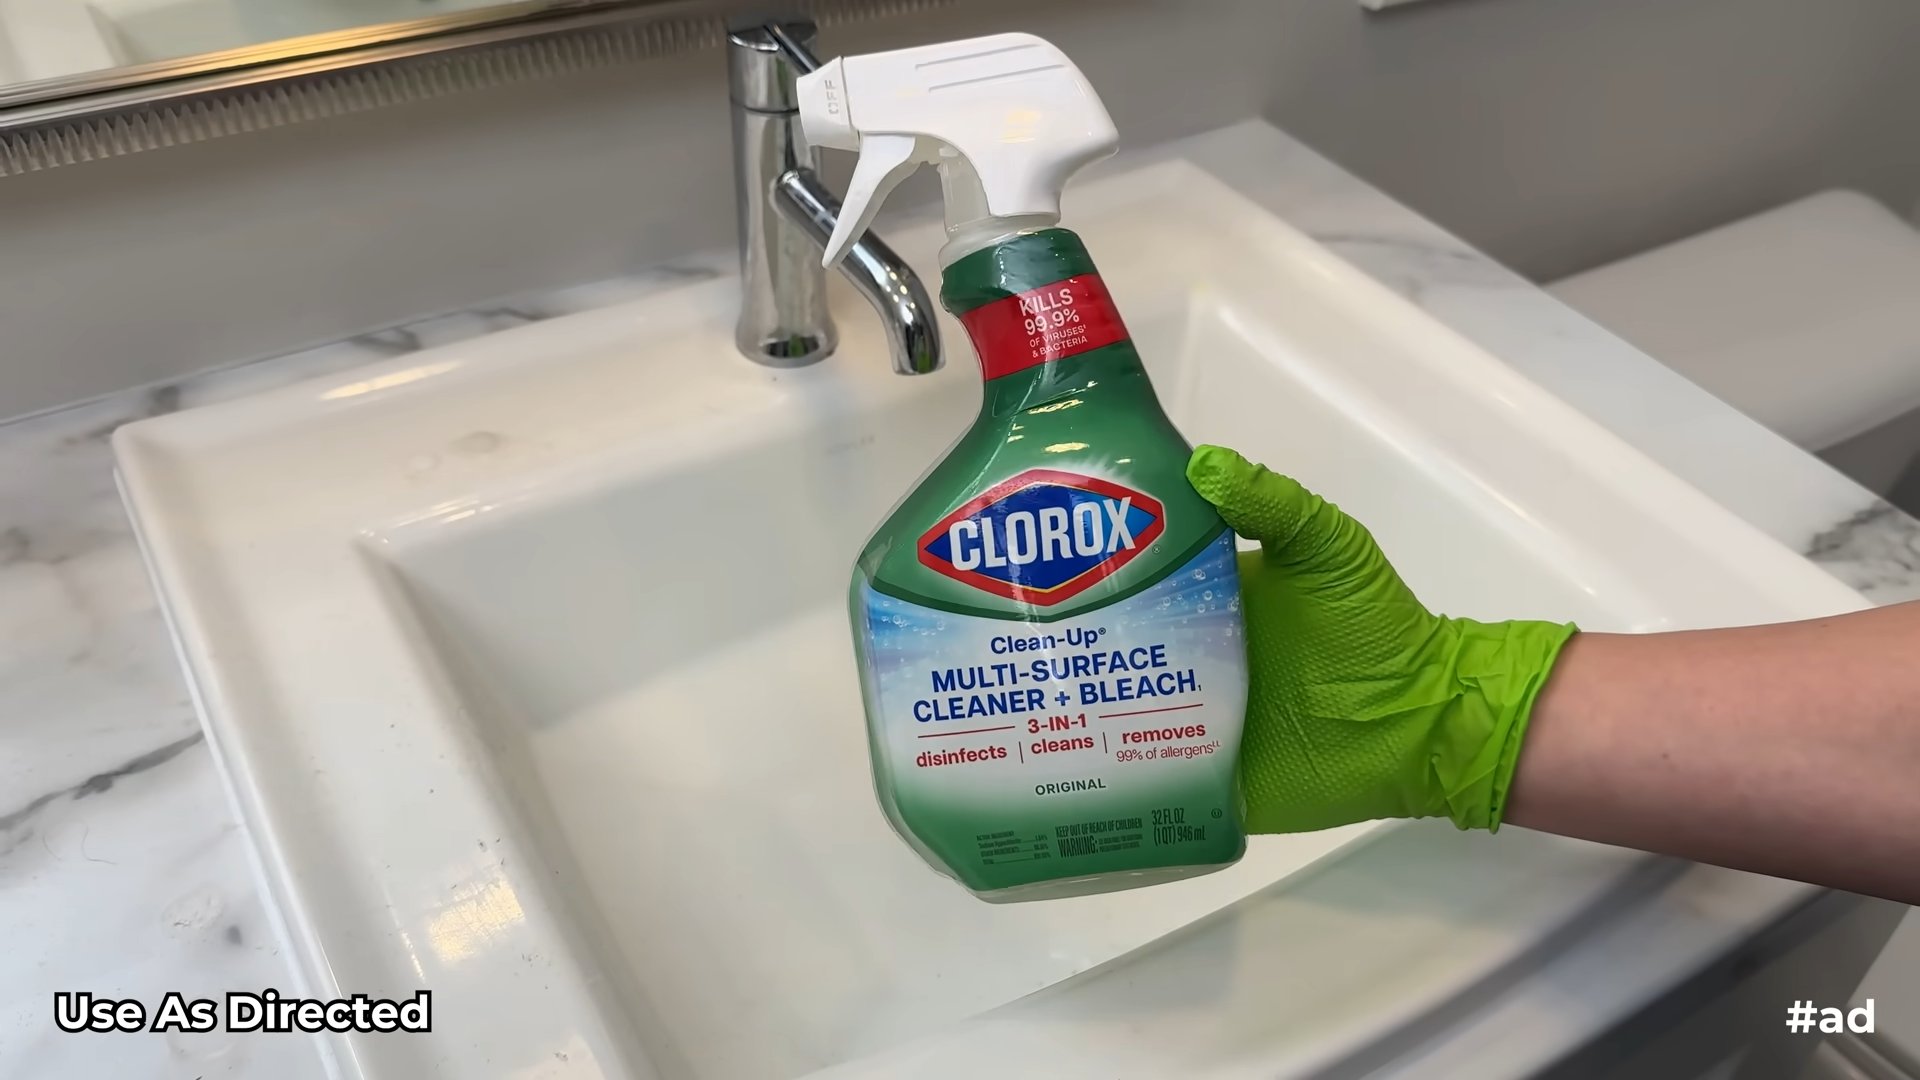
Bathroom cleaning tips Clorox – let’s be honest, nobody *loves* cleaning the bathroom, right? But what if I told you there were some simple, effective DIY tricks that could make the whole process faster, easier, and even…dare I say…a little bit satisfying? We’re diving deep into the world of bathroom grime and emerging victorious with sparkling surfaces, all thanks to the power of Clorox and a few clever hacks.
For generations, keeping our homes clean has been a cornerstone of health and well-being. From ancient civilizations using natural remedies to disinfect their living spaces to the modern marvels of cleaning products, the quest for a spotless home is a timeless pursuit. And when it comes to tackling tough bathroom messes, Clorox has become a household name, synonymous with cleanliness and disinfection.
But simply spraying and wiping isn’t always enough. That’s where these DIY tricks come in! I’m going to share some of my favorite, tried-and-true methods for maximizing the cleaning power of Clorox, targeting those hard-to-reach spots, and banishing stubborn stains. These bathroom cleaning tips Clorox will not only save you time and effort but also help you maintain a healthier and more pleasant living environment. So, grab your gloves, your Clorox, and let’s get ready to transform your bathroom from drab to dazzling!
DIY Bathroom Cleaning Power: Clorox Hacks You Need to Know
Hey there, fellow cleaning enthusiasts! Let’s face it, nobody *loves* cleaning the bathroom, but a sparkling clean bathroom is a happy bathroom. And a happy bathroom makes for a happy you! Today, I’m going to share some of my favorite DIY cleaning hacks using Clorox bleach. Now, I know what you might be thinking: “Bleach? Isn’t that harsh?” Yes, it can be, but used correctly and diluted properly, Clorox can be a powerful and effective tool for tackling tough bathroom grime.
Important Safety First!
Before we dive in, let’s get the safety stuff out of the way. Bleach is a strong chemical, so always remember these crucial points:
* Ventilation is Key: Always open windows and turn on the exhaust fan to ensure proper ventilation.
* Wear Protection: Protect your skin and eyes! Wear rubber gloves and consider safety glasses.
* Dilution is the Solution: Never use Clorox bleach undiluted. Always follow the dilution instructions provided below.
* No Mixing!: Never, ever mix bleach with ammonia or other cleaning products. This can create dangerous and potentially deadly fumes. Seriously, don’t do it!
* Storage Matters: Store Clorox bleach in a cool, dry place, out of reach of children and pets.
* Test First: Before applying any bleach solution to a large area, test it on a small, inconspicuous spot to ensure it doesn’t damage the surface.
Tackling Toilet Troubles
The toilet is often the dirtiest part of the bathroom, so let’s start there.
What you’ll need:
* Clorox bleach
* Toilet bowl brush
* Toilet cleaner (optional, for extra cleaning power)
* Gloves
* Eye protection (optional, but recommended)
Step-by-Step Instructions:
1. Flush the Toilet: Start by flushing the toilet to clear out any debris.
2. Pour in the Bleach: Carefully pour about 1/2 cup of Clorox bleach directly into the toilet bowl.
3. Let it Sit: Allow the bleach to sit in the bowl for at least 10 minutes, or even longer for heavily soiled toilets (up to 30 minutes). This gives the bleach time to disinfect and break down stains.
4. Scrub-a-dub-dub: Use your toilet bowl brush to thoroughly scrub the entire bowl, paying special attention to the rim and any areas with visible stains.
5. Flush Again: Flush the toilet to rinse away the bleach and any loosened grime.
6. Repeat if Necessary: If stains persist, repeat the process. For stubborn stains, you can try using a toilet cleaner in addition to the bleach. Apply the toilet cleaner after the bleach has been flushed away.
Shower and Tub Sparkle
Soap scum, mildew, and hard water stains can make your shower and tub look grimy. Here’s how to tackle them with Clorox.
What you’ll need:
* Clorox bleach
* Spray bottle
* Water
* Scrub brush or sponge
* Gloves
* Eye protection
* Old toothbrush (for grout)
Step-by-Step Instructions:
1. Prepare the Bleach Solution: In a well-ventilated area, mix a solution of 1 part Clorox bleach to 10 parts water in a spray bottle. Always add the bleach to the water, not the other way around. This helps prevent splashing.
2. Spray the Surfaces: Spray the bleach solution liberally onto the shower walls, tub, and any other surfaces that need cleaning.
3. Let it Sit (But Not Too Long!): Allow the solution to sit for 5-10 minutes. Don’t let it sit for too long, as it can damage some surfaces.
4. Scrub Away: Use a scrub brush or sponge to scrub the surfaces, paying attention to areas with soap scum, mildew, or hard water stains. For grout, use an old toothbrush to get into those tight spaces.
5. Rinse Thoroughly: Rinse all surfaces thoroughly with clean water. Make sure to remove all traces of the bleach solution.
6. Ventilate: Keep the bathroom well-ventilated until the surfaces are completely dry.
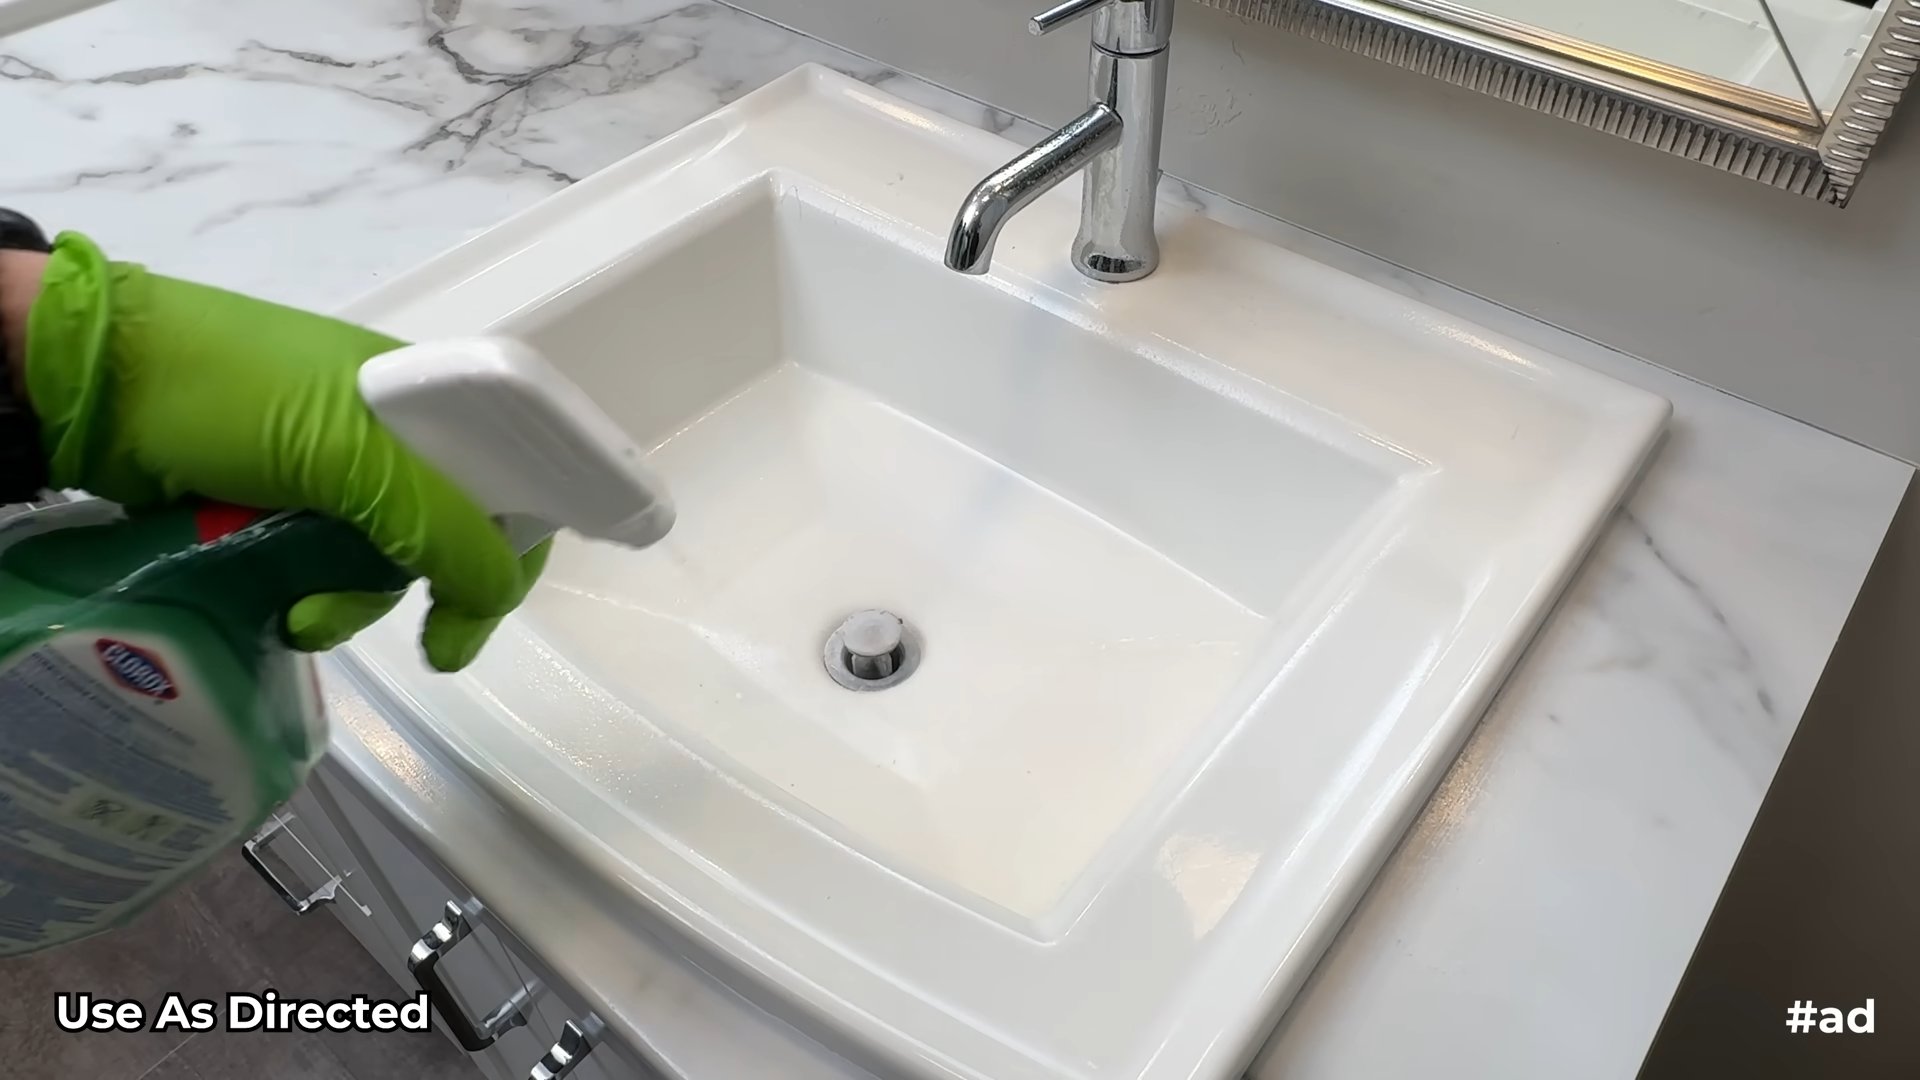
Sink and Countertop Cleaning
Sinks and countertops can harbor bacteria and stains. Here’s how to clean them effectively with Clorox.
What you’ll need:
* Clorox bleach
* Water
* Spray bottle
* Sponge or cloth
* Gloves
* Eye protection
Step-by-Step Instructions:
1. Prepare the Bleach Solution: In a well-ventilated area, mix a solution of 1 part Clorox bleach to 10 parts water in a spray bottle.
2. Spray the Surfaces: Spray the bleach solution onto the sink and countertops.
3. Let it Sit Briefly: Allow the solution to sit for 2-3 minutes.
4. Wipe Clean: Wipe the surfaces clean with a sponge or cloth.
5. Rinse Thoroughly: Rinse all surfaces thoroughly with clean water.
6. Dry: Dry the surfaces with a clean towel.
Dealing with Mold and Mildew
Mold and mildew are common bathroom problems, especially in damp areas. Clorox can be effective at killing mold and mildew, but it’s important to address the underlying cause of the moisture problem to prevent it from returning.
What you’ll need:
* Clorox bleach
* Water
* Spray bottle
* Scrub brush or sponge
* Gloves
* Eye protection
* Respirator (recommended for large areas of mold)
Step-by-Step Instructions:
1. Prepare the Bleach Solution: In a well-ventilated area, mix a solution of 1 part Clorox bleach to 10 parts water in a spray bottle.
2. Spray the Affected Areas: Spray the bleach solution onto the mold or mildew-affected areas.
3. Let it Sit: Allow the solution to sit for 10-15 minutes.
4. Scrub Away: Use a scrub brush or sponge to scrub the mold or mildew away.
5. Rinse Thoroughly: Rinse all surfaces thoroughly with clean water.
6. Dry Completely: Dry the surfaces completely to prevent the mold or mildew from returning.
7. Address the Moisture Source: Identify and address the source of the moisture that is causing the mold or mildew growth. This may involve repairing leaks, improving ventilation, or using a dehumidifier.
Cleaning Grout with Bleach
Grout can be a magnet for dirt and grime. Bleach can help restore its original color.
What you’ll need:
* Clorox bleach
* Water
* Spray bottle or small container
* Old toothbrush or grout brush
* Gloves
* Eye protection
Step-by-Step Instructions:
1. Prepare the Bleach Solution: In a well-ventilated area, mix a solution of 1 part Clorox bleach to 5 parts water. For heavily soiled grout, you can use a stronger solution, but always test it in an inconspicuous area first.
2. Apply the Solution: You can either spray the solution directly onto the grout or apply it with an old toothbrush or grout brush.
3. Let it Sit: Allow the solution to sit for 5-10 minutes.
4. Scrub the Grout: Use the toothbrush or grout brush to scrub the grout lines.
5. Rinse Thoroughly: Rinse the area thoroughly with clean water.
6. Dry: Dry the area with a clean towel.
Bleaching Shower Curtains and Liners
Shower curtains and liners can get pretty gross. Here’s how to clean them with bleach.
What you’ll need:
* Clorox bleach
* Washing machine
* Laundry detergent
Step-by-Step Instructions:
1. Remove the Curtain or Liner: Take down the shower curtain or liner.
2. Add to Washing Machine: Place the curtain or liner in the washing machine along with a few towels (to help with scrubbing).
3. Add Detergent and Bleach: Add your regular laundry detergent and 1/2 cup of Clorox bleach to the washing machine.
4. Wash on Gentle Cycle: Wash on a gentle cycle with cold water.
5. Hang to Dry: Hang the curtain or liner to dry. Do not put it in the dryer, as this can damage it.
Conclusion
So, there you have it! This simple, yet incredibly effective DIY bathroom cleaning trick, leveraging the power of Clorox, is a game-changer for anyone looking to achieve a sparkling clean bathroom without breaking the bank or spending hours scrubbing. We’ve shown you how to harness the disinfecting and stain-removing properties of Clorox in a way that’s both efficient and surprisingly gentle on your bathroom surfaces.
Why is this a must-try? Because it tackles the most common bathroom woes – stubborn soap scum, mildew buildup, and general grime – with minimal effort. Forget about harsh chemicals and endless scrubbing; this method simplifies your cleaning routine and delivers professional-level results. The key is the controlled application and dwell time, allowing the Clorox to work its magic without damaging your fixtures.
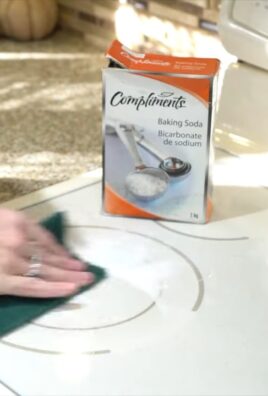
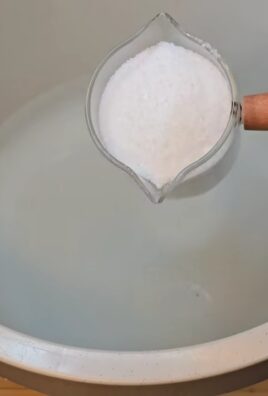
But don’t just take our word for it! We encourage you to experiment and find what works best for your specific bathroom needs. For instance, if you have particularly stubborn stains, consider pre-treating the area with a paste of baking soda and water before applying the Clorox solution. This can help loosen the grime and make it easier to remove.
Looking for variations? If you’re sensitive to the scent of Clorox, try adding a few drops of your favorite essential oil (tea tree, eucalyptus, or lavender are excellent choices for their antibacterial properties) to the solution. This will not only mask the bleach smell but also add a refreshing aroma to your bathroom. Remember to always test any new cleaning solution in an inconspicuous area first to ensure it doesn’t damage the surface.
Another variation involves using a gel-based Clorox product for vertical surfaces like shower walls. The gel clings better, allowing for longer contact time and more effective cleaning. Just be sure to rinse thoroughly after the recommended dwell time.
We’re confident that this DIY bathroom cleaning trick will revolutionize your cleaning routine. It’s cost-effective, efficient, and delivers remarkable results. So, ditch the expensive cleaning products and embrace the power of Clorox!
Now, we want to hear from you! Try this DIY bathroom cleaning trick and share your experience in the comments below. Let us know what variations you tried, what worked best for you, and any tips you have to share with the community. Together, we can create a cleaner, healthier, and happier bathroom environment for everyone. Your feedback is invaluable and helps us refine and improve our cleaning recommendations. Don’t be shy – share your sparkling success stories! We are excited to see how this simple solution transforms your bathroom cleaning routine.
Frequently Asked Questions (FAQ)
1. Is it safe to use Clorox in my bathroom?
Yes, Clorox is generally safe to use in your bathroom when used correctly and with proper ventilation. Always follow the manufacturer’s instructions on the product label. Ensure adequate ventilation by opening windows or turning on the exhaust fan. Avoid mixing Clorox with other cleaning products, especially ammonia, as this can create dangerous and toxic fumes. Wear gloves to protect your skin and avoid direct contact with your eyes. If you have sensitive skin or respiratory issues, consider wearing a mask and eye protection. After cleaning, rinse all surfaces thoroughly with water to remove any residual Clorox. If you are unsure about using Clorox on a particular surface, test it in an inconspicuous area first.
2. What surfaces can I safely clean with Clorox in my bathroom?
Clorox can be safely used on a variety of bathroom surfaces, including:
* Porcelain: Toilets, sinks, and bathtubs made of porcelain are generally safe to clean with Clorox.
* Ceramic Tile: Floors, walls, and countertops made of ceramic tile can be effectively cleaned with Clorox.
* Glass: Shower doors and mirrors can be cleaned with a diluted Clorox solution to remove soap scum and water spots.
* Plastic: Many plastic surfaces, such as shower curtains and toilet seats, can be cleaned with Clorox.
However, avoid using Clorox on the following surfaces:
* Natural Stone: Marble, granite, and other natural stone surfaces can be damaged by Clorox.
* Metal: Clorox can corrode certain metals, such as aluminum and stainless steel.
* Painted Surfaces: Clorox can fade or discolor painted surfaces.
* Wood: Clorox can damage and discolor wood surfaces.
Always test Clorox in an inconspicuous area before applying it to the entire surface.
3. How do I dilute Clorox for bathroom cleaning?
The dilution ratio for Clorox depends on the specific cleaning task. For general bathroom cleaning, a common dilution is 1/2 cup of Clorox per gallon of water. For more stubborn stains or mildew, you can use a stronger solution, but always start with a diluted solution and increase the concentration as needed. Always add Clorox to water, not the other way around, to prevent splashing. Use a clean container and avoid mixing Clorox with other cleaning products.
4. How long should I let Clorox sit on bathroom surfaces?
The dwell time for Clorox depends on the specific cleaning task and the concentration of the solution. For general cleaning, let the Clorox solution sit on the surface for 5-10 minutes. For more stubborn stains or mildew, you can let it sit for up to 15 minutes. However, avoid letting Clorox dry on the surface, as this can leave a residue. Always rinse the surface thoroughly with water after the recommended dwell time.
5. How do I get rid of the Clorox smell after cleaning?
The Clorox smell can be strong, but it will dissipate over time. To speed up the process, ensure adequate ventilation by opening windows or turning on the exhaust fan. You can also use a fan to circulate the air. Consider adding a few drops of essential oil (such as lemon or eucalyptus) to a bucket of water and wiping down the surfaces to mask the Clorox smell. Alternatively, you can use an air freshener or odor absorber to neutralize the smell.
6. Can I use Clorox to clean mold and mildew in my bathroom?
Yes, Clorox is an effective way to kill mold and mildew in your bathroom. Dilute Clorox with water (1/2 cup per gallon) and apply it to the affected area. Let it sit for 10-15 minutes, then scrub the area with a brush and rinse thoroughly with water. Ensure adequate ventilation during the cleaning process. For severe mold infestations, you may need to repeat the process or consult a professional mold remediation service.
7. What precautions should I take when using Clorox in my bathroom?
When using Clorox in your bathroom, take the following precautions:
* Ventilation: Ensure adequate ventilation by opening windows or turning on the exhaust fan.
* Protective Gear: Wear gloves to protect your skin and avoid direct contact with your eyes. Consider wearing a mask and eye protection if you have sensitive skin or respiratory issues.
* Mixing: Never mix Clorox with other cleaning products, especially ammonia, as this can create dangerous and toxic fumes.
* Storage: Store Clorox in a cool, dry place away from children and pets.
* Testing: Always test Clorox in an inconspicuous area before applying it to the entire surface.
* Rinsing: Rinse all surfaces thoroughly with water after cleaning to remove any residual Clorox.
8. What are some alternatives to Clorox for bathroom cleaning?
If you prefer not to use Clorox, there are several alternatives for bathroom cleaning:
* Vinegar: White vinegar is a natural disinfectant and can be used to clean a variety of bathroom surfaces.
* Baking Soda: Baking soda is a mild abrasive and can be used to scrub away soap scum and grime.
* Hydrogen Peroxide: Hydrogen peroxide is a disinfectant and can be used to clean and whiten surfaces.
* Essential Oils: Tea tree, eucalyptus, and lavender essential oils have antibacterial properties and can be added to cleaning solutions.
* Commercial Cleaners: There are many commercial bathroom cleaners available that do not contain Clorox.
Always follow the manufacturer’s instructions when using any cleaning product.
Leave a Comment