

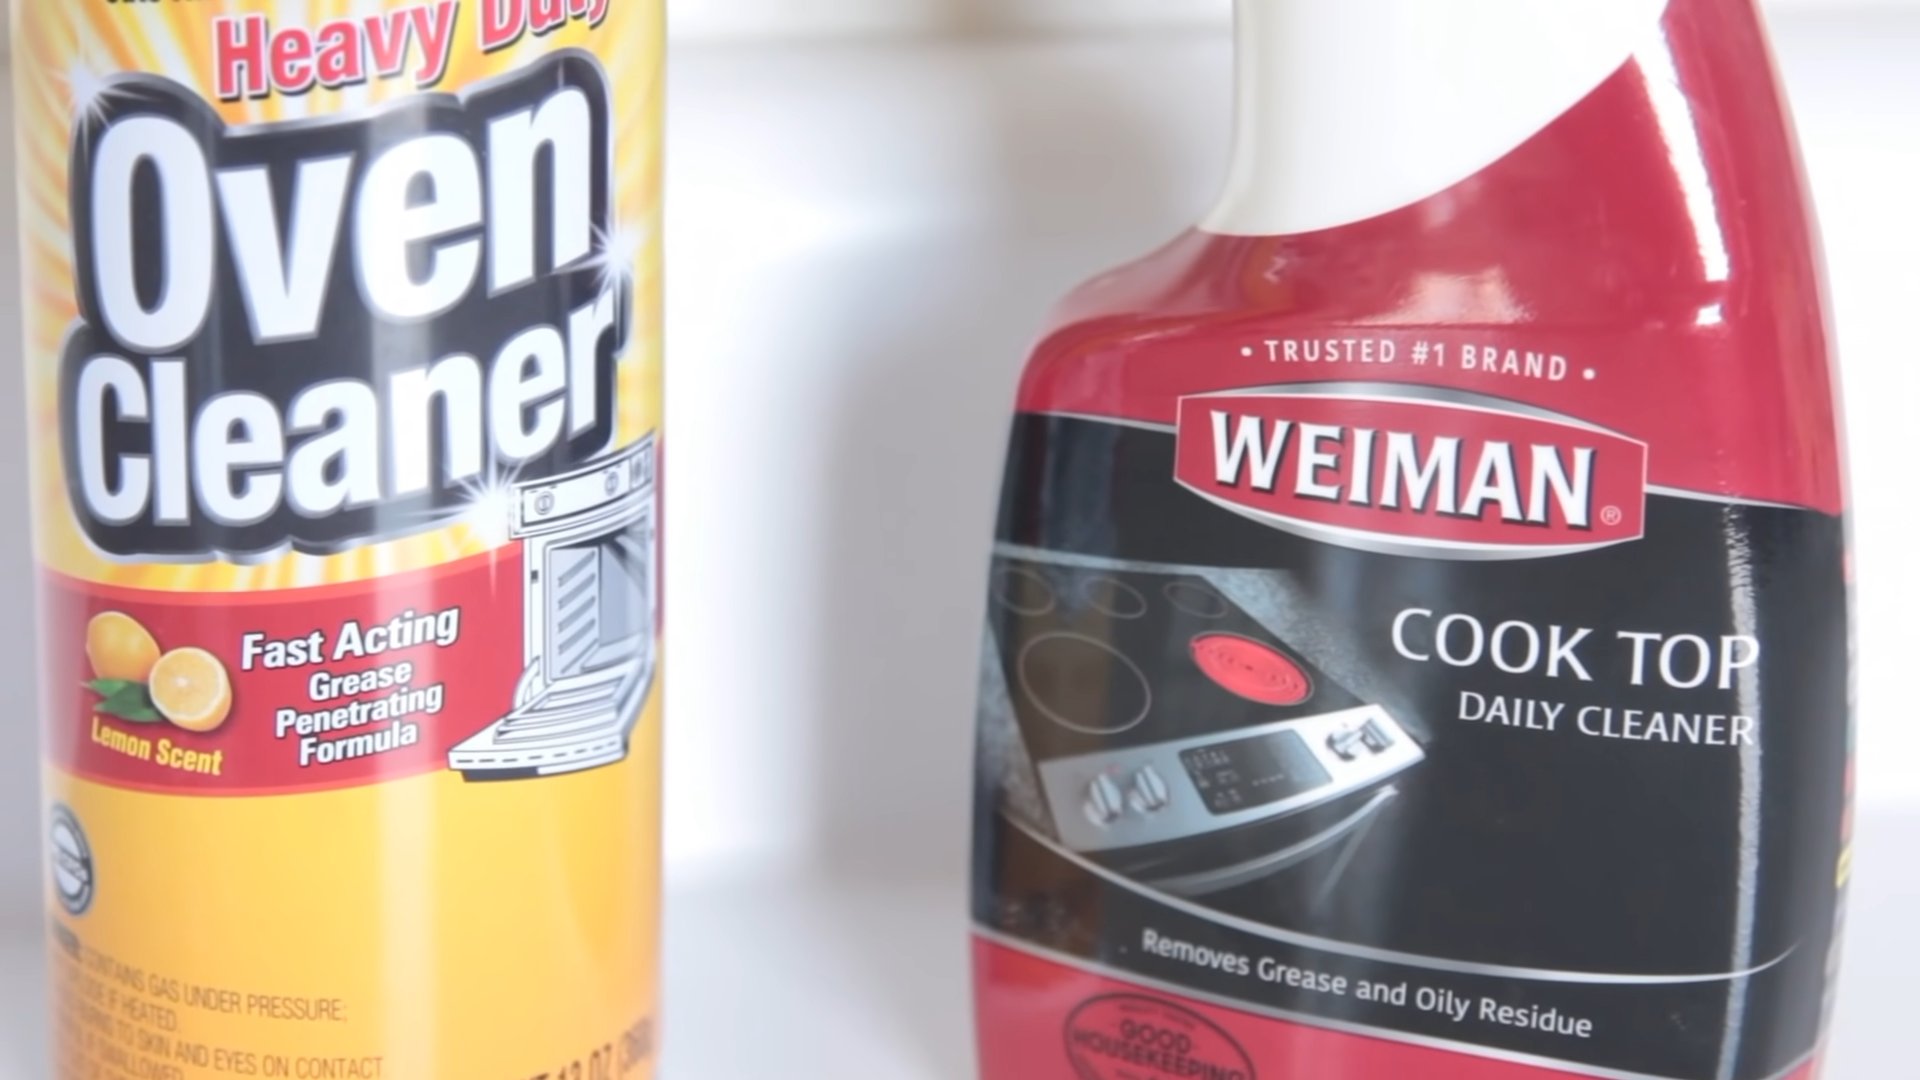
Best Oven Cleaner for Baked-On Grease: Is your oven looking less like a culinary haven and more like a charcoal pit? Don’t worry, you’re not alone! We’ve all been there, staring into the abyss of baked-on grease and grime, wondering if a new oven is the only solution. But before you resign yourself to scrubbing for hours or shelling out for a replacement, let me tell you a secret: conquering that baked-on mess is totally achievable with the right approach.
For generations, keeping a clean oven has been a symbol of a well-maintained home. In many cultures, a sparkling kitchen, including the oven, reflects pride and care. But let’s be honest, nobody enjoys the elbow grease involved! That’s why I’m so excited to share some incredible DIY tricks and hacks that will make cleaning your oven a breeze.
Why do you need these tips? Because a clean oven isn’t just about aesthetics. Baked-on grease can affect the taste of your food, create unpleasant odors, and even pose a fire hazard. Plus, using harsh chemical cleaners can be harmful to your health and the environment. So, if you’re looking for effective, safe, and budget-friendly ways to tackle the best oven cleaner for baked-on grease, you’ve come to the right place. Get ready to transform your oven from a greasy nightmare to a sparkling dream!
DIY Oven Cleaner for Baked-On Grease: Say Goodbye to the Mess!
Okay, let’s face it: cleaning the oven is probably nobody’s favorite chore. But a sparkling clean oven makes cooking so much more enjoyable (and probably even cooks food better, right?). Store-bought oven cleaners can be harsh and full of chemicals I’d rather avoid. So, I’m going to share my go-to DIY oven cleaner recipe that tackles even the most stubborn baked-on grease. It’s surprisingly effective, uses ingredients you likely already have, and is much gentler on your lungs and the environment.
What You’ll Need: The Arsenal Against Grease
Before we dive in, let’s gather our supplies. This is a pretty simple recipe, so you won’t need anything too fancy.
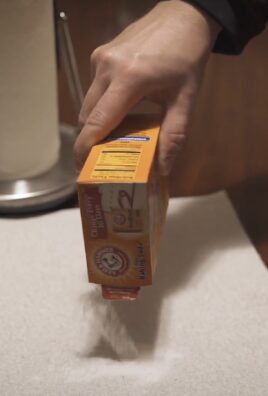
* Baking Soda: This is the star of the show! Baking soda is a mild alkali that helps to dissolve grease and grime.
* Water: Just plain old water will do.
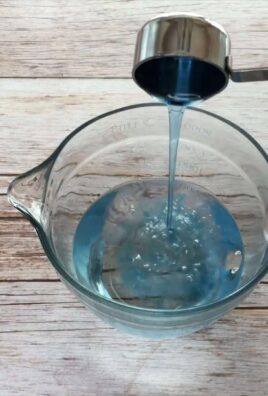
* White Vinegar: The acid in vinegar reacts with the baking soda to create a fizzing action that helps lift away stubborn messes.
* Spray Bottle: For easy application of the vinegar.
* Spatula or Scraper: To help loosen baked-on gunk. A plastic one is ideal to avoid scratching your oven.
* Rubber Gloves: Protect your hands from the baking soda paste.
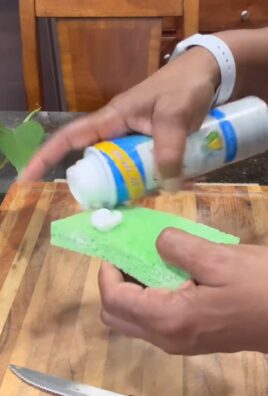
* Sponge or Scrub Brush: For scrubbing the oven surfaces.
* Paper Towels or Rags: For wiping away the cleaner and grime.
* Small Bowl: For mixing the baking soda paste.
Step-by-Step: Conquering the Oven Cleanliness Challenge
Alright, let’s get down to business! Here’s how I tackle my oven cleaning using this DIY method.
1. Prep the Oven: First things first, make sure your oven is completely cool. Safety first! Remove the oven racks, pizza stones, or anything else inside. I usually soak my oven racks in hot, soapy water while I’m cleaning the oven itself. This helps loosen any baked-on food.
2. Mix the Baking Soda Paste: In your small bowl, combine about 1/2 cup of baking soda with enough water to form a thick, spreadable paste. You want it to be similar to the consistency of frosting. Add water gradually, mixing as you go, until you reach the right consistency.
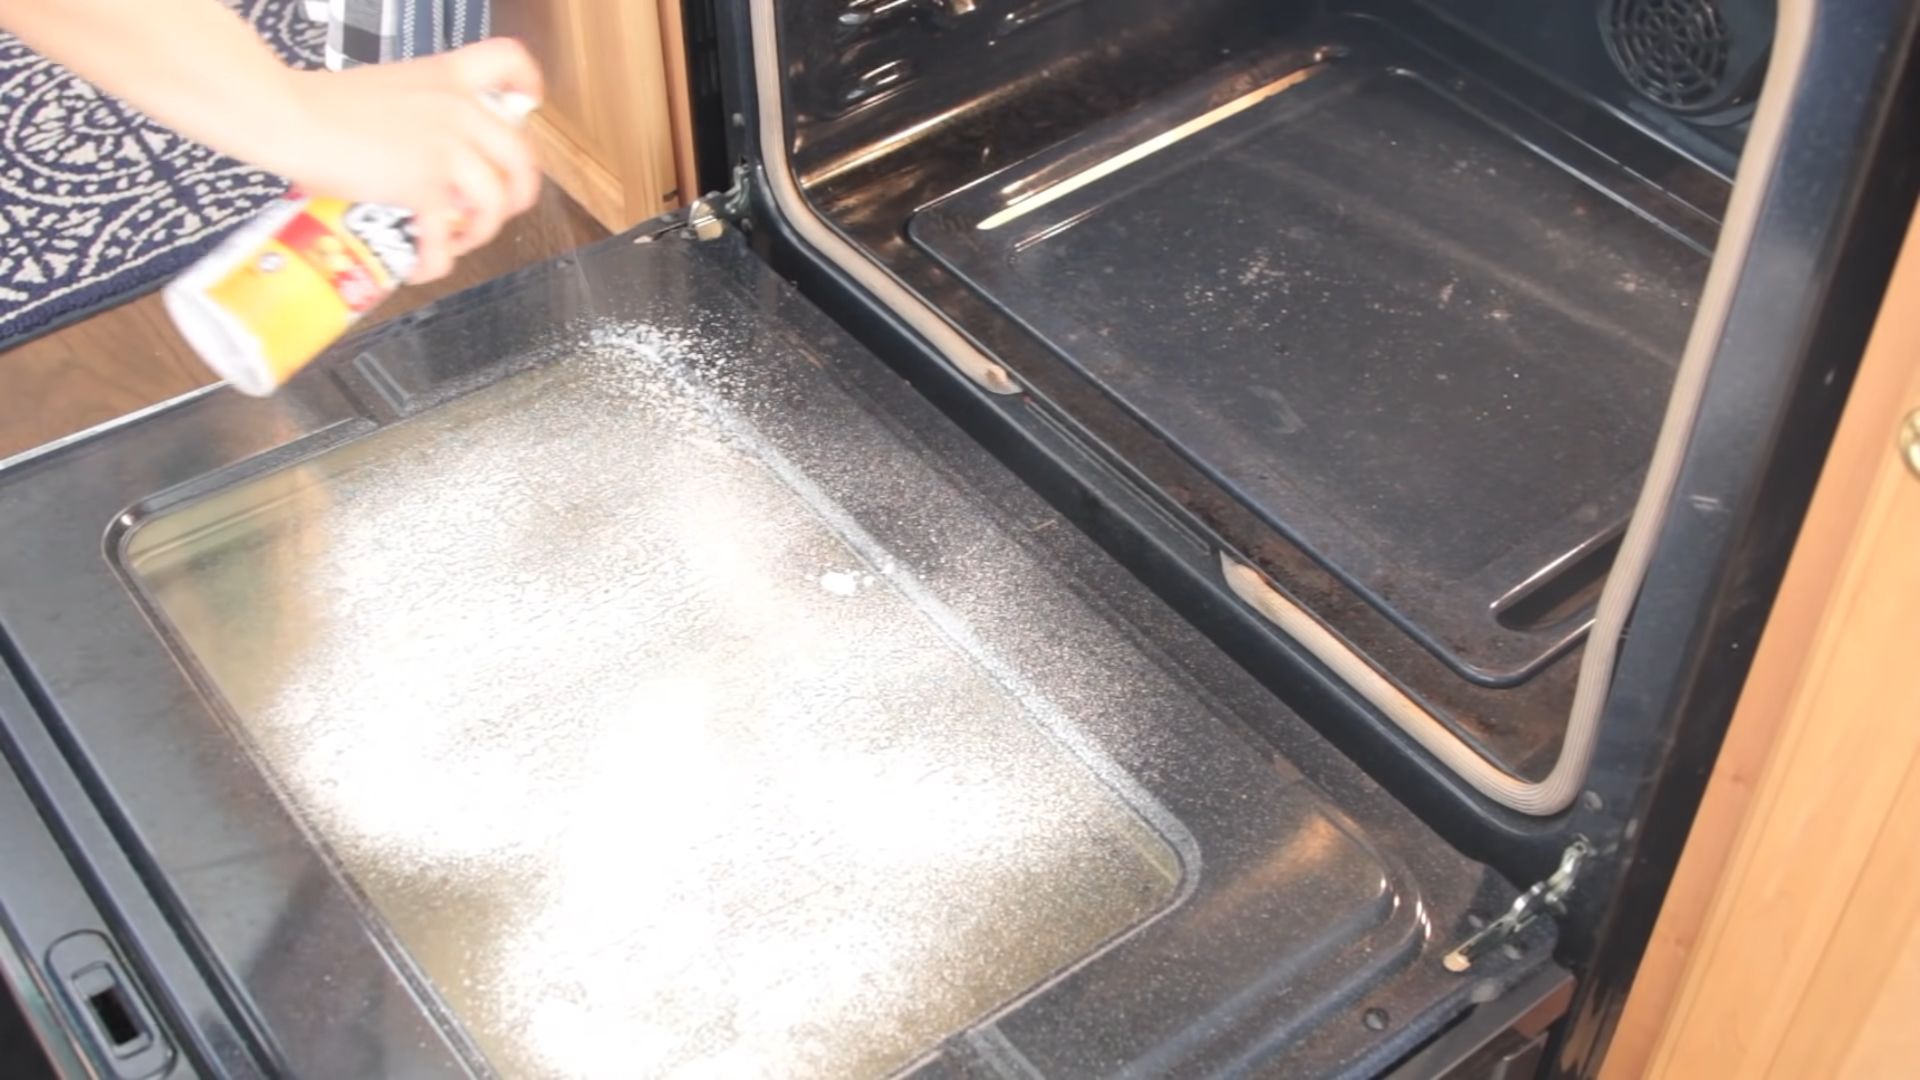
3. Apply the Paste: Using your hands (with gloves on, of course!), spread the baking soda paste all over the interior surfaces of your oven. This includes the walls, floor, door (inside), and even the heating elements (if you can reach them safely). Be generous with the paste, especially on areas with heavy grease buildup.
4. Let it Sit: This is the key to success! Let the baking soda paste sit in your oven for at least 12 hours, or even overnight. The longer it sits, the more time it has to break down the grease and grime. I usually do this before I go to bed and then tackle the rest in the morning.
5. Scrub-a-Dub-Dub: After the baking soda paste has had its time to work its magic, it’s time to scrub! Use your sponge or scrub brush to loosen the softened grease and grime. You might need to put in a little elbow grease, especially in those really stubborn areas. The spatula or scraper can be helpful for dislodging larger chunks of baked-on food.
6. Vinegar Power: Now for the fun part! Fill your spray bottle with white vinegar. Spray the vinegar all over the baking soda paste. You’ll notice it starts to fizz and bubble. This is the chemical reaction between the baking soda and vinegar, and it helps to further lift away the grime.
7. Wipe it All Away: Using paper towels or rags, wipe away the baking soda paste, vinegar, and loosened grime. You might need to rinse your sponge or rag frequently with clean water. Keep wiping until all the baking soda residue is gone.
8. Final Touches: Once you’ve wiped everything down, give your oven a final rinse with a clean, damp sponge or rag. This will ensure that all the baking soda and vinegar residue is removed.
9. Dry and Reassemble: Let your oven air dry completely before replacing the oven racks and anything else you removed.
Tackling Stubborn Spots: When the Grease Refuses to Budge
Sometimes, even with this method, you might encounter some really stubborn spots that just won’t come clean. Don’t despair! Here are a few tricks I use for those extra-tough areas:
* Extra Baking Soda Paste: For particularly stubborn spots, apply a thicker layer of baking soda paste and let it sit for even longer – maybe even 24 hours.
* Vinegar Soak: Soak a paper towel or rag in white vinegar and place it directly on the stubborn spot. Let it sit for 30 minutes to an hour before scrubbing.
* Baking Soda and Salt Scrub: Mix baking soda with a little bit of salt to create a more abrasive scrub. Use this mixture sparingly and gently to avoid scratching your oven.
* Repeat the Process: Sometimes, you just need to repeat the entire process. If the first cleaning didn’t get everything, don’t be afraid to apply another layer of baking soda paste and start again.
Maintaining a Clean Oven: Prevention is Key!
The best way to avoid having to deal with a heavily soiled oven is to prevent it from getting too dirty in the first place. Here are a few tips I follow to keep my oven cleaner for longer:
* Wipe Up Spills Immediately: Don’t let spills and splatters bake onto the oven floor. Wipe them up as soon as they happen.
* Use Oven Liners: Oven liners can catch drips and spills, making cleanup much easier. You can buy disposable oven liners or reusable silicone ones.
* Self-Cleaning Cycle (Use Sparingly): If your oven has a self-cleaning cycle, use it sparingly. While it can be effective, it also generates a lot of heat and fumes. I prefer the DIY method because it’s gentler and more environmentally friendly.
* Regular Spot Cleaning: Even if you don’t have a major spill, give your oven a quick spot clean every few weeks to prevent buildup.
Why This DIY Method Works: The Science Behind the Sparkle
So, what makes this DIY oven cleaner so effective? It’s all about the chemistry!
* Baking Soda (Sodium Bicarbonate): Baking soda is a mild alkali, which means it can neutralize acids and help to dissolve grease and grime.
* White Vinegar (Acetic Acid): Vinegar is a mild acid that reacts with baking soda to create carbon dioxide gas. This fizzing action helps to lift away stubborn messes.
* The Combination: The combination of baking soda and vinegar creates a powerful cleaning action that is both effective and gentle.
Safety First: A Few Words of Caution
While this DIY oven cleaner is much safer than commercial cleaners, it’s still important to take a few precautions:
* Wear Rubber Gloves: Baking soda can be drying to the skin, so wear rubber gloves to protect your hands.
* Avoid Contact with Eyes: If you get baking soda or vinegar in your eyes, rinse them immediately with plenty of water.
* Ventilation: While the fumes from baking soda and vinegar are not as harsh as those from commercial oven cleaners, it’s still a good idea to open a window or turn on the exhaust fan for ventilation.
* Test on a Small Area: Before applying the baking soda paste to the entire oven, test it on a small, inconspicuous area to make sure it doesn’t damage the finish.
The Result: A Sparkling Clean Oven!
After all that scrubbing and wiping, you should be left with a sparkling clean oven! It’s so satisfying to see all that baked-on grease and grime gone. Plus, you can feel good knowing that you cleaned your oven using a safe, natural, and effective method. Happy baking!
Conclusion
So, there you have it! Ditching the harsh chemicals and embracing this simple, yet incredibly effective, DIY oven cleaner for baked-on grease is a game-changer for your kitchen cleaning routine. We’ve walked you through the steps, highlighting just how easy it is to create a powerful cleaning solution using ingredients you likely already have in your pantry. Forget those expensive, store-bought cleaners that fill your home with noxious fumes; this method is not only better for your health and the environment, but it’s also incredibly budget-friendly.
But why is this DIY trick a must-try? It’s simple: it works! The combination of baking soda, vinegar, and a little elbow grease creates a powerful reaction that loosens even the most stubborn baked-on grease and grime. You’ll be amazed at how easily the residue wipes away, leaving your oven sparkling clean and ready for your next culinary adventure. Plus, you’ll have the satisfaction of knowing you achieved those results without resorting to harsh chemicals.
Looking for variations? Absolutely! For extra stubborn grease, consider adding a few drops of lemon essential oil to your baking soda paste. Lemon oil is a natural degreaser and adds a pleasant, fresh scent. Alternatively, if you don’t have vinegar on hand, you can use lemon juice as a substitute, although you might need a slightly larger quantity. Another option is to let the baking soda paste sit overnight for particularly challenging messes. The longer it sits, the more time it has to break down the grease. You can also try using a pumice stone (carefully!) on particularly stubborn baked-on spots, but be sure to test it in an inconspicuous area first to avoid scratching the oven surface.
We are confident that once you try this DIY oven cleaner for baked-on grease, you’ll never go back to store-bought alternatives. It’s effective, affordable, eco-friendly, and easy to make. What more could you ask for?
Now, it’s your turn! We encourage you to give this DIY trick a try and experience the satisfaction of a sparkling clean oven without the harsh chemicals. Don’t forget to share your results with us in the comments below! We’d love to hear about your experience, any variations you tried, and any tips you discovered along the way. Let’s build a community of clean oven enthusiasts! Share your before-and-after photos on social media and tag us so we can see your amazing results. Happy cleaning!
Frequently Asked Questions (FAQ)
1. Is this DIY oven cleaner safe to use on all types of ovens?
Generally, yes, this DIY oven cleaner is safe for most ovens, including electric, gas, and convection ovens. However, it’s always a good idea to test it in an inconspicuous area first, especially if you have a self-cleaning oven with a special coating. Avoid getting the baking soda paste on the heating elements or any electrical components. If you have a self-cleaning oven, consult your oven’s manual before using any cleaning products, even natural ones. Some manufacturers advise against using any cleaners other than the self-cleaning cycle.
2. How long should I leave the baking soda paste on the oven?
For best results, leave the baking soda paste on the oven for at least 12 hours, or even overnight. This allows the baking soda to penetrate and loosen the baked-on grease and grime. If you’re short on time, you can try leaving it on for a minimum of 2-3 hours, but the longer, the better. For particularly stubborn messes, you might even consider reapplying the paste and leaving it on for another extended period.
3. What if I don’t have vinegar? Can I use something else?
Yes, you can substitute vinegar with lemon juice. Lemon juice is a natural acid that can help to break down grease and grime. However, you might need to use a slightly larger quantity of lemon juice than vinegar to achieve the same results. The acidity in vinegar is generally stronger than that of lemon juice, so adjust accordingly. You could also try a combination of lemon juice and water.
4. How do I clean the oven door glass?
The baking soda paste works well on oven door glass too! Apply a thin layer of the paste to the glass, let it sit for a few hours (or overnight), and then wipe it clean with a damp cloth or sponge. For stubborn spots, you can use a non-abrasive scrubber. Be careful not to scratch the glass. You can also use a razor blade scraper (held at a shallow angle) for particularly tough baked-on residue, but proceed with caution and test in an inconspicuous area first.
5. My oven has a self-cleaning function. Should I still use this DIY method?
While self-cleaning ovens are convenient, they often produce a lot of heat and fumes. Using this DIY method can help you avoid the harsh chemicals and high temperatures associated with the self-cleaning cycle. However, as mentioned earlier, consult your oven’s manual before using any cleaning products, even natural ones, on a self-cleaning oven. Some manufacturers advise against it. If you choose to use the DIY method, make sure to thoroughly remove all traces of the baking soda paste before running the self-cleaning cycle.
6. How often should I clean my oven using this method?
The frequency of cleaning depends on how often you use your oven and how much it tends to get dirty. As a general guideline, cleaning your oven every 3-6 months is a good practice. However, if you notice a lot of grease buildup or spills, you may need to clean it more frequently. Regular cleaning will prevent the buildup of stubborn grime and make future cleaning sessions easier.
7. Can I use this DIY cleaner on other kitchen appliances?
While this DIY cleaner is primarily designed for ovens, it can also be used on other kitchen appliances with baked-on grease, such as stovetops, grill grates, and even some pots and pans. However, always test it in an inconspicuous area first to ensure it doesn’t damage the surface. Avoid using it on delicate surfaces like aluminum or non-stick coatings.
8. What if the baking soda paste dries out and becomes difficult to remove?
If the baking soda paste dries out and becomes difficult to remove, simply dampen it with a wet sponge or cloth. The moisture will help to soften the paste and make it easier to wipe away. You can also try spraying the paste with a mixture of vinegar and water to help loosen it.
9. Is there a way to prevent grease from building up in my oven in the first place?
Yes! Prevention is key. Use oven liners or baking sheets to catch spills and drips. Clean up spills immediately after they happen. Avoid placing food directly on the oven rack without a baking sheet or dish underneath. Regularly wipe down the interior of your oven with a damp cloth to remove any loose debris. These simple steps can significantly reduce the amount of grease buildup and make future cleaning sessions much easier.
10. What kind of baking soda should I use?
Regular baking soda (sodium bicarbonate) is all you need for this DIY oven cleaner. There’s no need to use any special or expensive baking soda. The key is to use fresh baking soda that hasn’t been sitting in your pantry for too long. Old baking soda may not be as effective at cleaning.
Leave a Comment