

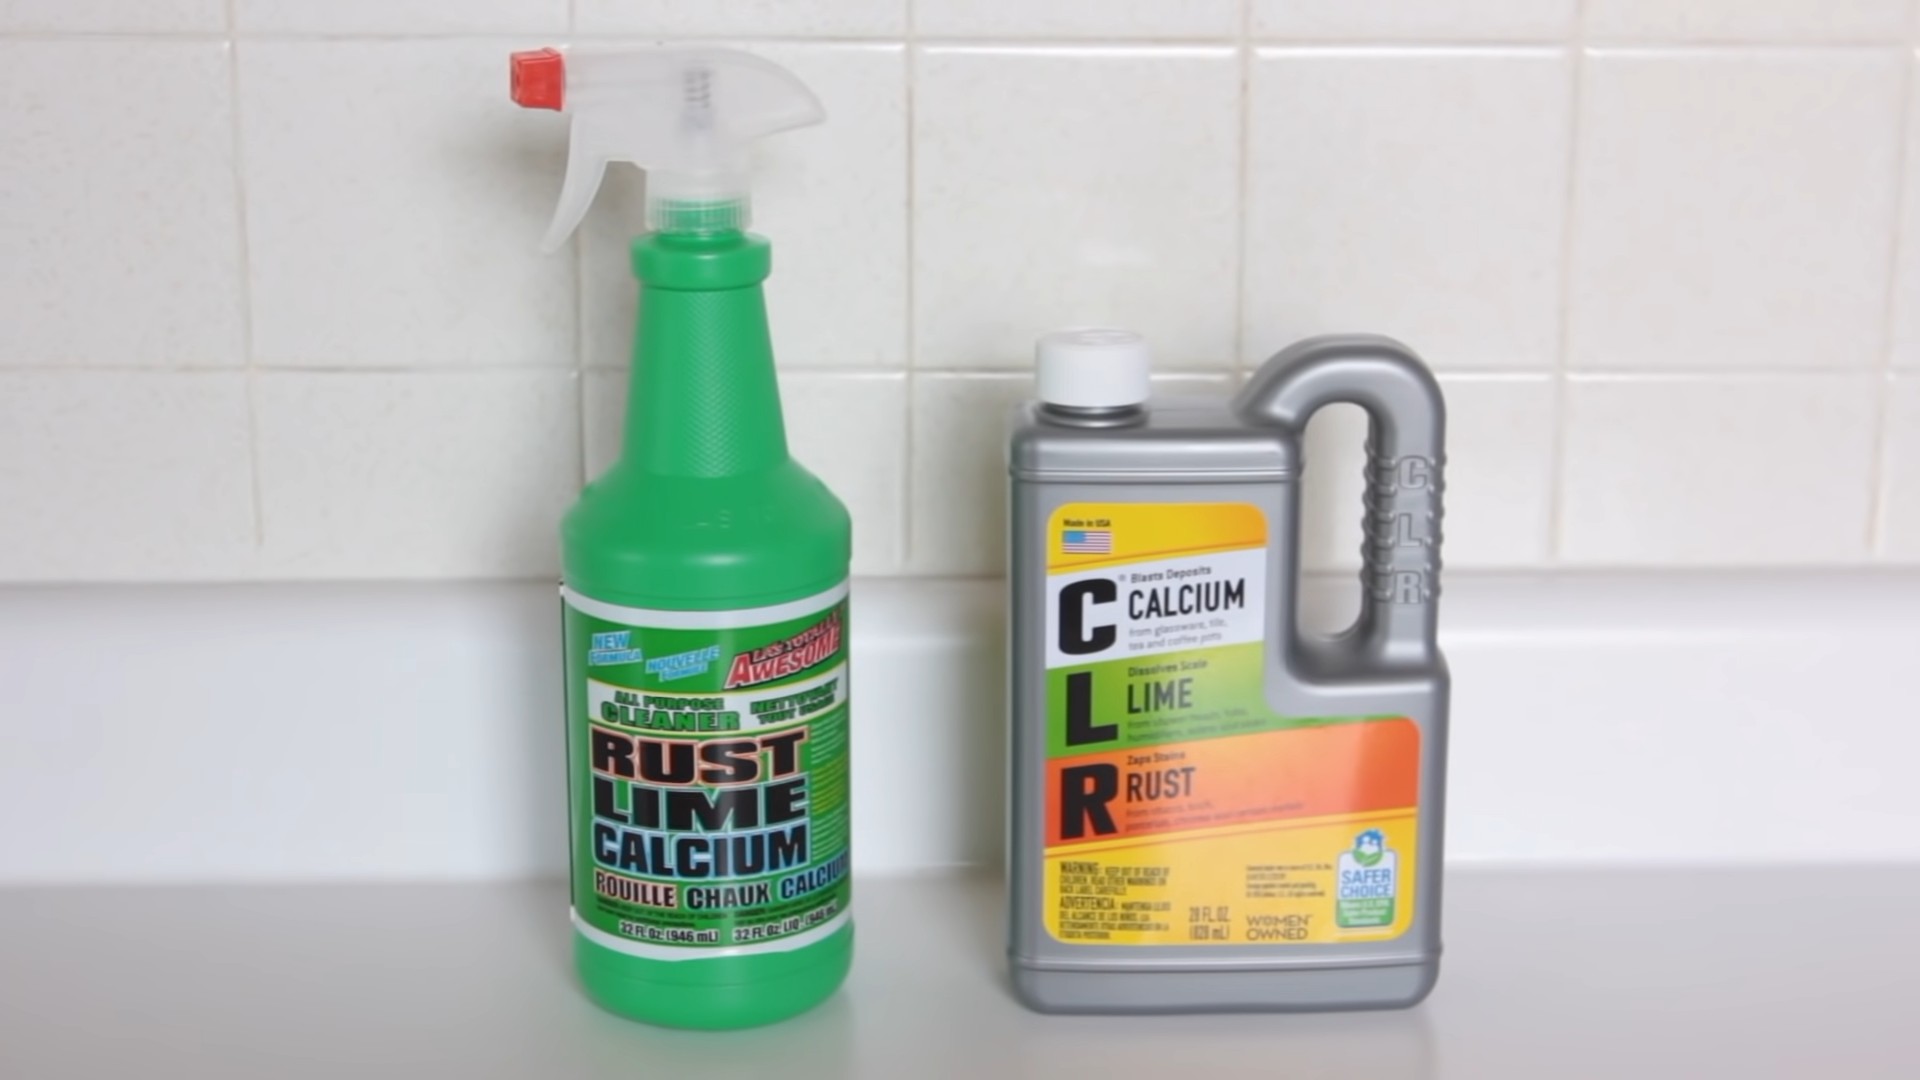
Budget vs Premium Cleaners: The age-old debate! We’ve all been there, staring at the cleaning aisle, wondering if that expensive, fancy-labeled cleaner is really worth the extra cash. Or can we achieve sparkling results with the budget-friendly option?
Cleaning, in its essence, is a practice as old as civilization itself. From ancient Romans using lye and olive oil to clean their togas to the modern marvels of chemical engineering, the pursuit of a spotless home has been a constant. But somewhere along the line, cleaning became a battlefield of marketing claims and price tags.
Let’s be honest, nobody enjoys spending hours scrubbing. We all crave a clean and healthy living space, but time is precious! That’s why understanding the difference between budget vs premium cleaners is so crucial. This DIY guide is your secret weapon to navigating the cleaning product jungle. I’m going to break down the pros and cons of each, revealing whether those premium promises actually deliver or if you can achieve the same results without breaking the bank. Get ready to discover the cleaning hacks that will save you time, money, and maybe even a little sanity!
DIY Cleaning Power: Turning Budget Cleaners into Premium Performers
Hey there, fellow DIY enthusiasts! Let’s face it, those premium cleaning products can really put a dent in your wallet. But what if I told you that you could achieve similar results using budget-friendly cleaners and a little bit of DIY magic? I’m going to show you how to boost the effectiveness of your everyday cleaners, saving you money and giving you a sparkling clean home.
Understanding the Basics
Before we dive into the recipes, it’s important to understand why some cleaners are more effective than others. Premium cleaners often contain a higher concentration of active ingredients, specialized surfactants, and sometimes, even added enzymes or solvents. We’re going to mimic these qualities by strategically combining budget cleaners with readily available household ingredients.
Boosting Your Dish Soap
Dish soap is a staple in most homes, but sometimes it just doesn’t cut through tough grease. Here’s how to give it a serious upgrade:
Ingredients You’ll Need:
* Budget-friendly dish soap (the cheaper, the better, honestly!)
* White vinegar
* Baking soda
* Essential oil (optional, for fragrance)
* Spray bottle (optional, for diluted solution)
Step-by-Step Instructions:
1. Grease-Cutting Powerhouse: For tackling greasy pots and pans, I like to create a pre-soak solution. In a sink or large bowl, mix 1/2 cup of dish soap with 1 cup of white vinegar and fill with hot water. Let your greasy items soak for at least 30 minutes. The vinegar will help break down the grease, and the dish soap will lift it away.
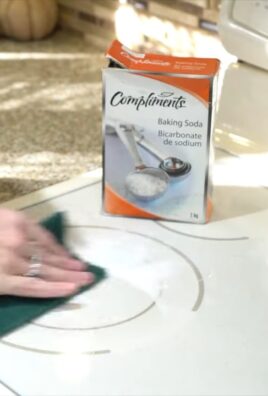
2. Baking Soda Boost: For extra scrubbing power, sprinkle baking soda directly onto the greasy surface after soaking. The baking soda acts as a mild abrasive, helping to remove stubborn residue.
3. DIY Dish Soap Spray: If you prefer a spray cleaner for everyday dishes, mix 1/4 cup of dish soap with 1 cup of water and a few drops of your favorite essential oil in a spray bottle. Shake well before each use. This is great for quick cleanups and preventing grease buildup.
4. Vinegar Rinse Aid: To prevent water spots and leave your dishes sparkling, add 1/2 cup of white vinegar to your dishwasher’s rinse aid dispenser. The vinegar will help neutralize the alkalinity of the dish soap and promote faster drying.
Supercharging Your All-Purpose Cleaner
All-purpose cleaners are great for general cleaning, but they can sometimes lack the punch needed for tougher messes. Let’s give them a boost!
Ingredients You’ll Need:
* Budget-friendly all-purpose cleaner
* Rubbing alcohol (isopropyl alcohol)
* Hydrogen peroxide
* Essential oil (tea tree, lemon, or eucalyptus are great choices)
* Spray bottle
Step-by-Step Instructions:
1. The Ultimate Cleaning Cocktail: In a spray bottle, combine 1 cup of all-purpose cleaner, 1/2 cup of rubbing alcohol, and 1/4 cup of hydrogen peroxide. Add 10-15 drops of your chosen essential oil.
2. Why This Works: The rubbing alcohol acts as a solvent, helping to dissolve grease and grime. The hydrogen peroxide provides a mild bleaching action, helping to remove stains and disinfect surfaces. The essential oil adds a pleasant fragrance and can also provide additional cleaning and disinfecting properties.
3. Safety First: Always test this mixture on an inconspicuous area before applying it to the entire surface. Avoid using it on delicate surfaces like marble or granite, as the hydrogen peroxide can potentially cause damage.
4. Application Tips: Spray the cleaner onto the surface and let it sit for a few minutes to allow the ingredients to work their magic. Then, wipe clean with a damp cloth or sponge. For stubborn stains, you may need to scrub gently.
Elevating Your Laundry Detergent
Laundry detergent can be another area where costs add up quickly. Here’s how to make your budget detergent perform like a premium brand:
Ingredients You’ll Need:
* Budget-friendly laundry detergent (powder or liquid)
* Borax
* Washing soda (sodium carbonate)
* Oxygen bleach (sodium percarbonate)
* Essential oil (optional, for fragrance)
Step-by-Step Instructions:
1. The Laundry Booster Blend: This recipe is for a powder booster, but you can adapt it for liquid detergent as well. In a large container, combine 1 cup of borax, 1 cup of washing soda, and 1 cup of oxygen bleach. Add a few drops of your favorite essential oil for fragrance.
2. How to Use: Add 1-2 tablespoons of this booster to each load of laundry, along with your regular detergent. The borax helps to soften the water and boost the cleaning power of the detergent. The washing soda helps to remove stains and brighten whites. The oxygen bleach provides additional stain removal and whitening power.
3. Liquid Detergent Adaptation: If you’re using liquid detergent, you can dissolve the borax and washing soda in a small amount of hot water before adding it to the washing machine. Be sure to add the oxygen bleach directly to the drum of the washing machine, as it can lose its effectiveness if mixed with water for too long.
4. Dealing with Stains: For tough stains, pre-treat the garment with a paste made from the laundry booster and water. Let it sit for 30 minutes before washing.
Revamping Your Window Cleaner
Streaky windows are a pet peeve of mine! Here’s how to create a streak-free window cleaner using simple ingredients:
Ingredients You’ll Need:
* White vinegar
* Rubbing alcohol (isopropyl alcohol)
* Water
* Dish soap (just a tiny drop!)
* Spray bottle
Step-by-Step Instructions:
1. The Streak-Free Solution: In a spray bottle, combine 1 cup of water, 1 cup of white vinegar, and 1/2 cup of rubbing alcohol. Add just one drop of dish soap.
2. Why This Works: The vinegar helps to cut through grime and hard water stains. The rubbing alcohol helps the solution to evaporate quickly, preventing streaks. The tiny drop of dish soap helps to break down grease and dirt.
3. Application Tips: Spray the cleaner onto the window and wipe clean with a microfiber cloth or paper towel. For best results, wipe in a circular motion and then buff dry with a clean cloth.
4. Outdoor Windows: For outdoor windows, you can add a small amount of lemon juice to the solution for extra cleaning power. The lemon juice will help to remove stubborn dirt and grime.
Supercharging Your Toilet Bowl Cleaner
Let’s be honest, cleaning the toilet isn’t anyone’s favorite chore. But with this DIY boost, it can be a little less unpleasant.
Ingredients You’ll Need:
* Budget-friendly toilet bowl cleaner
* Baking soda
* White vinegar
* Essential oil (tea tree or eucalyptus are great choices)
Step-by-Step Instructions:
1. The Toilet Bowl Power Clean: First, sprinkle 1/2 cup of baking soda into the toilet bowl. Then, pour 1 cup of white vinegar over the baking soda. The mixture will fizz and bubble, helping to loosen dirt and grime.
2. Let it Sit: Let the mixture sit for at least 30 minutes, or even overnight for heavily soiled toilets.
3. Scrub and Flush: After soaking, scrub the toilet bowl with a toilet brush and flush.
4. The Finishing Touch: For a fresh scent and added disinfecting power, add a few drops of tea tree or eucalyptus essential oil to the toilet bowl after flushing.
5. Toilet Bowl Cleaner Boost: For regular cleaning, squirt your budget-friendly toilet bowl cleaner around the rim of the toilet bowl and let it sit for a few minutes. Then, scrub and flush. The baking soda and vinegar pre-treatment will help to boost the cleaning power of the toilet bowl cleaner.
Important Safety Considerations
* Always test new cleaning solutions on an inconspicuous area before applying them to the entire surface. This will help to ensure that the solution doesn’t damage or discolor the surface.
* Never mix bleach with ammonia or other cleaning products. This can create dangerous fumes that can be harmful to your health.
* Store cleaning products out of reach of children and pets.
* Wear gloves when cleaning to protect your skin.
* Ventilate the area well when cleaning.
By following these simple tips and recipes, you can transform your budget-friendly cleaners into premium performers, saving you money and keeping your home sparkling clean. Happy cleaning!
Conclusion
So, there you have it! Stepping away from the budget versus premium cleaner debate, this DIY cleaning trick offers a powerful, cost-effective, and surprisingly simple solution for tackling grime and achieving a sparkling clean home. It’s more than just saving money; it’s about taking control of the ingredients you use, minimizing your environmental impact, and discovering the satisfaction of creating something effective yourself.
Why is this DIY approach a must-try? Because it delivers results comparable to, and sometimes even exceeding, those of expensive store-bought cleaners, without the hefty price tag or the worry of harsh chemicals. You’re essentially crafting a personalized cleaning solution tailored to your specific needs and preferences. Plus, it’s incredibly versatile.
Think about the possibilities! For a boost of disinfecting power, add a few drops of tea tree oil or eucalyptus oil. If you prefer a citrusy scent, infuse your mixture with lemon or orange peels. For tougher stains, consider adding a tablespoon of borax or washing soda. The beauty of this DIY cleaning trick lies in its adaptability. You can experiment with different essential oils to create your signature scent, or adjust the ratios of ingredients to suit the specific surfaces you’re cleaning.
Don’t be afraid to experiment! Try using white vinegar instead of apple cider vinegar for a slightly stronger cleaning action. Or, if you’re dealing with particularly stubborn grease, add a squirt of dish soap to the mix. The key is to start with the basic recipe and then tweak it to find what works best for you and your home.
We understand that switching to a DIY cleaning routine might seem daunting at first, but trust us, the benefits are well worth the effort. Not only will you save money and reduce your exposure to harmful chemicals, but you’ll also gain a deeper understanding of the ingredients you’re using and their impact on your home and the environment.
We wholeheartedly encourage you to give this DIY cleaning trick a try. We are confident that you’ll be amazed by the results. Once you’ve experienced the power of this simple yet effective solution, we’d love to hear about your experience! Share your tips, variations, and before-and-after photos in the comments below. Let’s build a community of DIY cleaning enthusiasts and empower each other to create healthier, cleaner homes, one homemade solution at a time. Your feedback is invaluable and will help others discover the magic of this simple, effective, and budget-friendly cleaning solution. Let us know what surfaces you cleaned, what variations you tried, and what results you achieved. Together, we can unlock the full potential of this amazing DIY cleaning trick and transform the way we clean our homes.
Frequently Asked Questions
What types of surfaces can I use this DIY cleaning trick on?
This DIY cleaning solution is generally safe for most non-porous surfaces, including countertops (granite, quartz, laminate), tile floors, sinks, bathtubs, toilets, and stainless steel appliances. However, it’s always a good idea to test a small, inconspicuous area first, especially on delicate surfaces like marble or wood. Avoid using it on porous surfaces like unfinished wood, as the liquid could seep in and cause damage. For wood surfaces, consider a specialized wood cleaner or a very diluted version of this DIY solution. When in doubt, consult the manufacturer’s instructions for your specific surface. Remember, safety first!
Can I use different types of vinegar?
Yes, you can experiment with different types of vinegar. White vinegar is the most common and readily available option, and it’s a great all-purpose cleaner. Apple cider vinegar has a slightly milder scent and also possesses antibacterial properties. Cleaning vinegar is another option, which has a higher acidity level than white vinegar and is specifically formulated for cleaning purposes. However, be cautious when using cleaning vinegar, as it can be more corrosive than other types of vinegar. Always dilute it properly and test it on a small area before applying it to a larger surface. Balsamic vinegar is not recommended for cleaning due to its dark color and potential to stain.
How long will the DIY cleaning solution last?
The shelf life of your DIY cleaning solution depends on the ingredients you use. Generally, a solution made with vinegar and water will last for several months if stored in a cool, dark place. However, if you add fresh ingredients like lemon peels or herbs, the solution may only last for a week or two. To extend the shelf life, consider adding a natural preservative like grapefruit seed extract. It’s also important to store the solution in an airtight container to prevent contamination. If you notice any changes in color, odor, or consistency, it’s best to discard the solution and make a fresh batch.
Is this DIY cleaning trick safe for pets and children?
While this DIY cleaning solution is generally safer than many commercial cleaners, it’s still important to exercise caution when using it around pets and children. Vinegar can be irritating if ingested or comes into contact with the eyes. Keep the solution out of reach of children and pets, and avoid spraying it directly on them. If your pet or child accidentally ingests the solution, contact a veterinarian or poison control center immediately. When cleaning surfaces that pets and children come into contact with, rinse them thoroughly with water after cleaning. Consider using milder ingredients like diluted castile soap for areas where pets and children frequently play.
Can I add essential oils to the DIY cleaning solution?
Absolutely! Adding essential oils to your DIY cleaning solution is a great way to enhance its cleaning power and create a pleasant scent. Many essential oils have antibacterial, antiviral, and antifungal properties, making them effective cleaning agents. Some popular choices for cleaning include tea tree oil, eucalyptus oil, lavender oil, lemon oil, and peppermint oil. When adding essential oils, start with a small amount (5-10 drops per cup of solution) and adjust to your preference. Be sure to use pure, therapeutic-grade essential oils for the best results. Also, be aware that some essential oils are toxic to pets, so do your research before using them around animals.
What if the vinegar smell is too strong?
The vinegar smell can be a deterrent for some people, but there are several ways to minimize it. First, you can use a milder type of vinegar, like apple cider vinegar. Second, you can add essential oils to mask the vinegar scent. Lemon, lavender, and eucalyptus oils are particularly effective at neutralizing the vinegar smell. Third, you can ventilate the area well while cleaning. Open windows and doors to allow fresh air to circulate. Finally, the vinegar smell will dissipate quickly once the solution dries. If you’re still concerned about the smell, you can rinse the cleaned surface with water after cleaning.
How do I clean stubborn stains with this DIY solution?
For stubborn stains, you can try a few different approaches. First, pre-treat the stain by spraying it with the DIY cleaning solution and letting it sit for several minutes before wiping it away. Second, you can create a paste by mixing baking soda with the DIY cleaning solution and applying it to the stain. Let the paste sit for 15-20 minutes before scrubbing it away. Third, for really tough stains, you can try using a stronger cleaning agent like borax or washing soda. However, be sure to test these ingredients on a small, inconspicuous area first to ensure they don’t damage the surface. Always wear gloves when handling borax or washing soda.
Can I use this DIY cleaning trick in my laundry?
Yes, you can use vinegar in your laundry as a natural fabric softener and odor eliminator. Add 1/2 cup of white vinegar to the fabric softener dispenser of your washing machine. Vinegar helps to remove detergent residue, soften fabrics, and brighten colors. It can also help to eliminate odors from sweaty clothes or musty towels. However, do not use vinegar with bleach, as the combination can create harmful fumes. Vinegar is a safe and effective alternative to commercial fabric softeners, and it’s also much cheaper.
What are the environmental benefits of using this DIY cleaning trick?
Using this DIY cleaning trick offers several environmental benefits. First, it reduces your reliance on commercial cleaning products, which often contain harsh chemicals that can pollute waterways and harm aquatic life. Second, it reduces plastic waste by eliminating the need to purchase single-use plastic bottles of cleaning solution. Third, it allows you to control the ingredients you use, ensuring that they are biodegradable and environmentally friendly. By making your own cleaning solution, you can reduce your carbon footprint and contribute to a more sustainable lifestyle.
Leave a Comment