

Cucumber Growing Mistakes: We’ve all been there, haven’t we? You envision a summer overflowing with crisp, refreshing cucumbers, perfect for salads, pickles, and everything in between. You carefully plant your seedlings, water diligently, and then… disappointment. The vines wither, the fruit is misshapen, or worse, you get nothing at all! Don’t worry, you’re not alone. Growing cucumbers, while seemingly simple, can be tricky, and even experienced gardeners fall prey to common pitfalls.
Cucumbers have a rich history, dating back thousands of years to their origins in India. They’ve been cultivated and enjoyed by cultures around the world, from the ancient Greeks and Romans to modern-day gardeners like you and me. But even with centuries of knowledge, cucumber growing mistakes still happen. Why? Because every garden is unique, with its own microclimate, soil composition, and pest pressures.
That’s why I’ve put together this guide to help you avoid the most common errors that can sabotage your cucumber harvest. We’ll delve into everything from soil preparation and watering techniques to pest control and proper harvesting. By understanding these potential problems and learning how to address them, you can finally achieve that bumper crop of cucumbers you’ve always dreamed of. Let’s turn those gardening dreams into a delicious reality!
Growing Cucumbers Made Easy: Avoid These Common Mistakes!
Hello, garden friends! 🌱 I’m so excited to guide you today through the world of cucumber growing. Cucumbers are just fantastic – crisp, refreshing, and super versatile. But let’s be honest, sometimes they can be a little tricky. Over the years, I’ve made plenty of mistakes myself, and I want to share what I’ve learned so you can enjoy a big, healthy cucumber harvest!
The Most Common Cucumber-Growing Mistakes (and How to Avoid Them)
Here’s a list of the most common mistakes gardeners (including me!) make when growing cucumbers – and how you can steer clear of them:
- Choosing the wrong variety: Not every cucumber variety suits every garden. Check which types grow well in your region (pickling cucumbers, slicing cucumbers, greenhouse cucumbers, outdoor cucumbers).
- Planting too early: Cucumbers are frost-sensitive. Wait until all danger of frost has passed before sowing or planting.
- Wrong location: Cucumbers need lots of sun (at least 6 hours daily) and well-draining soil.
- Improper watering: They need consistent watering, especially while fruiting. Avoid waterlogging. Morning watering is best so leaves can dry.
- Poor fertilization: Cucumbers are heavy feeders. Fertilize regularly with a balanced fertilizer.
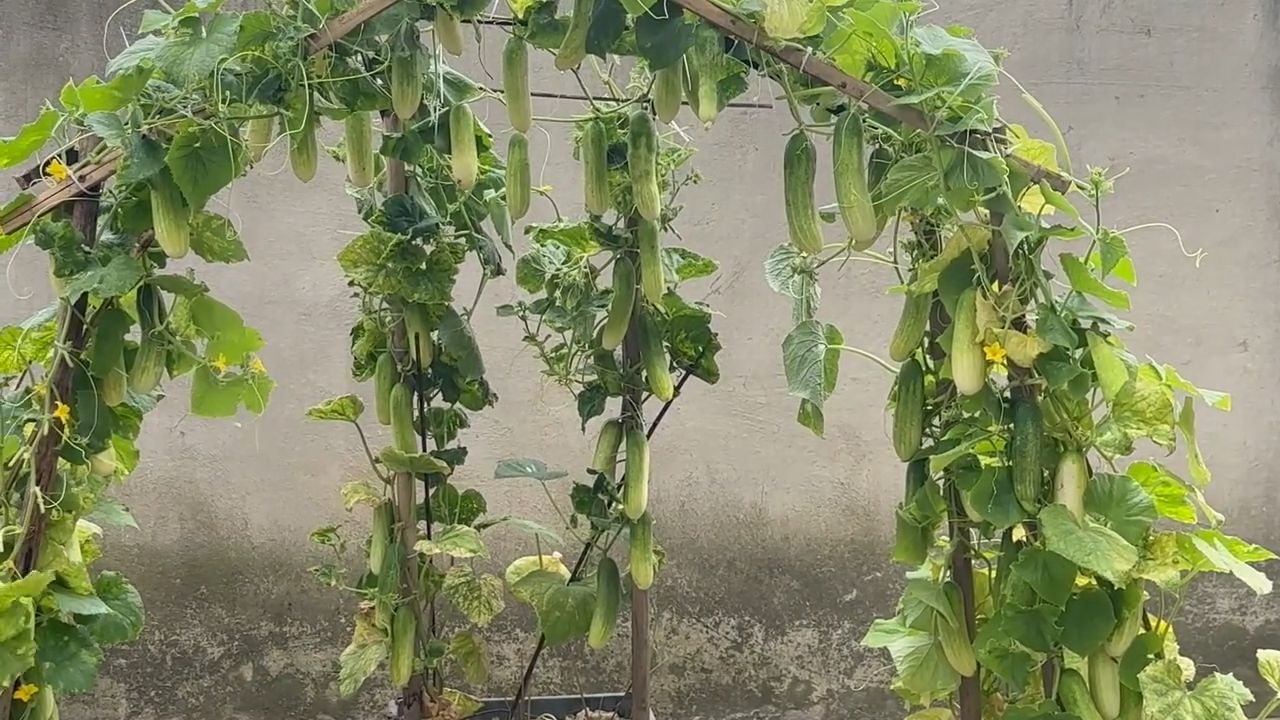
- No support: Plants get big and need trellises or stakes to stay off the ground.
- Too little space: Give them room to spread. Keep correct plant spacing.
- Ignoring pollination: Cucumbers need pollination to fruit. In greenhouses, you may need to hand-pollinate.
- Delaying harvest: Pick cucumbers regularly when ripe. This encourages more fruit.
- Pests and diseases: They’re prone to mildew, viruses, and pests. Inspect often and act early.
Sowing and Starting Cucumbers Indoors
I like starting cucumbers indoors to give them a head start, especially in areas with shorter summers.
- Timing: Start 3–4 weeks before the last expected frost.
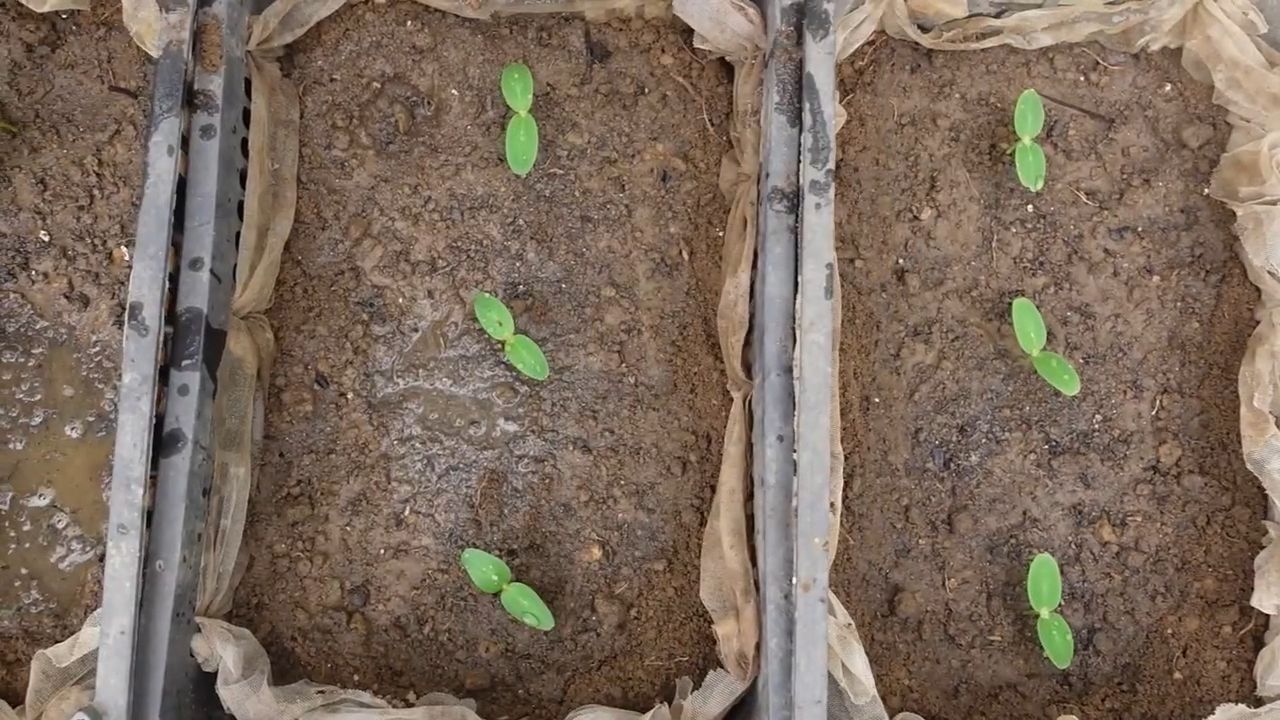
- Use seed pots: Fill small pots with seed-starting soil.
- Sow seeds: Place 1–2 seeds per pot about 1–2 cm deep.
- Water gently: Mist the soil to keep it moist.
- Warm spot: Place pots somewhere bright and warm (20–25°C). A windowsill or grow light works.
- Keep soil moist: Always lightly moist, never soggy.
- Thin seedlings: If both seeds sprout, snip or transplant the weaker one.
Transplanting Cucumbers Outdoors
Once frost danger is gone and soil is at least 15°C, you can move cucumbers outside.
- Harden off: Gradually get plants used to outdoor conditions over a few days.
- Pick a sunny spot: Soil should drain well.
- Prepare the bed: Loosen soil, enrich with compost or organic matter.
- Planting: Space plants 50–75 cm apart depending on variety. Cover roots fully.
- Water well: Give a deep watering right after planting.
- Add support: Install a trellis, fence, or stakes.
- Mulch: Apply straw, wood chips, or organic mulch to keep soil moist and weeds down.
Watering and Feeding Cucumbers
Water and nutrients are key to heavy harvests.
Watering:
- Water regularly and evenly, especially during fruiting.
- Avoid waterlogging.
- Morning watering helps leaves dry.
- Water at the base, not over the leaves.
Feeding:
- Cucumbers are heavy feeders.
- Fertilize every 2–3 weeks during the season.
- Use compost, organic fertilizer, or a balanced mineral fertilizer.
- Follow package directions for amounts.
Harvesting Cucumbers
The best part – harvest time!
- When to harvest: Pick when fruits are fully grown for their variety.
- How to harvest: Cut with a sharp knife or scissors – don’t pull!
- Harvest often: Frequent picking encourages more fruit.
- Storage: Cucumbers don’t keep long. Store in the fridge and eat within a few days.
Fighting Cucumber Pests and Diseases
Cucumbers can face several issues. Here are the most common ones and what to do:
- Powdery mildew: White powdery spots on leaves.
- Solution: Remove infected leaves, spray with fungicide or a baking soda solution (1 tsp baking soda per liter of water), improve airflow.
- Downy mildew: Yellow patches on leaves.
- Solution: Remove affected leaves, spray with fungicide, improve airflow.
- Cucumber mosaic virus: Mosaic-like patterns on leaves.
- Solution: No cure – remove infected plants to prevent spread.
- Aphids: Small insects that suck plant sap.
- Solution: Spray off with water or use natural insecticides.
Final Thoughts
Cucumbers can be picky, but with the right care, you’ll be rewarded with a big, crunchy harvest. Learn from mistakes, stay consistent, and enjoy your homegrown cucumbers fresh from the garden!
Conclusion
So, there you have it! Armed with the knowledge of these common cucumber growing mistakes and, more importantly, how to avoid them, you’re well on your way to a bountiful harvest of crisp, delicious cucumbers. This isn’t just about growing cucumbers; it’s about understanding the needs of your plants and creating an environment where they can thrive.
Why is addressing these mistakes a must-try? Because avoiding these pitfalls translates directly into more cucumbers, healthier plants, and a more rewarding gardening experience. Imagine biting into a perfectly crisp, homegrown cucumber, knowing you nurtured it from seed to table. That satisfaction is within your reach!
But don’t stop there! Experiment with different cucumber varieties to find your favorites. Try pickling some of your harvest for a tangy treat, or add sliced cucumbers to your water for a refreshing twist. Consider companion planting – basil, marigolds, and nasturtiums are excellent choices for deterring pests and attracting beneficial insects to your cucumber patch. You could even try growing cucumbers vertically on a trellis to save space and improve air circulation, further minimizing the risk of fungal diseases.
Remember, gardening is a journey of learning and discovery. Don’t be afraid to experiment, make mistakes (we all do!), and learn from them. The key is to be observant, adaptable, and persistent. And most importantly, have fun!
We’re confident that by implementing these tips, you’ll see a significant improvement in your cucumber yield and the overall health of your plants. Now it’s your turn to put this knowledge into practice. Get out there, get your hands dirty, and start growing!
We’d love to hear about your experiences! Share your successes, your challenges, and any tips you’ve discovered along the way in the comments below. Let’s create a community of cucumber-growing enthusiasts, sharing our knowledge and supporting each other on our gardening journeys. Happy growing! Mastering the art of cucumber cultivation is within your grasp, and we’re here to help you every step of the way. So, go forth and cultivate your cucumber dreams!
Frequently Asked Questions (FAQs)
Q: How often should I water my cucumber plants?
A: Cucumber plants are thirsty creatures! They need consistent moisture, especially during hot weather and fruit development. Aim to water deeply and regularly, providing about 1-2 inches of water per week. The best way to determine if your plants need water is to check the soil moisture. Stick your finger about an inch or two into the soil near the base of the plant. If it feels dry, it’s time to water. Avoid overhead watering, as this can lead to fungal diseases. Instead, water at the base of the plant or use a soaker hose. Mulching around your cucumber plants can also help retain moisture in the soil.
Q: What kind of fertilizer should I use for my cucumbers?
A: Cucumbers are heavy feeders, meaning they require a good amount of nutrients to thrive. A balanced fertilizer with equal parts nitrogen, phosphorus, and potassium (e.g., 10-10-10) is a good starting point. You can also use a fertilizer specifically formulated for vegetables. Apply fertilizer according to the package directions, typically every 2-3 weeks during the growing season. Consider supplementing with compost or aged manure to improve soil fertility and provide a slow-release source of nutrients. Avoid over-fertilizing, as this can lead to excessive foliage growth at the expense of fruit production.
Q: My cucumber leaves are turning yellow. What could be the problem?
A: Yellowing leaves can indicate several issues. Overwatering or poor drainage can cause root rot, leading to yellowing leaves. Nutrient deficiencies, particularly nitrogen or magnesium, can also cause yellowing. Pests, such as spider mites or aphids, can suck the sap from the leaves, causing them to turn yellow. Finally, fungal diseases, such as powdery mildew or downy mildew, can also cause yellowing and spotting on the leaves. Inspect your plants carefully for pests or diseases. Check the soil moisture and drainage. If necessary, amend the soil with compost or other organic matter to improve drainage. Fertilize your plants with a balanced fertilizer to address potential nutrient deficiencies.
Q: How do I prevent powdery mildew on my cucumber plants?
A: Powdery mildew is a common fungal disease that affects cucumber plants, especially in humid conditions. To prevent powdery mildew, ensure good air circulation around your plants by spacing them properly and pruning away any overcrowded foliage. Avoid overhead watering, as this can create a humid environment that favors fungal growth. Water at the base of the plant or use a soaker hose. Apply a fungicide specifically formulated for powdery mildew as a preventative measure, especially during periods of high humidity. You can also try using a homemade remedy, such as a solution of baking soda and water, to control powdery mildew.
Q: When is the best time to harvest my cucumbers?
A: The best time to harvest cucumbers depends on the variety and your personal preference. Generally, cucumbers are ready to harvest when they are firm, green, and have reached the desired size for their variety. Overripe cucumbers can become bitter and seedy. Check the seed packet or plant tag for specific harvesting instructions for your variety. Harvest cucumbers regularly to encourage continued fruit production. Use a sharp knife or pruning shears to cut the cucumber from the vine, leaving a short stem attached.
Q: What are some common pests that attack cucumber plants?
A: Several pests can attack cucumber plants, including aphids, spider mites, cucumber beetles, and squash bugs. Aphids are small, soft-bodied insects that suck the sap from the leaves, causing them to become distorted and yellow. Spider mites are tiny pests that create webs on the undersides of the leaves, causing them to become stippled and yellow. Cucumber beetles are small, yellow and black beetles that feed on the leaves and fruits of cucumber plants. Squash bugs are large, brown bugs that suck the sap from the leaves, causing them to wilt and die. Inspect your plants regularly for pests. Use insecticidal soap or neem oil to control aphids and spider mites. Handpick cucumber beetles and squash bugs or use row covers to protect your plants.
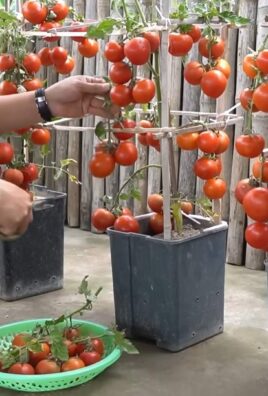
Q: Can I grow cucumbers in containers?
A: Yes, you can absolutely grow cucumbers in containers! Choose a large container, at least 12 inches in diameter, with good drainage. Use a high-quality potting mix and provide a trellis or other support for the vines to climb. Water regularly and fertilize every 2-3 weeks. Select a bush or compact cucumber variety that is well-suited for container growing. Place the container in a sunny location that receives at least 6-8 hours of sunlight per day.
Q: How can I improve pollination for my cucumber plants?
A: Cucumbers require pollination to produce fruit. If you’re not seeing many cucumbers, poor pollination could be the culprit. Attract pollinators to your garden by planting flowers that attract bees and other beneficial insects. You can also hand-pollinate your cucumber flowers by transferring pollen from the male flowers to the female flowers using a small brush or cotton swab. Identify male flowers by their long, slender stems and female flowers by the small cucumber fruit at the base of the flower.
Q: My cucumbers are bitter. Why?
A: Bitterness in cucumbers is often caused by stress, such as inconsistent watering, high temperatures, or poor soil conditions. Cucurbitacins are compounds that cause bitterness in cucumbers, and their production is increased when the plant is stressed. Provide consistent watering, especially during hot weather. Mulch around your plants to help retain moisture and regulate soil temperature. Ensure your plants are growing in well-drained soil that is rich in organic matter. Choose cucumber varieties that are less prone to bitterness.
Leave a Comment