

DIY All Purpose Cleaner: Are you tired of spending a fortune on cleaning products filled with harsh chemicals? Do you dream of a sparkling clean home without the lingering artificial scents? Well, get ready to roll up your sleeves because I’m about to share a game-changing secret that will revolutionize your cleaning routine!
For generations, resourceful homemakers have relied on simple, natural ingredients to keep their homes spotless. Think back to your grandmother’s era – vinegar, baking soda, and lemon were the cleaning powerhouses of the time. This tradition isn’t just about saving money; it’s about creating a healthier, more sustainable living environment for ourselves and our families.
In today’s world, we’re bombarded with cleaning products promising miraculous results, but often at the cost of our well-being and the planet. Many commercial cleaners contain volatile organic compounds (VOCs) that can irritate our skin, eyes, and respiratory systems. That’s where this DIY All Purpose Cleaner comes in! It’s a simple, effective, and eco-friendly alternative that you can whip up in minutes using ingredients you probably already have in your pantry.
This DIY trick isn’t just about saving money; it’s about taking control of what you bring into your home and reducing your environmental footprint. I’m going to show you how to create a powerful cleaner that tackles grime, grease, and everyday messes, leaving your home fresh and sparkling without any harmful chemicals. So, let’s ditch the store-bought stuff and embrace the power of natural cleaning!
DIY All-Purpose Cleaner: A Natural and Effective Solution
Hey there! Are you tired of harsh chemicals and sky-high prices of store-bought all-purpose cleaners? I know I was! That’s why I started making my own, and let me tell you, it’s a game-changer. Not only is it incredibly effective at cleaning just about anything, but it’s also much gentler on the environment and your wallet. Plus, you know exactly what’s going into it!
This guide will walk you through creating your own all-purpose cleaner using simple, natural ingredients you probably already have in your pantry. Get ready to ditch those commercial cleaners and embrace a healthier, more sustainable way to keep your home sparkling!
Why Make Your Own All-Purpose Cleaner?
Before we dive into the how-to, let’s quickly touch on why making your own cleaner is such a great idea:
* Cost-Effective: Seriously, you’ll save a ton of money. The ingredients are inexpensive and last a long time.
* Environmentally Friendly: No more harsh chemicals polluting our waterways. We’re using natural, biodegradable ingredients.
* Customizable: You can adjust the scent and strength to your liking. Want a stronger cleaner for tough messes? No problem!
* Safe for Your Family: You know exactly what’s in it, so you can avoid allergens and irritants.
* Empowering: There’s something really satisfying about creating something useful and effective yourself.
Ingredients You’ll Need
Here’s what you’ll need to gather before we get started:
* White Vinegar: This is the workhorse of our cleaner. It’s a natural disinfectant and degreaser.
* Water: Distilled water is best, but tap water works too.
* Essential Oils (Optional): These add a pleasant scent and can also boost the cleaning power. Lemon, tea tree, lavender, and eucalyptus are all great choices.
* Baking Soda (Optional, for scrubbing): A mild abrasive that’s great for tackling stubborn stains.
* Castile Soap (Optional, for extra cleaning power): A gentle, plant-based soap that adds extra cleaning oomph.
Equipment You’ll Need
* Spray Bottle: A clean, empty spray bottle is essential. I prefer glass, but plastic works too.
* Measuring Cups and Spoons: For accurate measurements.
* Funnel (Optional): Makes pouring liquids into the spray bottle easier.
* Mixing Bowl (Optional): If you’re pre-mixing ingredients.
Basic All-Purpose Cleaner Recipe (Vinegar-Based)
This is the simplest and most common recipe. It’s great for everyday cleaning.
Instructions:
1. Prepare the Spray Bottle: Make sure your spray bottle is clean and dry.
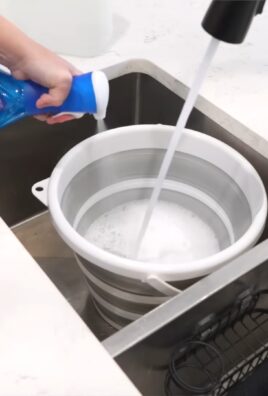
2. Combine Vinegar and Water: In the spray bottle, combine equal parts white vinegar and water. A good starting point is 1 cup of vinegar and 1 cup of water.
3. Add Essential Oils (Optional): If you’re using essential oils, add 10-20 drops to the mixture. Start with a smaller amount and add more if you want a stronger scent.
4. Shake Well: Close the spray bottle tightly and shake well to combine all the ingredients.
5. Label Your Bottle: It’s always a good idea to label your bottle so you know what’s inside.
Enhanced All-Purpose Cleaner Recipe (with Castile Soap)
This recipe adds a bit more cleaning power thanks to the castile soap.
Instructions:
1. Prepare the Spray Bottle: Ensure your spray bottle is clean and dry.
2. Combine Water and Vinegar: In a mixing bowl, combine 1 3/4 cups of water and 1/4 cup of white vinegar.
3. Add Castile Soap: Add 1/2 teaspoon of castile soap to the mixture. Be careful not to add too much, as it can make the cleaner too sudsy.
4. Add Essential Oils (Optional): If you’re using essential oils, add 10-20 drops to the mixture.
5. Gently Stir: Gently stir the mixture to combine all the ingredients. Avoid shaking vigorously, as this can create too many bubbles.
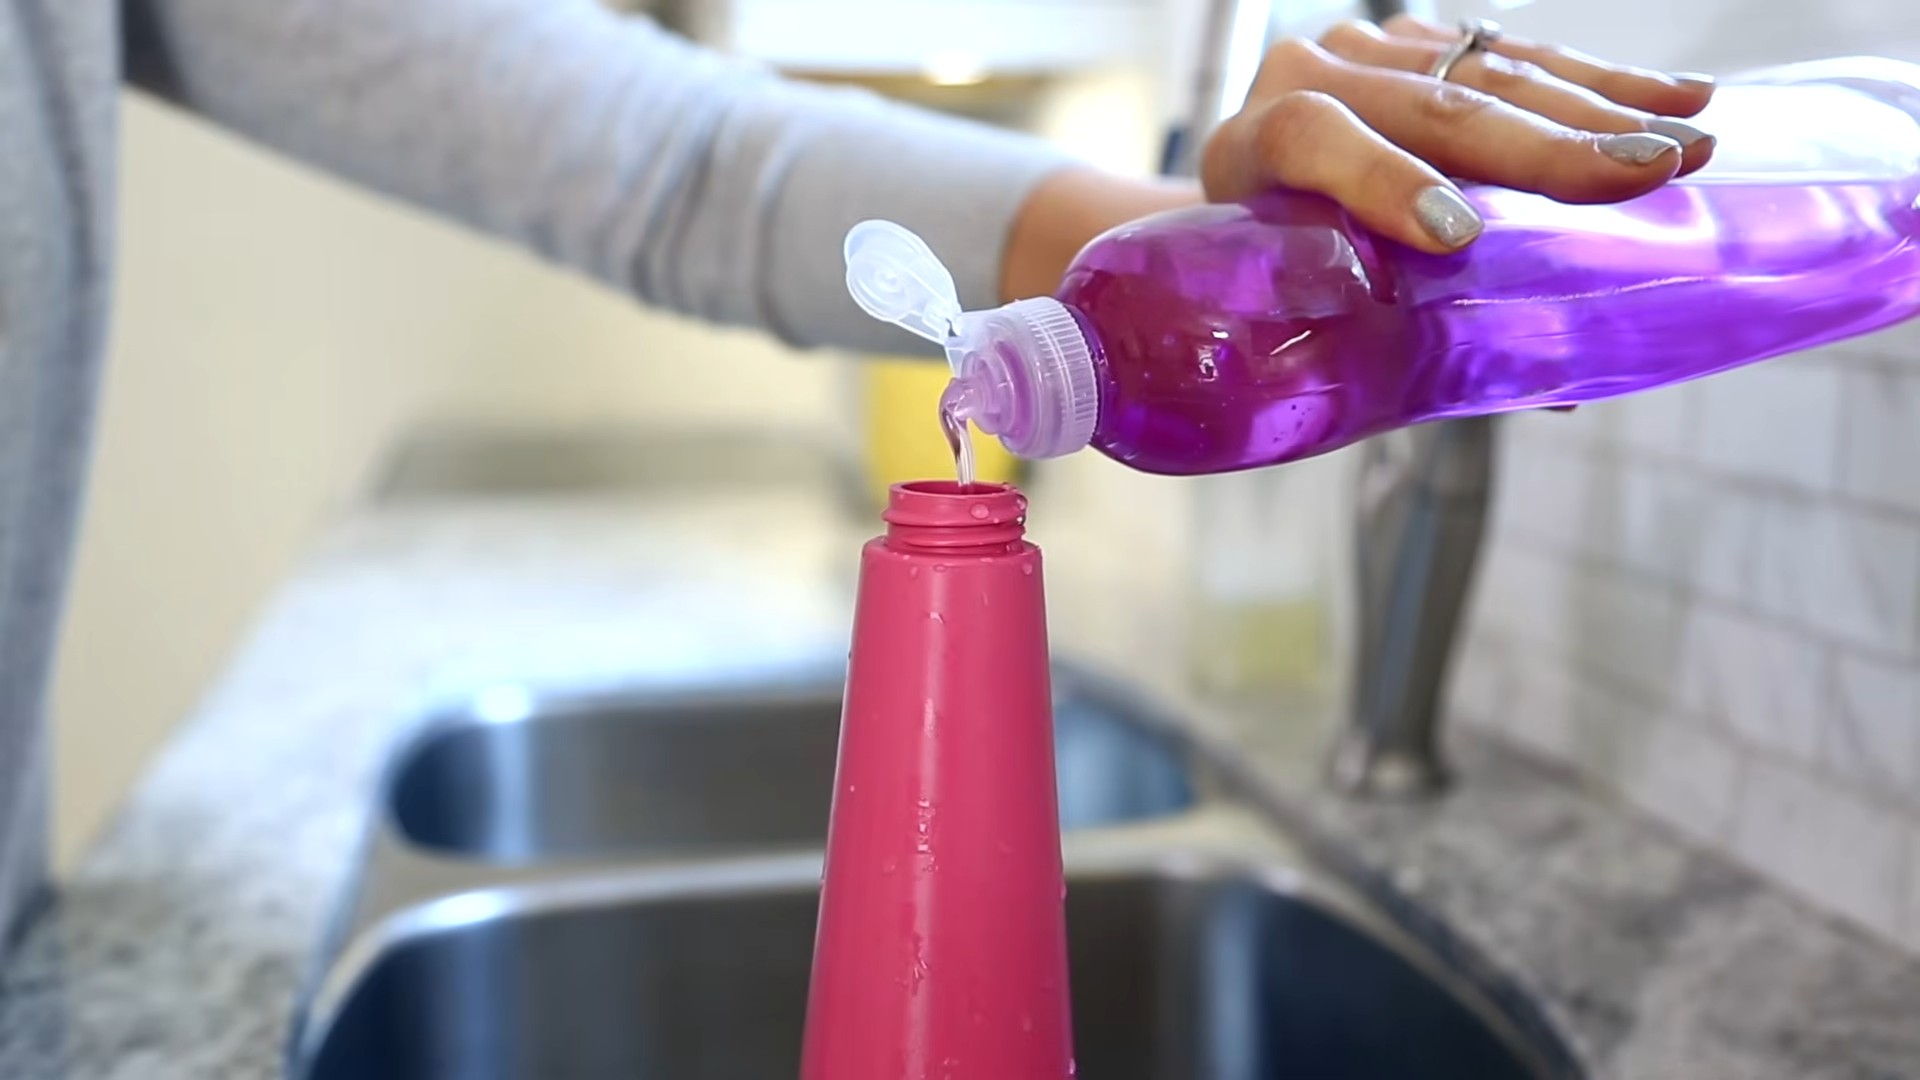
6. Pour into Spray Bottle: Use a funnel to pour the mixture into the spray bottle.
7. Label Your Bottle: Don’t forget to label your bottle!
Using Your DIY All-Purpose Cleaner
Now that you’ve made your cleaner, let’s talk about how to use it:
* Spray: Spray the cleaner onto the surface you want to clean.
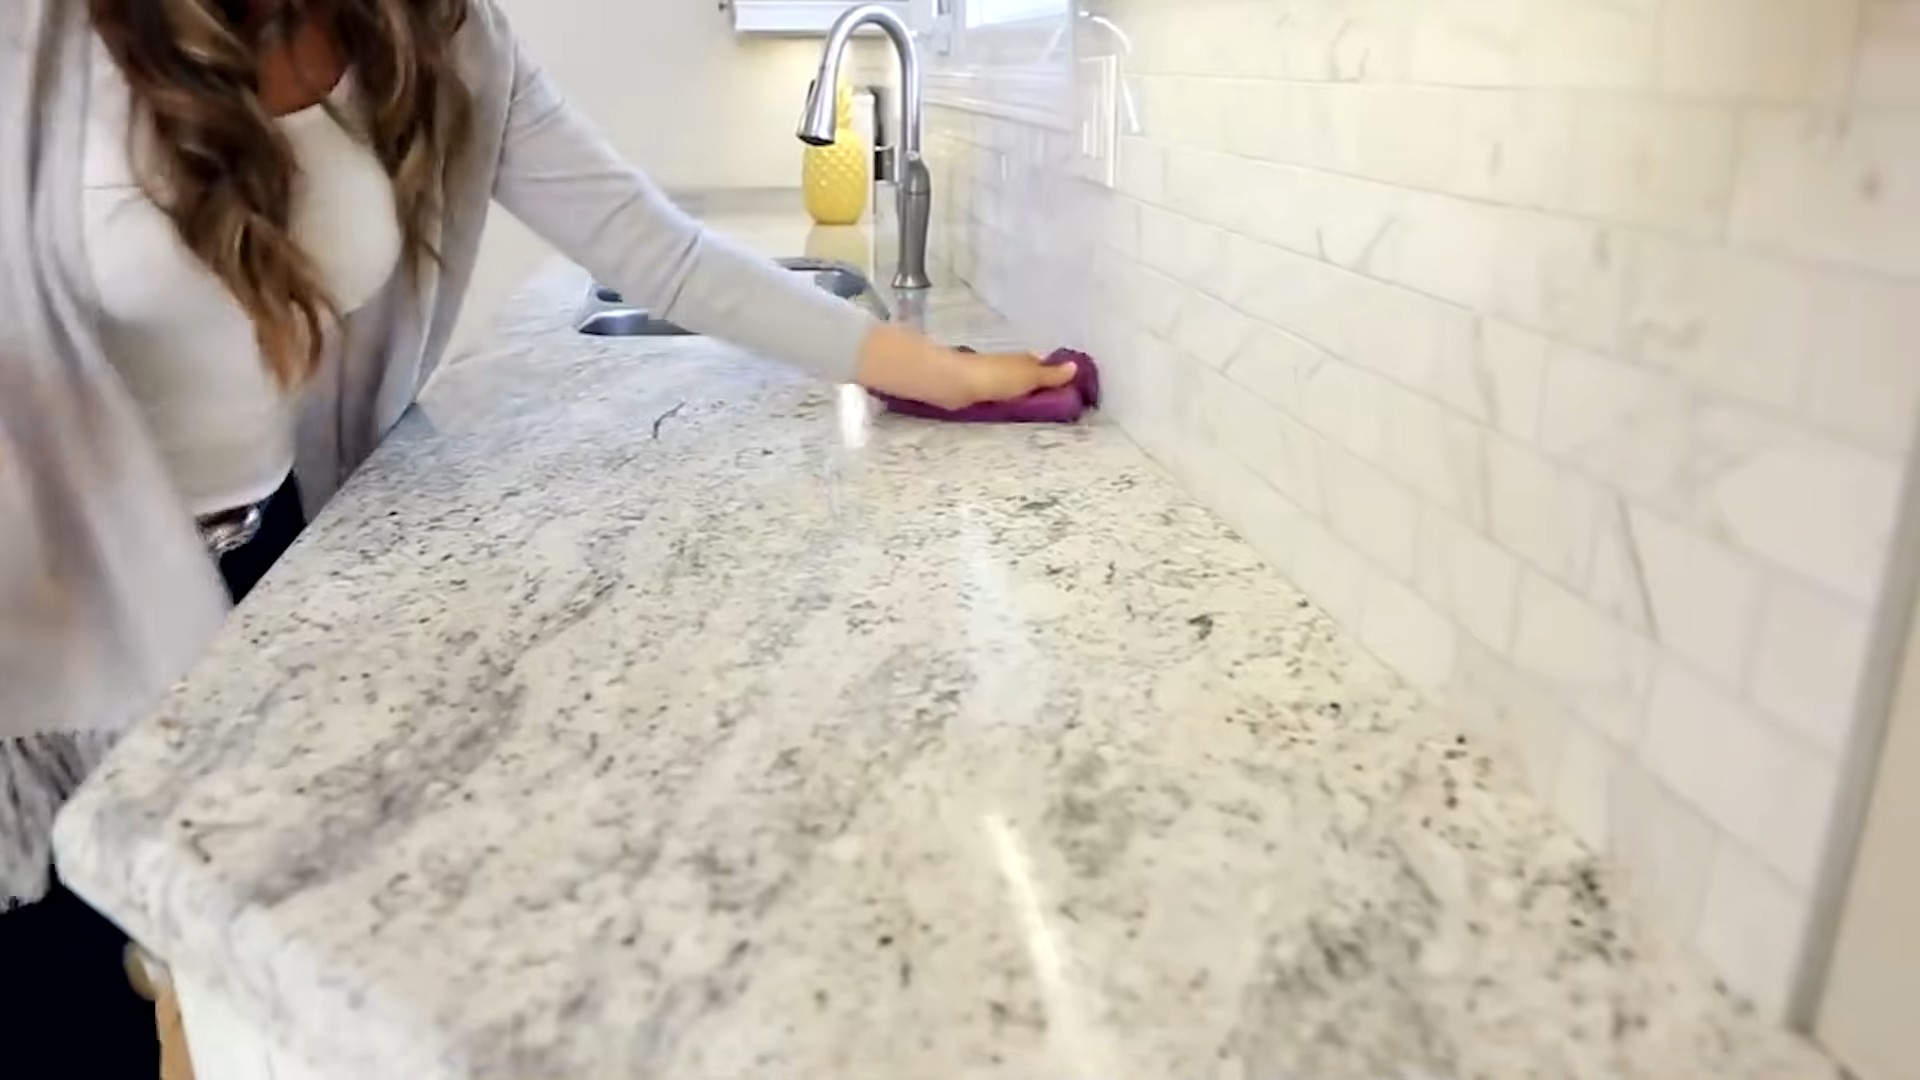
* Wipe: Use a clean cloth or sponge to wipe the surface.
* Rinse (Optional): If you’re cleaning a surface that comes into contact with food, you may want to rinse it with water after wiping.
* For Stubborn Stains: For tough stains, let the cleaner sit on the surface for a few minutes before wiping. You can also sprinkle a little baking soda on the stain and scrub gently.
Where to Use Your All-Purpose Cleaner
This cleaner is incredibly versatile and can be used on a variety of surfaces, including:
* Countertops: Kitchen and bathroom countertops.
* Sinks: Kitchen and bathroom sinks.
* Appliances: Exterior of appliances like refrigerators, ovens, and microwaves.
* Floors: Tile, linoleum, and hardwood floors (test in an inconspicuous area first).
* Windows and Mirrors: For streak-free cleaning.
* Toilets: Exterior of toilets.
* Showers and Tubs: To remove soap scum and mildew.
Surfaces to Avoid
While this cleaner is generally safe, there are a few surfaces you should avoid:
* Marble and Granite: The acidity of vinegar can damage these surfaces over time.
* Waxed Furniture: Vinegar can strip the wax finish.
* Electronics: Avoid spraying directly onto electronics. Instead, spray onto a cloth and wipe.
* Unsealed Grout: Vinegar can discolor unsealed grout.
Troubleshooting
* Strong Vinegar Smell: The vinegar smell will dissipate quickly. If you’re sensitive to the smell, add more essential oils or use the castile soap recipe.
* Streaky Windows: Use a clean microfiber cloth and make sure you’re not using too much cleaner.
* Cleaner Not Strong Enough: Increase the amount of vinegar in the recipe.
* Too Many Suds: You’ve probably added too much castile soap. Reduce the amount in your next batch.
Scent Combinations for Essential Oils
Want to get creative with your essential oil blends? Here are a few of my favorite combinations:
* Lemon and Lavender: A classic combination that’s both refreshing and calming.
* Tea Tree and Eucalyptus: Great for disinfecting and has a clean, medicinal scent.
* Orange and Cinnamon: A warm and inviting scent that’s perfect for the fall.
* Peppermint and Rosemary: Invigorating and energizing.
Safety Precautions
* Keep out of reach of children and pets.
* Avoid contact with eyes. If contact occurs, rinse thoroughly with water.
* Test in an inconspicuous area before using on delicate surfaces.
* Do not mix with bleach or other harsh chemicals.
Storing Your DIY All-Purpose Cleaner
Store your cleaner in a cool, dark place. It should last for several months. If you notice any changes in color or smell, discard it.
Making a Baking Soda Paste for Scrubbing
Sometimes, you need a little extra scrubbing power. That’s where baking soda paste comes in!
Instructions:
1. Combine Baking Soda and Water: In a small bowl, combine baking soda and water until you form a thick paste.
2. Apply to Stain: Apply the paste to the stain and let it sit for a few minutes.
3. Scrub Gently: Use a sponge or cloth to scrub the stain gently.
4. Rinse: Rinse the area with water.
Adapting the Recipe for Different Needs
* For a Stronger Disinfectant: Increase the amount of vinegar in the recipe. You can even use straight vinegar for tough jobs, but be sure to rinse well afterward.
* For a Gentler Cleaner: Reduce the amount of vinegar or use the castile soap recipe.
* For Cleaning Wood Floors: Use a very diluted solution of vinegar and water. Test in an inconspicuous area first.
My Personal Tips and Tricks
* I like to keep a spray bottle of this cleaner in every bathroom and in the kitchen
Conclusion
So, there you have it! Ditching the store-bought chemicals and embracing this DIY all purpose cleaner is more than just a trend; it’s a conscious choice for a healthier home, a happier planet, and a lighter wallet. We’ve walked you through the simple steps, highlighting the ease and affordability of creating your own powerful cleaning solution. But why is this a must-try?
Firstly, you gain complete control over the ingredients. No more deciphering confusing labels filled with unpronounceable chemicals. You know exactly what’s going into your cleaner, ensuring a safe environment for your family and pets. This is especially crucial for households with sensitivities or allergies.
Secondly, the versatility of this DIY cleaner is unmatched. From countertops to floors, bathrooms to kitchens, this single solution tackles a wide range of cleaning tasks. It simplifies your cleaning routine and reduces the clutter of multiple specialized products.
Thirdly, it’s incredibly cost-effective. The ingredients are readily available and inexpensive, making this a budget-friendly alternative to commercial cleaners. Over time, the savings can be significant, freeing up your resources for other priorities.
But the benefits don’t stop there. By making your own cleaner, you’re actively reducing your environmental impact. You’re minimizing plastic waste from disposable bottles and avoiding the release of harmful chemicals into the ecosystem. It’s a small change that can make a big difference.
Looking for variations? Absolutely!
* For extra disinfecting power: Add a few drops of tea tree oil or eucalyptus oil. These essential oils have natural antibacterial and antiviral properties.
* For a citrus boost: Infuse your vinegar with citrus peels (lemon, orange, grapefruit) for a few weeks before using it in the recipe. This will add a refreshing scent and enhance the cleaning power.
* For a floral fragrance: Lavender or rose essential oils can create a calming and pleasant aroma while you clean.
* For stubborn stains: Create a paste of baking soda and water to pre-treat tough stains before using the all-purpose cleaner.
We encourage you to give this DIY all purpose cleaner a try. Experiment with different essential oils to find your favorite scent combination. Adapt the recipe to suit your specific cleaning needs. And most importantly, share your experience with us! Let us know how it works for you, what variations you’ve tried, and any tips you’ve discovered along the way. Your feedback will help us refine the recipe and inspire others to embrace the power of homemade cleaning solutions.
Join the movement towards a cleaner, healthier, and more sustainable home. Start making your own DIY all purpose cleaner today!
Frequently Asked Questions (FAQ)
Is this DIY all purpose cleaner safe for all surfaces?
While this cleaner is generally safe for most surfaces, it’s always a good idea to test it in an inconspicuous area first, especially on delicate materials like marble, granite, or wood. The vinegar in the recipe can be acidic and may damage certain finishes. For these surfaces, consider diluting the cleaner further with water or using a gentler alternative like castile soap. Avoid using it on porous surfaces that could absorb the vinegar smell.
How long does this DIY all purpose cleaner last?
This cleaner typically lasts for several months when stored properly in a cool, dark place. The vinegar acts as a natural preservative, preventing bacterial growth. However, it’s always best to use it within a reasonable timeframe to ensure optimal effectiveness. If you notice any changes in color, odor, or consistency, it’s best to discard the cleaner and make a fresh batch.
Can I use a different type of vinegar?
While white distilled vinegar is the most commonly recommended type for cleaning due to its acidity and lack of color, you can experiment with other types of vinegar, such as apple cider vinegar. However, keep in mind that apple cider vinegar has a stronger odor and may leave a slight residue on some surfaces. Avoid using balsamic vinegar, as its dark color can stain.
What if I don’t like the smell of vinegar?
The vinegar smell is a common concern for many people. Fortunately, it dissipates quickly after cleaning. To minimize the odor, you can add essential oils to the cleaner, as mentioned in the variations section. Citrus oils like lemon and orange are particularly effective at masking the vinegar smell. You can also open windows and ventilate the area while cleaning.
Can I use this cleaner on my windows and mirrors?
Yes, this cleaner can be used on windows and mirrors, but it’s important to dilute it properly to avoid streaks. Mix equal parts of the cleaner and water in a spray bottle. Spray the solution onto the surface and wipe it clean with a microfiber cloth. For best results, avoid cleaning windows and mirrors in direct sunlight, as this can cause the cleaner to dry too quickly and leave streaks.
Is baking soda necessary for this recipe?
Baking soda is not strictly necessary, but it adds extra cleaning power and helps to deodorize surfaces. It’s particularly effective at removing grease and grime. If you prefer to omit baking soda, you can simply use the vinegar, water, and essential oil mixture.
Can I use this cleaner to clean my toilet?
Yes, this cleaner can be used to clean your toilet. Pour a cup of the cleaner into the toilet bowl and let it sit for a few minutes. Then, scrub the bowl with a toilet brush and flush. For stubborn stains, you can sprinkle baking soda into the bowl before adding the cleaner.
How do I store this DIY all purpose cleaner?
Store your DIY all purpose cleaner in a clean, labeled spray bottle. A dark-colored bottle is preferable, as it helps to protect the essential oils from light degradation. Keep the bottle in a cool, dark place away from direct sunlight and heat. Make sure to label the bottle clearly to avoid confusion with other cleaning products.
Can I use this cleaner on my hardwood floors?
Using vinegar on hardwood floors is a debated topic. While some people use diluted vinegar solutions successfully, others warn against it, as the acidity can damage the finish over time. If you choose to use this cleaner on your hardwood floors, dilute it significantly with water and test it in an inconspicuous area first. Alternatively, consider using a cleaner specifically designed for hardwood floors.
What are the benefits of using essential oils in this cleaner?
Essential oils offer several benefits when added to this DIY all purpose cleaner. They provide a pleasant fragrance, mask the vinegar smell, and offer additional cleaning and disinfecting properties. Some essential oils, like tea tree and eucalyptus, have natural antibacterial and antiviral properties. Others, like lavender and chamomile, have calming and relaxing effects. Choose essential oils based on your personal preferences and desired benefits.

Leave a Comment