

DIY Candle Hacks: Who doesn’t love the warm glow and comforting scent of a candle? But let’s be honest, those little luxuries can sometimes feel a bit…expensive. I’m here to tell you that you don’t have to break the bank to enjoy your favorite ambiance! This article is packed with clever and creative DIY candle hacks that will not only save you money but also allow you to personalize your candle experience like never before.
Candles have been illuminating our lives for centuries, dating back to ancient civilizations who used them for light, religious ceremonies, and even timekeeping. From simple tallow dips to the sophisticated scented candles we enjoy today, their significance has remained constant. But in our modern world, where sustainability and creativity are highly valued, it’s time to rethink how we use and reuse our candles.
Have you ever been frustrated by a candle that burns unevenly, leaving a ring of wax around the edges? Or perhaps you’re left with a beautiful jar after the candle is gone and you’re not sure what to do with it? These are common problems, and I’m excited to share some simple, yet effective, solutions. These DIY tricks will help you maximize the life of your candles, repurpose old wax, and even create unique and personalized gifts. Get ready to unleash your inner crafter and transform your candle game!
Growing Yardlong Beans: A DIY Guide to a Bountiful Harvest
Hey there, fellow gardening enthusiasts! I’m so excited to share my experience and tips for growing yardlong beans. These fascinating legumes, also known as asparagus beans or Chinese long beans, are not only delicious but also a real conversation starter in the garden. Get ready to impress your friends and family with these incredibly long and flavorful beans!
Choosing the Right Variety and Location
Before we dive into the nitty-gritty, let’s talk about selecting the right yardlong bean variety and finding the perfect spot in your garden.
* Variety Selection: There are several yardlong bean varieties available, each with slightly different characteristics. Some popular choices include ‘Red Noodle,’ ‘Chinese Red Noodle,’ and ‘Orient Wonder.’ I personally love ‘Red Noodle’ for its vibrant color and excellent flavor. Do some research and choose a variety that suits your taste and local climate.
* Sunlight: Yardlong beans are sun-worshippers! They need at least 6-8 hours of direct sunlight each day to thrive. Make sure you choose a location in your garden that gets plenty of sunshine.
* Soil: Well-drained soil is crucial for yardlong beans. They don’t like to sit in soggy soil, which can lead to root rot. Amend your soil with compost or other organic matter to improve drainage and fertility. A slightly acidic to neutral pH (around 6.0-7.0) is ideal.
* Support Structure: These beans are climbers, so they need a sturdy trellis, fence, or other support structure to grow on. I’ve used everything from bamboo poles to cattle panels, and they all work great. Just make sure the structure is tall enough to accommodate the beans’ impressive length – at least 6-8 feet high.
Step-by-Step Planting Guide
Now, let’s get our hands dirty and plant some yardlong beans!
1. Prepare the Soil: Start by preparing the soil in your chosen location. Remove any weeds, rocks, or debris. Dig in plenty of compost or well-rotted manure to enrich the soil and improve drainage. I usually add a couple of inches of compost and work it into the top 6-8 inches of soil.
2. Install the Support Structure: Before planting, set up your trellis or other support structure. This will prevent you from disturbing the plants’ roots later on. Make sure the structure is securely anchored in the ground.
3. Sowing the Seeds: You can either direct sow the seeds in the garden or start them indoors. I prefer direct sowing because it’s less work and the plants tend to be stronger. However, if you live in a cooler climate with a short growing season, starting them indoors might be a better option.
* Direct Sowing: Sow the seeds directly into the soil after the last frost date. Plant the seeds about 1 inch deep and 2-3 inches apart. Water gently but thoroughly.
* Starting Indoors: If you’re starting the seeds indoors, sow them in peat pots or seed trays about 3-4 weeks before the last frost date. Use a good quality seed-starting mix. Keep the soil moist but not soggy. Once the seedlings have developed a few true leaves and the weather has warmed up, you can transplant them into the garden.
4. Watering: Keep the soil consistently moist, especially during germination and early growth. Water deeply but less frequently, rather than shallowly every day. This encourages the roots to grow deeper and makes the plants more drought-tolerant.
5. Thinning (if necessary): If you direct sowed the seeds and they’re growing too close together, thin them out to about 6-8 inches apart. This will give the plants enough room to grow and prevent overcrowding.
Caring for Your Yardlong Bean Plants
Once your yardlong bean plants are established, it’s important to provide them with the right care to ensure a healthy and productive harvest.
* Fertilizing: Yardlong beans are not heavy feeders, but they will benefit from occasional fertilization. I like to use a balanced organic fertilizer, such as fish emulsion or compost tea, every few weeks. Avoid using fertilizers that are high in nitrogen, as this can promote excessive foliage growth at the expense of bean production.
* Weeding: Keep the area around your yardlong bean plants free of weeds. Weeds compete with the plants for nutrients and water, and they can also harbor pests and diseases. Hand-pull weeds regularly or use a hoe to cultivate the soil.
* Mulching: Apply a layer of mulch around your yardlong bean plants to help retain moisture, suppress weeds, and regulate soil temperature. I like to use straw, hay, or shredded leaves as mulch.
* Pest and Disease Control: Keep an eye out for common garden pests, such as aphids, bean beetles, and spider mites. If you notice any pests, try to control them with organic methods, such as insecticidal soap or neem oil. Yardlong beans are also susceptible to certain diseases, such as powdery mildew and fungal leaf spots. To prevent these diseases, make sure your plants have good air circulation and avoid overhead watering.
Harvesting Your Yardlong Beans
The most exciting part of growing yardlong beans is, of course, harvesting them!
* When to Harvest: Yardlong beans are typically ready to harvest about 60-80 days after planting. The beans should be long and slender, but still tender and flexible. They should snap easily when bent. Don’t let the beans get too thick or tough, as they will become less flavorful.
* How to Harvest: Use scissors or pruning shears to cut the beans from the vine. Be careful not to damage the plant. Harvest the beans regularly to encourage continued production.
* Storage: Freshly harvested yardlong beans can be stored in the refrigerator for up to a week. You can also freeze them for longer storage. To freeze yardlong beans, blanch them in boiling water for 2-3 minutes, then plunge them into ice water to stop the cooking process. Drain the beans and pack them into freezer bags or containers.
Troubleshooting Common Problems
Even with the best care, you might encounter some problems while growing yardlong beans. Here are a few common issues and how to address them:
* Poor Germination: If your yardlong bean seeds are not germinating, make sure the soil is warm enough and consistently moist. You can also try soaking the seeds in water for 24 hours before planting to improve germination rates.
* Yellowing Leaves: Yellowing leaves can be a sign of nutrient deficiency, overwatering, or disease. Check the soil drainage and adjust your watering schedule accordingly. Fertilize the plants with a balanced organic fertilizer. If you suspect a disease, treat the plants with an appropriate fungicide.
* Lack of Bean Production: If your yardlong bean plants are growing well but not producing beans, it could be due to a lack of pollination. Yardlong beans are self-pollinating, but they may need some help from insects or wind. You can try hand-pollinating the flowers by gently shaking the plants or using a small paintbrush to transfer pollen from one flower to another.
* Pest Infestations: As mentioned earlier, yardlong beans can be susceptible to various pests. Regularly inspect your plants for signs of pests and take action promptly to control them.
Enjoying Your Harvest
Now that you’ve harvested your delicious yardlong beans, it’s time to enjoy them! These versatile beans can be used in a variety of dishes.
* Stir-fries: Yardlong beans are a popular ingredient in stir-fries. They add a delightful crunch and a slightly sweet flavor.
* Salads: You can also add yardlong beans to salads for a boost of nutrients and flavor. Blanch them briefly before adding them to the salad to soften them slightly.
* Soups and Stews: Yardlong beans can be added to soups and stews for a hearty and nutritious meal.
* Grilled or Roasted: Toss yardlong beans with olive oil, salt, and pepper, and grill or roast them for a simple and delicious side dish.
I hope this guide has inspired you to grow your own yardlong beans. With a little bit of care and attention, you can enjoy a bountiful harvest of these unique and flavorful legumes. Happy gardening!
Conclusion
So, there you have it! These DIY candle hacks aren’t just about saving money; they’re about unlocking a world of creative possibilities and enhancing your home’s ambiance in a way that reflects your unique style. From rescuing broken candles to crafting entirely new scents, these techniques empower you to take control of your candle experience.
Why is this a must-try? Because it’s practical, sustainable, and incredibly rewarding. Think about it: instead of tossing out those half-burned candles or chipped wax melts, you can breathe new life into them, transforming them into something beautiful and functional. You’re reducing waste, saving money, and adding a personal touch to your home decor. Plus, the satisfaction of creating something with your own hands is simply unmatched.
But the fun doesn’t stop there! Feel free to experiment with variations. Try adding dried flowers or herbs to your melted wax for a rustic, natural look. Incorporate essential oils for aromatherapy benefits, creating custom blends that uplift your mood or promote relaxation. Use different containers – vintage teacups, mason jars, or even seashells – to add a unique flair to your creations. Consider using different types of wax, such as soy wax for a cleaner burn or beeswax for a natural honey scent. You can even try layering different colors of wax for a visually stunning effect. The possibilities are truly endless!
Don’t be afraid to get creative and personalize these DIY candle hacks to suit your own preferences and style. Whether you’re a seasoned crafter or a complete beginner, these techniques are easy to learn and incredibly satisfying to master.
We wholeheartedly encourage you to try these DIY candle hacks and discover the joy of creating your own custom candles. Not only will you save money and reduce waste, but you’ll also add a personal touch to your home decor and enjoy the therapeutic benefits of crafting.
Once you’ve given these hacks a try, we’d love to hear about your experience! Share your creations, tips, and variations in the comments below. Let us know what worked for you, what challenges you encountered, and what creative twists you added to the process. Your feedback will not only inspire other readers but also help us refine and improve these techniques for future DIY enthusiasts. Let’s build a community of candle-making enthusiasts and share the joy of creating beautiful, fragrant, and sustainable candles together! Embrace the world of DIY candle hacks and transform your home into a haven of warmth and fragrance.
Frequently Asked Questions (FAQ)
What kind of wax should I use for these DIY candle hacks?
The best type of wax depends on your preferences and the specific project. Soy wax is a popular choice for its clean burn, eco-friendliness, and ability to hold fragrance well. Paraffin wax is a more traditional option that’s readily available and relatively inexpensive, but it doesn’t burn as cleanly as soy wax. Beeswax is a natural option with a subtle honey scent and a longer burn time, but it can be more expensive. For melting down existing candles, the type of wax is already determined, so you don’t need to worry about it. However, if you’re making candles from scratch, consider the pros and cons of each type of wax before making your decision. Experimenting with different waxes can also be a fun way to discover your favorite.
How do I choose the right wick size for my DIY candles?
Choosing the right wick size is crucial for a well-burning candle. If the wick is too small, the candle will tunnel (burn down the center without melting the edges). If the wick is too large, the candle will smoke and produce excessive heat. The ideal wick size depends on the diameter of your candle container and the type of wax you’re using. As a general rule, soy wax requires a slightly larger wick than paraffin wax. Many online resources provide wick size charts based on container diameter and wax type. It’s always best to err on the side of a slightly smaller wick, as you can always trim it if needed. Testing your candle after it’s made is the best way to determine if you’ve chosen the right wick size.
Can I use essential oils to scent my DIY candles?
Yes, essential oils are a great way to add natural fragrance to your DIY candles. However, it’s important to use them correctly to ensure a safe and effective scent throw. Add the essential oils to the melted wax just before pouring it into the container. The amount of essential oil you use will depend on the strength of the oil and your personal preference, but a general guideline is to use about 6-10% essential oil by weight. Be sure to use high-quality, pure essential oils for the best results. Some essential oils are more flammable than others, so it’s important to research the safety of the oils you’re using. Also, be aware that some essential oils can discolor the wax.
How do I prevent my DIY candles from tunneling?
Tunneling occurs when the candle burns down the center without melting the edges of the wax. To prevent tunneling, make sure you’re using the correct wick size for your container and wax type. Also, allow the candle to burn long enough on the first burn to create a full melt pool that reaches the edges of the container. This will help the candle burn evenly in subsequent uses. If your candle is already tunneling, you can try wrapping it in aluminum foil, leaving a small opening at the top, to help melt the wax on the sides.
What are some creative container ideas for DIY candles?
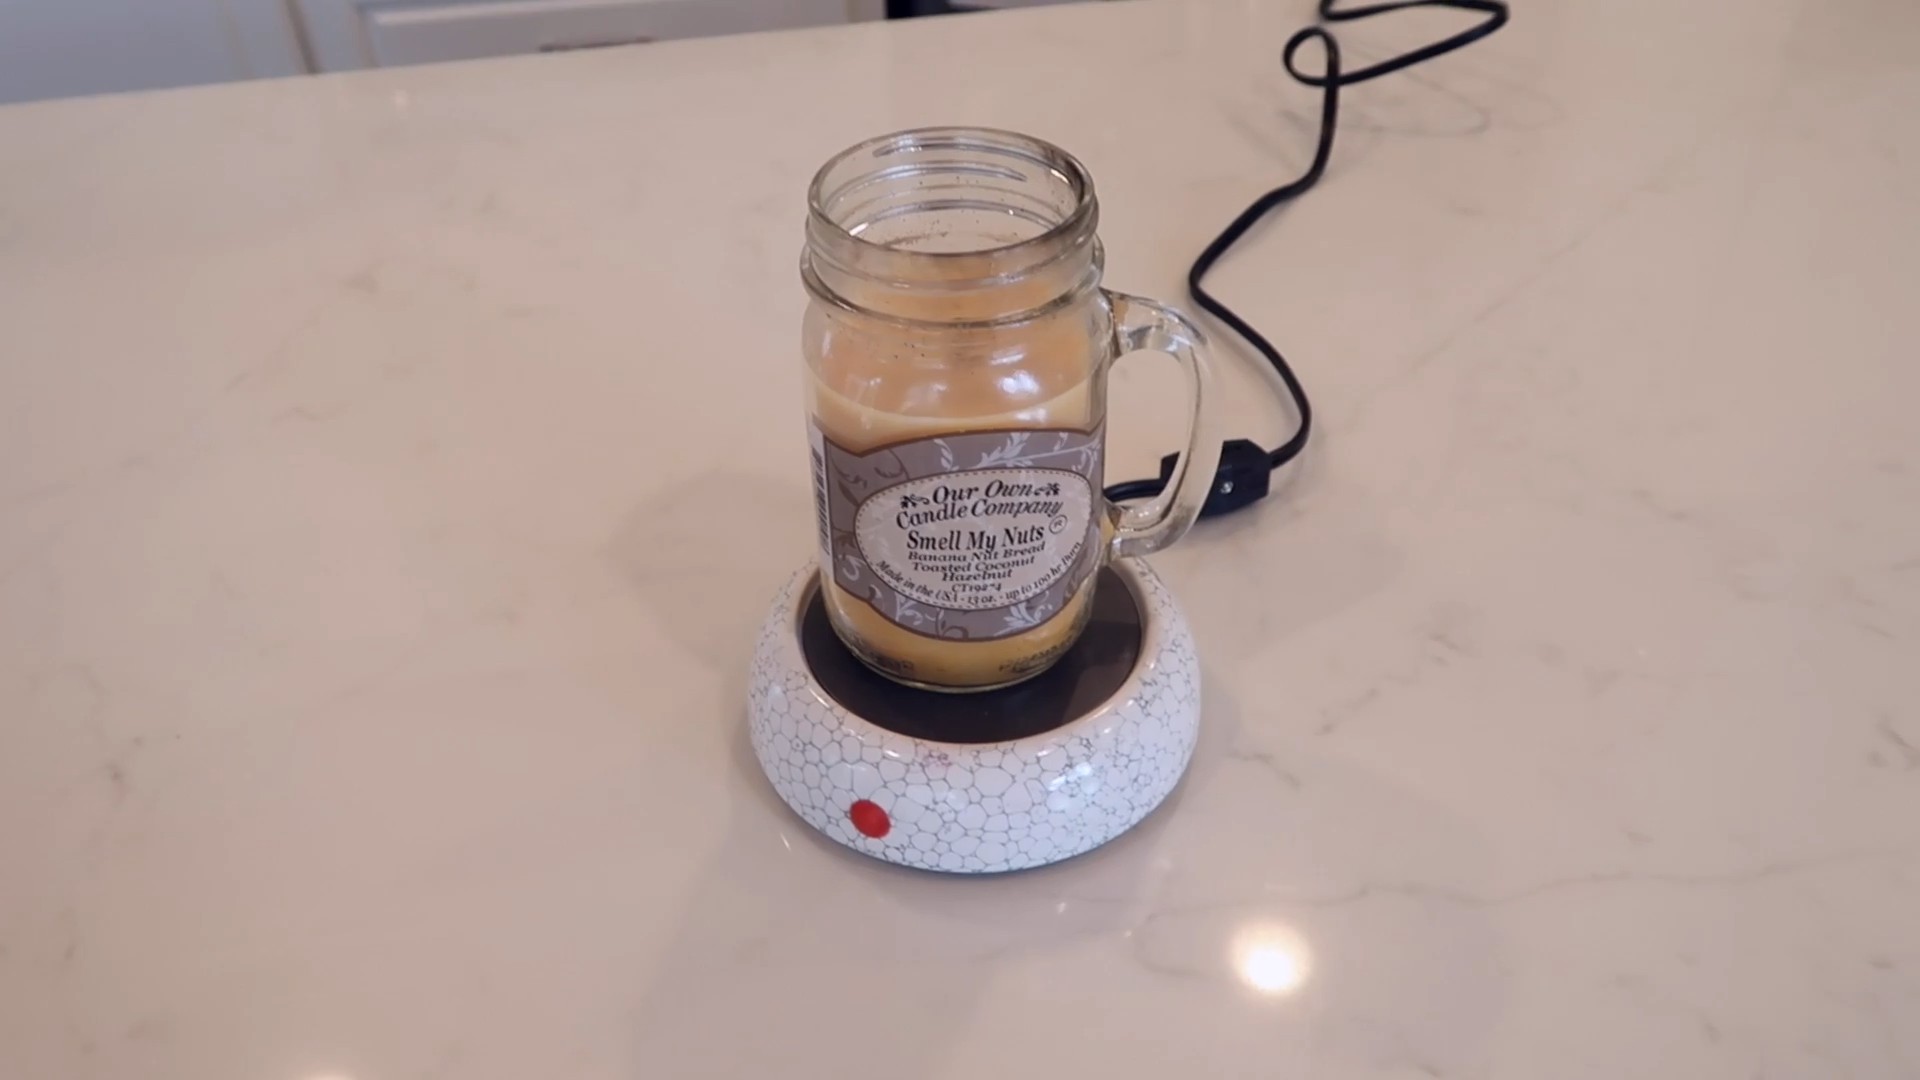
The possibilities for candle containers are endless! Vintage teacups, mason jars, seashells, small bowls, and even repurposed tin cans can all be used to create unique and stylish candles. Just make sure the container is heat-resistant and non-flammable. Clean the container thoroughly before using it. For added safety, you can place a heat-resistant mat underneath the candle. Consider the aesthetic you’re going for when choosing your container. A rustic mason jar might be perfect for a country-style candle, while a sleek glass container might be better suited for a modern design.
How do I clean up spilled wax?
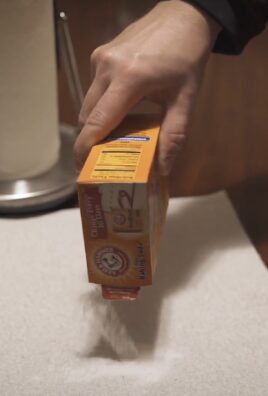
Spilled wax can be a pain to clean up, but there are a few effective methods. For hard surfaces, let the wax cool and harden completely. Then, gently scrape it off with a plastic scraper or credit card. For fabrics, place a piece of paper towel or brown paper bag over the wax and iron it on low heat. The heat will melt the wax, which will then be absorbed by the paper. Repeat as needed until all the wax is removed. You can also use a hairdryer to soften the wax before blotting it up with a cloth. Avoid using sharp objects to scrape wax off delicate surfaces, as this can cause damage.
Is it safe to leave a DIY candle unattended?
No, it is never safe to leave a burning candle unattended, regardless of whether it’s a store-bought candle or a DIY candle. Always keep burning candles within sight and away from flammable materials, such as curtains, paper, and furniture. Keep candles out of reach of children and pets. Never burn a candle for more than four hours at a time. Before leaving the room or going to bed, always extinguish the candle completely. Using a candle snuffer is the safest way to extinguish a candle, as it prevents hot wax from splattering.
Can I reuse old candle containers?
Yes, reusing old candle containers is a great way to be eco-friendly and save money. To clean out the old container, you can either freeze it for a few hours and then pop out the wax, or you can melt the remaining wax and pour it out (be careful not to pour hot wax down the drain). Wash the container thoroughly with soap and water before reusing it. Make sure the container is completely dry before adding new wax and a wick. Inspect the container for any cracks or damage before reusing it.
What if my DIY candle has a bad smell?
If your DIY candle has a bad smell, it could be due to a few factors. The wax might be old or contaminated, the essential oils might be of poor quality, or the wick might be producing too much smoke. Try using fresh wax and high-quality essential oils. Make sure the wick is the correct size for your container and wax type. Trim the wick regularly to prevent smoking. If the bad smell persists, you may need to discard the candle and start over.
Where can I find supplies for DIY candle making?
You can find candle-making supplies at most craft stores, online retailers, and even some hardware stores. Look for wax, wicks, essential oils, candle dyes, and containers. You can also find specialized candle-making kits that include everything you need to get started. When buying supplies, be sure to choose high-quality products from reputable suppliers. Reading reviews and comparing prices can help you find the best deals.


Leave a Comment