

DIY Cleaning Spray Recipe: Unlock the secrets to a sparkling clean home with a simple, all-natural solution! Are you tired of harsh chemicals and sky-high prices for cleaning products? I know I was! That’s why I dove headfirst into the world of homemade cleaners, and let me tell you, the results have been amazing.
For generations, resourceful homemakers have relied on the power of natural ingredients to keep their homes fresh and germ-free. Think back to your grandmother’s era – vinegar, baking soda, and essential oils were the cleaning powerhouses of the day. This isn’t just about nostalgia; it’s about tapping into a time-tested tradition of effective and eco-friendly cleaning.
In today’s world, we’re more conscious than ever about the products we bring into our homes. Many commercial cleaners are packed with chemicals that can be harmful to our health and the environment. That’s where this DIY Cleaning Spray Recipe comes in! It’s a fantastic way to reduce your exposure to toxins, save money, and create a cleaning solution that’s perfectly tailored to your needs. Plus, it’s incredibly satisfying to know you’re making something yourself that’s both effective and good for you and your family. So, let’s ditch the store-bought stuff and get ready to create a cleaning spray that will leave your home sparkling and smelling amazing!
DIY All-Purpose Cleaning Spray: Natural, Effective, and Budget-Friendly!
Hey everyone! I’m so excited to share my go-to recipe for an all-purpose cleaning spray. I’ve been using this for years, and it’s seriously replaced almost every commercial cleaner in my house. It’s super easy to make, uses ingredients you probably already have, and it’s way better for the environment (and your wallet!). Plus, you can customize the scent to your liking! Let’s get started!
What You’ll Need: The Ingredients
Before we dive into the mixing, let’s gather our supplies. Here’s what you’ll need:
* White Vinegar: This is the workhorse of our cleaner. It’s a natural disinfectant and deodorizer.
* Water: Distilled water is best to prevent mineral buildup, but tap water works just fine too.
* Essential Oils (Optional): These add a pleasant scent and can also boost the cleaning power. My favorites are lemon, tea tree, lavender, and eucalyptus.
* Spray Bottle: A clean, empty spray bottle is essential. I prefer a dark-colored bottle to protect the essential oils from light, but any spray bottle will do.
* Measuring Cup or Spoons: For accurate measurements.
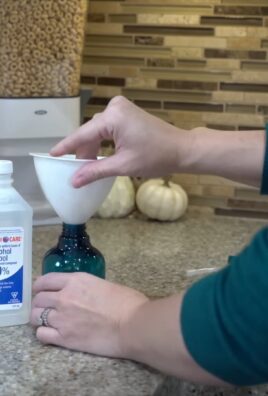
* Funnel (Optional): This makes pouring the ingredients into the spray bottle much easier and less messy.
The Recipe: Getting the Ratios Right
Okay, now for the magic formula! I’ve experimented with different ratios over the years, and this is the one I’ve found works best for me.
* Vinegar to Water Ratio: The key is to find a balance between cleaning power and scent. I usually go for a 1:1 ratio of white vinegar to water. This is strong enough to cut through grime but not so overpowering that the vinegar smell lingers forever. If you’re sensitive to the smell of vinegar, you can try a 1:2 ratio (1 part vinegar to 2 parts water).
* Essential Oils: This is where you can really customize your cleaner! I typically add about 15-20 drops of essential oils per 16-ounce spray bottle. You can use a single oil or a blend of your favorites.
Step-by-Step Instructions: Mixing Your Cleaning Spray
Alright, let’s get mixing! This is the fun part.
1. Prepare Your Spray Bottle: Make sure your spray bottle is clean and dry. If you’ve used it for other cleaners before, rinse it out thoroughly with soap and water.
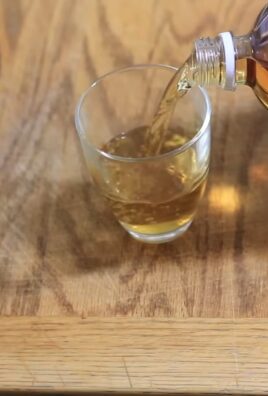
2. Add the Vinegar: Using your measuring cup, pour the white vinegar into the spray bottle. For a 16-ounce bottle, I usually add 8 ounces of vinegar.
3. Add the Water: Next, add the water to the spray bottle. Again, for a 16-ounce bottle, I add 8 ounces of water. Leave some space at the top of the bottle to allow for shaking.
4. Add Essential Oils (Optional): Now for the fun part! Add your chosen essential oils to the spray bottle. Remember, 15-20 drops is a good starting point. If you’re using a blend, experiment with different combinations to find your perfect scent. For example, I love a blend of 10 drops of lemon and 10 drops of tea tree for a fresh, clean scent with added antibacterial properties.
5. Close and Shake: Secure the spray nozzle onto the bottle and shake well to combine all the ingredients.
6. Label Your Bottle: This is important! Label your spray bottle with the contents and the date you made it. This will help you keep track of what’s inside and when it’s time to make a new batch. I usually just write “All-Purpose Cleaner” and the date on a piece of masking tape.
Using Your DIY Cleaning Spray: Where to Use It (and Where Not To!)
Now that you’ve made your amazing all-purpose cleaner, let’s talk about how to use it.
* Great for:
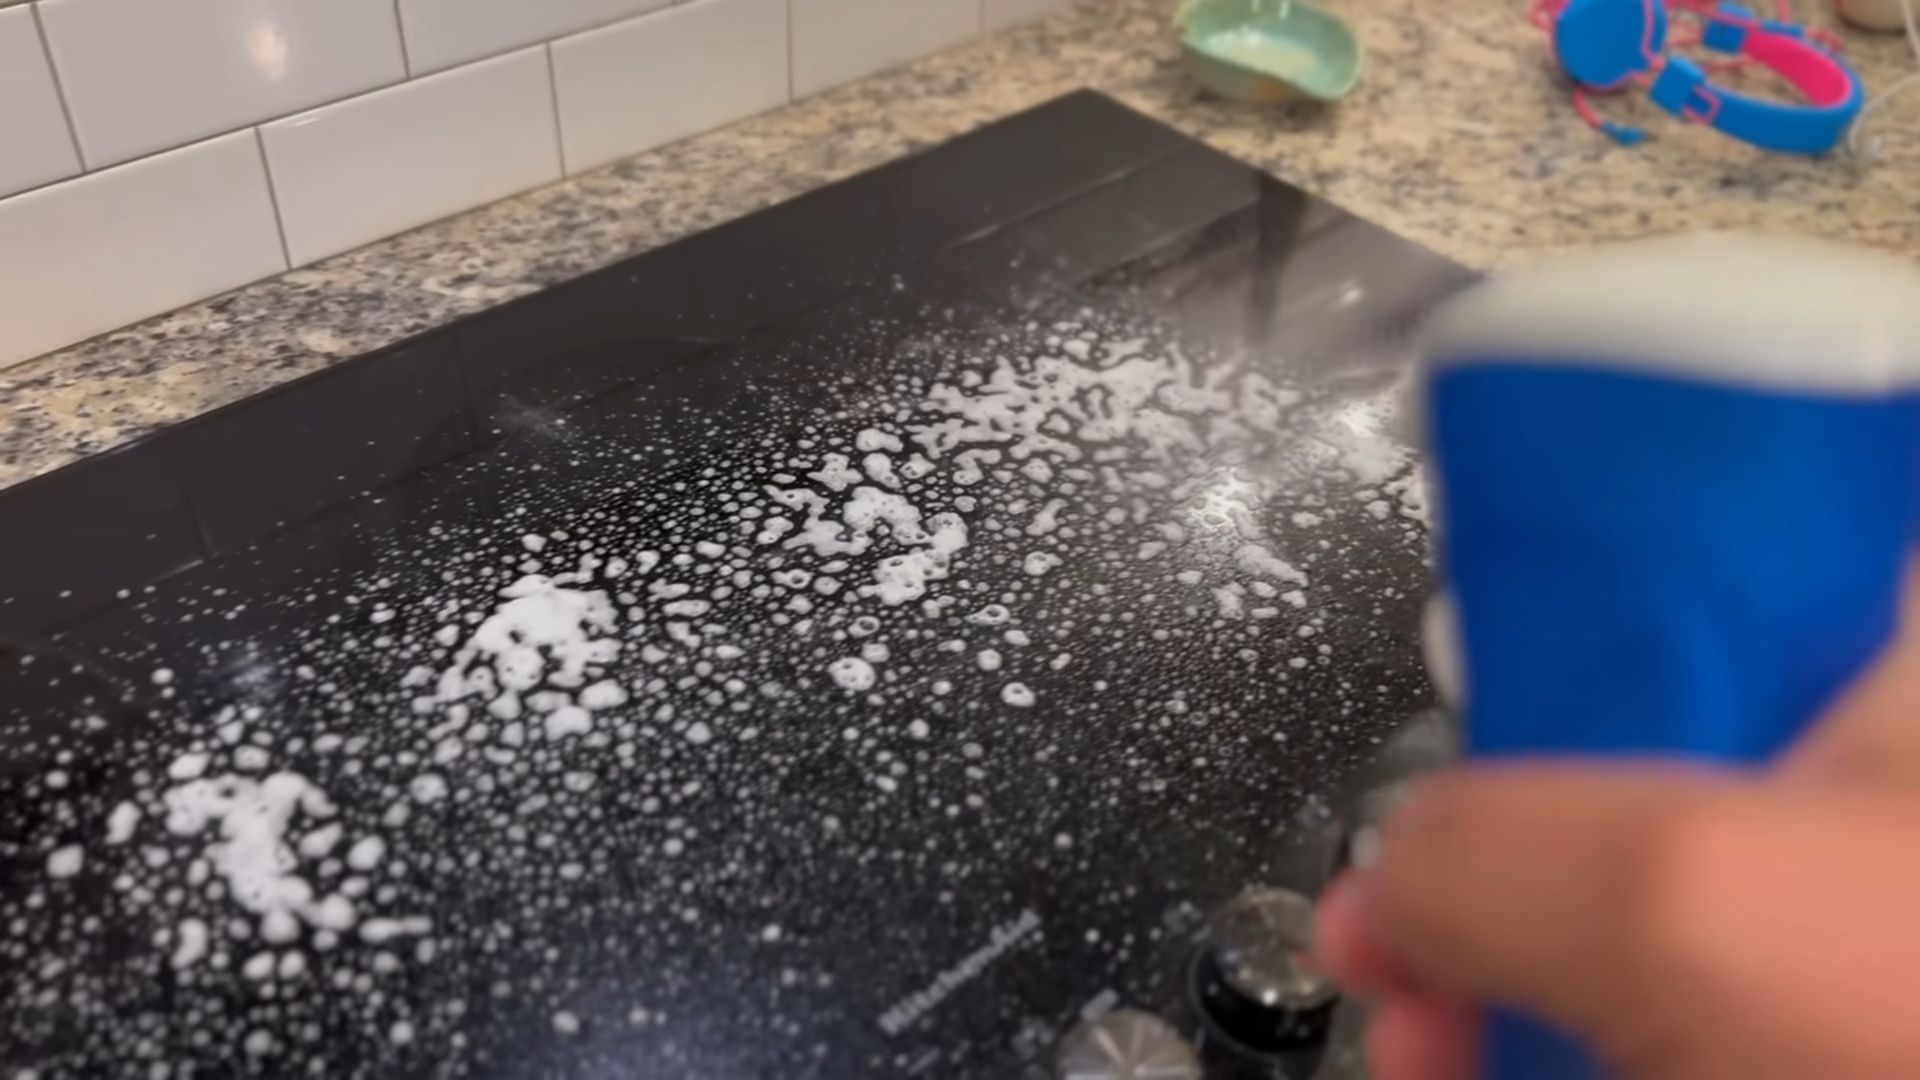
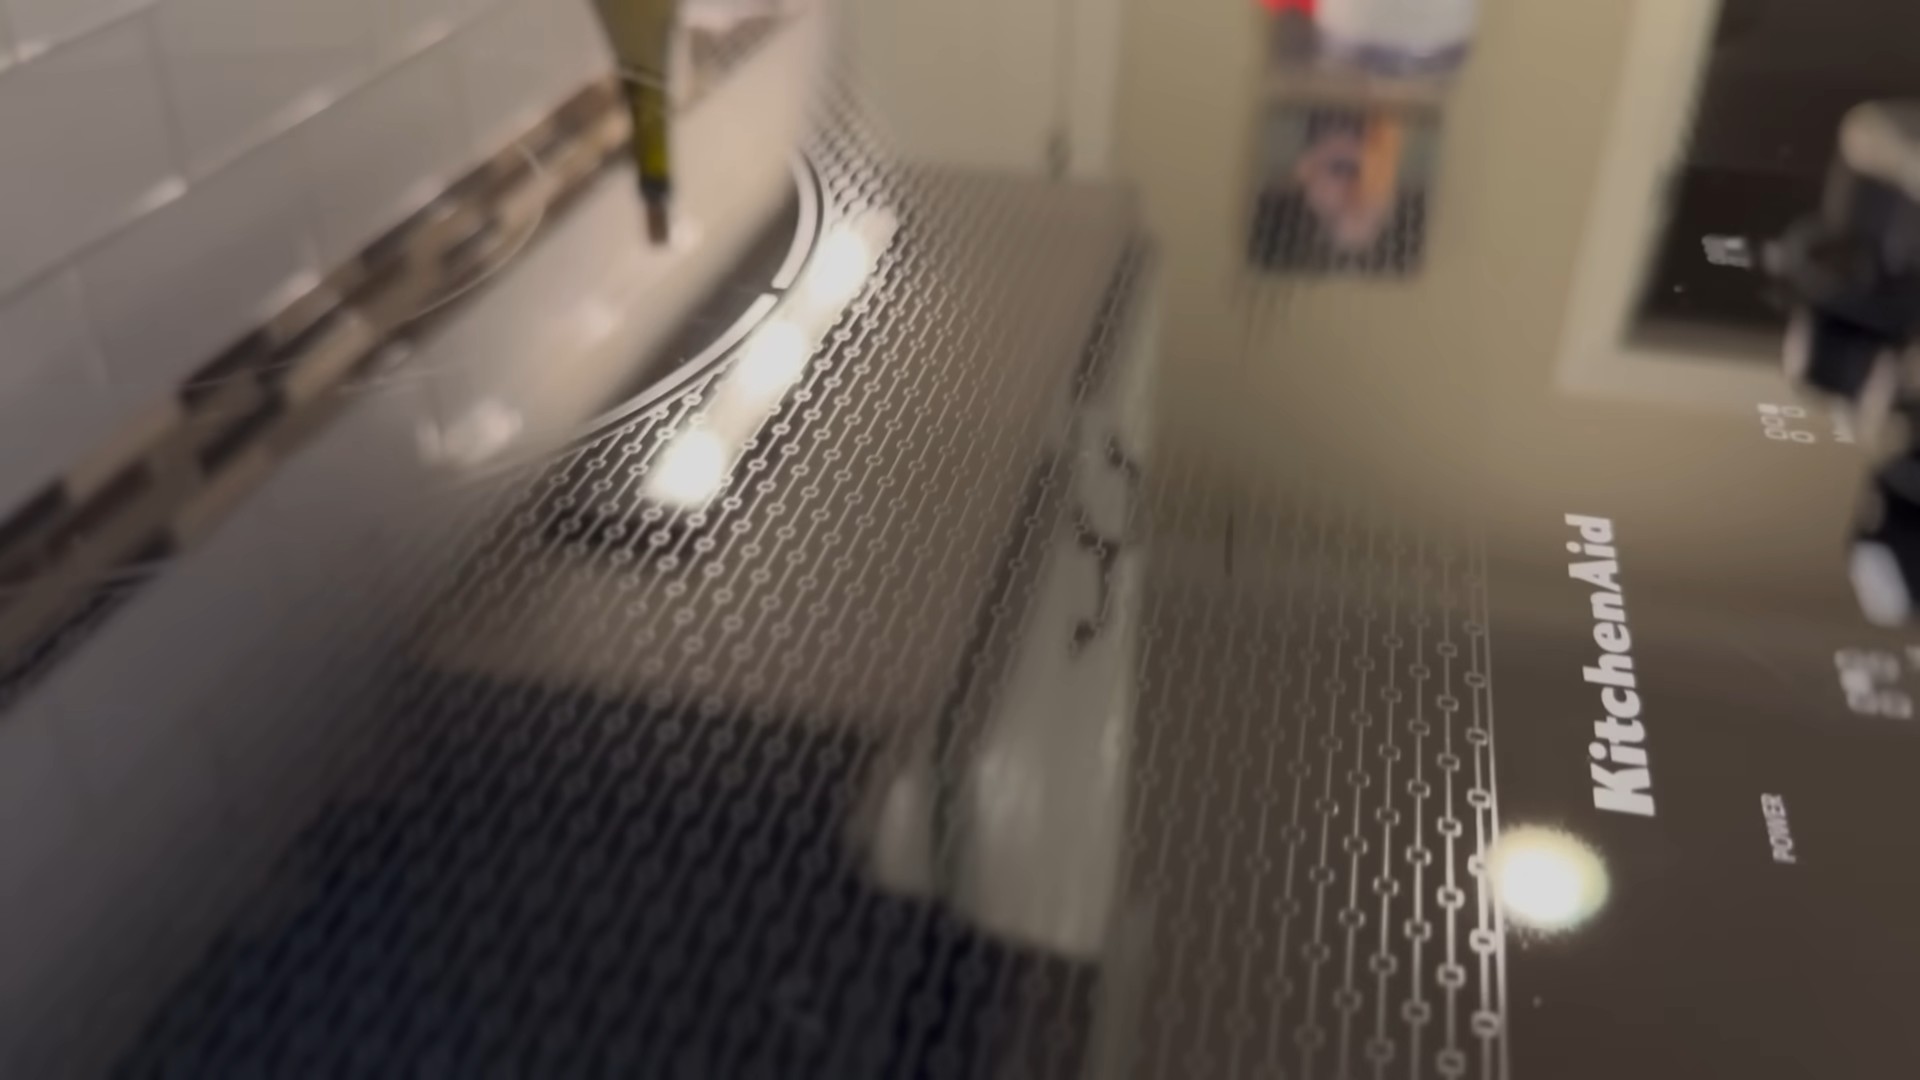
* Kitchen Counters: This cleaner works wonders on kitchen counters, cutting through grease and grime.
* Bathroom Surfaces: Use it to clean sinks, toilets, and showers. The vinegar helps to remove soap scum and hard water stains.
* Mirrors and Windows: This cleaner leaves mirrors and windows streak-free.
* Floors: You can use this cleaner on most hard floors, but always test it in an inconspicuous area first.
* Appliances: Wipe down the exterior of your appliances with this cleaner to keep them looking their best.
* Doorknobs and Light Switches: These are high-touch areas that need regular cleaning.
* Avoid Using On:
* Marble and Granite: The acidity of the vinegar can damage these surfaces.
* Waxed Wood: The vinegar can strip the wax from waxed wood surfaces.
* Electronics: Never spray this cleaner directly onto electronics. Instead, spray it onto a cloth and then wipe down the surface.
Tips and Tricks: Making the Most of Your Cleaner
Here are a few extra tips and tricks to help you get the most out of your DIY cleaning spray:
* Test Before You Spray: Always test the cleaner in an inconspicuous area before using it on a large surface, especially if you’re unsure about the material.
* Shake Before Each Use: The essential oils may separate from the water and vinegar over time, so shake the bottle well before each use to ensure that the ingredients are properly mixed.
* Let It Sit: For tough stains, spray the cleaner onto the surface and let it sit for a few minutes before wiping it clean.
* Use a Microfiber Cloth: Microfiber cloths are great for cleaning because they’re absorbent and don’t leave streaks.
* Store in a Cool, Dark Place: Store your cleaning spray in a cool, dark place to protect the essential oils from light and heat.
* Adjust the Scent: If you find the vinegar smell too strong, add more essential oils or try using a different type of vinegar, such as apple cider vinegar.
* Infuse Your Vinegar: For an extra boost of cleaning power and a more pleasant scent, you can infuse your vinegar with citrus peels or herbs. Simply add the peels or herbs to a jar of vinegar and let it sit for a few weeks before straining and using the infused vinegar in your cleaning spray.
Troubleshooting: Common Issues and Solutions
Sometimes, things don’t go exactly as planned. Here are a few common issues you might encounter and how to fix them:
* Vinegar Smell is Too Strong: If the vinegar smell is too strong, try reducing the amount of vinegar in the recipe or adding more essential oils. You can also try using a different type of vinegar, such as apple cider vinegar, which has a milder scent.
* Cleaner Leaves Streaks: If your cleaner is leaving streaks, try using a microfiber cloth and making sure you’re not using too much cleaner. You can also try adding a small amount of rubbing alcohol to the recipe to help it dry faster.
* Spray Bottle Clogs: If your spray bottle is clogging, try rinsing it out with warm water and vinegar. You can also try using a different spray bottle.
* Cleaner Doesn’t Seem to Be Working: If your cleaner doesn’t seem to be working, try letting it sit on the surface for a few minutes before wiping it clean. You can also try using a stronger vinegar solution or adding a small amount of baking soda to the recipe.
Essential Oil Blends: My Favorite Combinations
As I mentioned earlier, essential oils are a great way to customize your cleaning spray and add extra cleaning power. Here are a few of my favorite essential oil blends:
* Lemon and Tea Tree: This is my go-to blend for a fresh, clean scent with added antibacterial properties.
* Lavender and Eucalyptus: This blend is calming and refreshing, and it’s great for cleaning bathrooms and bedrooms.
* Orange and Clove: This blend is warm and inviting, and it’s perfect for cleaning kitchens and living rooms.
* Peppermint and Rosemary: This blend is invigorating and energizing, and it’s great for cleaning offices and workspaces.
Remember to experiment with different blends to find your favorites!
Cost Savings: How Much You’ll Save
One of the best things about making your own cleaning spray is the cost savings. Commercial cleaning products can be expensive, especially if you’re buying natural or eco-friendly options. By making your own cleaner, you can save a significant amount of money over time.
Let’s break it down:
* Commercial All-Purpose Cleaner: A bottle of commercial all-purpose cleaner typically costs between $3 and $5.
* DIY All-Purpose Cleaner: The cost of making your own cleaner is much lower. A gallon of
Conclusion
So, there you have it! This simple, effective, and incredibly affordable DIY cleaning spray recipe is a game-changer for anyone looking to ditch harsh chemicals and embrace a more natural approach to cleaning. We’ve walked you through the process, highlighting the ease of preparation and the versatility of the final product. But why is this DIY cleaning spray a must-try?
Firstly, it’s about control. You know exactly what’s going into your cleaning solution, eliminating the worry of hidden toxins and allergens. This is especially crucial for households with children, pets, or individuals with sensitivities. Secondly, it’s about cost savings. The ingredients are readily available and significantly cheaper than pre-packaged cleaning sprays, making it a budget-friendly alternative. Thirdly, it’s about environmental responsibility. By reducing your reliance on plastic bottles and chemical-laden products, you’re actively contributing to a healthier planet.
But the beauty of this DIY cleaning spray lies in its adaptability. Feel free to experiment with different essential oil combinations to create your signature scent. For a more potent disinfectant, consider adding a few drops of tea tree oil. If you’re tackling greasy surfaces, a squeeze of lemon juice can work wonders. And for a refreshing citrus burst, try using orange or grapefruit essential oils. The possibilities are truly endless!
This DIY cleaning spray is more than just a cleaning solution; it’s a step towards a healthier home and a more sustainable lifestyle. It’s a chance to take control of your cleaning routine and create a product that perfectly suits your needs and preferences.
We wholeheartedly encourage you to give this DIY cleaning spray recipe a try. It’s quick, easy, and the results speak for themselves. Once you’ve experienced the power of natural cleaning, you’ll never look back.
Don’t just take our word for it, though! We’d love to hear about your experiences. Share your variations, your favorite essential oil blends, and any tips or tricks you discover along the way. Let’s build a community of DIY cleaning enthusiasts and inspire others to embrace a more natural and sustainable way of life. Share your photos and stories on social media using #DIYCleaningSpray and let us know how this recipe has transformed your cleaning routine. We can’t wait to see what you create!
Frequently Asked Questions (FAQ)
What exactly are the benefits of using a DIY cleaning spray compared to store-bought options?
DIY cleaning sprays offer a multitude of advantages. Primarily, you have complete control over the ingredients, avoiding harsh chemicals, artificial fragrances, and potential allergens found in many commercial cleaners. This is particularly beneficial for individuals with sensitivities, allergies, or respiratory issues. Furthermore, DIY cleaning sprays are often more cost-effective, as the ingredients are typically less expensive than pre-packaged products. Finally, using DIY cleaning sprays reduces your environmental impact by minimizing plastic waste and the release of harmful chemicals into the ecosystem. You are essentially creating a more sustainable and healthier cleaning solution.
Can I use different types of vinegar in this DIY cleaning spray recipe?
Yes, you can experiment with different types of vinegar, but white vinegar is generally recommended for its effectiveness and neutral scent. Apple cider vinegar is another option, although it has a slightly stronger odor. Avoid using balsamic vinegar or other flavored vinegars, as they may stain surfaces. The key is to ensure the vinegar has a sufficient acidity level to effectively disinfect and clean. White vinegar is the most readily available and affordable option, making it the ideal choice for most DIY cleaning spray applications.
What essential oils are best to use in a DIY cleaning spray, and what are their benefits?
The choice of essential oils is largely a matter of personal preference, but some oils offer specific cleaning and aromatherapy benefits. Lavender oil has antibacterial properties and a calming scent. Tea tree oil is a powerful disinfectant and antifungal agent. Lemon oil is excellent for cutting through grease and leaving a fresh, citrusy aroma. Eucalyptus oil has antiseptic properties and can help clear congestion. Peppermint oil provides a refreshing scent and can deter pests. When selecting essential oils, ensure they are 100% pure and therapeutic grade for optimal effectiveness and safety. Remember to research any potential allergies or sensitivities before using a particular essential oil.
Is this DIY cleaning spray safe to use on all surfaces?
While this DIY cleaning spray is generally safe for most surfaces, it’s always a good idea to test it on an inconspicuous area first, especially on delicate or porous materials like marble, granite, or unfinished wood. The acidity of vinegar can potentially damage certain surfaces over time. Avoid using the spray on electronics or screens, as the moisture could cause damage. For sensitive surfaces, consider diluting the spray further with water or using a gentler alternative, such as a baking soda paste. Always read the manufacturer’s instructions for specific cleaning recommendations for your surfaces.
How long does this DIY cleaning spray last, and how should I store it?
This DIY cleaning spray typically lasts for several months when stored properly. To maximize its shelf life, store it in a cool, dark place away from direct sunlight and heat. A glass spray bottle is preferable to plastic, as essential oils can degrade plastic over time. Label the bottle with the date of preparation to keep track of its freshness. If you notice any changes in color, odor, or consistency, it’s best to discard the spray and make a fresh batch. Proper storage will ensure the effectiveness and longevity of your DIY cleaning spray.
Can I use this DIY cleaning spray to clean my bathroom?
Absolutely! This DIY cleaning spray is excellent for cleaning bathrooms. The vinegar helps to dissolve soap scum and hard water stains, while the essential oils provide a fresh and clean scent. It can be used on sinks, toilets, showers, and tiles. For tougher stains, let the spray sit for a few minutes before wiping clean. However, avoid using it on natural stone surfaces like marble, as the acidity of the vinegar can damage them. Always test the spray on an inconspicuous area first to ensure it doesn’t cause any discoloration or damage.
What if I don’t like the smell of vinegar?
The smell of vinegar can be off-putting to some, but it dissipates quickly after the spray dries. Adding essential oils can help to mask the vinegar scent and leave a more pleasant aroma. You can also try using a higher concentration of essential oils or experimenting with different blends to find a scent that you enjoy. Another option is to let the area air out after cleaning to help the vinegar smell dissipate faster. Remember, the cleaning power of the vinegar is worth the temporary scent, and the benefits of a natural cleaning solution outweigh the minor inconvenience.
Can I add other ingredients to this DIY cleaning spray?
Yes, you can customize this DIY cleaning spray with other ingredients to suit your specific needs. For example, adding a small amount of rubbing alcohol can enhance its disinfecting properties. A few drops of dish soap can help to cut through grease and grime. Baking soda can be added for extra scrubbing power. However, be cautious when combining ingredients, as some mixtures can create harmful fumes. Always research the compatibility of ingredients before adding them to your DIY cleaning spray. Start with small amounts and test the spray on an inconspicuous area before using it on a larger surface.
Leave a Comment