

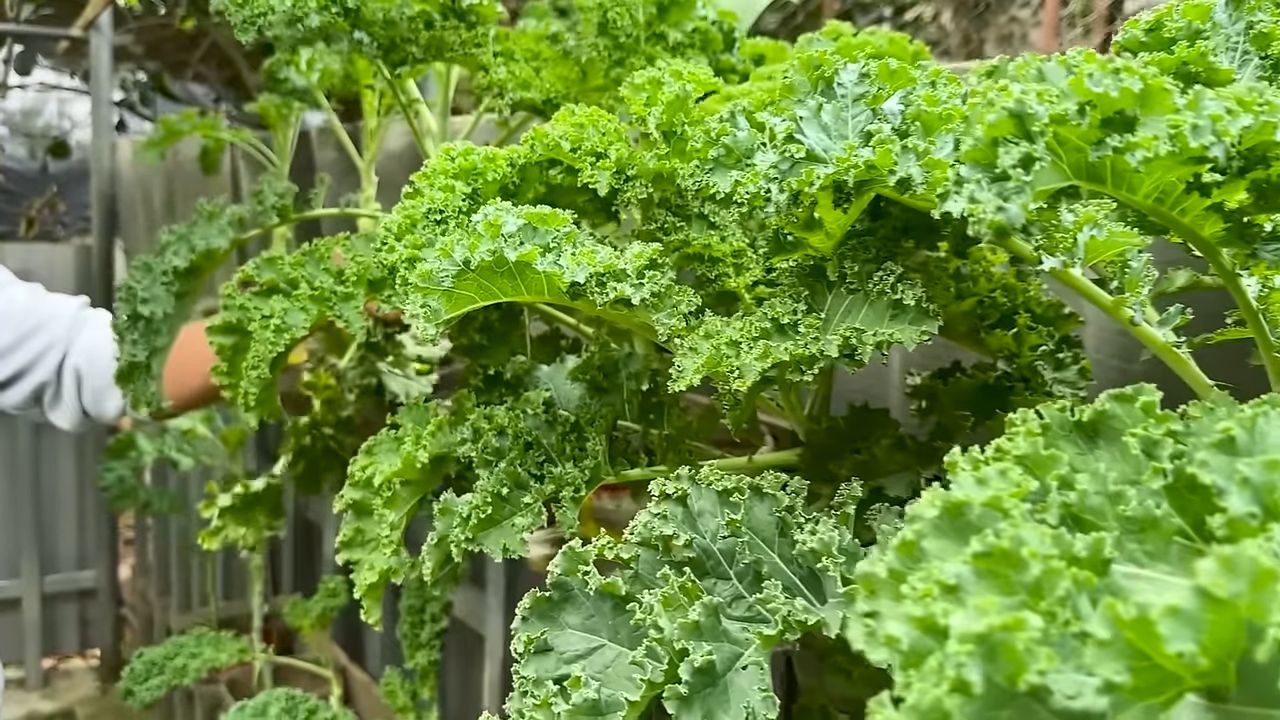
DIY Kale Bottle Garden: Ready to ditch the grocery store kale and grow your own fresh, vibrant greens right at home? I’m so excited to share this incredibly easy and rewarding DIY project with you! Forget sprawling gardens and complicated setups. We’re talking about transforming humble plastic bottles into thriving kale havens.
Growing your own food, even in small spaces, is a practice with roots stretching back centuries. From ancient rooftop gardens in Babylon to the “victory gardens” of wartime, people have always found ways to cultivate sustenance close to home. Now, with concerns about food security and a desire for healthier, more sustainable living, home gardening is experiencing a major resurgence. And what better way to jump on the bandwagon than with a fun, eco-friendly project?
Why do you need this DIY Kale Bottle Garden trick in your life? Well, imagine having a constant supply of fresh, organic kale just steps away from your kitchen. No more wilted greens from the supermarket, no more mysterious origins. Plus, it’s a fantastic way to recycle those plastic bottles that might otherwise end up in a landfill. It’s a win-win! This project is perfect for apartment dwellers, beginner gardeners, or anyone looking for a simple and satisfying way to connect with nature and enjoy the delicious benefits of homegrown kale.
DIY Cabbage Bottle Garden: Your Own Mini Garden Made from Recycled Bottles
Hello dear gardening friends! Are you excited to create something sustainable while also harvesting fresh kale? Then you’ve come to the right place! I’ll show you how to create a cool and space-saving cabbage bottle garden using old plastic bottles. This is not only great for the environment, but it’s also a fantastic way to grow your own vegetables in even the smallest spaces. Let’s get started!
What You Need:
- Several plastic bottles (preferably 1.5 or 2 liters)
- A sharp knife or scissors
- A drill or a nail and hammer
- Potting soil
- Kale seedlings or seeds
- Gravel or expanded clay (for drainage)
- String or wire (for hanging)
- Optional: Spray paint (to beautify the bottles)
- Optional: Felt or jute (to protect the soil)
Step-by-Step Instructions:
- Preparing the Bottles
- Cleaning: First, you need to thoroughly clean the plastic bottles. Remove all labels and rinse them with warm water and dish soap. Let them dry well. This is important to ensure that no residues affect the plants later.
- Cutting: Now comes the fun part! You need to cut the bottles to serve as planters. There are different ways you can do this. I’ll show you two options:
- Option 1: Hanging Planters: Cut the bottle about one-third from the top. The top part will later be inverted into the bottom part.
- Option 2: Stacked Planters: Cut the bottom of the bottle off. These bottles will later be stacked on top of each other.
- Drilling Holes: To allow water to drain and prevent waterlogging, you need to drill holes in the bottom of the bottles. Use a drill or a nail and hammer for this. Make sure the holes are not too large, so the soil doesn’t fall out. For the stacked planters, drill holes in the sides as well to give the roots room to spread.
- Decoration (Optional)
- Painting: If you want to spruce up your cabbage bottle garden, you can paint the bottles with spray paint. Let your creativity run wild! Just make sure the paint is non-toxic and suitable for outdoor use.
- Decoration: You can also decorate the bottles with other materials, such as shells, stones, or fabric scraps.
- Planting
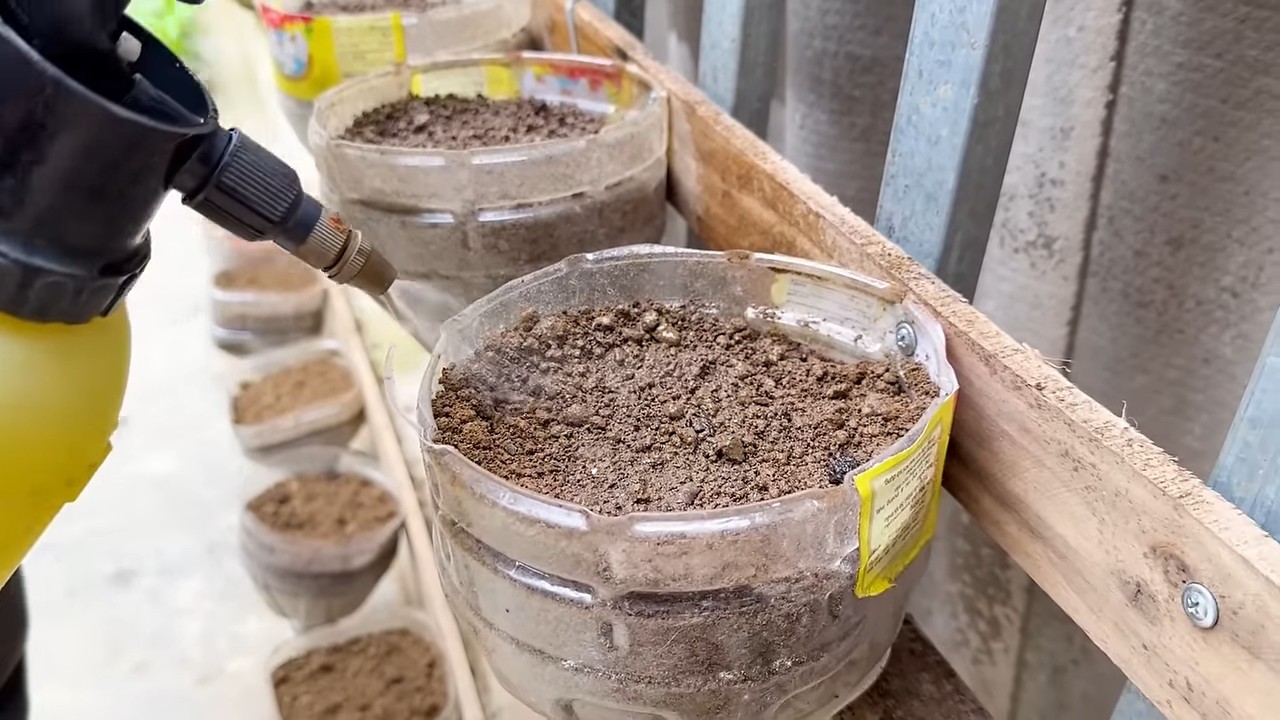
- Drainage: Fill the bottom of the bottles with a layer of gravel or expanded clay. This ensures good drainage and prevents waterlogging.
- Filling with Soil: Fill the bottles with potting soil. Make sure the soil is loose and rich in humus.
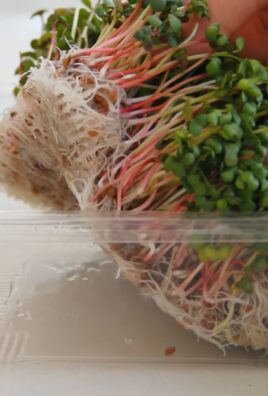
- Planting the Seeds or Seedlings: Place the kale seedlings or seeds into the soil. Make sure the roots of the seedlings are well covered. If you’re using seeds, follow the instructions on the seed packet.
- Watering: Water the plants gently. Ensure the soil is moist, but not soaking wet.
- Hanging (for Hanging Planters)
- Drilling Holes for Hanging: Drill holes into the top edges of the bottles (or the top part, which will be inverted) for hanging.
- Attaching the String or Wire: Thread a piece of string or wire through the holes and tie it securely. Make sure the string or wire is strong enough to support the weight of the planted bottle.
- Hanging: Choose a sunny spot for your cabbage bottle garden and hang the bottles.
- Care
- Watering: Water the plants regularly. Make sure the soil is always moist but not too wet. On hot days, you may need to water more often.
- Fertilizing: Fertilize the plants regularly with organic fertilizer. This promotes healthy growth and a bountiful harvest.
- Pests: Keep an eye out for pests like aphids or caterpillars. You can use organic pest control products if needed.
- Harvesting: Once the kale is big enough, you can harvest it. Simply cut off the leaves. The plant will continue to grow and produce new leaves.
Additional Tips and Tricks:
- Sunlight: Kale needs plenty of sun to grow well. Choose a location where the plants will get at least six hours of sunlight per day.
- Wind Protection: If your cabbage bottle garden is in a windy spot, you should protect it from the wind. This will prevent the plants from drying out or toppling over.
- Variety Selection: There are different kale varieties. Choose a variety that you like and that is suitable for container gardening.
- Hardiness: Kale is hardy and can be harvested even in winter. However, if it gets very cold, you should protect the plants from frost. You can cover them with fleece, for example.
- Upcycling: Instead of buying new plastic bottles, you can also use old ones that you would otherwise throw away. This is not only good for the environment but also for your wallet.
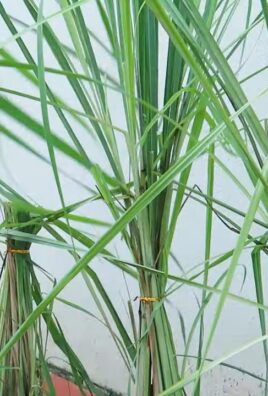
- Combining with Other Plants: You can also combine your cabbage bottle garden with other plants, like herbs or lettuce. This adds more variety and looks beautiful.
- Vertical Gardens: If you have several cabbage bottle gardens, you can combine them into a vertical garden. This saves space and looks very decorative. You can attach the bottles to a wall or fence.
- Fleece or Jute: To prevent soil from spilling out of the holes, you can line the inside of the bottles with fleece or jute before filling them with soil.
- Labeling: Label the bottles so you know which variety of kale you planted. This is especially helpful if you grow different varieties.
- Involving Children: Making and planting the cabbage bottle garden is a great activity for kids. They can learn how plants grow and how to grow vegetables.
Why a Cabbage Bottle Garden?
- Sustainability: You recycle plastic bottles and help reduce waste.
- Space-saving: The cabbage bottle garden is perfect for small balconies or terraces.
- Fresh Vegetables: You always have fresh kale on hand.
- Decorative: The cabbage bottle garden is an eye-catching feature.
- Educational: You learn about growing vegetables.
I hope you enjoyed this guide and feel inspired to build your own cabbage bottle garden. It’s really a fantastic project that’s fun to do and also does something good for the environment. Wishing you lots of success and a bountiful harvest! Let me know how it works for you! I look forward to your comments and photos of your homemade cabbage bottle gardens!
Conclusion
So, there you have it! Transforming discarded plastic bottles into thriving miniature kale gardens is not just a fun project; it’s a sustainable solution, a budget-friendly gardening hack, and a surprisingly effective way to grow your own fresh greens, even with limited space. This DIY kale bottle garden method offers a unique opportunity to connect with nature, reduce waste, and enjoy the satisfaction of harvesting your own food.
Why is this a must-try? Because it addresses several key needs in one fell swoop. It’s eco-conscious, repurposing materials that would otherwise end up in landfills. It’s economical, requiring minimal investment beyond the initial bottle and some basic gardening supplies. And it’s accessible, making gardening feasible for apartment dwellers, urban residents, or anyone with limited outdoor space. Plus, the visual appeal of these vertical gardens adds a touch of green beauty to any environment.
But the beauty of this project lies in its adaptability. Feel free to experiment with different bottle sizes and shapes to create unique garden designs. Consider painting the bottles to add a splash of color or camouflage them to blend seamlessly with your surroundings. You can also explore different growing mediums, such as coco coir or a blend of compost and perlite, to find what works best for your specific climate and kale variety.
Beyond kale, you can also try growing other leafy greens like spinach, lettuce, or even herbs like basil and parsley in your bottle garden. Just be sure to choose varieties that are well-suited to container gardening and provide adequate sunlight and water.
Don’t be afraid to get creative with your watering system. While the wicking method described earlier is effective, you can also explore other options, such as a drip irrigation system using repurposed tubing or a simple hand-watering routine. The key is to monitor the moisture levels in the soil and adjust your watering accordingly.
We strongly encourage you to give this DIY kale bottle garden a try. It’s a rewarding experience that will not only provide you with fresh, healthy greens but also contribute to a more sustainable lifestyle. And most importantly, we want to hear about your experiences! Share your photos, tips, and challenges in the comments below. Let’s build a community of bottle gardeners and inspire others to embrace this eco-friendly and rewarding project. What varieties of kale did you try? What challenges did you face, and how did you overcome them? Your insights can help others succeed and further refine this innovative gardening technique. Happy gardening!
Frequently Asked Questions (FAQ)
What type of plastic bottles are best for a DIY kale bottle garden?
Ideally, you should use food-grade plastic bottles, such as those that previously contained water, juice, or soda. These are generally considered safe for growing edible plants. Avoid using bottles that contained harsh chemicals or cleaning products, as these may leach harmful substances into the soil. PET (Polyethylene Terephthalate) bottles, commonly used for water and soda, are a good choice. Make sure to thoroughly clean the bottles with soap and water before using them for your garden.
How much sunlight does a kale bottle garden need?
Kale thrives in full sun, which means at least 6 hours of direct sunlight per day. However, it can also tolerate partial shade, especially in hotter climates. If you’re growing your kale bottle garden indoors, you’ll need to supplement with grow lights to provide adequate light. Position your bottles near a sunny window or use a full-spectrum grow light for 12-14 hours per day. Monitor your kale plants closely and adjust the light levels as needed to prevent them from becoming leggy or stunted.
What kind of soil should I use for my kale bottle garden?
A well-draining potting mix is essential for a successful kale bottle garden. Avoid using garden soil, as it can become compacted in containers and restrict root growth. A good potting mix will contain a blend of peat moss, perlite, and vermiculite, which provides good aeration and drainage. You can also add compost to the mix to provide additional nutrients. Alternatively, you can create your own potting mix by combining equal parts of coco coir, perlite, and compost.
How often should I water my kale bottle garden?
The watering frequency will depend on several factors, including the size of the bottle, the type of soil, the climate, and the stage of growth of the kale plants. In general, you should water your kale bottle garden when the top inch of soil feels dry to the touch. Avoid overwatering, as this can lead to root rot. If you’re using the wicking method, make sure the reservoir is always filled with water. Check the moisture levels regularly and adjust your watering accordingly.
How do I fertilize my kale bottle garden?
Kale is a heavy feeder, so it’s important to fertilize your bottle garden regularly. You can use a liquid fertilizer diluted to half strength or a slow-release granular fertilizer. Apply the fertilizer according to the instructions on the package. Alternatively, you can add compost tea to the soil every few weeks to provide a natural source of nutrients. Avoid over-fertilizing, as this can burn the roots of the plants.
How do I prevent pests and diseases in my kale bottle garden?
Regularly inspect your kale plants for signs of pests or diseases. Common pests that affect kale include aphids, cabbage worms, and flea beetles. You can control these pests by handpicking them off the plants, spraying them with insecticidal soap, or using a biological control agent like Bacillus thuringiensis (Bt). To prevent diseases, ensure good air circulation around the plants and avoid overwatering. If you notice any signs of disease, remove the affected leaves immediately.
Can I grow different varieties of kale in my bottle garden?
Yes, you can grow different varieties of kale in your bottle garden. Some popular varieties include curly kale, Lacinato kale (also known as dinosaur kale), and Red Russian kale. Choose varieties that are well-suited to container gardening and have a compact growth habit. Be sure to provide adequate space between the plants to allow for proper air circulation and growth.
How long does it take for kale to grow in a bottle garden?
Kale typically takes 55-75 days to mature, depending on the variety and growing conditions. You can start harvesting the outer leaves of the plant once they reach a usable size. Continue harvesting the leaves as needed, leaving the inner leaves to continue growing. This will allow you to enjoy a continuous harvest of fresh kale from your bottle garden.
What are the benefits of growing kale in a bottle garden?
Growing kale in a bottle garden offers several benefits, including:
* **Sustainability:** Repurposes plastic bottles and reduces waste.
* **Space-saving:** Allows you to grow kale even with limited space.
* **Accessibility:** Makes gardening feasible for apartment dwellers and urban residents.
* **Cost-effective:** Requires minimal investment beyond the initial bottle and some basic gardening supplies.
* **Fresh produce:** Provides you with fresh, healthy kale that you can harvest right from your own garden.
* **Aesthetic appeal:** Adds a touch of green beauty to any environment.
What if my kale plants start to turn yellow?
Yellowing leaves can indicate several issues. It could be due to overwatering, underwatering, nutrient deficiency (especially nitrogen), or pest infestation. Check the soil moisture, ensure proper drainage, and consider fertilizing with a balanced fertilizer. Inspect the leaves for pests and treat accordingly. If the yellowing persists, it could be a sign of a more serious problem, such as root rot, which requires immediate attention.

Leave a Comment