

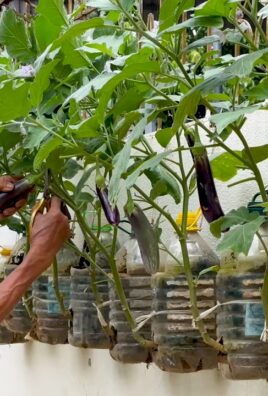
DIY Pumpkin Drip System: Tired of your precious plants wilting under the summer sun, even when you think you’ve watered them enough? I know the feeling! It’s frustrating to pour your heart (and water!) into your garden only to see your leafy friends looking parched. But what if I told you there’s a fun, eco-friendly, and surprisingly effective way to keep your plants hydrated using something you might already have lying around – a pumpkin!
Pumpkins, beyond their association with Halloween and delicious pies, have a long and fascinating history. Originating in North America, they’ve been cultivated for thousands of years, providing sustenance and even serving as containers. Now, we’re repurposing this humble gourd for a modern gardening solution.
This DIY pumpkin drip system isn’t just a quirky project; it’s a game-changer for busy gardeners or anyone looking for a sustainable watering method. It provides slow, consistent hydration directly to the roots, minimizing water waste and promoting healthier plant growth. Plus, it’s a fantastic way to recycle those pumpkins after the fall festivities are over! So, ditch the guesswork and let’s dive into creating your very own DIY pumpkin drip system – your plants will thank you!
DIY Pumpkin Drip System: A Spooky & Sustainable Watering Solution
Hey there, fellow gardeners! Are you tired of constantly watering your plants, especially during those hot summer months? And are you looking for a fun, eco-friendly way to do it? Well, I’ve got just the project for you: a DIY Pumpkin Drip System! This quirky and effective watering method not only looks adorable in your garden but also provides a slow, consistent release of water directly to the roots of your plants. Let’s dive in!
What You’ll Need
Before we get started, let’s gather all the necessary materials. This will make the process much smoother and prevent any frustrating mid-project trips to the hardware store.
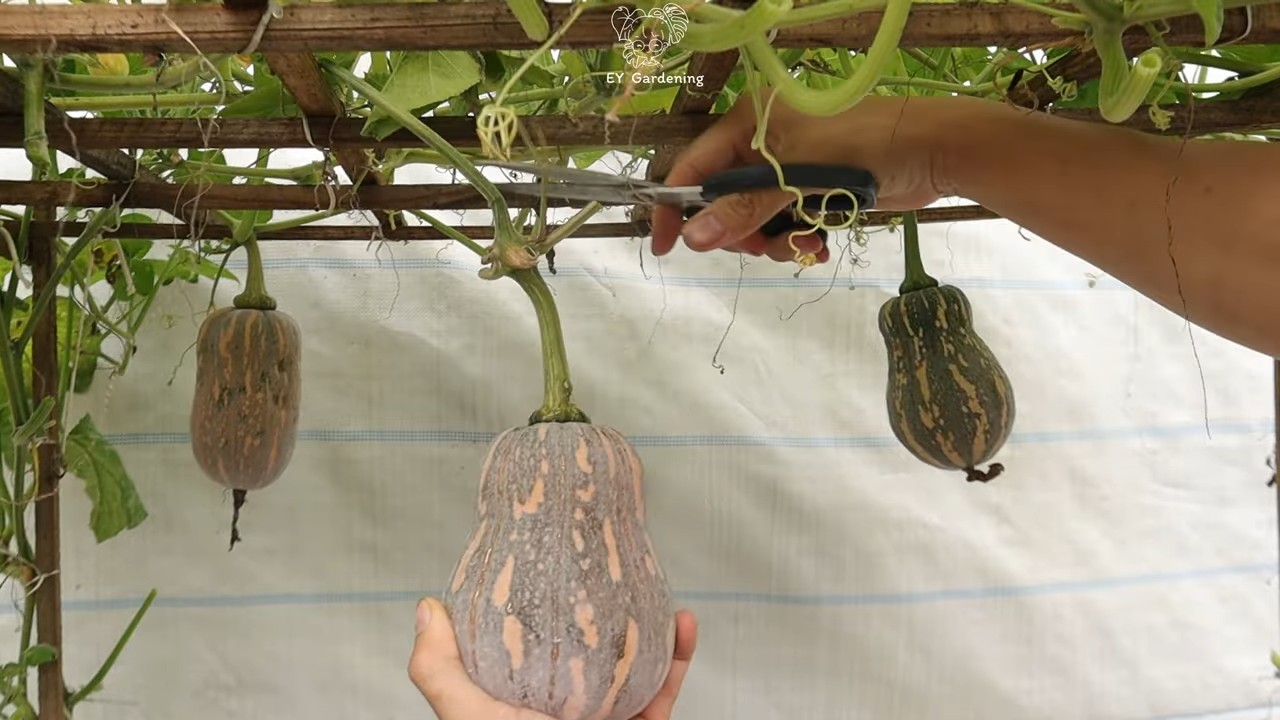
* A Pumpkin: Choose a pumpkin that’s appropriately sized for the plant you want to water. A smaller pumpkin is perfect for individual plants, while a larger one can serve a small cluster. Make sure it’s a fresh pumpkin, not one that’s already starting to rot!
* Drill with Various Drill Bits: You’ll need a drill to create drainage holes and a larger hole for filling the pumpkin with water. A range of drill bit sizes will give you flexibility.
* Knife or Carving Tools: For carving the top of the pumpkin and cleaning out the insides.
* Gloves: Trust me, you’ll want these when dealing with pumpkin guts!
* Water: Obviously!
* Optional:
* Small rocks or gravel: To place at the bottom of the pumpkin to prevent soil from clogging the drainage holes.
* Landscape fabric or burlap: To line the inside of the pumpkin and further filter the water.
* Decorative elements: Paint, stencils, or other embellishments to personalize your pumpkin.
Choosing the Right Pumpkin
The size of your pumpkin is crucial. Consider the size and water needs of the plant you’ll be watering. A small herb plant won’t need as much water as a thirsty tomato plant. Also, think about the aesthetics. Do you want a subtle, hidden watering system, or a bold, eye-catching garden feature?
Step-by-Step Instructions: Building Your Pumpkin Drip System
Alright, let’s get our hands dirty! Follow these steps to create your very own pumpkin drip system.
1. Prepare the Pumpkin:
* First, put on your gloves! This part can get messy.
* Using your knife or carving tools, carefully cut a circular opening around the stem of the pumpkin. Make the opening large enough to easily scoop out the insides.
* Remove the top and set it aside. You can discard it or use it as a lid later on.
* Scoop out all the seeds and pulp from inside the pumpkin. Scrape the walls clean as best as you can. The cleaner the inside, the slower the pumpkin will decompose.
* Pro Tip: Don’t throw away the seeds! You can roast them for a delicious snack.
2. Drill Drainage Holes:
* Now, it’s time to create the drainage holes. This is what allows the water to slowly seep into the soil.
* Using a small drill bit (around 1/8 inch), drill several holes in the bottom of the pumpkin. Start with 5-6 holes and add more if needed, depending on how quickly you want the water to drain.
* Space the holes evenly across the bottom of the pumpkin.
* Important: Be careful not to drill too many holes, or the water will drain too quickly. You want a slow, consistent drip.
3. Add Filtration (Optional):
* To prevent the drainage holes from clogging with soil, you can add a layer of filtration.
* First, place a layer of small rocks or gravel at the bottom of the pumpkin. This will create a space for the water to drain without being immediately blocked by soil.
* Next, line the inside of the pumpkin with landscape fabric or burlap. This will act as a filter, preventing soil particles from entering the drainage holes. Cut the fabric slightly larger than the inside of the pumpkin and tuck it in around the edges.
4. Position the Pumpkin:
* Choose the location where you want to place your pumpkin drip system. Make sure it’s close to the plant you want to water.
* Dig a small hole in the soil, just large enough to accommodate the bottom of the pumpkin.
* Carefully place the pumpkin in the hole, ensuring it’s stable and level.
5. Fill with Water:
* Now, it’s time to fill the pumpkin with water.
* Slowly pour water into the pumpkin, being careful not to disturb the filtration layers (if you added them).
* Fill the pumpkin almost to the top, leaving a little space to prevent overflow.
6. Monitor and Adjust:
* Observe how quickly the water drains from the pumpkin.
* If the water drains too quickly, you can add more filtration layers or reduce the size of the drainage holes.
* If the water drains too slowly, you can add more drainage holes or increase their size.
* Refill the pumpkin as needed, depending on the water needs of your plant and the weather conditions.
Decorating Your Pumpkin (Optional)
This is where you can get creative and personalize your pumpkin drip system!
1. Painting:
* Use acrylic paints to decorate the outside of the pumpkin. You can paint patterns, designs, or even a spooky face!
* Let the paint dry completely before placing the pumpkin in your garden.
2. Stencils:
* Use stencils to create intricate designs on the pumpkin.
* Simply tape the stencil to the pumpkin and paint over it.
3. Carving:
* You can carve designs into the pumpkin, just like you would for a Halloween jack-o’-lantern.
* Be careful not to carve too deeply, as this could weaken the pumpkin.
4. Adding Accessories:
* Glue on googly eyes, attach decorative leaves, or add other embellishments to make your pumpkin truly unique.
Troubleshooting
Even with the best planning, sometimes things don’t go exactly as expected. Here are a few common issues you might encounter and how to solve them:
* Pumpkin Rotting Too Quickly:
* This is a natural process, but you can slow it down. Make sure you’ve thoroughly cleaned out the inside of the pumpkin. You can also try coating the inside with a thin layer of petroleum jelly or beeswax to help seal it.
* Consider using a thicker-skinned pumpkin variety.
* Elevate the pumpkin slightly off the ground to improve air circulation.
* Drainage Holes Clogging:
* This is why the filtration layers are important! If the holes do clog, you can try using a small wire or toothpick to clear them.
* Remove the pumpkin and clean out the drainage holes thoroughly. Replace the filtration layers if necessary.
* Water Draining Too Quickly or Too Slowly:
* Adjust the size and number of drainage holes as needed.
* Experiment with different filtration materials to control the flow of water.
* Pests Attacking the Pumpkin:
* Keep an eye out for pests like slugs and snails, which may be attracted to the pumpkin.
* Use organic pest control methods to protect your pumpkin and your plants.
Benefits of Using a Pumpkin Drip System
Besides being a fun and creative project, a pumpkin drip system offers several benefits for your garden:
* Slow and Consistent Watering: The slow drip provides a consistent supply of water directly to the roots of your plants, promoting healthy growth.
* Water Conservation: Drip irrigation is a very efficient way to water plants, as it minimizes water waste through evaporation and runoff.
* Reduced Weed Growth: By delivering water directly to the roots of your plants, you reduce the amount of water available to weeds.
* Eco-Friendly: Using a pumpkin as a watering system is a great way to repurpose a seasonal item and reduce your environmental impact.
* Aesthetic Appeal: Let’s face it, a pumpkin drip system is just plain cute! It adds a touch of whimsy and personality to your garden.
Extending the Life of Your Pumpkin Drip System
Pumpkins, being organic matter, will eventually decompose. Here are some tips to extend the life of your pumpkin drip system:
* Choose a Late-Season Variety: Some pumpkin varieties are bred for longer storage.
* Proper Curing: If you harvest your own pumpkin, cure it properly by allowing it to dry in a well-ventilated area for a week or two.
* Location, Location, Location: Place the pumpkin in a shaded area to protect it from direct sunlight, which can accelerate decomposition.
*
Conclusion
So, there you have it! Transforming a simple pumpkin into a self-watering drip system is not just a fun fall activity; it’s a genuinely effective and eco-friendly way to keep your plants hydrated. Forget about daily watering hassles, especially during those busy autumn weeks. This DIY pumpkin drip system offers a slow, consistent release of moisture, directly to the roots, promoting healthier and more vibrant plants.
Why is this a must-try? Because it’s sustainable, cost-effective, and adds a touch of seasonal charm to your garden or indoor plant collection. Instead of discarding your pumpkins after Halloween or Thanksgiving, you’re repurposing them into something useful and beneficial. Plus, the slow decomposition of the pumpkin itself adds valuable nutrients to the soil, acting as a natural fertilizer. It’s a win-win situation!
Looking for variations? Absolutely! Consider these ideas to personalize your pumpkin drip system:
* **Herb-Infused Water:** Add fresh herbs like rosemary, thyme, or mint to the water reservoir inside the pumpkin. As the water drips, it will subtly infuse the soil with these beneficial herbs, potentially deterring pests and adding a pleasant aroma.
* **Pumpkin Size Matters:** Experiment with different pumpkin sizes depending on the needs of your plants. Smaller pumpkins are perfect for individual potted plants, while larger pumpkins can hydrate a small garden bed.
* **Drill Hole Placement:** Adjust the number and placement of the drill holes to control the drip rate. More holes mean faster watering, while fewer holes result in a slower, more gradual release. You can also experiment with hole sizes.
* **Decorative Touches:** Don’t be afraid to get creative with the exterior of your pumpkin! Paint it, carve designs, or add embellishments to match your personal style and garden aesthetic. Just be sure not to use any paints or materials that could leach harmful chemicals into the soil.
* Consider the Plant Type: Some plants prefer drier conditions than others. Be mindful of the water needs of the plants you’re watering with your pumpkin drip system. Succulents, for example, might not be the best candidates.
We are confident that you’ll find this DIY pumpkin drip system to be a rewarding and practical project. It’s a fantastic way to connect with nature, reduce waste, and nurture your plants.
Now, it’s your turn! We encourage you to try this DIY trick and share your experience with us. Post photos of your pumpkin drip systems on social media using #PumpkinDripSystem and let us know how it worked for you. What variations did you try? What plants did you water? We can’t wait to see your creative solutions and learn from your experiences. Happy gardening!
Frequently Asked Questions (FAQ)
How long will a pumpkin drip system last?
The lifespan of your pumpkin drip system depends on several factors, including the size of the pumpkin, the climate, and the rate at which you’re watering. In general, a medium-sized pumpkin can last anywhere from 2 to 4 weeks. Keep an eye on the pumpkin for signs of decomposition, such as softening or mold growth. Once the pumpkin starts to break down significantly, it’s time to replace it with a fresh one. Remember, the decomposing pumpkin also adds nutrients to the soil, so it’s not entirely waste!
What types of plants are best suited for a pumpkin drip system?
The pumpkin drip system works well for a variety of plants that benefit from consistent moisture. Tomatoes, peppers, cucumbers, squash, and other vegetables are excellent candidates. Flowering plants like petunias, marigolds, and zinnias also thrive with this type of watering. However, avoid using it for plants that prefer dry conditions, such as succulents and cacti, as overwatering can lead to root rot. Consider the specific water needs of each plant before using the pumpkin drip system.
How do I prevent the pumpkin from attracting pests?
While the pumpkin itself is a natural material, it can attract pests like fruit flies or rodents. To minimize this, ensure the pumpkin is relatively clean before using it. Remove any excess pulp or seeds from the inside. You can also try placing copper tape around the base of the pumpkin to deter slugs and snails. Regularly inspect the pumpkin for signs of pests and take appropriate action if necessary. A light dusting of diatomaceous earth around the base can also help control crawling insects.
Can I use a carved pumpkin for a drip system?
Yes, you can use a carved pumpkin, but it will likely decompose faster than an uncarved one. The openings created by carving expose the pumpkin’s flesh to the air and moisture, accelerating the breakdown process. If you choose to use a carved pumpkin, consider lining the inside with a layer of plastic or burlap to slow down decomposition. Also, be mindful of the design you carve. Avoid intricate patterns with thin walls, as these are more prone to collapsing.
How do I control the drip rate of the water?
Controlling the drip rate is crucial for ensuring your plants receive the right amount of water. You can adjust the drip rate by varying the number and size of the holes you drill into the pumpkin. Smaller holes will result in a slower drip, while larger holes will increase the flow. Start with a few small holes and gradually increase the number or size as needed. You can also use tape to cover some of the holes if you find the drip rate is too fast. Experimentation is key to finding the optimal drip rate for your plants and climate.
Is the pumpkin drip system suitable for indoor plants?
Yes, the pumpkin drip system can be used for indoor plants, but with a few precautions. Place a tray or saucer underneath the pumpkin to catch any excess water and prevent spills. Be mindful of the humidity levels in your home, as the pumpkin will contribute to the overall moisture content. Ensure adequate ventilation to prevent mold growth. Regularly check the soil moisture to avoid overwatering. Smaller pumpkins are generally better suited for indoor use.
Will the pumpkin affect the pH of the soil?
As the pumpkin decomposes, it can slightly alter the pH of the soil. Pumpkins are generally considered to be slightly acidic. However, the effect on soil pH is usually minimal and not detrimental to most plants. If you’re concerned about pH levels, you can test your soil regularly and adjust accordingly. Adding lime to the soil can help raise the pH if it becomes too acidic.
What happens to the pumpkin after it’s fully decomposed?
Once the pumpkin has fully decomposed, it will essentially become compost. The remaining organic matter will enrich the soil with nutrients, improving its structure and fertility. You can simply leave the decomposed pumpkin in place to break down naturally, or you can mix it into the surrounding soil. This is a great way to recycle the pumpkin and benefit your plants.
Can I add fertilizer to the water in the pumpkin?
Yes, you can add diluted liquid fertilizer to the water in the pumpkin. This will provide your plants with an extra boost of nutrients. However, be sure to use a balanced fertilizer and dilute it according to the manufacturer’s instructions. Avoid using concentrated fertilizers, as they can damage the plants. Start with a low concentration and gradually increase it as needed. Monitor your plants for signs of nutrient deficiencies or excesses and adjust the fertilizer accordingly.
What if the holes in the pumpkin get clogged?
Over time, the holes in the pumpkin may become clogged with debris or mineral deposits. To prevent this, use filtered water in the pumpkin. If the holes do become clogged, you can try cleaning them with a small wire or toothpick. Gently poke the wire into the holes to dislodge any blockages. You can also try flushing the holes with water using a syringe or small hose. Regular maintenance will help keep the holes clear and ensure a consistent drip rate.
Leave a Comment