

DIY streak free window cleaner – that’s right, sparkling windows are within your reach, and you don’t need to break the bank or rely on harsh chemicals to achieve them! Are you tired of battling stubborn streaks and smudges every time you try to clean your windows? I know I was! It felt like an endless cycle of spraying, wiping, and still ending up with a less-than-perfect view.
Window cleaning, believe it or not, has a history stretching back centuries. Ancient civilizations used natural ingredients like vinegar and water to keep their dwellings bright and airy. Today, we’re taking a page from their book, but with a modern twist. We’re ditching the expensive, chemical-laden cleaners and embracing a simple, effective, and eco-friendly solution.
Why do you need this DIY streak free window cleaner hack? Because let’s face it, clean windows make a huge difference! They let in more natural light, brighten up your home, and even boost your mood. Plus, knowing you created a powerful cleaning solution yourself is incredibly satisfying. This recipe is not only cost-effective and environmentally conscious, but it also delivers professional-quality results. Say goodbye to frustrating streaks and hello to crystal-clear views with this easy-to-follow guide!
DIY Streak-Free Window Cleaner: My Secret Weapon for Sparkling Glass!
Okay, let’s be honest, cleaning windows is nobody’s favorite chore. But the satisfaction of seeing crystal-clear glass, letting all that beautiful sunlight stream in? Totally worth it! And the best part? You don’t need expensive, chemical-laden cleaners to achieve that sparkle. I’m going to share my go-to DIY window cleaner recipe that’s not only effective but also super affordable and eco-friendly. Get ready to say goodbye to streaks and hello to gleaming windows!
What You’ll Need: The Essential Supplies
Before we dive into the mixing and spraying, let’s gather our supplies. This is a pretty simple list, and you probably already have most of these items at home.
* Spray Bottle: A clean, empty spray bottle is a must. I prefer a sturdy one that can handle a bit of wear and tear. You can repurpose an old cleaner bottle, just make sure to rinse it out thoroughly!
* Distilled Water: This is key to avoiding streaks. Tap water often contains minerals that can leave residue on your windows. Distilled water is pure and clean, ensuring a spotless finish.
* White Vinegar: The star of the show! White vinegar is a natural cleaner and degreaser. Its acidity helps to cut through grime and dirt, leaving your windows sparkling.
* Rubbing Alcohol (Isopropyl Alcohol): This helps the cleaner evaporate quickly, preventing streaks. I usually use 70% isopropyl alcohol, but 90% works too.
* Dish Soap (Optional): Just a tiny drop! Dish soap helps to break down grease and grime. Be careful not to use too much, or you’ll end up with a soapy mess. I prefer using a natural, unscented dish soap.
* Essential Oil (Optional): If you’re not a fan of the vinegar smell, a few drops of your favorite essential oil can help mask it. Lemon, lavender, or tea tree oil are all great options.
* Microfiber Cloths: These are essential for streak-free cleaning. Microfiber cloths are super absorbent and won’t leave lint behind. Avoid using paper towels, as they can leave streaks.
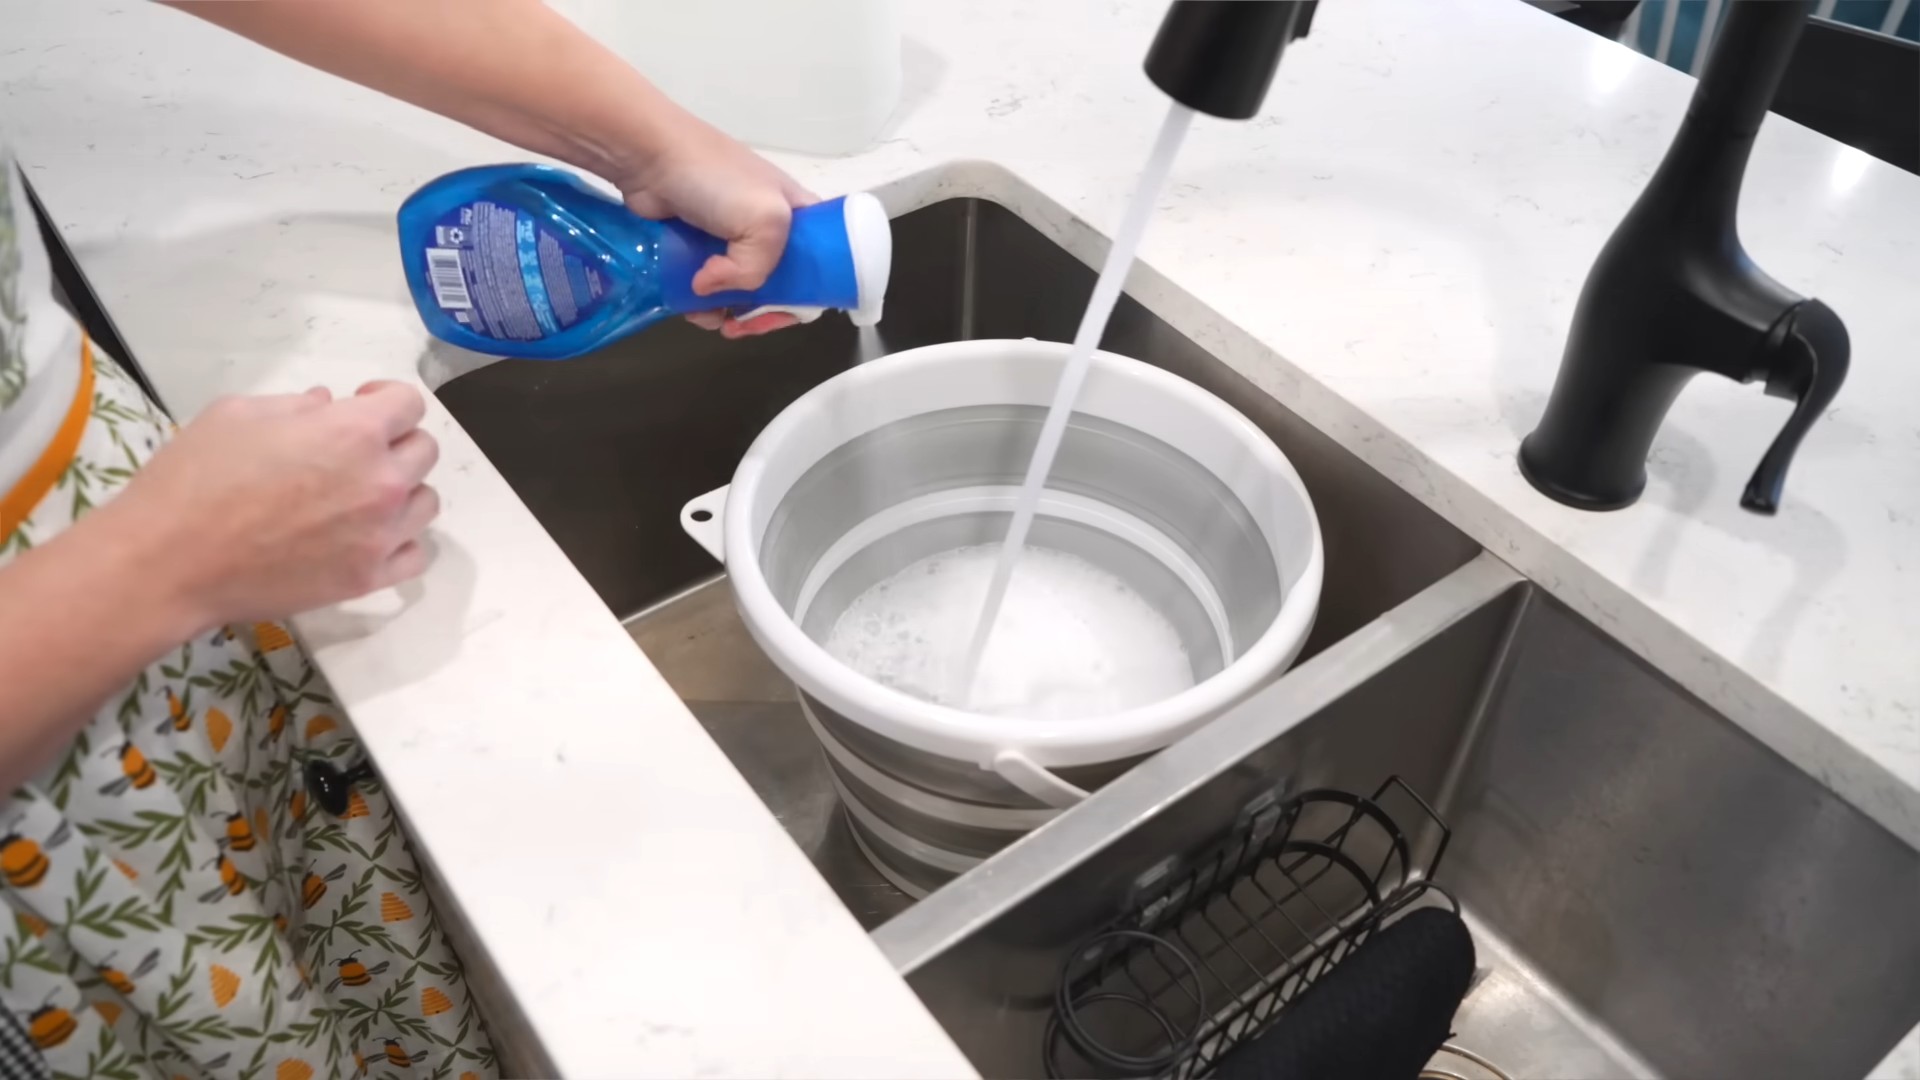
* Bucket (Optional): If you’re cleaning a lot of windows, a bucket of clean water can be helpful for rinsing your microfiber cloths.
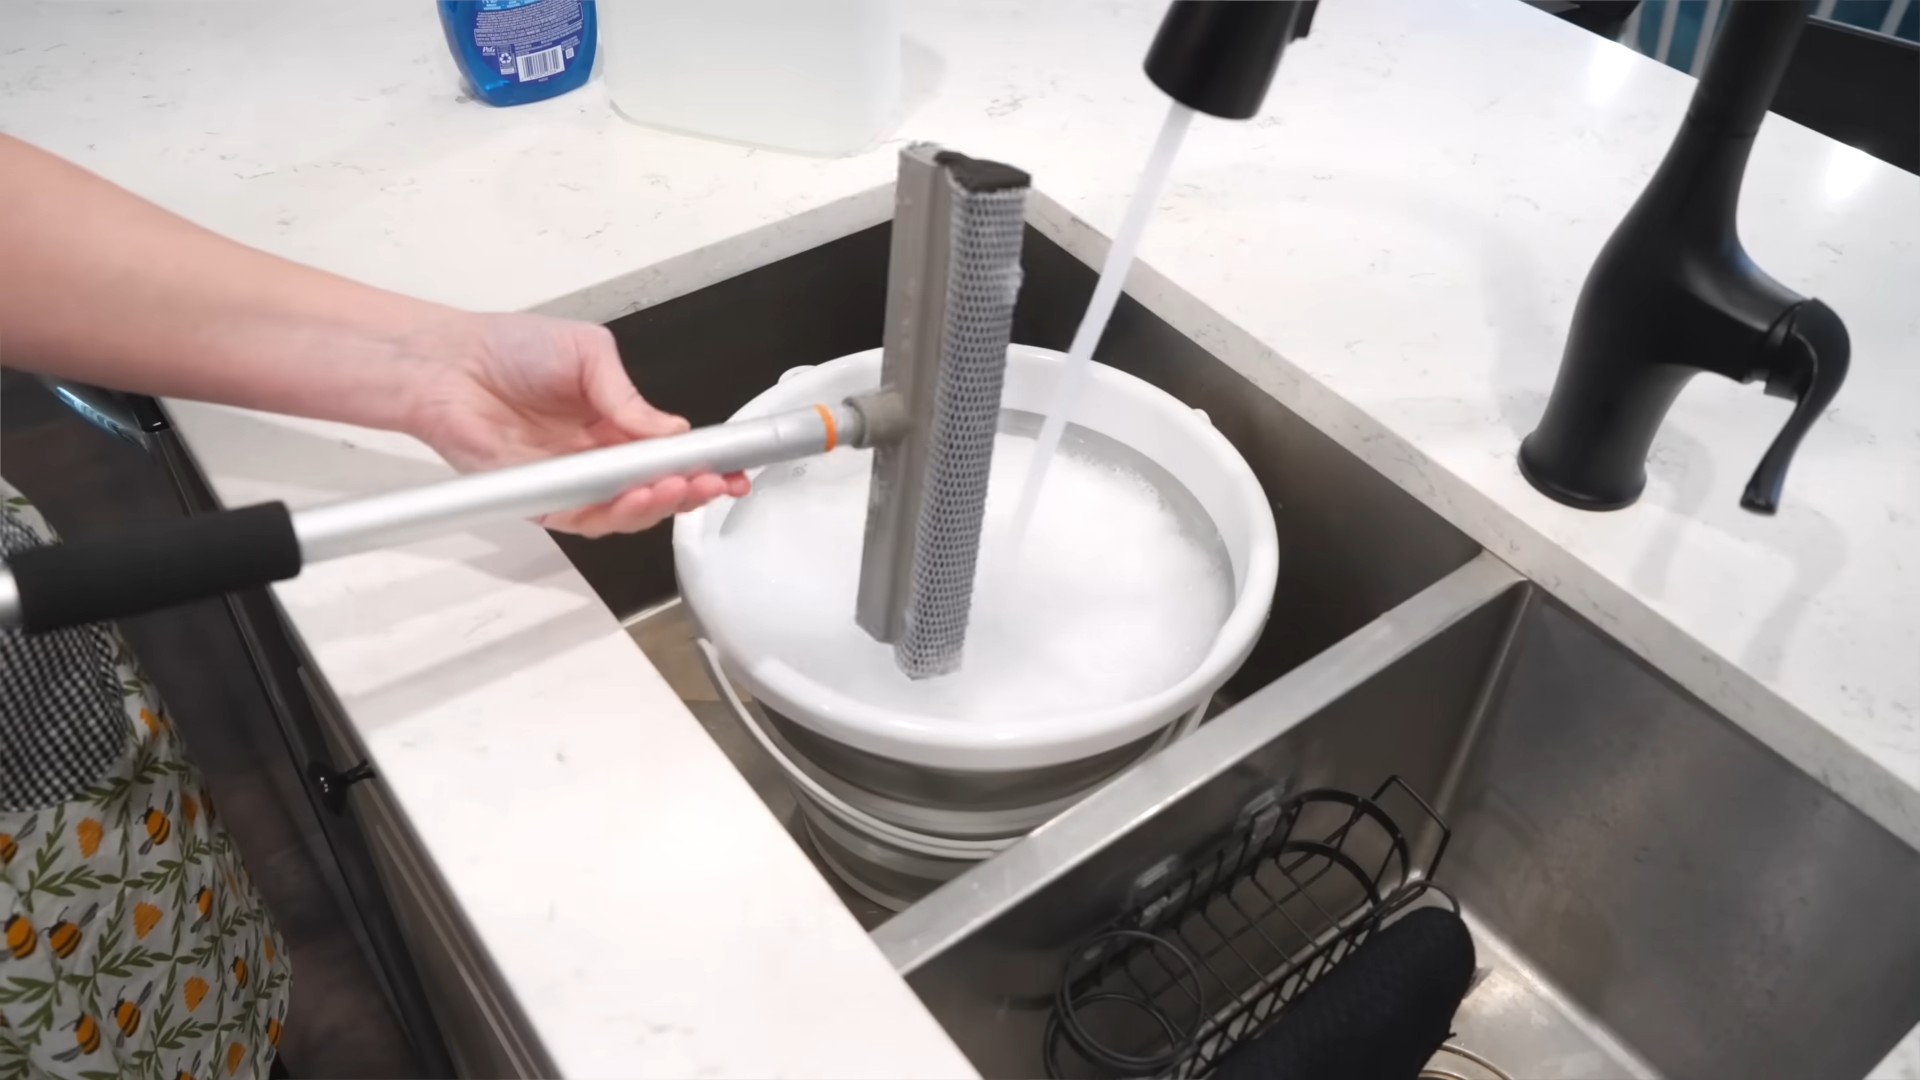
* Squeegee (Optional): For large windows or mirrors, a squeegee can help you achieve a professional-looking finish.
The Magic Recipe: Mixing Your DIY Window Cleaner
Now for the fun part! This recipe is super easy to adjust to your liking. I’ll give you my standard measurements, but feel free to experiment to find what works best for you.
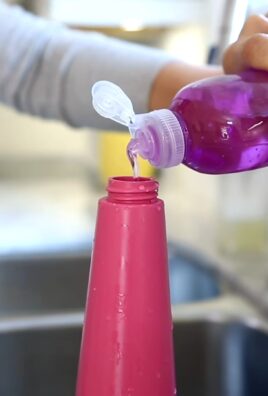
1. Prepare Your Spray Bottle: Make sure your spray bottle is clean and dry. This will prevent any unwanted residue from contaminating your cleaner.
2. Add Distilled Water: Pour 2 cups of distilled water into your spray bottle.
3. Add White Vinegar: Add 1/4 cup of white vinegar to the water.
4. Add Rubbing Alcohol: Add 1/4 cup of rubbing alcohol to the mixture.
5. Add Dish Soap (Optional): If you’re using dish soap, add just one tiny drop. Seriously, just one! Too much soap will leave streaks.
6. Add Essential Oil (Optional): If you’re using essential oil, add 5-10 drops.
7. Shake Well: Secure the spray nozzle and shake the bottle gently to combine all the ingredients.
Cleaning Time: Step-by-Step Window Cleaning Guide
Alright, you’ve got your DIY window cleaner ready to go. Now it’s time to tackle those dirty windows! Here’s my step-by-step guide to achieving streak-free results.
1. Prepare Your Windows: Before you start spraying, give your windows a quick once-over to remove any loose dirt or debris. You can use a soft brush or a dry microfiber cloth for this.
2. Spray the Window: Generously spray the window with your DIY cleaner. Make sure to cover the entire surface.
3. Wipe with a Clean Microfiber Cloth: Using a clean, dry microfiber cloth, wipe the window in a circular motion. This will help to loosen any remaining dirt and grime.
4. Dry with a Clean Microfiber Cloth: Now, take another clean, dry microfiber cloth and wipe the window in a straight, overlapping motion. This will remove any excess cleaner and prevent streaks.
5. Use a Squeegee (Optional): If you’re using a squeegee, start at the top of the window and overlap each stroke slightly. Wipe the squeegee blade clean after each stroke.
6. Repeat if Necessary: For particularly dirty windows, you may need to repeat the process.
7. Buff for Extra Shine: For an extra touch of sparkle, buff the window with a clean, dry microfiber cloth after it’s dry.
Tackling Tough Stains: My Go-To Tips and Tricks
Sometimes, you’ll encounter stubborn stains that require a little extra attention. Here are a few of my favorite tips and tricks for tackling those tough spots.
* Hard Water Stains: For hard water stains, try using a paste of baking soda and water. Apply the paste to the stain, let it sit for a few minutes, and then wipe it away with a damp cloth.
* Bug Splatter: Bug splatter can be tough to remove. Try soaking the area with a warm, soapy cloth for a few minutes before wiping it clean.
* Grease and Grime: For greasy windows, add a little extra dish soap to your DIY cleaner. You can also try using a degreasing cleaner specifically designed for windows.
* Bird Droppings: Bird droppings can be corrosive, so it’s important to remove them as soon as possible. Soak the area with warm water and then gently scrape away the droppings with a plastic scraper.
* Sticky Residue: For sticky residue, try using a mixture of equal parts white vinegar and water. Apply the mixture to the residue, let it sit for a few minutes, and then wipe it away with a clean cloth.
Maintaining Your Sparkling Windows: Prevention is Key!
Once you’ve achieved sparkling clean windows, you’ll want to keep them that way! Here are a few tips for maintaining your windows and preventing future build-up.
* Clean Regularly: The more often you clean your windows, the easier it will be to keep them clean. I recommend cleaning your windows at least once a month.
* Protect from the Elements: Protect your windows from the elements by keeping them covered during storms and other harsh weather conditions.
* Trim Nearby Trees and Shrubs: Trim any trees or shrubs that are close to your windows. This will help to prevent leaves and other debris from accumulating on your windows.
* Use Window Film: Window film can help to protect your windows from UV rays and other damage.
* Inspect Regularly: Regularly inspect your windows for any signs of damage, such as cracks or chips. Repair any damage as soon as possible to prevent further problems.
Troubleshooting: Common Issues and Solutions
Even with the best DIY cleaner and techniques, you might encounter a few issues along the way. Here are some common problems and how to fix them.
* Streaks: Streaks are the most common problem when cleaning windows. To prevent streaks, make sure you’re using distilled water, clean microfiber cloths, and not too much dish soap. Also, be sure to dry the windows thoroughly.
* Hazy Film: A hazy film can be caused by using too much cleaner or by using hard water. Try diluting your cleaner with more water or switching to distilled water.
* Smears: Smears can be caused by using dirty cloths or by not drying the windows properly. Make sure you’re using clean microfiber cloths and drying the windows thoroughly.
* Water Spots: Water spots can be caused by hard water. Try using a water softener or switching to distilled water.
* Uneven Cleaning: Uneven cleaning can be caused by not applying the cleaner evenly or by not wiping the windows thoroughly. Make sure you’re applying the cleaner evenly and wiping the windows thoroughly.
Safety First: Important Precautions
While this DIY window cleaner is generally safe, it’s always a good idea to take a few precautions.
* Ventilation: Make sure you’re working in a well-ventilated area.
* Eye Protection: Wear eye protection to prevent the cleaner from getting into your eyes.
* Skin Protection: Wear gloves to protect your skin from irritation.
* Keep Out of Reach of Children and Pets: Store your DIY window cleaner out of reach of children and pets.
* Test on a Small Area: Before cleaning your entire window, test the cleaner on a small, inconspicuous area to make sure it doesn’t
Conclusion
So, there you have it! Ditching those expensive, chemical-laden window cleaners and embracing this simple, effective, and eco-friendly DIY streak free window cleaner is a game-changer for your home. Not only will you save money and reduce your environmental impact, but you’ll also achieve sparkling, crystal-clear windows that let the sunshine in.
The beauty of this DIY approach lies in its simplicity and adaptability. Feel free to experiment with the ratios to find what works best for your specific water hardness and window grime levels. For instance, if you live in an area with particularly hard water, you might consider using distilled water instead of tap water for an even more pristine finish. Or, if you’re tackling particularly stubborn dirt and grease, adding a few extra drops of dish soap can provide an extra cleaning boost.
Consider these variations to personalize your DIY streak free window cleaner even further:
* **Essential Oil Infusion:** Add a few drops of your favorite essential oil, such as lemon, lavender, or tea tree oil, for a pleasant scent and added antibacterial properties. Lemon oil, in particular, is known for its degreasing abilities.
* **Vinegar Alternative:** If you’re sensitive to the smell of vinegar, you can substitute it with lemon juice. While vinegar is a powerhouse cleaner, lemon juice offers a similar acidity and a refreshing fragrance.
* **For Tinted Windows:** If you have tinted windows, be extra cautious. Some cleaning solutions can damage the tint. Test your DIY cleaner in an inconspicuous area first. You might also want to reduce the amount of vinegar or lemon juice used in the recipe.
* **Outdoor Window Power Wash:** For outdoor windows, especially those covered in pollen or dirt, consider using a pressure washer with a soap dispenser. You can add your DIY cleaner to the dispenser for a powerful and effective clean. Be sure to use a wide nozzle to avoid damaging the glass.
Beyond the immediate benefits of sparkling windows, this DIY project empowers you to take control of the products you use in your home. You’ll know exactly what’s in your cleaner, avoiding harsh chemicals and potential allergens. It’s a small change that can make a big difference for your health and the environment.
We are confident that once you try this DIY streak free window cleaner, you’ll never go back to store-bought alternatives. The results speak for themselves: gleaming windows, a lighter environmental footprint, and a happier wallet.
So, grab your spray bottle, gather your ingredients, and get ready to transform your windows. We encourage you to try this simple yet effective recipe and share your experiences with us! Let us know in the comments below what variations you tried and how they worked for you. Share your before-and-after photos on social media using #DIYStreakFreeWindows – we can’t wait to see your sparkling results! Your tips and tricks could help others discover the joy of DIY cleaning and achieve the same streak-free shine. Let’s build a community of clean-window enthusiasts!
Frequently Asked Questions (FAQ)
Why should I make my own window cleaner instead of buying one from the store?
There are several compelling reasons to switch to a DIY window cleaner. Firstly, it’s significantly more cost-effective. The ingredients – vinegar, water, and dish soap – are readily available and inexpensive compared to commercial window cleaning products. Secondly, DIY cleaners are environmentally friendly. They eliminate the need for plastic bottles and reduce your exposure to harsh chemicals often found in store-bought cleaners. You have complete control over the ingredients, ensuring a safer and healthier home environment. Finally, it’s surprisingly effective! This recipe delivers streak-free results comparable to, or even better than, many commercial options.
What kind of vinegar should I use?
Plain white vinegar is the best choice for this DIY window cleaner. It’s readily available, inexpensive, and has a high acidity level, making it an effective cleaning agent. Avoid using flavored vinegars, such as apple cider vinegar or balsamic vinegar, as they may leave a residue or stain your windows.
Can I use any type of dish soap?
While most dish soaps will work, it’s best to use a clear, unscented dish soap. Avoid using dish soaps that contain added moisturizers or lotions, as these can leave a film on your windows and cause streaks. A small amount of dish soap is all you need; too much can also lead to streaking.
Will the vinegar smell linger?
The vinegar smell will dissipate quickly after cleaning. Opening windows and ventilating the area while cleaning can help to minimize the odor. If you’re particularly sensitive to the smell of vinegar, you can add a few drops of your favorite essential oil to the mixture to mask the scent. Lemon, lavender, and tea tree oil are all good options.
What’s the best way to apply the window cleaner?
Spray the window cleaner directly onto the glass surface. Use a microfiber cloth or a squeegee to wipe the window clean. If using a microfiber cloth, fold it into quarters to create multiple clean surfaces. If using a squeegee, overlap each stroke slightly to avoid leaving streaks. Wipe the squeegee blade clean after each stroke.
What if I still see streaks after cleaning?
Streaks can be caused by several factors, including hard water, too much dish soap, or a dirty cleaning cloth. If you’re experiencing streaks, try using distilled water instead of tap water. Reduce the amount of dish soap you’re using. Make sure your microfiber cloth is clean and dry. You can also try wiping the windows with a dry microfiber cloth after cleaning to remove any remaining residue.
Can I use this cleaner on mirrors?
Yes, this DIY window cleaner is safe and effective for cleaning mirrors. Follow the same application instructions as you would for windows.
How often should I clean my windows?
The frequency of window cleaning depends on several factors, including your location, the weather, and the amount of dust and dirt in your area. Generally, cleaning your windows every few months is sufficient. However, if you live in a dusty or polluted area, you may need to clean them more frequently.
Is this cleaner safe for pets and children?
Yes, this DIY window cleaner is generally safe for pets and children, as it contains only natural and non-toxic ingredients. However, it’s always a good idea to keep cleaning products out of reach of children and pets. Avoid spraying the cleaner directly into their eyes or mouth.
Can I store the leftover window cleaner?
Yes, you can store the leftover window cleaner in a spray bottle for future use. Be sure to label the bottle clearly to avoid confusion. The cleaner should last for several months without losing its effectiveness. Store it in a cool, dark place.
Leave a Comment