

DIY Watermelon Hammock: Ever dreamt of giving your prize-winning watermelon the royal treatment it deserves? I know I have! Forget those days of your precious melon rolling around on the potentially damp ground, vulnerable to pests and uneven ripening. We’re about to embark on a fun and practical DIY project that will not only elevate your gardening game but also add a touch of whimsical charm to your backyard oasis.
While the concept of supporting fruits isn’t new – think of the ancient espalier techniques used for training fruit trees against walls, maximizing sunlight and protecting them from the elements – the DIY Watermelon Hammock is a modern, playful twist on this age-old practice. It’s a way to show your watermelon some love and ensure it grows to its full, juicy potential.
Why do you need this DIY trick? Well, for starters, it prevents ground rot, a common problem that can ruin your hard-earned harvest. Plus, it promotes even ripening by allowing air to circulate freely around the melon. And let’s be honest, who wouldn’t want to see their watermelon gently swaying in its own little hammock? It’s a conversation starter, a garden feature, and a testament to your dedication to growing the best darn watermelon on the block. So, grab your supplies, and let’s get started on creating the ultimate relaxation station for your summer superstar!
DIY Watermelon Hammock: A Sweet Treat for Your Backyard Birds!
Hey there, fellow bird lovers! I’m so excited to share this super fun and easy DIY project with you: a watermelon hammock for your backyard birds! It’s a fantastic way to recycle a watermelon rind, provide a tasty treat, and attract a variety of feathered friends to your garden. Trust me, watching them enjoy this fruity feast is incredibly rewarding.
What You’ll Need
Before we dive in, let’s gather our supplies. Don’t worry, you probably already have most of these lying around!
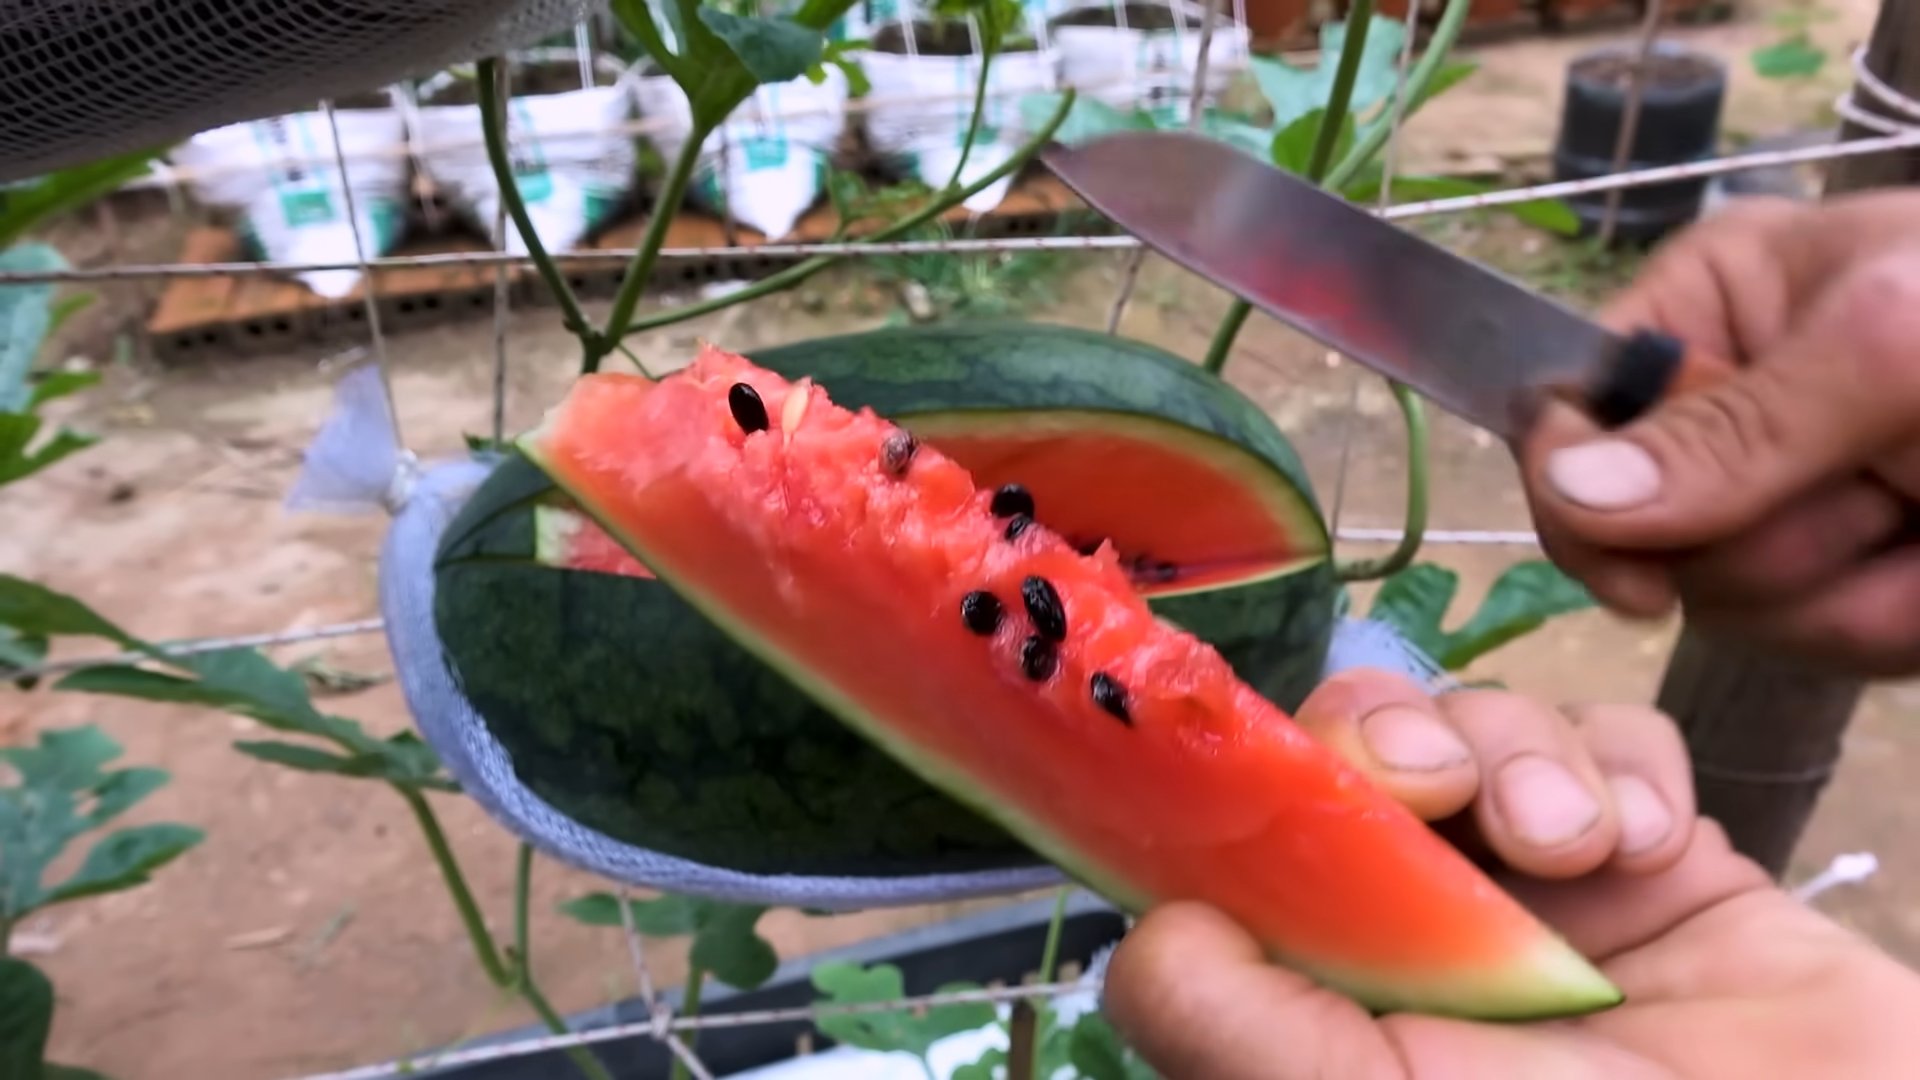
* **A Watermelon Rind:** This is the star of the show! After you’ve enjoyed the juicy goodness of a watermelon, don’t toss the rind.
* **Birdseed:** Choose a mix that’s popular with the birds in your area. Sunflower seeds, millet, and cracked corn are always good options.
* **Twine or Strong String:** You’ll need this to hang the hammock. Make sure it’s durable enough to support the weight of the rind and the birds.
* **Drill or Awl:** For creating drainage holes and hanging points. A drill makes the job quicker, but an awl works just as well if you’re careful.
* **Knife or Spoon:** To scoop out any remaining watermelon flesh and smooth the inside of the rind.
* **Optional: Peanut Butter or Suet:** These can be used to coat the inside of the rind, providing extra energy for the birds and helping the birdseed stick.
* **Optional: Small Branches or Dowels:** To create a perch for the birds.
Preparing the Watermelon Rind
This is a crucial step to ensure your hammock is safe and appealing to the birds.
1. **Scoop Out the Remaining Flesh:** After you’ve enjoyed your watermelon, use a spoon or knife to carefully remove any remaining pink flesh from the inside of the rind. You want it as clean as possible to prevent mold and attract fewer insects. I usually give it a good scrape and then rinse it out with water.
2. **Smooth the Inside:** Once you’ve removed the flesh, smooth the inside of the rind with a spoon or your fingers. This will create a more comfortable surface for the birds to perch on.
3. **Drill Drainage Holes:** This is super important! Water can collect in the rind after rain, which can lead to mold and bacteria growth. Use your drill or awl to create several small drainage holes in the bottom of the rind. I usually make about 6-8 holes, spaced evenly apart. Make sure the holes are big enough for water to drain through, but not so big that the birdseed falls out.
4. **Let it Dry (Optional):** Letting the rind dry out for a day or two will help it harden and last longer. I usually place it in a sunny spot, turning it occasionally to ensure it dries evenly. This step isn’t essential, but it can definitely extend the life of your hammock.
Creating the Hammock
Now for the fun part – turning that rind into a cozy bird hammock!
1. **Drill Hanging Holes:** Decide where you want to hang your hammock. I usually choose a spot that’s sheltered from the wind and rain, but still easily visible from my window. Drill or poke two holes on opposite sides of the rind, near the top edge. These holes will be used to thread the twine through. Make sure the holes are strong enough to hold the weight of the rind and the birdseed.
2. **Thread the Twine:** Cut two lengths of twine, each long enough to hang the hammock from your chosen spot with some extra length for tying. Thread one end of each piece of twine through the hanging holes.
3. **Tie the Twine:** Tie the ends of the twine together securely, creating a loop for hanging. Double-knotting is always a good idea for extra security. Make sure the knots are tight and won’t slip.
4. **Test the Hammock:** Before you fill it with birdseed, test the hammock by hanging it up and gently pulling on it. This will ensure that the twine is strong enough and the knots are secure.
Adding the Birdseed and Perches
Time to make this hammock irresistible to your feathered friends!
1. **Optional: Coat with Peanut Butter or Suet:** If you want to give the birds an extra energy boost and help the birdseed stick, spread a thin layer of peanut butter or suet on the inside of the rind. Make sure to use unsalted peanut butter, as salt can be harmful to birds.
2. **Fill with Birdseed:** Pour your chosen birdseed mix into the hammock, filling it to the brim. You can even create different layers of birdseed to attract a wider variety of birds.
3. **Add Perches (Optional):** If you want to provide the birds with a more comfortable place to perch, insert small branches or dowels into the sides of the rind. This will give them something to grip onto while they’re enjoying their meal. I usually use small twigs that I find in my yard.
Hanging and Maintaining Your Watermelon Hammock
Almost there! Now it’s time to hang your creation and watch the birds flock to it.
1. **Choose a Hanging Spot:** Select a spot that’s sheltered from the wind and rain, but still easily accessible to birds. A tree branch, a shepherd’s hook, or even a porch railing can work well.
2. **Hang the Hammock:** Hang the hammock securely from your chosen spot, making sure it’s level and stable.
3. **Monitor and Refill:** Keep an eye on the hammock and refill it with birdseed as needed. You’ll probably be surprised at how quickly the birds empty it!
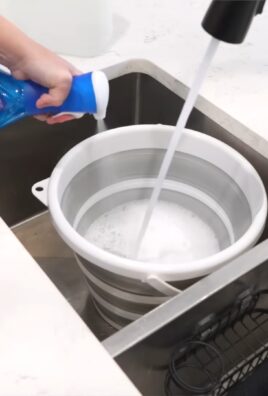
4. **Clean Regularly:** To prevent the spread of disease, clean the hammock regularly. Remove any old birdseed and debris, and wash the rind with soap and water. Let it dry completely before refilling it with birdseed. I usually clean mine every week or two, depending on how much the birds are using it.
5. **Replace as Needed:** Eventually, the watermelon rind will decompose. When it starts to break down, replace it with a fresh one. This is a great excuse to enjoy another watermelon!
Tips for Success
Here are a few extra tips to help you create the perfect watermelon hammock for your backyard birds:
* Choose the Right Watermelon: Look for a watermelon with a thick, sturdy rind. This will help the hammock last longer.
* Consider the Weather: If you live in a rainy area, make sure to create plenty of drainage holes. You may also want to consider bringing the hammock indoors during heavy storms.
* Be Patient: It may take a few days for the birds to discover your new hammock. Don’t be discouraged if you don’t see them right away.
* Observe the Birds: Pay attention to which types of birds are visiting your hammock. This will help you choose the right birdseed mix to attract even more feathered friends.
* Have Fun!: This is a fun and rewarding project, so enjoy the process!
Troubleshooting
Sometimes things don’t go exactly as planned. Here are a few common problems and how to fix them:
* The Hammock is Falling Apart: If the rind is starting to break down, it’s time to replace it. You can also try reinforcing the rind with wire or mesh.
* The Birdseed is Falling Out: Make sure the drainage holes aren’t too big. You can also try using a birdseed mix with larger seeds.
* The Birds Aren’t Visiting: Try moving the hammock to a different location. You can also try adding a bird bath nearby to attract more birds.
* Squirrels are Eating All the Birdseed: Squirrels can be a nuisance! Try using a squirrel-resistant bird feeder or hanging the hammock in a location that’s difficult for squirrels to reach.
I hope you enjoy making this watermelon hammock as much as I do! It’s a simple, eco-friendly way to attract birds to your backyard and provide them with a delicious treat. Happy bird watching!
Conclusion
So, there you have it! Creating your own DIY Watermelon Hammock isn’t just a fun project; it’s a game-changer for summer gatherings, poolside relaxation, and even just adding a touch of whimsy to your backyard. Forget those flimsy, mass-produced floats that deflate after a single season. This sturdy, eco-friendly option is not only budget-friendly but also a conversation starter that’s guaranteed to impress your friends and family.
Why is this a must-try? Because it’s more than just a place to lounge. It’s an experience. Imagine gently swaying in your custom-made watermelon haven, the sun warming your skin, a cool drink in hand. It’s the epitome of summer bliss, and you created it yourself! Plus, think of the environmental impact. You’re repurposing a watermelon rind that would otherwise end up in the landfill, giving it a second life as a unique and functional piece of outdoor furniture.
But the fun doesn’t stop there! Feel free to get creative with your design. Instead of rope, consider using sturdy macrame cord for a more bohemian look. Add decorative touches like painted designs on the watermelon rind (use non-toxic paint, of course!), or even string fairy lights around the hammock for a magical nighttime ambiance. For smaller watermelons, you could create a miniature version perfect for your pets or even as a quirky planter. You could even try using different types of melons, like cantaloupe or honeydew, although keep in mind that the rind strength may vary.
The possibilities are truly endless, and that’s what makes this DIY project so exciting. It’s a blank canvas for your creativity, a chance to express your personal style, and a way to add a touch of homemade charm to your outdoor space.
We wholeheartedly encourage you to give this DIY Watermelon Hammock a try. It’s a surprisingly simple project that yields incredible results. Don’t be intimidated by the process; even if your first attempt isn’t perfect, you’ll learn something new and have a blast doing it.
And most importantly, we want to hear about your experience! Share your photos, tips, and variations with us in the comments below. Let’s create a community of watermelon hammock enthusiasts and inspire each other with our creative designs. Did you encounter any challenges? Did you discover any clever shortcuts? We’re all ears! Your feedback will help others create their own perfect watermelon havens. So go ahead, embrace your inner DIYer, and get ready to relax in style! We can’t wait to see what you create.
Frequently Asked Questions (FAQ)
How long does a DIY Watermelon Hammock last?
The lifespan of your watermelon hammock depends on several factors, including the thickness of the rind, the weather conditions, and how frequently it’s used. Generally, you can expect it to last for a few weeks to a couple of months. To prolong its life, keep it out of direct sunlight when not in use and avoid exposing it to excessive moisture. You can also apply a sealant to the rind to help prevent it from cracking or rotting. Consider it a seasonal piece of fun, rather than a permanent fixture.
What kind of rope should I use for the hammock?
The best type of rope to use is a strong, durable, and weather-resistant rope. Marine-grade rope, nylon rope, or even thick paracord are all excellent choices. Avoid using thin or flimsy rope, as it may not be strong enough to support the weight of a person. Make sure the rope is also comfortable to the touch, as you’ll be lying directly on it. Consider the overall aesthetic you’re going for as well; natural fiber ropes like jute or hemp can add a rustic touch, but may not be as durable as synthetic options.
How much weight can a watermelon hammock hold?
This depends entirely on the size and thickness of the watermelon rind, as well as the strength of the rope you use. A large, thick-rinded watermelon can potentially hold the weight of an adult, but it’s always best to err on the side of caution. Start by testing the hammock with a lighter weight before fully committing to lounging in it. It’s also important to distribute the weight evenly across the hammock to prevent any stress points from breaking. If you’re unsure, it’s best to create a smaller hammock suitable for children or pets.
How do I prevent the watermelon rind from rotting?
Preventing rot is key to extending the life of your watermelon hammock. First, thoroughly clean and dry the rind after scooping out the flesh. You can even wipe it down with a diluted bleach solution to kill any bacteria. Allow it to air dry completely before starting the hammock construction. Applying a sealant, such as polyurethane or a clear coat, can also help protect the rind from moisture and decay. Regularly inspect the hammock for any signs of mold or rot, and address them promptly. Keeping the hammock out of direct sunlight and excessive moisture will also help prevent rot.
Can I paint or decorate my watermelon hammock?
Absolutely! Painting and decorating your watermelon hammock is a great way to personalize it and add your own unique touch. However, it’s important to use non-toxic paints and sealants to ensure the safety of yourself and the environment. Acrylic paints are a good option, as they are durable and water-resistant. You can also use stencils, stamps, or freehand designs to create intricate patterns. Just be sure to allow the paint to dry completely before using the hammock. Consider using a clear coat sealant over the paint to protect it from fading or chipping.
Is it safe to use a watermelon hammock in a pool?
While it might seem tempting to use your watermelon hammock in a pool, it’s generally not recommended. The chlorine in pool water can damage the rind and cause it to deteriorate more quickly. Additionally, the hammock may become waterlogged and heavy, making it difficult to get in and out of. If you do choose to use it in a pool, be sure to rinse it thoroughly with fresh water afterward and allow it to dry completely. However, for safety and longevity, it’s best to stick to using your watermelon hammock on dry land.
What if my watermelon rind cracks during construction?
Cracking can happen, especially if the rind is thin or if you’re applying too much pressure. If you notice a small crack, you can try to repair it with a strong adhesive, such as epoxy or wood glue. Apply the adhesive to the crack and clamp it together until it dries completely. For larger cracks, you may need to reinforce the area with a piece of fabric or mesh embedded in the adhesive. If the crack is too severe, it may be best to start with a new watermelon. To prevent cracking, be gentle when drilling holes and avoid putting too much stress on the rind.
How do I dispose of the watermelon rind after the hammock is no longer usable?
The best way to dispose of the watermelon rind is to compost it. Watermelon rinds are a great source of nutrients for your compost pile and will break down relatively quickly. If you don’t have a compost pile, you can also bury the rind in your garden or yard. It will decompose naturally and enrich the soil. Alternatively, you can dispose of it in your regular trash, but composting is the most environmentally friendly option.
Can I make a watermelon hammock for my pet?
Yes, you can definitely make a watermelon hammock for your pet! Just be sure to choose a watermelon that is appropriately sized for your pet. A smaller watermelon will be suitable for cats, small dogs, or rabbits, while a larger watermelon may be needed for larger dogs. Ensure that the hammock is sturdy and secure, and that your pet is comfortable using it. Always supervise your pet when they are using the hammock to ensure their safety.
Where can I find inspiration for my DIY Watermelon Hammock design?
The internet is a treasure trove of inspiration! Search online platforms like Pinterest, Instagram, and YouTube for “DIY Watermelon Hammock” to find a wealth of ideas and tutorials. You can also browse gardening and crafting blogs for inspiration. Pay attention to the different designs, materials, and decorative techniques that people have used, and adapt them to your own style and preferences. Don’t be afraid to experiment and get creative!
Leave a Comment