

Time-Saving Cleaning Hacks: Who doesn’t dream of a sparkling clean home without spending their entire weekend scrubbing? Let’s face it, cleaning isn’t exactly anyone’s favorite pastime. We all crave more free time, and I’m here to tell you that achieving a spotless home doesn’t have to be a Herculean task.
For centuries, people have been searching for clever ways to streamline their cleaning routines. From ancient Roman bathhouses meticulously maintained by slaves to the Victorian era’s obsession with polished silver, the desire for cleanliness is deeply ingrained in our history. But thankfully, we’ve moved beyond those labor-intensive methods!
In today’s fast-paced world, time is a precious commodity. Juggling work, family, and personal commitments leaves little room for hours of scrubbing and polishing. That’s where these time-saving cleaning hacks come in. I’m going to share some of my favorite DIY tricks and shortcuts that will revolutionize your cleaning routine. Imagine spending less time cleaning and more time doing the things you truly enjoy – reading a book, spending time with loved ones, or pursuing a hobby. These hacks are designed to be simple, effective, and use readily available household items, so you can say goodbye to expensive cleaning products and hello to a cleaner, happier home, without sacrificing your precious free time. Get ready to reclaim your weekends!
Time-Saving Cleaning Hacks: Reclaim Your Weekend!
Okay, let’s be honest, cleaning isn’t exactly anyone’s favorite pastime. But a clean home is a happy home, right? So, I’ve compiled some of my absolute favorite time-saving cleaning hacks that will help you get the job done faster and more efficiently, leaving you with more time to binge-watch your favorite shows or, you know, actually enjoy your weekend!
Hack 1: The Microwave Steam Clean
This is a game-changer, seriously. No more scrubbing baked-on food splatters!
What you’ll need:
* 1 cup of water
* 1/4 cup of white vinegar (or lemon juice)
* Microwave-safe bowl
* Sponge or cloth
Step-by-step instructions:
1. Mix the solution: In your microwave-safe bowl, combine the water and vinegar (or lemon juice). The vinegar helps loosen grime, and the lemon juice adds a fresh scent.
2. Microwave it: Place the bowl in the microwave and heat on high for 5-7 minutes. You want the solution to boil and create steam.
3. Let it sit: Once the timer goes off, *don’t* open the microwave door immediately. Let the steam work its magic for another 5-10 minutes. This is crucial for loosening all the stuck-on gunk.
4. Wipe it down: Carefully remove the bowl (it will be hot!). Use a sponge or cloth to easily wipe away the softened food residue. You’ll be amazed at how easily it comes off!
5. Dry it: Finally, dry the inside of the microwave with a clean cloth.
Hack 2: Shower Head Deep Clean (Without the Scrubbing!)
Hard water deposits can really clog up your shower head and reduce water pressure. This hack will dissolve those deposits without any strenuous scrubbing.
What you’ll need:
* Plastic bag (gallon-sized works best)
* White vinegar
* Rubber band or twist tie
Step-by-step instructions:
1. Fill the bag: Pour enough white vinegar into the plastic bag to completely submerge your shower head.
2. Secure the bag: Carefully attach the bag to the shower head, making sure the shower head is fully immersed in the vinegar. Use a rubber band or twist tie to secure the bag tightly.
3. Soak overnight: Let the shower head soak in the vinegar overnight (or for at least a few hours). The vinegar will dissolve the mineral deposits.
4. Remove and rinse: Remove the bag and discard the vinegar. Run the shower for a few minutes to flush out any remaining vinegar and loosened debris.
5. Wipe clean: Wipe down the shower head with a clean cloth. You should notice a significant improvement in water pressure!
Hack 3: Blinds Cleaning Made Easy
Cleaning blinds can be a real pain, but this hack makes it so much faster.
What you’ll need:
* Old sock (clean, of course!)
* White vinegar and water solution (equal parts)
* Spray bottle (optional)
* Bowl of clean water
* Clean cloth
Step-by-step instructions:
1. Prepare the sock: Mix equal parts white vinegar and water in a bowl. If you prefer, you can pour the solution into a spray bottle.
2. Sock it to ’em: Dampen the sock with the vinegar and water solution. You want it damp, not soaking wet. If using a spray bottle, lightly spray the sock.
3. Slip it on: Slide the sock onto your hand, like a glove.
4. Wipe each slat: Use the sock-covered hand to wipe each slat of the blinds, one at a time. The sock will pick up dust and grime.
5. Rinse and repeat: Rinse the sock in the bowl of clean water and re-dampen it with the vinegar solution as needed.
6. Dry: Use a clean, dry cloth to wipe down the blinds and remove any excess moisture.
Hack 4: Speed Clean Your Kitchen Sink
Your kitchen sink is a breeding ground for bacteria. This quick clean will keep it sparkling and sanitary.
What you’ll need:
* Baking soda
* White vinegar
* Lemon halves (optional, for extra freshness)
* Scrub brush or sponge
* Hot water
Step-by-step instructions:
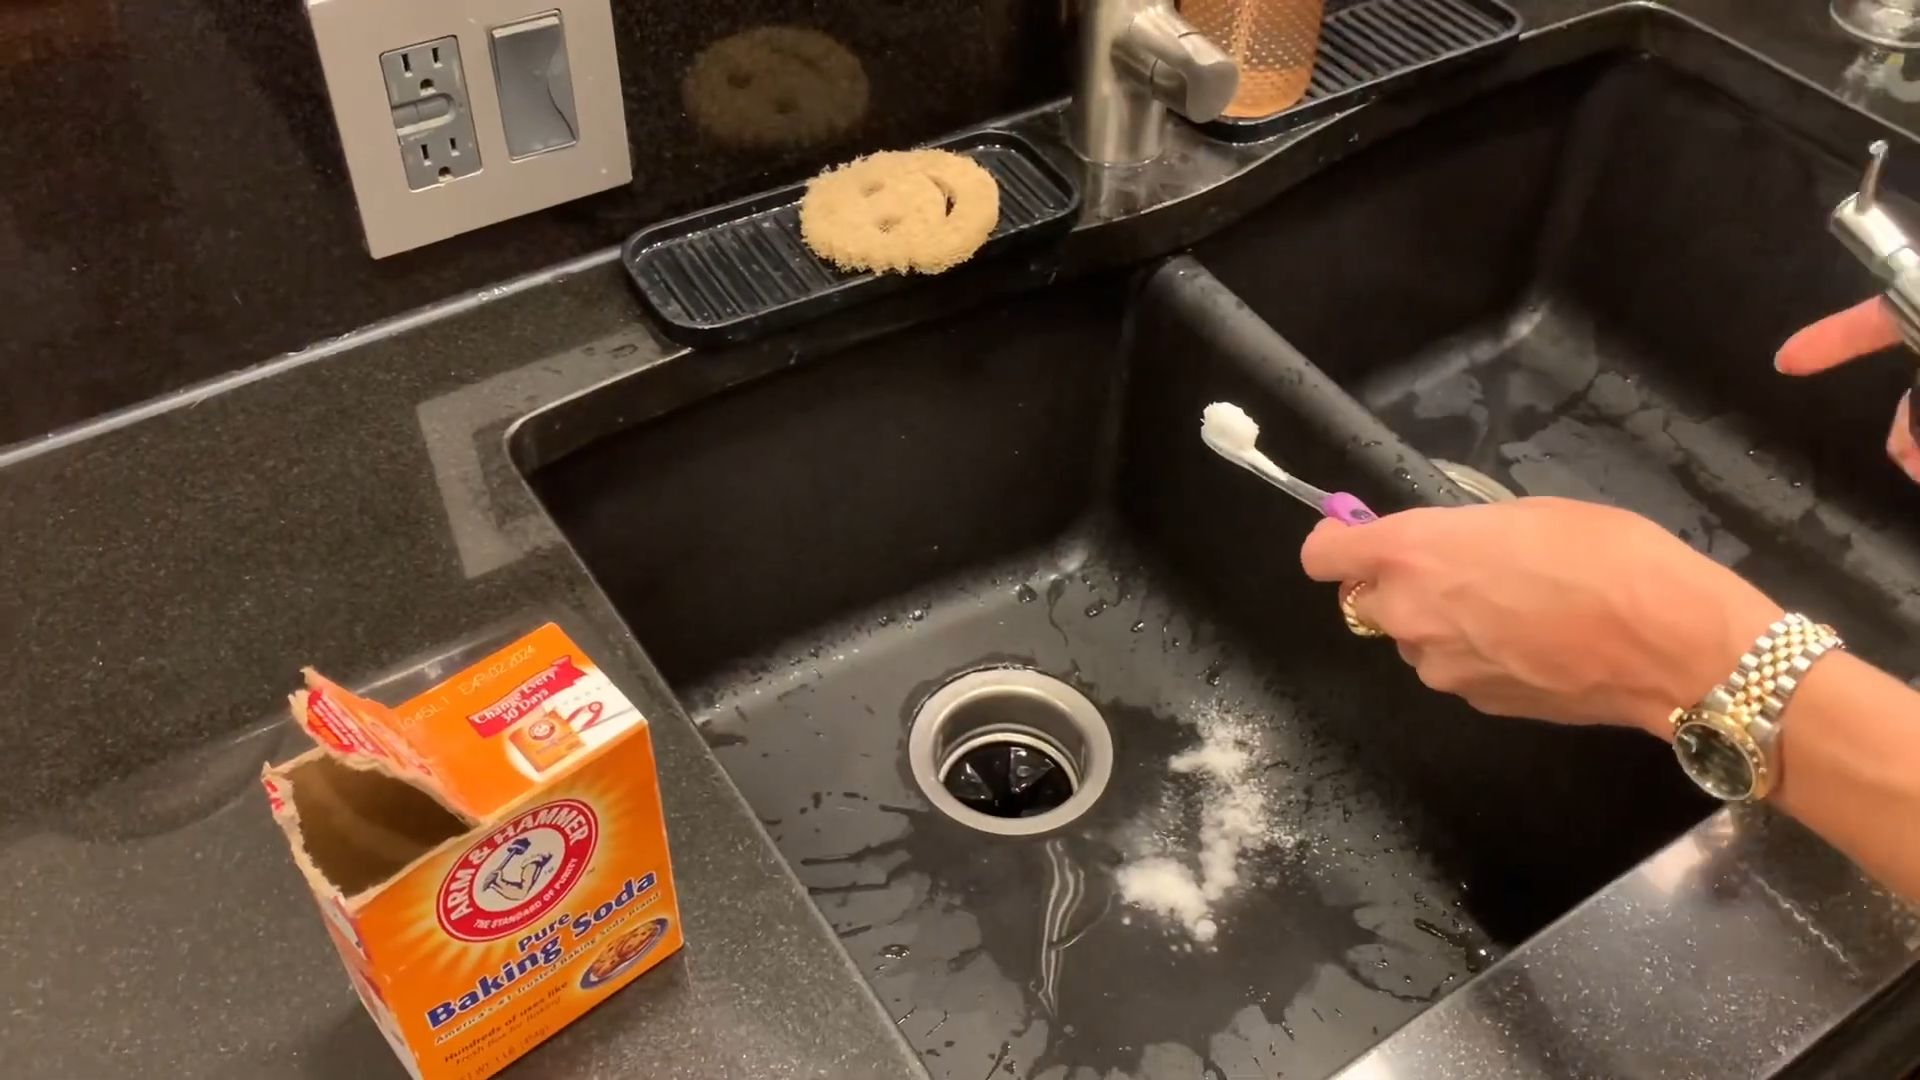
1. Sprinkle baking soda: Sprinkle a generous amount of baking soda all over the bottom of your sink.
2. Pour on the vinegar: Pour white vinegar over the baking soda. It will fizz – that’s the chemical reaction that helps loosen grime.
3. Scrub-a-dub-dub: Use a scrub brush or sponge to scrub the sink thoroughly, paying attention to the corners and around the drain.
4. Rinse with hot water: Rinse the sink with hot water to remove all the baking soda and vinegar residue.
5. Lemon boost (optional): For extra freshness, rub lemon halves around the sink and down the drain. The citric acid in the lemon will help deodorize and further disinfect.
6. Dry: Wipe the sink dry with a clean cloth.
Hack 5: The Magic of Microfiber Cloths
Okay, this isn’t exactly a “hack” in the traditional sense, but investing in a good set of microfiber cloths is a cleaning game-changer. They pick up dust and dirt like magnets, and they’re reusable, which is great for the environment (and your wallet!).
Why microfiber cloths are amazing:
* Superior cleaning power: Microfiber cloths are made of tiny fibers that grab onto dirt, dust, and grime more effectively than regular cloths.
* Lint-free: Say goodbye to annoying lint residue!
* Reusable and washable: Just toss them in the washing machine after use.
* Versatile: Use them on almost any surface, from countertops to windows to furniture.
* Chemical-free cleaning: Often, you can clean effectively with just water and a microfiber cloth, reducing your reliance on harsh chemicals.
How to use them effectively:
* Dampen, don’t soak: For most surfaces, a slightly damp microfiber cloth works best.
* Fold and rotate: Fold the cloth into quarters to create multiple clean surfaces. As one section gets dirty, rotate to a clean one.
* Wash regularly: Wash your microfiber cloths frequently to maintain their cleaning power. Avoid using fabric softener, as it can reduce their absorbency.
* Designate cloths for specific tasks: Keep separate cloths for cleaning bathrooms, kitchens, and dusting to prevent cross-contamination.
Hack 6: Declutter as You Go
This is more of a habit than a hack, but it makes a HUGE difference in the long run. The less clutter you have, the less you have to clean around!
Tips for decluttering as you go:
* The one-minute rule: If a task takes less than a minute, do it immediately. Put away that stray sock, wipe up that spill, file that piece of paper.
* Put things back where they belong: Make it a habit to put things back in their designated spot as soon as you’re finished using them.
* One in, one out: When you buy something new, get rid of something old. This helps prevent clutter from accumulating.
* Regularly purge: Go through your belongings regularly and get rid of anything you no longer need or use. Donate, sell, or toss it – just get it out of your house!
* Focus on high-traffic areas: Pay special attention to areas that tend to accumulate clutter, such as countertops, tables, and entryways.
Hack 7: Preventative Cleaning
This is all about stopping messes before they even happen. A little prevention goes a long way!
Examples of preventative cleaning:
* Use placemats and coasters: Protect your furniture from spills and stains.
* Wipe up spills immediately: Don’t let spills sit and dry, as they’ll be harder to clean later.
* Use a doormat: Trap dirt and debris before it gets tracked into your house.
* Clean as you cook: Wipe down countertops and wash dishes as you go to prevent a huge mess after dinner.
* Ventilate your bathroom: Run the exhaust fan during and after showers to prevent mold and mildew growth.
Hack 8: Tackle One Task at a Time
Instead of trying to clean the entire house at once, break it down into smaller, more manageable tasks. This makes the job feel less overwhelming and more achievable.
How to break down cleaning tasks:
* Focus on one
Conclusion
So, there you have it! These time-saving cleaning hacks aren’t just about making your life easier; they’re about reclaiming your precious time and energy. Imagine spending less time scrubbing and more time doing the things you truly enjoy. From the effortless oven cleaning solution to the streak-free window wonder, each of these hacks is designed to deliver maximum impact with minimal effort.
Why is this a must-try? Because let’s face it, nobody *loves* cleaning. But a clean home is a happy home, and these hacks allow you to achieve that happiness without sacrificing your entire weekend. They’re cost-effective, using ingredients you likely already have in your pantry, and they’re environmentally friendly, reducing your reliance on harsh chemicals.
But don’t just take our word for it. We encourage you to experiment and find what works best for you. For example, if you’re tackling stubborn bathtub stains, try adding a few drops of essential oil, like tea tree or eucalyptus, to your cleaning solution for an extra boost of disinfecting power and a refreshing scent. Or, if you’re looking for a gentler approach to cleaning delicate surfaces, dilute your vinegar solution even further.
Consider these variations to personalize your cleaning routine:
* Lemon Power: Add lemon juice to your all-purpose cleaner for extra degreasing and a fresh scent.
* Baking Soda Boost: Create a paste of baking soda and water to tackle tough stains on countertops or in the sink.
* Essential Oil Infusion: Infuse your cleaning solutions with your favorite essential oils for aromatherapy benefits while you clean. Lavender for relaxation, peppermint for energy, the possibilities are endless!
These time-saving cleaning hacks are more than just shortcuts; they’re a pathway to a cleaner, healthier, and happier home. They empower you to take control of your cleaning routine and make it work for you, not against you.
We’re confident that once you try these hacks, you’ll wonder how you ever cleaned without them. So, go ahead, give them a try! We’re eager to hear about your experiences. Share your before-and-after photos, your favorite variations, and any other time-saving cleaning tips you’ve discovered in the comments below. Let’s create a community of clean-home enthusiasts who are all about maximizing efficiency and minimizing effort. Let us know which of these **time saving cleaning hacks** worked best for you!
Frequently Asked Questions (FAQ)
Q: Are these cleaning hacks safe for all surfaces?
A: While most of these hacks are generally safe, it’s always a good idea to test them on a small, inconspicuous area first, especially on delicate surfaces like marble, granite, or wood. Avoid using abrasive cleaners or scrub brushes on easily scratched materials. For instance, vinegar, while a fantastic cleaner, can etch natural stone. Always dilute vinegar solutions appropriately and avoid prolonged contact with sensitive surfaces. When in doubt, consult the manufacturer’s instructions for your specific surfaces.
Q: Can I use these cleaning hacks if I have allergies or sensitivities?
A: If you have allergies or sensitivities to certain ingredients, such as vinegar or essential oils, it’s crucial to take precautions. Wear gloves and a mask while cleaning to minimize exposure. Ensure adequate ventilation by opening windows or using a fan. If you experience any adverse reactions, discontinue use immediately and consult a doctor. Consider alternative cleaning solutions that are specifically formulated for sensitive individuals. You can also try substituting ingredients. For example, if you’re allergic to vinegar, you might be able to use lemon juice as a substitute in some cases.
Q: How often should I use these cleaning hacks?
A: The frequency of using these cleaning hacks depends on your lifestyle, the size of your home, and your personal preferences. For high-traffic areas like the kitchen and bathroom, you may need to clean more frequently, perhaps once or twice a week. For less frequently used areas, such as guest rooms or storage spaces, you can clean less often, perhaps once a month. The key is to establish a cleaning routine that works for you and helps you maintain a clean and comfortable home without feeling overwhelmed. Regular, light cleaning is often more effective than infrequent, deep cleaning.
Q: What if I don’t have all the ingredients listed in the recipes?
A: Don’t worry if you don’t have every single ingredient on hand. Many of these cleaning hacks are flexible and can be adapted to what you have available. For example, if you don’t have white vinegar, you can often substitute apple cider vinegar. If you don’t have a specific essential oil, you can omit it or use a different one that you enjoy. The goal is to use natural and readily available ingredients to create effective cleaning solutions. Get creative and experiment with what you have on hand.
Q: How do I store homemade cleaning solutions?
A: Store homemade cleaning solutions in clean, labeled spray bottles or containers. Be sure to label each container clearly with the name of the solution and the date it was made. Store them in a cool, dark place away from direct sunlight and heat. Keep them out of reach of children and pets. Most homemade cleaning solutions will last for several weeks or even months, but it’s always a good idea to discard them if they start to look or smell strange.
Q: Are these cleaning hacks environmentally friendly?
A: Yes, these cleaning hacks are generally more environmentally friendly than using conventional cleaning products. They rely on natural ingredients like vinegar, baking soda, and lemon juice, which are biodegradable and less harmful to the environment. By making your own cleaning solutions, you can reduce your reliance on harsh chemicals and plastic packaging. However, it’s important to dispose of cleaning solutions properly. Avoid pouring them down the drain if possible, and consider diluting them with water before disposal.
Q: Can these cleaning hacks remove tough stains?
A: Many of these cleaning hacks are effective at removing tough stains, but some stains may require more specialized treatment. For stubborn stains, try pre-treating the area with a paste of baking soda and water or a solution of vinegar and water. Let it sit for a few minutes before scrubbing gently. You may need to repeat the process several times to completely remove the stain. For particularly difficult stains, consider consulting a professional cleaning service.
Q: How can I make my cleaning routine more efficient?
A: To make your cleaning routine more efficient, start by decluttering your home. A clutter-free home is easier to clean. Gather all your cleaning supplies in one place so you don’t have to waste time searching for them. Work from top to bottom, starting with dusting and ending with vacuuming or mopping. Use a timer to stay on track and avoid getting distracted. Enlist the help of family members to share the workload. And most importantly, make cleaning a regular habit so it doesn’t become overwhelming.


Leave a Comment