

Easy Collard Greens Recipe: Craving that soul-satisfying, melt-in-your-mouth goodness of perfectly cooked collard greens, but intimidated by the process? I get it! For generations, collard greens have been a staple in Southern cuisine, representing comfort, tradition, and a connection to our roots. From family gatherings to holiday feasts, these leafy greens hold a special place in our hearts and on our tables.
But let’s be honest, achieving that tender, flavorful perfection can sometimes feel like a culinary challenge. That’s where this DIY guide comes in! I’m going to share my foolproof, easy collard greens recipe that simplifies the process without sacrificing any of that authentic, down-home flavor.
Why do you need this? Because life’s too short for tough, bitter greens! This recipe is perfect for busy weeknights, beginner cooks, or anyone who wants to enjoy delicious, healthy collard greens without spending hours in the kitchen. I’ll walk you through each step, from prepping the greens to simmering them to perfection, ensuring you achieve that coveted tender texture and rich, savory taste every single time. Get ready to impress your family and friends with your newfound collard green mastery!
Unlock the Secret to Delicious, Southern-Style Collard Greens
Hey y’all! I’m so excited to share my foolproof method for making the most amazing, melt-in-your-mouth collard greens. Forget tough, bitter greens – this recipe guarantees tender, flavorful perfection every single time. I’ve been perfecting this recipe for years, and trust me, it’s a game-changer. Get ready to impress your friends and family with your newfound collard green prowess!
Gathering Your Ingredients and Tools
Before we dive in, let’s make sure you have everything you need. This is crucial for a smooth and enjoyable cooking experience. Nobody wants to be scrambling for ingredients halfway through!
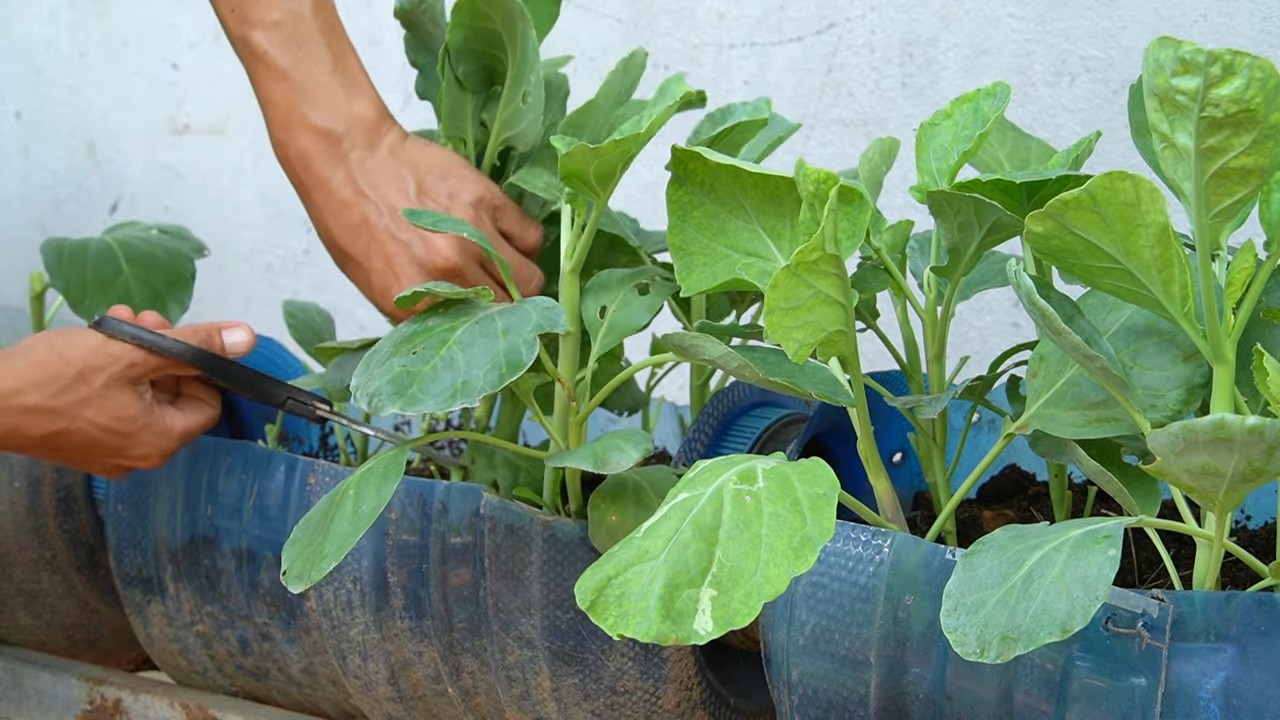
* Fresh Collard Greens: About 2 pounds. Look for vibrant, dark green leaves that aren’t wilted or yellowing.
* Smoked Meat: 1 pound. I personally love smoked ham hocks, but smoked turkey legs, bacon, or even andouille sausage work beautifully too. The smoked meat is what gives the greens that signature Southern flavor.
* Onion: 1 medium, chopped. Yellow or white onions are perfect.
* Garlic: 3-4 cloves, minced. Fresh garlic is always best!
* Chicken Broth: 6-8 cups. Low-sodium is preferred so you can control the salt level.
* Apple Cider Vinegar: 2-3 tablespoons. This adds a touch of tanginess that balances the richness of the greens and smoked meat.
* Red Pepper Flakes: 1/2 teaspoon (or more, to taste). For a little kick!
* Salt and Black Pepper: To taste.
* Olive Oil or Vegetable Oil: 1 tablespoon.
* Sugar (Optional): 1 teaspoon. A tiny bit of sugar can help balance the bitterness, but it’s totally optional.
* Large Pot or Dutch Oven: This is essential for cooking a large batch of greens.
* Cutting Board and Knife: For prepping the vegetables.
* Tongs: For handling the greens and smoked meat.
* Measuring Spoons and Cups: For accurate measurements.
Preparing the Collard Greens: The Key to Tenderness
This is arguably the most important step. Properly cleaning and prepping your collard greens is what separates the pros from the amateurs. Don’t skip this!
1. Wash the Greens Thoroughly: This is non-negotiable! Collard greens can be quite sandy. Fill a large sink or tub with cold water. Submerge the greens and swish them around to loosen any dirt. Lift the greens out of the water, leaving the dirt behind. Repeat this process several times until the water is clear. I usually do this 3-4 times to be absolutely sure.
2. Remove the Stems: The stems are tough and fibrous, so we want to remove them. There are a couple of ways to do this.
* Method 1: Fold each leaf in half lengthwise, then use a knife to cut out the stem along the fold.
* Method 2: Hold the stem with one hand and use the other hand to strip the leaf away from the stem. This is my preferred method because it’s faster.
3. Chop the Greens: Once the stems are removed, stack a few leaves on top of each other and roll them up tightly like a cigar. Then, slice the roll crosswise into 1-2 inch ribbons. Don’t worry about being too precise – they’ll shrink down as they cook.
Cooking the Collard Greens: Low and Slow is the Way to Go
Now for the fun part! This is where the magic happens. Patience is key here – the longer the greens simmer, the more tender and flavorful they become.
1. Sauté the Aromatics: Heat the olive oil or vegetable oil in your large pot or Dutch oven over medium heat. Add the chopped onion and cook until softened and translucent, about 5-7 minutes. Then, add the minced garlic and cook for another minute until fragrant. Be careful not to burn the garlic!
2. Brown the Smoked Meat: Add the smoked ham hocks (or your chosen smoked meat) to the pot and brown on all sides. This will add even more flavor to the greens. If you’re using bacon, cook it until crispy and then remove it from the pot, leaving the rendered bacon fat behind. You’ll add the bacon back in later.
3. Add the Greens and Broth: Add the chopped collard greens to the pot, a few handfuls at a time. As the greens wilt down, add more until all the greens are in the pot. Pour in the chicken broth, making sure the greens are mostly submerged.
4. Season and Simmer: Add the apple cider vinegar, red pepper flakes, salt, and black pepper to the pot. If you’re using sugar, add it now. Bring the mixture to a boil, then reduce the heat to low, cover the pot, and simmer for at least 2-3 hours, or even longer. The longer they simmer, the more tender they’ll become. I often let mine simmer for 4 hours or more! Stir occasionally to prevent sticking.
5. Check for Tenderness: After 2 hours, check the greens for tenderness. They should be very soft and easily pierced with a fork. If they’re still tough, continue to simmer them for another hour or two.
6. Adjust Seasoning: Once the greens are tender, taste and adjust the seasoning as needed. You may need to add more salt, pepper, or apple cider vinegar to your liking.
7. Shred the Smoked Meat (Optional): If you used ham hocks or smoked turkey legs, remove them from the pot and let them cool slightly. Then, shred the meat and return it to the pot. If you used bacon, crumble it and add it back in.
Serving and Storing Your Collard Greens
Congratulations! You’ve just made a pot of incredible collard greens. Now it’s time to enjoy them!
* Serving Suggestions: Collard greens are a classic Southern side dish. They pair perfectly with cornbread, fried chicken, mac and cheese, and other Southern favorites. They’re also delicious on their own!
* Storage: Leftover collard greens can be stored in an airtight container in the refrigerator for up to 3-4 days. They actually taste even better the next day!
* Reheating: Reheat the greens in a saucepan over medium heat, or in the microwave. Add a little bit of chicken broth if they seem dry.
Tips and Tricks for Perfect Collard Greens
Here are a few extra tips and tricks I’ve learned over the years to help you achieve collard green perfection:
* Don’t Overcrowd the Pot: If you’re making a large batch of greens, you may need to cook them in two batches to avoid overcrowding the pot. Overcrowding can prevent the greens from cooking evenly.
* Use a Heavy-Bottomed Pot: A heavy-bottomed pot or Dutch oven will help distribute the heat evenly and prevent the greens from sticking to the bottom.
* Add a Pinch of Baking Soda (Optional): Some people add a pinch of baking soda to the greens to help them retain their color. However, this can also make them mushy, so use it sparingly.
* Experiment with Different Smoked Meats: Don’t be afraid to experiment with different types of smoked meat to find your favorite flavor combination. Smoked turkey wings, tasso ham, or even smoked sausage are all great options.
* Make it Vegetarian: For a vegetarian version, omit the smoked meat and use vegetable broth instead of chicken broth. You can also add a smoked paprika to give the greens a smoky flavor.
* Spice it Up: If you like your greens extra spicy, add more red pepper flakes or a chopped jalapeño pepper to the pot.
* Freeze for Later: Collard greens freeze beautifully! Simply let them cool completely, then transfer them to freezer-safe bags or containers. They’ll keep in the freezer for up to 3 months.
I hope you enjoy this recipe as much as I do! Let me know in the comments if you have any questions or if you try it out. Happy cooking!
Conclusion
So, there you have it! Mastering the art of cooking truly delicious and tender collard greens at home is not only achievable, but surprisingly simple. We’ve walked you through the steps, highlighting the key techniques that transform these humble greens into a flavorful and satisfying dish. This isn’t just about cooking; it’s about unlocking the potential of fresh, wholesome ingredients and creating a meal that nourishes both body and soul.
Why is this DIY collard greens recipe a must-try? Because it empowers you to control every aspect of the flavor profile. Forget bland, overcooked greens from a can or restaurant. With this method, you dictate the level of seasoning, the tenderness of the leaves, and the overall richness of the broth. You can tailor it to your exact preferences, creating a dish that’s uniquely yours. Plus, it’s significantly more cost-effective than relying on pre-made options, allowing you to enjoy this Southern staple without breaking the bank.
But the beauty of this recipe lies in its adaptability. Feel free to experiment with different variations to suit your taste. For a spicier kick, add a pinch of red pepper flakes or a chopped jalapeño to the pot. If you prefer a smoky flavor, consider using smoked turkey legs or bacon instead of ham hocks. Vegetarian? No problem! Simply omit the meat and use vegetable broth as your base, adding a dash of smoked paprika to mimic the smoky flavor. You can also incorporate other vegetables like onions, garlic, and bell peppers for added depth and complexity. Some people even like to add a splash of apple cider vinegar at the end for a touch of brightness. The possibilities are endless!
Embrace the Culinary Adventure
We encourage you to take the plunge and try this DIY collard greens recipe. Don’t be intimidated by the process; it’s much easier than you might think. Gather your ingredients, follow the steps, and most importantly, have fun! Cooking should be an enjoyable experience, a chance to connect with your food and create something delicious for yourself and your loved ones.
Once you’ve mastered the basics, don’t be afraid to get creative and experiment with different flavors and techniques. Share your creations with friends and family, and let them experience the joy of homemade collard greens.
Share Your Experience
We’d love to hear about your experience with this recipe! Did you make any modifications? What were your favorite flavor combinations? Share your tips, tricks, and photos in the comments below. Let’s build a community of collard greens enthusiasts and inspire each other to create even more delicious variations. Your feedback is invaluable and helps us improve our recipes and provide even better content for our readers. So, go ahead, give it a try, and let us know what you think! We are confident that you will agree this is the best way to make **easy collard greens**.
Frequently Asked Questions (FAQ)
Why do my collard greens taste bitter?
Bitterness in collard greens is a common issue, but easily addressed. The bitterness comes from compounds called glucosinolates, which are naturally present in the leaves. Here are a few reasons why your collard greens might be bitter and how to fix it:
* **Overcooking:** Overcooking can actually intensify the bitterness. Cook the greens until they are tender, but not mushy.
* **Lack of Acid:** Acid helps to balance the bitterness. Adding a splash of vinegar (apple cider vinegar, white vinegar, or even balsamic vinegar) or lemon juice towards the end of cooking can make a big difference.
* **Insufficient Fat:** Fat also helps to mellow out the bitterness. Make sure you’re using enough fat (oil, bacon grease, etc.) when sautéing the greens.
* **Type of Greens:** Some varieties of collard greens are naturally more bitter than others. If you’re consistently finding your greens too bitter, try sourcing them from a different farm or store.
* **Preparation:** Thoroughly washing the greens is crucial. Sometimes dirt and grit can contribute to a bitter taste. Make sure to rinse them several times in cold water. Also, removing the tough stems and center ribs can help reduce bitterness.
How long should I cook collard greens?
The cooking time for collard greens can vary depending on the size and thickness of the leaves, as well as your personal preference for tenderness. However, a general guideline is to cook them for at least 45 minutes to 1 hour, or even longer, until they are tender and easily pierced with a fork. Slow cooking is key to breaking down the tough fibers and developing the rich flavor. Keep in mind that the longer they cook, the more tender they will become. Check them periodically and adjust the cooking time as needed.
Can I use frozen collard greens instead of fresh?
Yes, you can definitely use frozen collard greens! They are a convenient alternative to fresh greens, especially when they are not in season or readily available. However, there are a few things to keep in mind:
* **Thawing:** Thaw the frozen collard greens before cooking. You can thaw them in the refrigerator overnight or use the microwave on the defrost setting. Be sure to drain off any excess water after thawing.
* **Texture:** Frozen collard greens may have a slightly softer texture than fresh greens after cooking. This is because the freezing process can break down some of the cell structure.
* **Flavor:** The flavor of frozen collard greens may not be as intense as fresh greens. You may need to adjust the seasoning accordingly.
* **Cooking Time:** Frozen collard greens may cook slightly faster than fresh greens. Keep an eye on them and adjust the cooking time as needed.
When using frozen collard greens, follow the same basic recipe as you would for fresh greens, but adjust the cooking time and seasoning to your liking.
What’s the best way to store leftover collard greens?
Proper storage is essential to maintain the quality and flavor of your leftover collard greens. Here’s how to do it:
* **Cooling:** Allow the collard greens to cool completely before storing them. This will prevent condensation from forming inside the container, which can lead to spoilage.
* **Container:** Store the collard greens in an airtight container in the refrigerator. This will help to keep them fresh and prevent them from absorbing odors from other foods.
* **Storage Time:** Leftover collard greens can be stored in the refrigerator for up to 3-4 days.
* **Reheating:** When reheating, you can use the microwave, stovetop, or oven. If using the microwave, heat them in short intervals, stirring in between, until heated through. On the stovetop, heat them over medium heat, stirring occasionally. In the oven, bake them at 350°F (175°C) until heated through.
Can I freeze cooked collard greens?
Yes, you can freeze cooked collard greens for longer storage. Here’s how:
* **Cooling:** Allow the cooked collard greens to cool completely before freezing.
* **Portioning:** Divide the collard greens into individual portions for easier thawing and reheating.
* **Packaging:** Place the collard greens in freezer-safe bags or containers. Remove as much air as possible to prevent freezer burn.
* **Labeling:** Label the bags or containers with the date and contents.
* **Freezing Time:** Cooked collard greens can be stored in the freezer for up to 2-3 months.
* **Thawing:** Thaw the collard greens in the refrigerator overnight before reheating. You can also thaw them in the microwave, but be sure to use the defrost setting and monitor them closely to prevent them from overcooking.
* **Reheating:** Reheat the thawed collard greens using the same methods as you would for refrigerated leftovers (microwave, stovetop, or oven).
Freezing is a great way to preserve your collard greens and enjoy them later.


Leave a Comment