

Easy Pumpkin Growing Guide
Have you ever dreamed of carving your own homegrown pumpkin for Halloween, or baking a pie using pumpkins bursting with flavor from your own backyard? Then you’ve come to the right place! My Easy Pumpkin Growing Guide is your ticket to a bountiful harvest of these versatile gourds. Growing pumpkins might seem daunting, conjuring images of sprawling vines and endless tending, but I’m here to show you it’s surprisingly simple. This isn’t your grandma’s pumpkin patch; we’re diving into modern, efficient techniques that maximize yield and minimize effort.
Pumpkins have a rich history, deeply intertwined with harvest festivals and autumn celebrations across cultures. From the ancient civilizations of Central America who cultivated early varieties to the modern-day jack-o’-lanterns that light up our doorsteps, pumpkins hold a special place in our hearts and traditions. But beyond the festive fun, there’s a growing interest in knowing exactly where our food comes from and having control over its quality. That’s where my Easy Pumpkin Growing Guide comes in.
Why Grow Your Own Pumpkins?
This DIY guide isn’t just about pumpkins; it’s about empowerment. It’s about the satisfaction of nurturing a seed into a plump, orange fruit, knowing exactly how it was grown, without pesticides or unnecessary chemicals. It’s about the incredible taste difference between a homegrown pumpkin and one from the supermarket. And it’s about the joy of sharing your harvest with friends and family. So, whether you’re a seasoned gardener or a complete beginner, this Easy Pumpkin Growing Guide will equip you with the knowledge and confidence to successfully grow your own pumpkins.
Let’s get started on your journey to a pumpkin patch paradise! I’ll walk you through every step, from selecting the perfect seeds to harvesting your prize-winning pumpkins. Get ready to experience the magic of homegrown goodness.
My Easy Pumpkin Growing Guide: From Seed to Spooky Season Success!
Growing your own pumpkins is easier than you think! Follow these steps and you’ll be carving your own homegrown pumpkins in no time.
Phase 1: Planning and Preparation
- Choose your pumpkin variety: There are tons of varieties! Consider the size you want (from small pie pumpkins to giant carving pumpkins), the growing season in your area, and disease resistance. Check seed packets or online resources for details. I like to choose a variety known for doing well in my climate.
- Timing is everything: Most pumpkin seeds need to be started indoors 6-8 weeks before the last expected frost. Check your local frost dates to determine the best planting time. Starting them too early or too late can hinder growth.
- Gather your supplies: You’ll need pumpkin seeds (obviously!), seed starting mix (not regular garden soil!), small pots or seed trays, a sunny location indoors, watering can, and possibly a grow light (depending on your sunlight availability).
- Prepare your soil: Use a seed starting mix, which is lighter and drains better than garden soil. This prevents the seeds from rotting. I usually buy a pre-mixed seed starting mix from my local garden center.
Phase 2: Starting Seeds Indoors
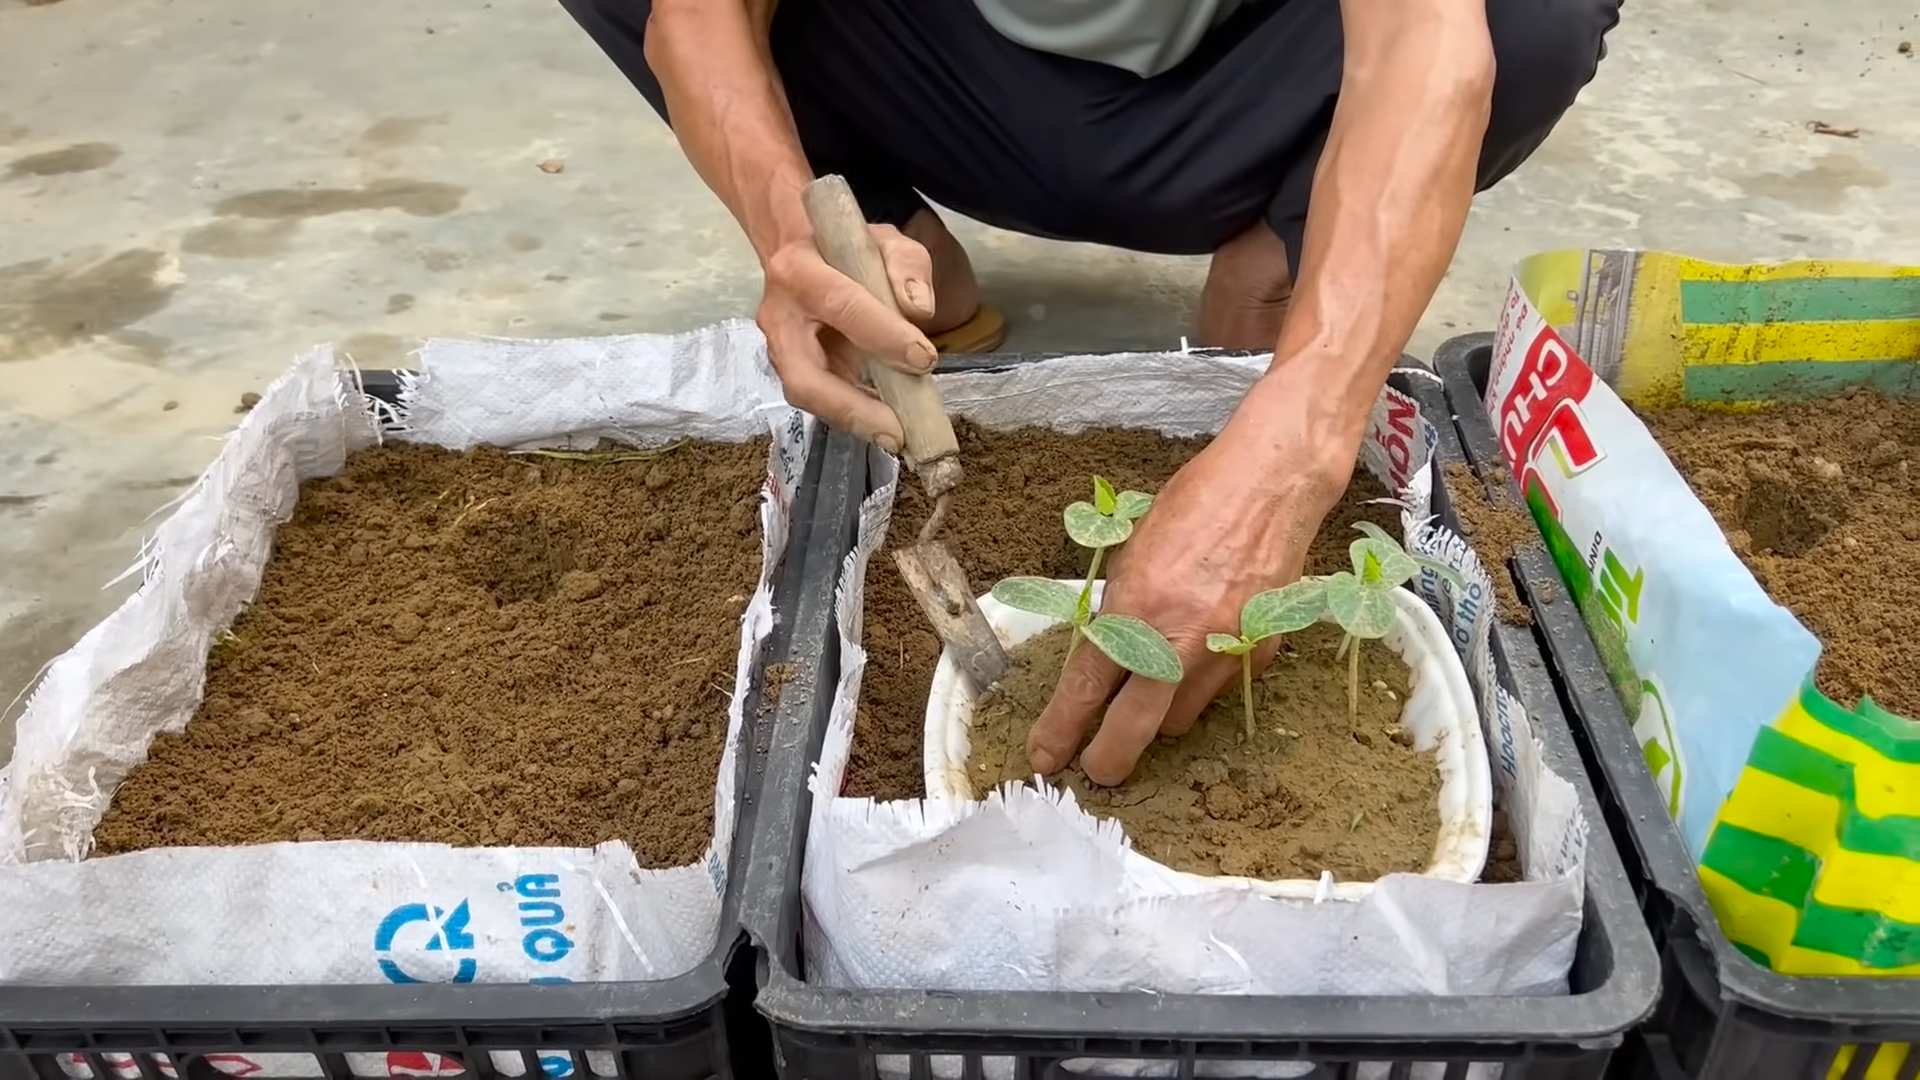
- Sow your seeds: Fill your small pots or seed trays with the seed starting mix. Plant each seed about an inch deep and gently cover with soil. Don’t overcrowd the pots – give each seed plenty of space.
- Water gently: Water the soil thoroughly but avoid overwatering, which can lead to damping off (a fungal disease). Use a watering can with a gentle rose to avoid disturbing the seeds.
- Provide warmth and light: Place your pots in a warm, sunny location. A south-facing window is ideal. If you don’t have enough sunlight, consider using a grow light to supplement. Pumpkins need plenty of light to germinate and grow strong.
- Maintain consistent moisture: Keep the soil consistently moist but not soggy. Check the moisture level daily and water as needed. Let the top inch of soil dry out slightly between waterings.
- Monitor for germination: Pumpkin seeds usually germinate within 7-10 days. Once you see sprouts, you can reduce watering slightly to prevent legginess.
- Hardening off: About a week before transplanting outdoors, start hardening off your seedlings. This gradually acclimates them to outdoor conditions. Begin by placing them outside for a few hours each day, gradually increasing the time until they can tolerate full sun.
Phase 3: Transplanting and Outdoor Care
- Choose your planting site: Pumpkins need at least 6-8 hours of direct sunlight per day. Select a location with well-drained soil. Amend the soil with compost to improve drainage and fertility. Pumpkins are heavy feeders!
- Prepare the planting holes: Dig holes slightly larger than your seedling pots. Space the holes 4-6 feet apart, depending on the variety. This gives the plants plenty of room to spread.
- Transplant your seedlings: Carefully remove the seedlings from their pots, being careful not to damage the roots. Plant them in the prepared holes, covering the roots with soil. Water gently after transplanting.
- Water regularly: Keep the soil consistently moist, especially during dry spells. Water deeply and less frequently rather than shallowly and often. A soaker hose or drip irrigation system is ideal.
- Provide support (optional): For larger varieties, you may want to provide support for the vines as they grow. This can prevent them from rotting on the ground.
- Fertilize (optional): While pumpkins are heavy feeders, you may want to supplement with a balanced fertilizer every few weeks. Follow the instructions on the fertilizer packaging.
- Pest and disease control: Keep an eye out for pests like squash bugs and vine borers. Use organic pest control methods if necessary. Also, be vigilant for fungal diseases, and ensure good air circulation around the plants.
- Pollination: Pumpkins are pollinated by bees. If you have few bees in your area, you may need to hand-pollinate. This involves transferring pollen from the male flower to the female flower.
Phase 4: Harvesting and Storage
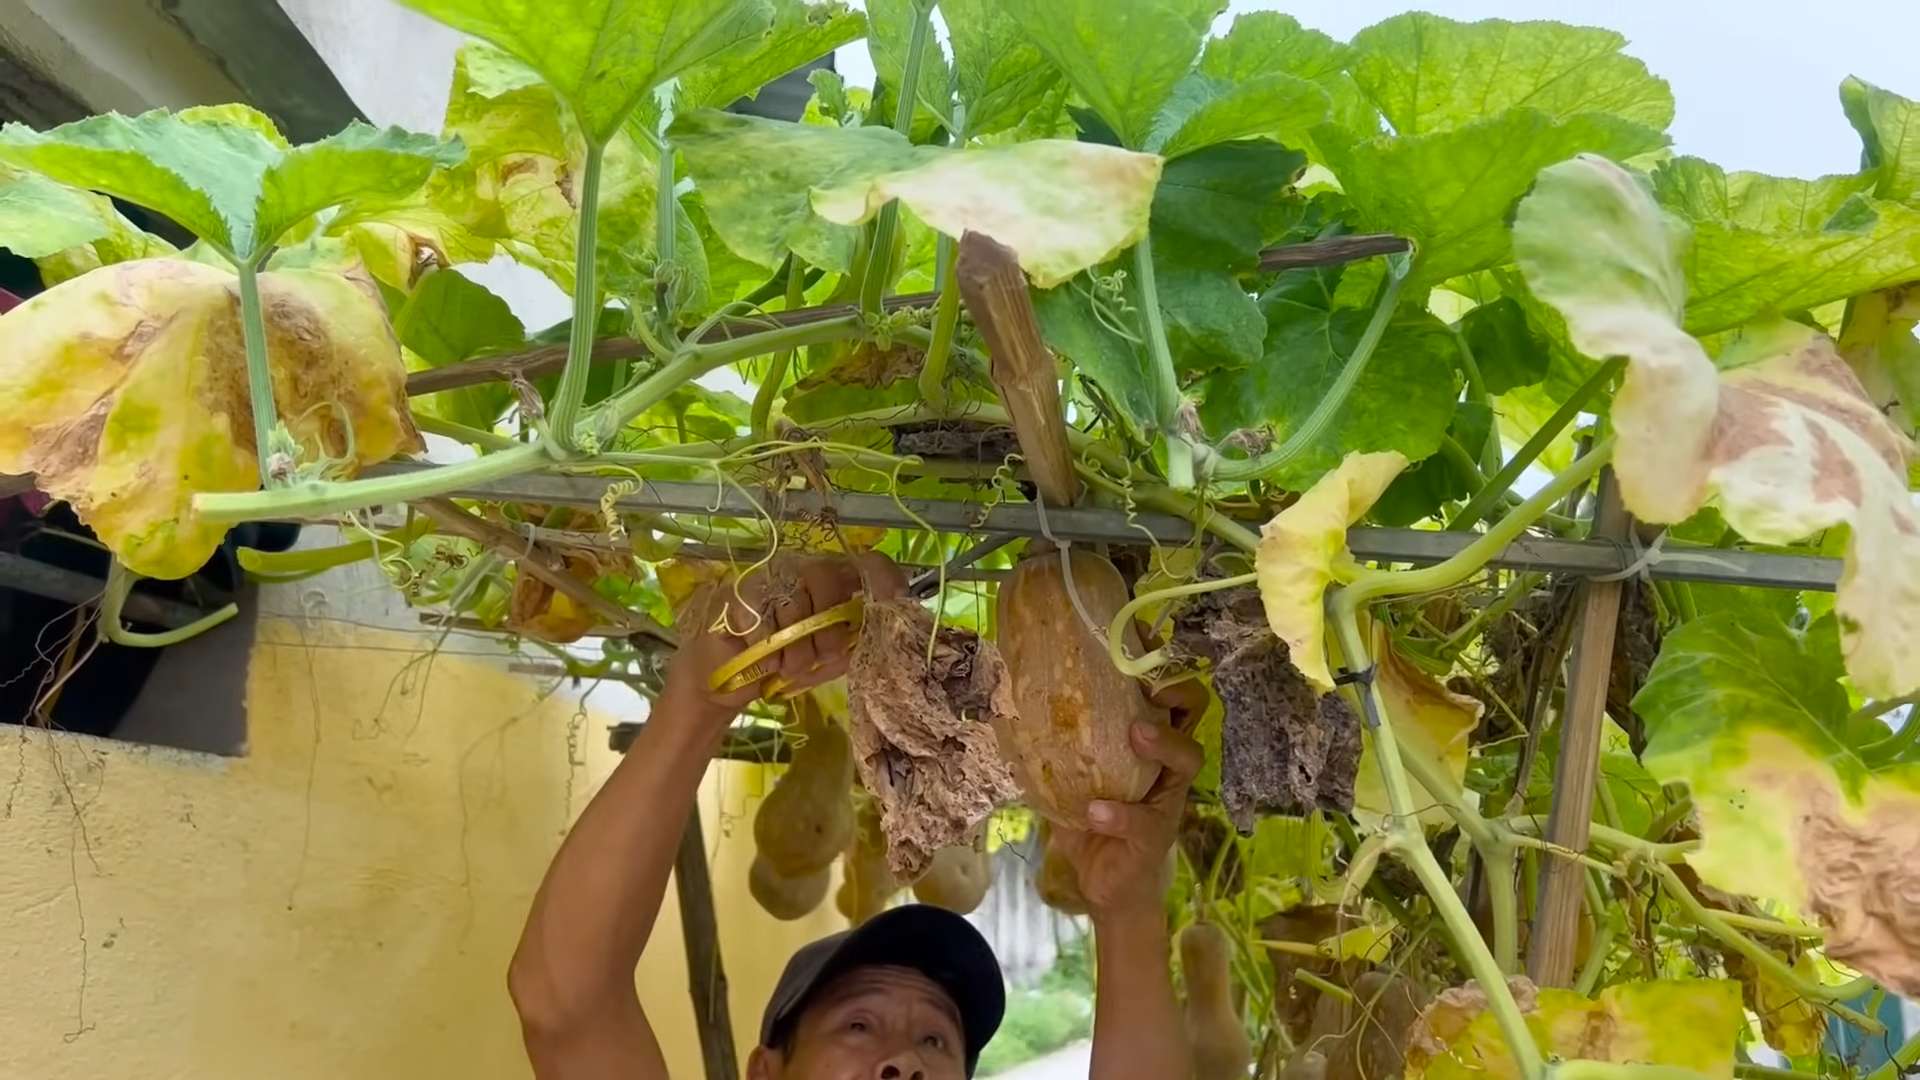
- Harvesting time: Pumpkins are ready for harvest when the rind is hard and the stem is dry and woody. The color should be deep and vibrant. This usually takes 90-120 days after planting, depending on the variety.
- Harvesting technique: Use a sharp knife or pruning shears to cut the pumpkin from the vine, leaving a few inches of stem attached. Avoid damaging the rind.
- Curing: Allow the pumpkins to cure for a few weeks in a cool, dry, well-ventilated area. This hardens the rind and extends their shelf life. Keep them out of direct sunlight.
- Storage: Once cured, store your pumpkins in a cool, dry place. They should last for several months.
Troubleshooting Tips:
- Yellowing leaves: This could indicate overwatering, underwatering, or nutrient deficiency. Adjust your watering schedule and consider fertilizing.
- Wilting plants: Check the soil moisture. Wilting can be a sign of underwatering or pest infestation.
- Small pumpkins: This could be due to poor pollination, lack of nutrients, or overcrowding.
Remember to have fun and enjoy the process! Growing your own pumpkins is a rewarding experience. Happy gardening!
Conclusion
So there you have it – your comprehensive guide to easy pumpkin growing! This DIY approach to cultivating your own pumpkins isn’t just about saving money; it’s about experiencing the profound satisfaction of nurturing a plant from seed to harvest. From the delicate emergence of the first sprout to the glorious sight of plump, orange pumpkins adorning your garden, the journey is incredibly rewarding. This easy pumpkin growing guide empowers you to take control of your food source, ensuring you have access to fresh, homegrown pumpkins for pies, soups, carving, or simply enjoying their vibrant autumnal beauty. The process is surprisingly straightforward, even for novice gardeners, and the results are undeniably delicious and visually stunning. This method truly makes pumpkin growing accessible to everyone, regardless of your gardening experience.
Beyond the basic techniques outlined, there’s a world of possibilities to explore. Experiment with different pumpkin varieties – from the classic jack-o’-lantern pumpkins to smaller, sweeter varieties perfect for pies. Consider companion planting, incorporating flowers like nasturtiums or herbs like basil to deter pests and improve soil health. If space is limited, explore vertical gardening techniques or consider growing pumpkins in large containers. Don’t be afraid to get creative! The beauty of this DIY approach is its adaptability. You can tailor the process to your specific needs and environment, making it a truly personalized gardening experience.
We strongly encourage you to try this easy pumpkin growing guide and embark on your own pumpkin-growing adventure. The sense of accomplishment you’ll feel is unparalleled, and the taste of a homegrown pumpkin is simply unforgettable. Share your experiences with us! Post pictures of your thriving pumpkin plants and bountiful harvests on social media using #EasyPumpkinGrowing. We’d love to see your success stories and learn from your experiences. Let’s build a community of pumpkin enthusiasts, sharing tips, tricks, and the joy of homegrown goodness. Remember, even small spaces can yield amazing results with a little patience and care. So, grab your seeds, get your hands dirty, and get ready to experience the magic of growing your own pumpkins! Happy gardening!
Frequently Asked Questions
What type of soil is best for growing pumpkins?
Pumpkins thrive in well-drained, fertile soil with a slightly acidic pH (around 6.0-6.8). Amend heavy clay soils with compost or other organic matter to improve drainage and aeration. Sandy soils may benefit from the addition of organic matter to retain moisture. A soil test can help determine your soil’s pH and nutrient levels, allowing you to make necessary adjustments before planting. Preparing the soil properly is a crucial step in ensuring a successful harvest.
How much sunlight do pumpkins need?
Pumpkins are sun-worshippers! They need at least six to eight hours of direct sunlight per day to grow optimally. Choose a location in your garden that receives ample sunlight throughout the day. Insufficient sunlight can lead to poor growth, reduced fruit production, and smaller pumpkins. Consider the sun’s path throughout the day when selecting your planting site.
When is the best time to plant pumpkin seeds?
The best time to plant pumpkin seeds outdoors is after the last frost and when the soil has warmed to at least 60-70°F (15-21°C). This typically falls between late spring and early summer, depending on your climate. You can start seeds indoors 4-6 weeks before the last expected frost to give them a head start, but be sure to harden them off gradually before transplanting outdoors. Check your local frost dates for the most accurate planting time in your area.
How often should I water my pumpkins?
Consistent watering is crucial for healthy pumpkin growth, especially during dry spells. Aim to water deeply and regularly, keeping the soil consistently moist but not waterlogged. The frequency of watering will depend on your climate and soil type. During hot, dry weather, you may need to water daily, while in cooler, wetter conditions, watering every few days may suffice. Observe the soil moisture level and adjust your watering schedule accordingly. Overwatering can lead to root rot, while underwatering can stunt growth.
What are some common pumpkin pests and diseases?
Pumpkins can be susceptible to various pests and diseases, including squash bugs, vine borers, powdery mildew, and downy mildew. Regularly inspect your plants for signs of infestation or disease. Implementing preventative measures, such as crop rotation, companion planting, and proper spacing, can help minimize pest and disease problems. If you notice any issues, address them promptly using appropriate organic or chemical controls, following label instructions carefully. Early detection and intervention are key to protecting your pumpkin plants.
How do I know when my pumpkins are ready to harvest?
Pumpkins are typically ready for harvest in the fall, about 90-120 days after planting, depending on the variety. The pumpkins will be a deep orange color, and the rind will be hard and difficult to pierce with your fingernail. The stem will also be dry and woody. Harvest pumpkins on a dry day and handle them carefully to avoid bruising. Properly cured pumpkins can last for several months when stored in a cool, dry place.
Leave a Comment