

Fresh Herbs at Home: Imagine stepping into your kitchen and snipping fragrant basil for your pasta, or plucking a sprig of rosemary to season your roasted chicken. Sounds idyllic, right? Well, it doesn’t have to be a dream! For centuries, cultivating herbs has been a cornerstone of cultures worldwide, from ancient Egyptians using them for medicinal purposes to medieval monks tending their monastery gardens.
But in today’s fast-paced world, the convenience of store-bought herbs often overshadows the simple joy and incredible benefits of growing your own. That’s where this DIY guide comes in. I’m going to share some super easy and effective home gardening tricks that will have you harvesting your own bounty of fresh herbs in no time, even if you think you have a “black thumb.”
Why bother with DIY, you ask? Because having fresh herbs at home isn’t just about convenience; it’s about flavor, health, and sustainability. Store-bought herbs can be expensive, often wilt quickly, and may have traveled long distances. Growing your own ensures you have access to the freshest, most flavorful ingredients, packed with nutrients and free from harmful pesticides. Plus, it’s incredibly rewarding to nurture something from seed to table. So, let’s ditch the store-bought stuff and get our hands dirty! I promise, these DIY tricks are so simple, you’ll wonder why you didn’t start sooner.
Frische Kräuter zu Hause ziehen: Mein DIY-Garten für die Fensterbank
Ich liebe frische Kräuter! Nichts ist besser, als ein Gericht mit Basilikum, Schnittlauch oder Petersilie aus dem eigenen Garten zu verfeinern. Aber nicht jeder hat einen Garten. Deshalb zeige ich euch heute, wie ihr ganz einfach einen Kräutergarten auf eurer Fensterbank anlegen könnt. Es ist einfacher, als ihr denkt, und ihr werdet das ganze Jahr über mit frischen Kräutern belohnt!
Was du brauchst:
* Kräutersamen oder Jungpflanzen: Wähle deine Lieblingskräuter! Basilikum, Petersilie, Schnittlauch, Thymian, Rosmarin, Minze – die Auswahl ist riesig. Achte darauf, dass die Kräuter, die du zusammen pflanzt, ähnliche Bedürfnisse haben (z.B. bezüglich Sonnenlicht und Bewässerung).
* Pflanzgefäße: Töpfe, Kästen, Schalen – alles ist möglich! Wichtig ist, dass sie Abzugslöcher haben, damit überschüssiges Wasser ablaufen kann.
* Pflanzerde: Verwende spezielle Kräutererde oder eine hochwertige Blumenerde. Vermeide Gartenerde, da diese oft zu schwer ist und Schädlinge enthalten kann.
* Drainagematerial: Blähton, Kies oder Tonscherben am Boden der Gefäße sorgen für eine gute Drainage und verhindern Staunässe.
* Gießkanne oder Sprühflasche: Zum Bewässern deiner Kräuter.
* Etiketten: Damit du weißt, welche Kräuter wo wachsen.
* (Optional) Anzuchttöpfe oder Eierkartons: Für die Voranzucht von Samen.
* (Optional) Mini-Gewächshaus oder Frischhaltefolie: Um die Keimung der Samen zu beschleunigen.
Schritt-für-Schritt-Anleitung: Kräuter säen oder pflanzen
Phase 1: Vorbereitung der Pflanzgefäße
1. Reinigung: Bevor du loslegst, reinige deine Pflanzgefäße gründlich mit warmem Wasser und etwas Spülmittel. So entfernst du eventuelle Krankheitserreger oder Schädlinge.
2. Drainage: Fülle den Boden deiner Pflanzgefäße mit einer Schicht Drainagematerial (ca. 2-3 cm). Das verhindert Staunässe, die zu Wurzelfäule führen kann. Ich verwende am liebsten Blähton, aber Kies oder Tonscherben tun es auch.
3. Erde einfüllen: Fülle die Pflanzgefäße mit Kräutererde. Lass dabei etwa 2-3 cm Platz bis zum Rand. Drücke die Erde leicht an.
Phase 2A: Kräuter säen (wenn du Samen verwendest)
1. Samen aussäen: Verteile die Kräutersamen gleichmäßig auf der Erde. Achte darauf, dass du nicht zu viele Samen auf einmal aussäst, da die Keimlinge sonst zu eng stehen und sich gegenseitig behindern.
2. Leicht bedecken: Bedecke die Samen mit einer dünnen Schicht Erde (ca. 0,5 cm). Die meisten Kräutersamen sind Lichtkeimer, das heißt, sie brauchen Licht zum Keimen. Informiere dich aber vorher, ob deine Kräutersorte zu den Dunkelkeimern gehört.
3. Angießen: Befeuchte die Erde vorsichtig mit einer Sprühflasche. Vermeide es, die Samen wegzuschwemmen.
4. Feuchtigkeit halten: Decke die Pflanzgefäße mit Frischhaltefolie oder einem Mini-Gewächshaus ab, um die Luftfeuchtigkeit zu erhöhen. Stelle die Gefäße an einen warmen, hellen Ort (aber nicht in die pralle Sonne).
5. Lüften: Lüfte die Gefäße täglich kurz, um Schimmelbildung zu vermeiden.
6. Geduld haben: Die Keimung kann je nach Kräutersorte und Temperatur einige Tage bis Wochen dauern. Halte die Erde feucht, aber nicht nass.
7. Pikieren: Sobald die Keimlinge einige Blätter gebildet haben, kannst du sie pikieren, d.h. vereinzeln und in größere Töpfe umpflanzen.
Phase 2B: Kräuter pflanzen (wenn du Jungpflanzen verwendest)
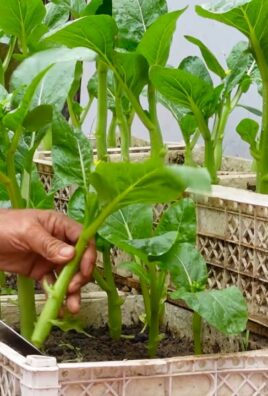
1. Pflanzen vorbereiten: Nimm die Jungpflanzen vorsichtig aus ihren Töpfen. Lockere die Wurzeln etwas auf, damit sie sich besser in der neuen Erde ausbreiten können.
2. Pflanzlöcher graben: Grabe in der Erde Pflanzlöcher, die groß genug sind, um die Wurzelballen der Jungpflanzen aufzunehmen.
3. Einsetzen: Setze die Jungpflanzen in die Pflanzlöcher ein. Achte darauf, dass die Oberseite des Wurzelballens mit der Erdoberfläche abschließt.
4. Anfüllen: Fülle die Pflanzlöcher mit Erde auf und drücke sie leicht an.
5. Angießen: Gieße die Pflanzen gründlich an.
Phase 3: Pflege deiner Kräuter
1. Standort: Stelle deine Kräuter an einen hellen, sonnigen Standort. Die meisten Kräuter brauchen mindestens 6 Stunden Sonnenlicht pro Tag. Ein Südfenster ist ideal.
2. Bewässerung: Gieße deine Kräuter regelmäßig, aber vermeide Staunässe. Die Erde sollte immer leicht feucht sein. Überprüfe die Feuchtigkeit der Erde, indem du deinen Finger etwa 2 cm tief in die Erde steckst. Wenn sie sich trocken anfühlt, ist es Zeit zum Gießen.
3. Düngung: Dünge deine Kräuter regelmäßig mit einem organischen Kräuterdünger. Befolge dabei die Anweisungen auf der Verpackung.
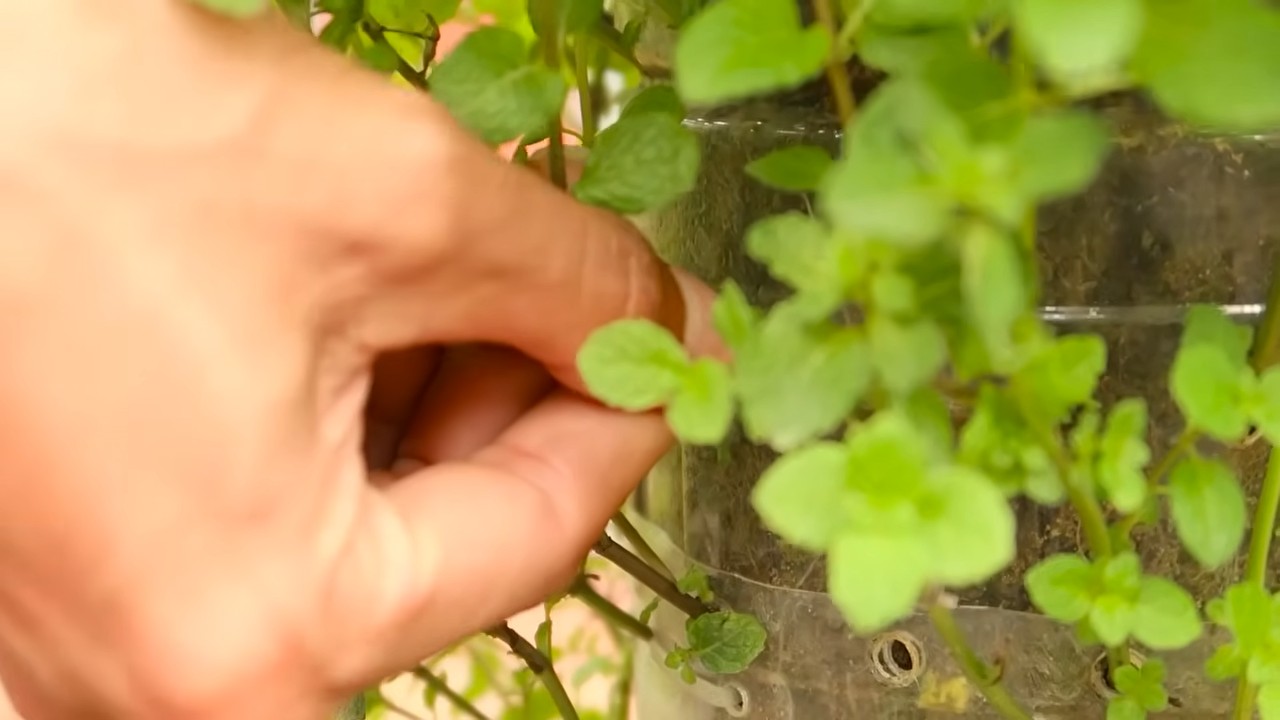
4. Ernte: Ernte deine Kräuter regelmäßig, um das Wachstum anzuregen. Schneide die Stängel kurz über einem Blattknoten ab. So verzweigen sich die Pflanzen und werden buschiger.
5. Schädlinge und Krankheiten: Achte auf Schädlinge und Krankheiten. Bei Befall kannst du natürliche Schädlingsbekämpfungsmittel verwenden, z.B. Neemöl oder Schmierseifenlösung.
6. Umpflanzen: Wenn deine Kräuter zu groß für ihre Töpfe werden, solltest du sie in größere Gefäße umpflanzen.
Zusätzliche Tipps für deinen Kräutergarten
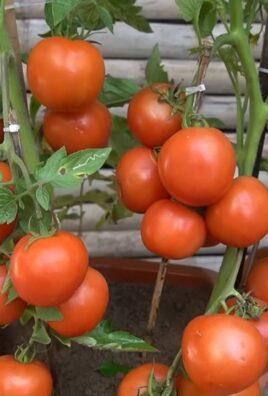
* Kräuter kombinieren: Nicht alle Kräuter vertragen sich gut miteinander. Informiere dich vorher, welche Kräuter du zusammen pflanzen kannst. Basilikum und Tomaten sind zum Beispiel ein tolles Team.
* Minze im Zaum halten: Minze neigt dazu, sich stark auszubreiten. Pflanze sie am besten in einen separaten Topf, um zu verhindern, dass sie andere Kräuter überwuchert.
* Rosmarin richtig pflegen: Rosmarin mag es trocken und sonnig. Gieße ihn nur, wenn die Erde wirklich trocken ist.
* Schnittlauch schneiden: Schneide Schnittlauch regelmäßig bis zum Boden zurück, um das Wachstum neuer Halme anzuregen.
* Kräuter konservieren: Wenn du zu viele Kräuter hast, kannst du sie trocknen, einfrieren oder in Öl einlegen.
* Beobachten: Beobachte deine Kräuter regelmäßig und passe die Pflege ihren Bedürfnissen an. Jede Pflanze ist anders und braucht individuelle Aufmerksamkeit.
Häufige Fehler vermeiden
* Zu viel gießen: Staunässe ist der häufigste Fehler bei der Kräuterpflege. Achte darauf, dass das Wasser gut ablaufen kann und die Erde nicht zu nass ist.
* Zu wenig Licht: Kräuter brauchen viel Licht, um gut zu wachsen. Stelle sie an einen hellen, sonnigen Standort.
* Falsche Erde: Verwende spezielle Kräutererde oder eine hochwertige Blumenerde. Gartenerde ist oft zu schwer und enthält Schädlinge.
* Nicht düngen: Kräuter brauchen Nährstoffe, um zu wachsen. Dünge sie regelmäßig mit einem organischen Kräuterdünger.
* Nicht ernten: Ernte deine Kräuter regelmäßig, um das Wachstum anzuregen.
Ich hoffe, diese Anleitung hilft dir dabei, deinen eigenen Kräutergarten auf der Fensterbank anzulegen. Es ist wirklich einfach und macht Spaß! Und das Beste: Du hast immer frische Kräuter zur Hand, um deine Gerichte zu verfeinern. Viel Erfolg!
Conclusion
So, there you have it! Cultivating fresh herbs at home is not just a trend; it’s a lifestyle upgrade that brings a burst of flavor and fragrance right to your fingertips. We’ve explored a simple yet effective method that transforms your kitchen into a miniature garden, providing you with a constant supply of aromatic ingredients for all your culinary adventures.
Why is this DIY trick a must-try? Because it empowers you to take control of your ingredients, ensuring freshness and quality that store-bought herbs simply can’t match. Imagine the satisfaction of snipping off a sprig of basil, still warm from the sun (or your grow light!), to garnish your pasta. Think of the vibrant aroma of freshly picked mint infusing your tea. This isn’t just about saving money; it’s about enhancing your connection to your food and elevating your cooking experience.
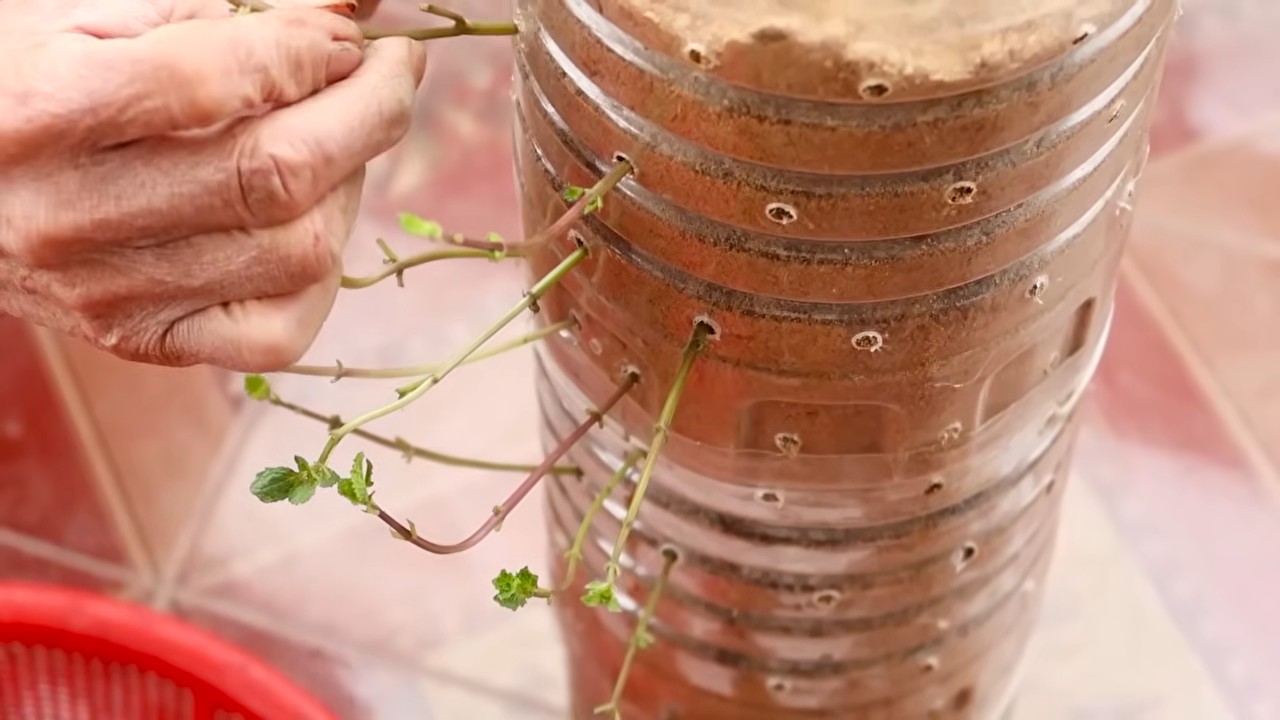
But the beauty of this method lies in its adaptability. Feel free to experiment with different types of containers. Upcycle old teacups, mason jars, or even repurposed plastic containers. Just ensure they have adequate drainage. Consider using a self-watering planter for even less maintenance.
For variations, think beyond the usual suspects. While basil, mint, and parsley are excellent starting points, don’t be afraid to branch out. Try growing chives, oregano, thyme, rosemary, or even cilantro. Each herb brings its unique flavor profile to your dishes, allowing you to create a diverse and exciting culinary palette. You can also explore different varieties within each herb family. For example, try lemon basil for a citrusy twist or Thai basil for an anise-like flavor.
Consider companion planting within your herb garden. Certain herbs thrive when planted together, enhancing each other’s growth and flavor. Basil and tomatoes are a classic example, as basil is said to improve the flavor of tomatoes. Marigolds can also be planted near herbs to deter pests.
Furthermore, think about the lighting conditions in your home. If you don’t have a sunny windowsill, invest in a grow light. This will ensure that your herbs receive the necessary light for healthy growth, especially during the darker months. LED grow lights are energy-efficient and provide the full spectrum of light that plants need.
We wholeheartedly encourage you to try this DIY trick and embark on your own journey of growing fresh herbs at home. It’s a rewarding experience that will transform the way you cook and eat. Don’t be intimidated if you’re a beginner. Start small, be patient, and learn from your mistakes. Every gardener, no matter how experienced, has faced challenges along the way.
And most importantly, share your experience with us! We’d love to hear about your successes, your challenges, and any tips or tricks you’ve discovered along the way. Post photos of your herb garden on social media using #FreshHerbsAtHome and tag us so we can celebrate your green thumb. Let’s create a community of herb enthusiasts who are passionate about growing their own food and sharing their knowledge with others.
Growing fresh herbs at home is more than just a gardening project; it’s an investment in your health, your happiness, and your culinary creativity. So, grab your seeds, your soil, and your containers, and get ready to experience the joy of harvesting your own fresh herbs. You won’t regret it!
FAQ
What kind of soil should I use for growing herbs at home?
The best soil for growing herbs at home is a well-draining potting mix. Avoid using garden soil, as it can be too heavy and may contain pests or diseases. Look for a potting mix that is specifically formulated for herbs or vegetables. These mixes typically contain a blend of peat moss, perlite, and vermiculite, which provide good drainage and aeration. You can also amend your potting mix with compost to add nutrients and improve its water-holding capacity.
How much sunlight do herbs need?
Most herbs need at least six hours of sunlight per day to thrive. If you don’t have a sunny windowsill, you can supplement with a grow light. Place the grow light about 6-12 inches above the plants and keep it on for 12-16 hours per day. Rotate your plants regularly to ensure that all sides receive adequate light. Some herbs, such as mint and parsley, can tolerate partial shade, but they will still grow best with at least four hours of sunlight per day.
How often should I water my herbs?
The frequency of watering depends on several factors, including the type of herb, the size of the container, and the weather conditions. In general, you should water your herbs when the top inch of soil feels dry to the touch. Avoid overwatering, as this can lead to root rot. When you water, water thoroughly until water drains out of the bottom of the container. Empty the saucer beneath the container to prevent the roots from sitting in water. During hot, dry weather, you may need to water your herbs more frequently.
How do I harvest herbs?
The best time to harvest herbs is in the morning, after the dew has dried but before the sun gets too hot. Use sharp scissors or pruning shears to cut the stems of the herbs. Avoid pulling the leaves off, as this can damage the plant. For leafy herbs like basil and mint, pinch off the top leaves to encourage bushier growth. For herbs like rosemary and thyme, cut the stems back by about one-third. Regular harvesting will encourage your herbs to produce more leaves.
What are some common pests and diseases that affect herbs?
Some common pests that affect herbs include aphids, spider mites, and whiteflies. These pests can be controlled with insecticidal soap or neem oil. Diseases that can affect herbs include powdery mildew and root rot. Powdery mildew is a fungal disease that causes a white, powdery coating on the leaves. It can be treated with a fungicide. Root rot is caused by overwatering and can be prevented by using well-draining soil and avoiding overwatering.
Can I grow herbs indoors year-round?
Yes, you can grow herbs indoors year-round, provided you have adequate light and water. A sunny windowsill or a grow light will provide the necessary light. Be sure to water your herbs regularly and fertilize them every few weeks with a balanced fertilizer. You may also need to adjust the temperature and humidity levels in your home to create a more favorable environment for your herbs.
How do I propagate herbs?
Many herbs can be easily propagated from cuttings. To propagate herbs from cuttings, take a 4-6 inch cutting from a healthy stem. Remove the lower leaves and dip the cut end in rooting hormone. Plant the cutting in a pot filled with well-draining potting mix. Water the cutting regularly and keep it in a warm, humid location. After a few weeks, the cutting should develop roots and begin to grow. You can also propagate some herbs from seeds.
What are the best herbs to grow for beginners?
Some of the best herbs to grow for beginners include basil, mint, parsley, chives, and oregano. These herbs are relatively easy to grow and require minimal care. They are also versatile and can be used in a variety of dishes. Start with a few of these herbs and gradually expand your herb garden as you gain more experience.
How do I fertilize my herbs?
Herbs don’t need a lot of fertilizer, but they will benefit from occasional feeding. Use a balanced fertilizer, such as a 10-10-10 or a 20-20-20, and apply it according to the package directions. You can also use a liquid fertilizer, such as fish emulsion or seaweed extract. Fertilize your herbs every few weeks during the growing season. Avoid over-fertilizing, as this can lead to leggy growth and reduced flavor.
How do I dry herbs?
Drying herbs is a great way to preserve them for later use. There are several ways to dry herbs, including air drying, oven drying, and using a dehydrator. To air dry herbs, tie them in small bundles and hang them upside down in a cool, dry, well-ventilated place. To oven dry herbs, spread them out on a baking sheet and bake them at a low temperature (around 170 degrees Fahrenheit) for several hours, or until they are completely dry. To use a dehydrator, follow the manufacturer’s instructions. Once the herbs are dry, store them in airtight containers in a cool, dark place.

Leave a Comment