

Grow Bean Sprouts Home 鈥?it’s easier than you think, and I’m here to show you how! Forget those pricey trips to the grocery store for a handful of sprouts. Imagine having a constant supply of fresh, crunchy bean sprouts right on your kitchen counter. Sounds good, right?
Sprouting, in general, has a rich history, dating back thousands of years, particularly in Asian cultures where they’ve long been valued for their nutritional benefits and ease of cultivation. Think of the ancient Chinese sailors who sprouted beans on long voyages to combat scurvy! Now, we can bring that same resourceful spirit into our own homes.
But why should *you* learn to grow bean sprouts home? Well, beyond the cost savings, it’s about control. You know exactly what’s going into your food 鈥?no pesticides, no questionable additives, just pure, wholesome goodness. Plus, it’s incredibly rewarding to watch those tiny seeds transform into vibrant, edible sprouts in just a few days. In this article, I’ll guide you through simple, step-by-step DIY methods that require minimal equipment and effort. Get ready to unlock the secrets to sprouting success and enjoy a delicious, healthy addition to your meals!

Grow Your Own Bean Sprouts at Home: A Simple and Delicious DIY Project
Hey there, fellow food enthusiasts! Ever thought about growing your own bean sprouts? It’s surprisingly easy, incredibly rewarding, and a fantastic way to add fresh, crunchy goodness to your salads, stir-fries, and sandwiches. Plus, it’s a super budget-friendly way to get your greens! I’m going to walk you through everything you need to know to sprout like a pro, right in your own kitchen.
What You’ll Need
Before we dive in, let’s gather our supplies. The beauty of this project is that you probably already have most of what you need!
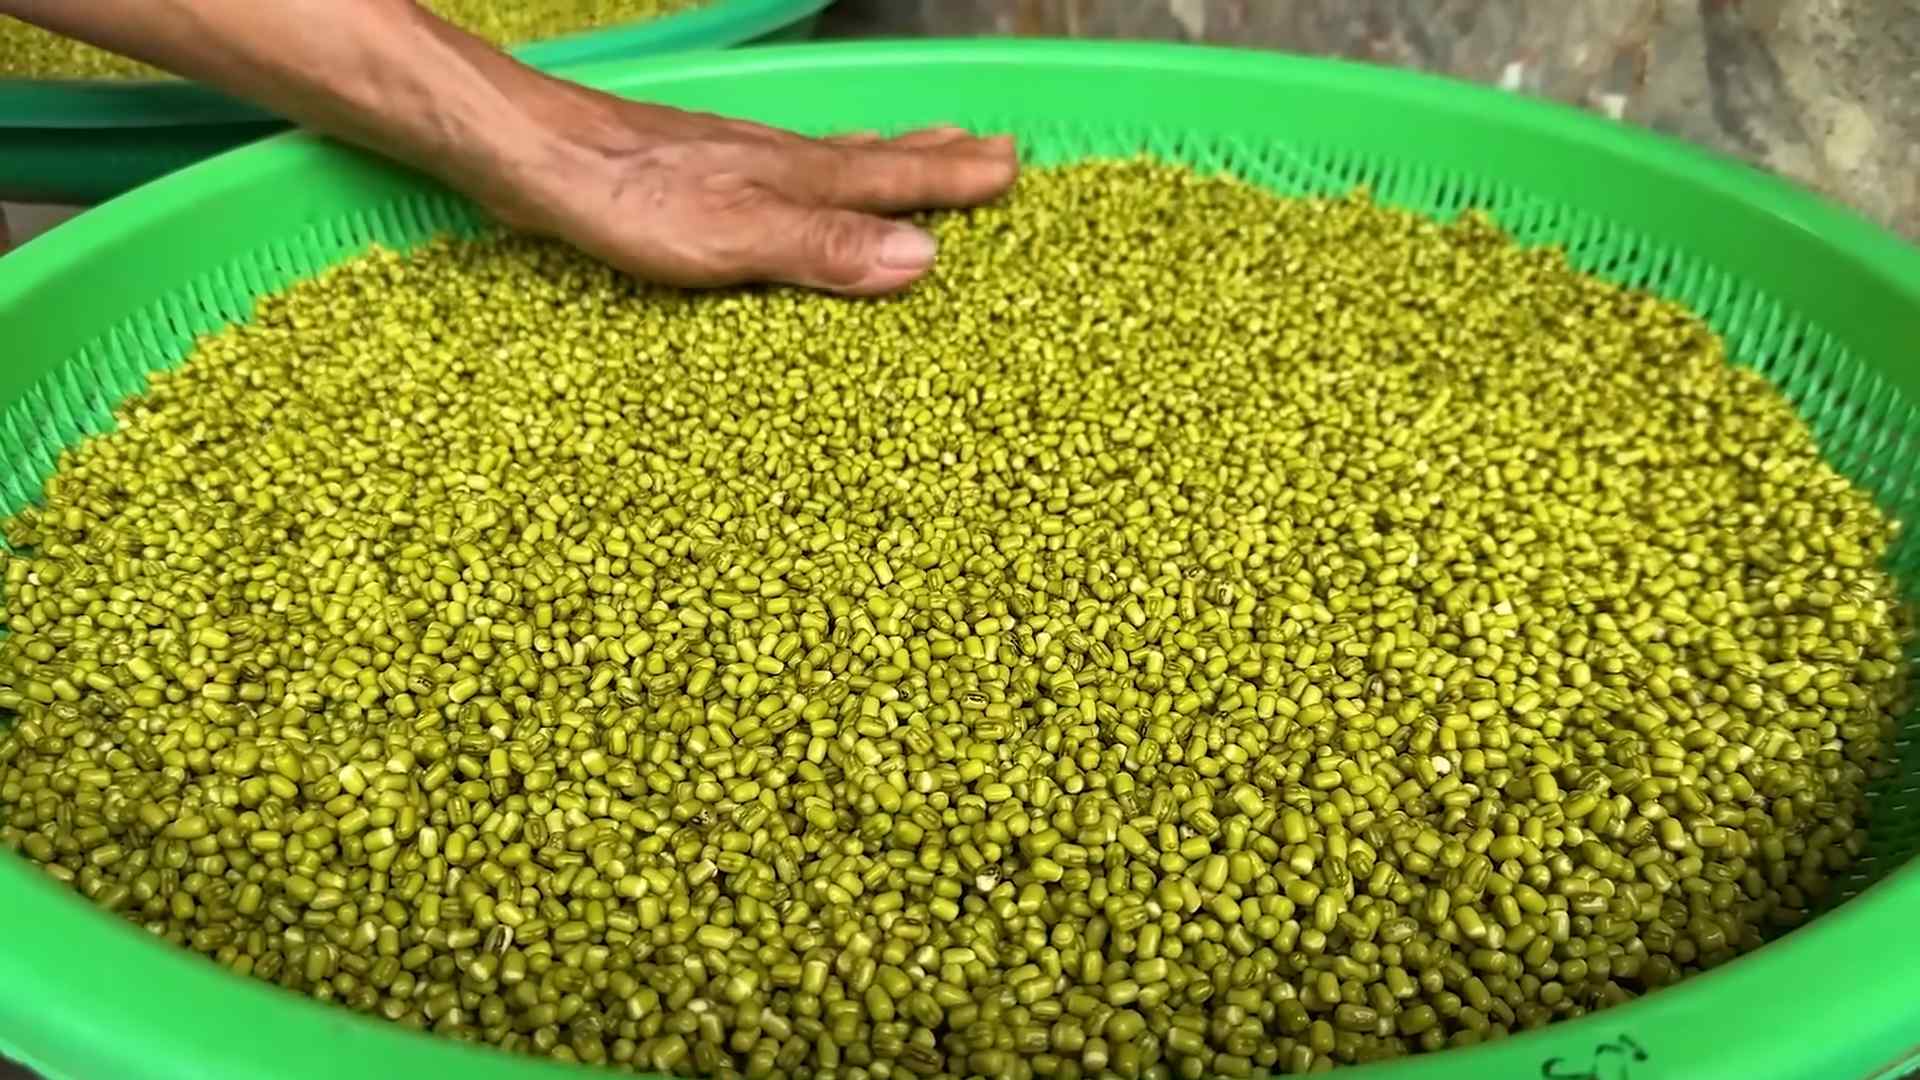
* **Beans:** Mung beans are the classic choice for bean sprouts, but you can also use adzuki beans, lentils, chickpeas, or even soybeans. Just make sure they are whole, un-split, and intended for sprouting (check the packaging). I usually buy mine from the bulk section of my local health food store.
* **Sprouting Jar or Container:** A wide-mouth mason jar works perfectly. You can also use a plastic container with drainage holes. I prefer glass because it’s easy to clean and I can see what’s going on inside.
* **Sprouting Lid or Cheesecloth:** You’ll need something to cover the jar and allow for drainage. A sprouting lid is ideal (they’re inexpensive and readily available online), but a piece of cheesecloth secured with a rubber band will work just fine.
* **Water:** Clean, filtered water is best.
* **Dark Place:** A cupboard, pantry, or even a covered box will do the trick. Darkness is key for healthy sprout growth.
* **Colander or Strainer:** For rinsing the sprouts.
* **Optional: Hydrogen Peroxide (3%):** A little bit of hydrogen peroxide can help prevent mold growth, especially in warmer climates.
Step-by-Step Sprouting Guide
Alright, let’s get sprouting! This process takes about 3-5 days, so get ready for some quick daily maintenance.
1. **Soak the Beans:**
* Place about 1/4 to 1/2 cup of beans in your sprouting jar or container. Remember, they’ll expand significantly, so don’t overcrowd them.
* Cover the beans with plenty of cool, filtered water. I usually use about 3 times the volume of the beans.
* Let the beans soak for 8-12 hours, or overnight. This rehydrates them and starts the germination process. I usually do this before I go to bed so they are ready in the morning.
2. **Drain and Rinse:**
* After soaking, drain the water completely. Use your sprouting lid or cheesecloth to prevent the beans from escaping.
* Rinse the beans thoroughly with fresh, cool water. This removes any debris and keeps them hydrated.
* Drain the water again, making sure there’s no standing water left in the jar.
3. **Sprout in Darkness:**
* Place the jar or container in a dark, well-ventilated place. I usually put mine in a cupboard.
* Position the jar at an angle, with the opening facing down, to allow for proper drainage. This prevents the sprouts from sitting in water and becoming moldy.
4. **Rinse and Drain Regularly:**
* This is the most important step! Rinse and drain the sprouts at least 2-3 times a day. I usually do it in the morning, afternoon, and before bed.
* Use cool, fresh water each time.
* Make sure to drain the water completely after each rinse.
5. **Monitor for Mold:**
* Keep an eye out for any signs of mold. It usually appears as fuzzy, white or grayish patches.
* If you see mold, discard the entire batch. It’s better to be safe than sorry.
* To help prevent mold, you can add a teaspoon of 3% hydrogen peroxide to the rinsing water once a day.
6. **Harvest Your Sprouts:**
* After 3-5 days, your sprouts should be ready to harvest. They should be about 1-2 inches long and have small leaves.
* Give them one final rinse.
7. **Green the Sprouts (Optional):**
* If you want greener sprouts, expose them to indirect sunlight for a few hours before harvesting. This will encourage chlorophyll production. Be careful not to expose them to direct sunlight, as this can overheat them.
8. **Store Your Sprouts:**
* Store the harvested sprouts in the refrigerator in a sealed container. They should last for about a week.
* To keep them fresh, you can line the container with a paper towel to absorb excess moisture.
Troubleshooting Tips
Sometimes, things don’t go exactly as planned. Here are a few common issues and how to fix them:
* **Mold Growth:** As mentioned earlier, discard the entire batch if you see mold. To prevent it, make sure you’re rinsing and draining the sprouts thoroughly and consider using a little hydrogen peroxide. Also, ensure good ventilation.
* **Slow Growth:** If your sprouts are growing slowly, it could be due to temperature. Sprouts prefer a temperature of around 70-75掳F (21-24掳C). If your kitchen is too cold, try moving them to a warmer location.
* **Rotting Sprouts:** This is usually caused by overwatering or poor drainage. Make sure you’re draining the water completely after each rinse.
* **Bitter Taste:** Sometimes, sprouts can develop a bitter taste if they’re not rinsed frequently enough. Make sure you’re rinsing them at least 2-3 times a day.
Creative Uses for Your Homegrown Bean Sprouts
Now that you have a bounty of fresh bean sprouts, what can you do with them? The possibilities are endless!
* **Salads:** Add them to your favorite salads for a crunchy and nutritious boost.
* **Stir-fries:** Toss them into stir-fries for added texture and flavor. I love them in my veggie stir-fry with tofu and a peanut sauce.
* **Sandwiches and Wraps:** Use them as a topping for sandwiches and wraps. They add a nice crunch to veggie burgers.
* **Soups:** Sprinkle them on top of soups for a fresh garnish.
* **Spring Rolls:** A classic addition to fresh spring rolls.
* **Juices and Smoothies:** Add a handful to your juices or smoothies for extra nutrients.
* **Fermenting:** You can even ferment bean sprouts for a probiotic-rich snack!
Choosing the Right Beans
While mung beans are the most common choice, don’t be afraid to experiment with other types of beans and legumes. Here’s a quick rundown:
* **Mung Beans:** The classic choice, known for their mild flavor and quick sprouting time.
* **Adzuki Beans:** Slightly sweeter than mung beans, with a reddish-brown color.
* **Lentils:** Sprout quickly and have a slightly nutty flavor.
* **Chickpeas:** Take a bit longer to sprout, but have a satisfyingly crunchy texture.
* **Soybeans:** Require a bit more attention to prevent mold, but are a good source of protein.
Important Note: Always make sure the beans you’re using are intended for sprouting. Some beans are treated with chemicals that can inhibit germination or even be harmful.
Why Grow Your Own Bean Sprouts?
Besides being incredibly easy and affordable, growing your own bean sprouts offers several benefits:
* **Freshness:** You can’t beat the taste of freshly sprouted beans.
* **Nutrition:** Bean sprouts are packed with vitamins, minerals, and enzymes.
* **Cost-Effective:** Growing your own sprouts is much cheaper than buying them at the store.
* **Sustainable:** Reduces your reliance on commercially grown produce and packaging.
* **Fun and Educational:** A great project for kids and adults alike.
A Few Extra Tips for Sprouting Success
* Cleanliness is Key: Make sure your sprouting jar or container is thoroughly cleaned before each batch.
* Use Fresh Water: Always use fresh, cool, filtered water for rinsing.
* Don’t Overcrowd: Give the beans plenty of room to expand.
* Proper Drainage: Ensure good drainage to prevent mold growth.
* Be Patient: Sprouting takes time, so don’t get discouraged if your sprouts don’t grow overnight.
So, there you have it! Growing your own bean sprouts is a simple, rewarding, and delicious DIY project that anyone can do. Give it a try, and I’m sure you’ll be hooked! Happy sprouting!
Conclusion
So, there you have it! Growing bean sprouts at home is not only incredibly easy and cost-effective, but it also provides you with a constant supply of fresh, nutritious sprouts right at your fingertips. Forget those limp, pre-packaged sprouts from the grocery store 鈥?with this simple DIY trick, you can enjoy crisp, flavorful bean sprouts whenever you want.
Why is this a must-try? Because it empowers you to take control of your food source, reduces plastic waste, and adds a burst of freshness to your meals. Plus, it’s a fun and rewarding project that even kids can participate in! Imagine the satisfaction of watching those tiny seeds transform into vibrant sprouts, ready to be enjoyed in salads, stir-fries, sandwiches, and more.
But the fun doesn’t stop there! Feel free to experiment with different types of beans. While mung beans are the most common choice for bean sprouts, you can also try adzuki beans, lentils, or even chickpeas. Each variety will offer a slightly different flavor and texture, allowing you to customize your sprout-growing experience to your liking.
Consider adding a touch of spice to your sprouts by including a small piece of ginger or a chili pepper in your sprouting jar. This will infuse the sprouts with a subtle heat and aroma, adding an extra layer of complexity to your dishes. You can also experiment with different sprouting containers. While a mason jar works perfectly well, you can also use a sprouting bag or a multi-tiered sprouting system for larger batches.
Don’t be afraid to get creative with how you use your homegrown bean sprouts. Add them to your morning smoothie for a boost of vitamins and minerals, sprinkle them on top of your avocado toast for a crunchy texture, or use them as a garnish for your favorite Asian-inspired dishes. The possibilities are endless!
We are confident that once you try this simple DIY trick, you’ll be hooked on growing bean sprouts at home. It’s a sustainable, healthy, and delicious way to add more fresh produce to your diet.
So, what are you waiting for? Grab a jar, some beans, and get sprouting! We encourage you to try this method for growing bean sprouts home and share your experiences with us in the comments below. Let us know what varieties you tried, what variations you experimented with, and what delicious dishes you created with your homegrown sprouts. We can’t wait to hear from you! Happy sprouting!
Frequently Asked Questions (FAQ)
What types of beans are best for sprouting?
Mung beans are the most popular and readily available choice for sprouting, known for their mild flavor and quick sprouting time. However, you can also successfully sprout adzuki beans, lentils, chickpeas, and even some types of peas. Keep in mind that different beans will have different sprouting times and flavor profiles. Avoid sprouting kidney beans or other beans that are toxic when raw; these require thorough cooking. Always research the specific bean you intend to sprout to ensure it’s safe for consumption in its sprouted form.
How long does it take for bean sprouts to grow?
Generally, bean sprouts will be ready to harvest in 3-5 days. The exact time will depend on the type of bean, the temperature, and the humidity. Mung beans typically sprout the fastest, often ready in just 3 days. Keep an eye on your sprouts and harvest them when they reach your desired length and crispness.
What if my bean sprouts start to smell bad?
A foul odor is a sign of bacterial contamination. This can happen if the sprouts are not rinsed frequently enough or if the sprouting environment is too warm and humid. If you notice a bad smell, discard the sprouts immediately. To prevent this, ensure you rinse your sprouts thoroughly at least twice a day with cool, clean water. Also, make sure your sprouting container has adequate ventilation.
How do I store bean sprouts?
Once your bean sprouts have reached your desired length, rinse them thoroughly and drain them well. Store them in an airtight container lined with a paper towel in the refrigerator. The paper towel will help absorb excess moisture and keep the sprouts fresh for up to a week. Check them daily and discard any sprouts that show signs of spoilage.
Can I eat the bean sprout roots?
Yes, the roots of bean sprouts are perfectly edible. They are tender and have a slightly nutty flavor. Some people prefer to trim the roots before eating, but this is purely a matter of personal preference.
Why are my bean sprouts not sprouting?
There could be several reasons why your bean sprouts are not sprouting. First, make sure your beans are fresh and viable. Old beans may have a lower germination rate. Second, ensure the beans are properly soaked before sprouting. Soaking softens the seed coat and allows the beans to absorb water, which is essential for germination. Third, the temperature may be too cold. Bean sprouts prefer a warm environment (around 70-75掳F). Finally, make sure the beans are not exposed to direct sunlight, which can inhibit sprouting.
How often should I rinse the bean sprouts?
You should rinse your bean sprouts at least twice a day, preferably more often in warmer climates. Rinsing helps to keep the sprouts moist, prevents them from drying out, and washes away any bacteria that may be present. Use cool, clean water and ensure the sprouts are thoroughly drained after each rinse.
Are bean sprouts healthy?
Yes, bean sprouts are a very healthy addition to your diet. They are low in calories and fat and are a good source of vitamins, minerals, and fiber. They are particularly rich in vitamin C, vitamin K, and folate. Bean sprouts also contain enzymes that aid in digestion.
Can I grow bean sprouts without a sprouting jar?
Yes, you can grow bean sprouts without a sprouting jar. You can use a sprouting bag, a multi-tiered sprouting system, or even a colander lined with cheesecloth. The key is to provide adequate moisture, drainage, and ventilation.
Is it safe to eat raw bean sprouts?
While bean sprouts are generally safe to eat raw, there is a small risk of bacterial contamination. To minimize this risk, always purchase fresh, high-quality beans from a reputable source. Rinse the sprouts thoroughly before eating and store them properly in the refrigerator. Pregnant women, young children, and people with weakened immune systems should cook bean sprouts thoroughly before consuming them.
Leave a Comment