

Grow Chili Peppers: Your Guide to a Spicy Harvest
Grow chili peppers! It sounds daunting, maybe even a little spicy, but I promise you, it’s far more rewarding – and easier than you think – than you might imagine. This isn’t just about adding a fiery kick to your tacos; it’s about connecting with nature, nurturing life from seed to vibrant, ripe pepper, and experiencing the unparalleled satisfaction of harvesting your own homegrown chili peppers.
For centuries, chili peppers have held a significant place in cultures worldwide, from the vibrant cuisines of Mexico and India to the fiery dishes of Southeast Asia. Their cultivation has been passed down through generations, evolving into the diverse array of varieties we enjoy today. But you don’t need centuries of experience to join this rich tradition; with a few simple tricks and a little DIY know-how, you can easily grow your own chili pepper patch, no matter how small your space.
Why Grow Your Own?
Why bother with all this when you can just buy them at the store? Well, the taste difference is astounding! Homegrown chili peppers possess a vibrancy and freshness that store-bought peppers simply can’t match. Plus, you get to choose exactly which varieties you want to grow, experimenting with different levels of heat and flavor. And let’s be honest, there’s something incredibly satisfying about biting into a chili pepper you nurtured from a tiny seed, knowing exactly where it came from and how much care went into its growth. This article will equip you with the essential Grow chili peppers techniques and DIY solutions to help you achieve a bountiful harvest.
So, whether you’re a seasoned gardener or a complete beginner, get ready to embark on this exciting journey. Let’s dive into the world of grow chili peppers and unlock the secrets to a spicy, flavorful, and rewarding harvest!
Growing Chili Peppers: A DIY Guide to a Spicy Harvest
I love chili peppers! The vibrant colors, the intense heat, and the incredible flavor they add to dishes – it’s all so rewarding. And the best part? Growing your own chili peppers is surprisingly easy. Follow this guide, and you’ll be enjoying homegrown spice in no time!
Phase 1: Planning and Preparation
- Choose your chili pepper variety: There’s a huge range of chili peppers, from mild bell peppers to scorching habaneros. Consider your spice tolerance and the space you have available. Some varieties are better suited to containers than others.
- Select your growing method: Will you be planting directly in the ground, or using containers? Containers offer more control over the soil and environment, making them ideal for beginners or those with limited garden space. However, in-ground planting often yields larger plants.
- Source your seeds or seedlings: You can buy chili pepper seeds online or at garden centers. Alternatively, you can purchase seedlings, which give you a head start. Seedlings are a great option if you’re short on time or lack experience with starting seeds.
- Gather your supplies: You’ll need pots or a garden bed, potting mix (if using containers), seeds or seedlings, water, fertilizer (optional but recommended), gardening gloves, and small tools like a trowel or hand rake.
- Choose the right location: Chili peppers need at least six to eight hours of direct sunlight per day. Select a sunny spot in your garden or a sunny windowsill if growing indoors. Protection from strong winds is also beneficial.
Phase 2: Starting from Seed (Optional)
- Start seeds indoors 6-8 weeks before the last expected frost: This allows the seedlings to develop strong roots before transplanting outdoors. Use seed-starting mix, not garden soil.
- Sow seeds about ¼ inch deep: Gently press the seeds into the soil, but don’t bury them too deeply. Cover the pot with plastic wrap to retain moisture and place it in a warm location (around 70-80°F).
- Keep the soil consistently moist: Don’t let it dry out completely. Use a spray bottle to mist the soil regularly. Avoid overwatering, which can lead to damping off (a fungal disease).
- Provide adequate light: As the seedlings grow, they’ll need more light. You may need to supplement natural light with grow lights, especially during winter months. Aim for 12-16 hours of light per day.
- Thin seedlings: Once the seedlings have a few true leaves, thin them out to give each plant enough space to grow. Gently remove weaker seedlings, leaving the strongest ones.
- Harden off seedlings before transplanting: Gradually acclimate your seedlings to outdoor conditions before transplanting them into the garden. Start by placing them outside for a few hours each day, gradually increasing the time over several days.
Phase 3: Planting and Growing
- Prepare the soil: Whether planting directly into the ground or in containers, ensure the soil is well-drained and rich in organic matter. Amend heavy clay soil with compost or other organic materials to improve drainage.
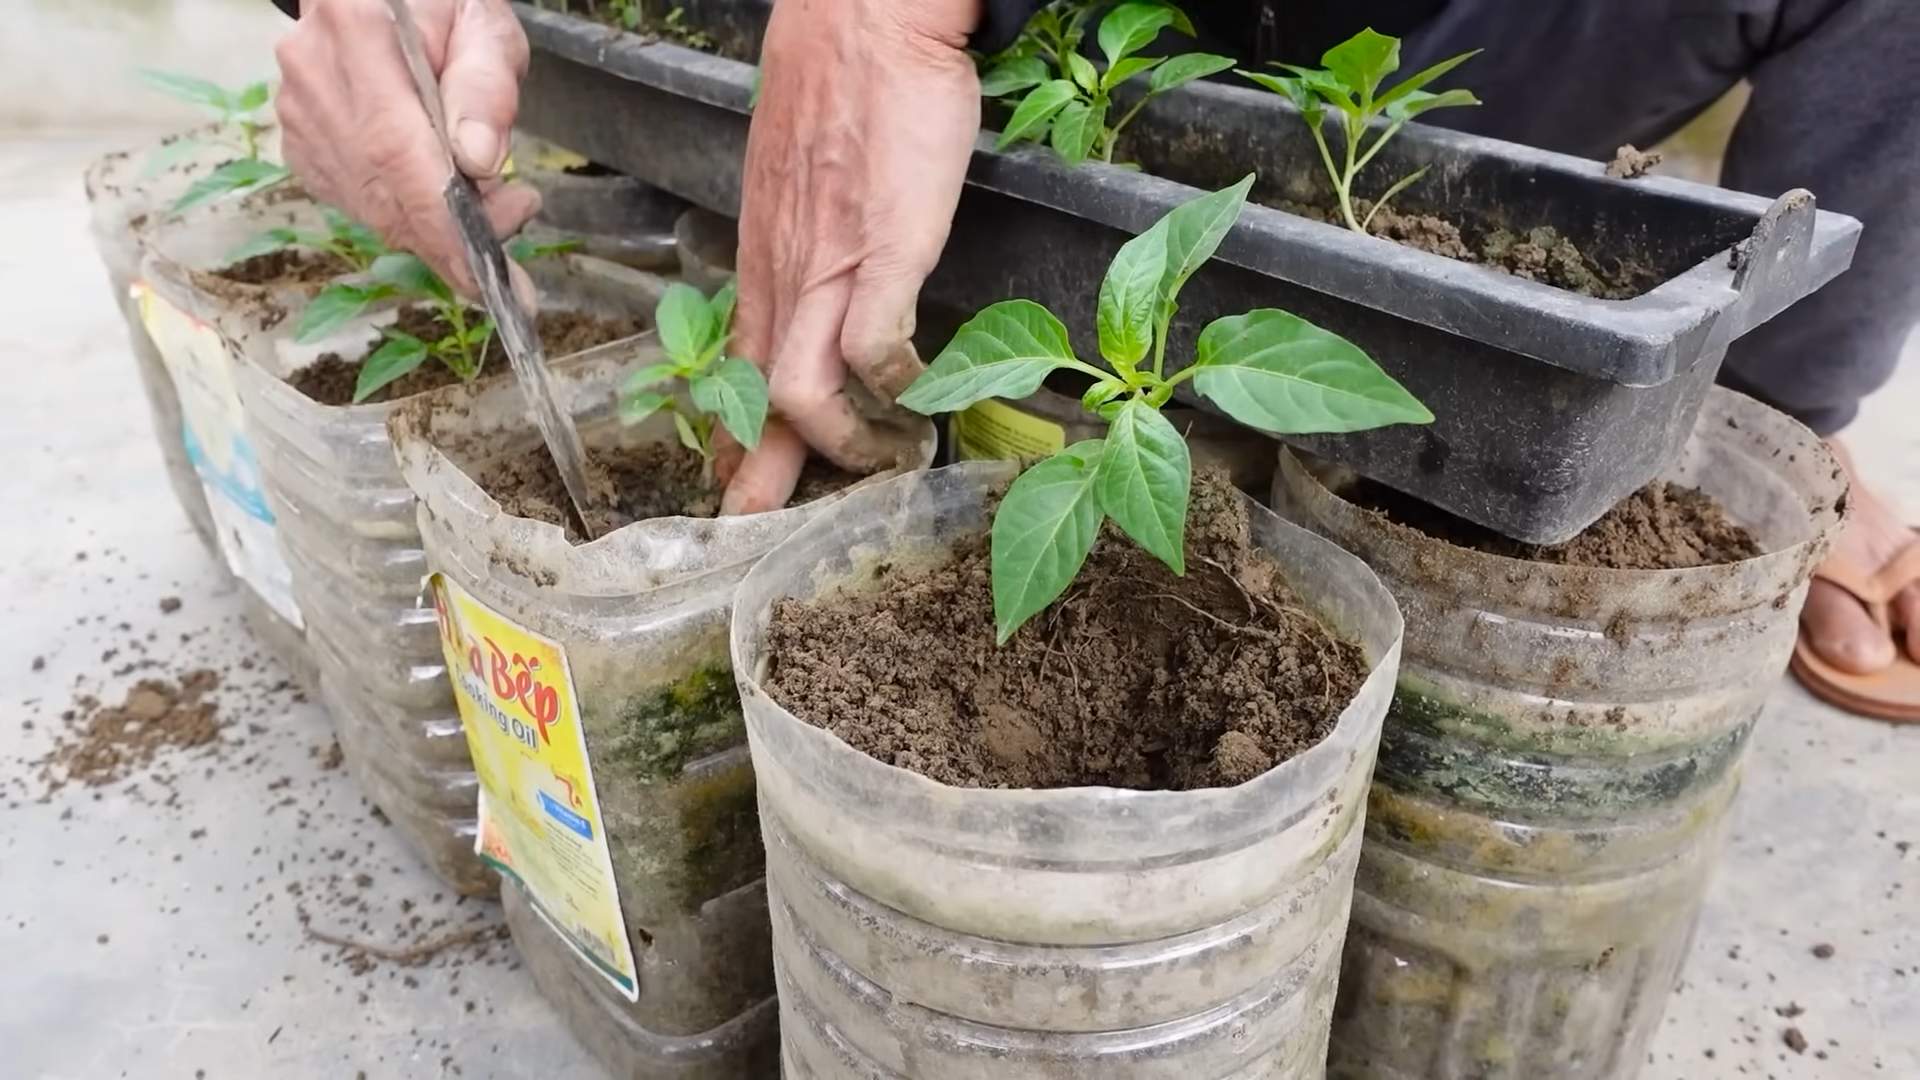
- Plant seedlings or seeds: If using seedlings, dig holes slightly larger than the root ball and gently place the seedlings in the holes. Fill in the holes with soil and firm gently around the base of the plants. If planting seeds directly, follow the spacing recommendations on the seed packet.
- Water deeply and regularly: Chili peppers need consistent moisture, especially during hot and dry periods. Water deeply at the base of the plants, avoiding wetting the leaves, to prevent fungal diseases. Check the soil moisture regularly and water when the top inch feels dry.
- Fertilize regularly: Use a balanced fertilizer every 2-3 weeks to promote healthy growth and abundant fruit production. Follow the instructions on the fertilizer package for the correct application rate.
- Mulch around the plants: Applying a layer of mulch helps retain soil moisture, suppress weeds, and regulate soil temperature. Use organic mulch like straw or shredded leaves.
- Support tall varieties: Some chili pepper varieties can grow quite tall and may need staking or caging to prevent them from falling over. Use stakes or tomato cages to support the plants.
- Monitor for pests and diseases: Regularly inspect your plants for signs of pests or diseases. Take appropriate action if necessary, using organic pest control methods whenever possible.
Phase 4: Harvesting and Enjoying
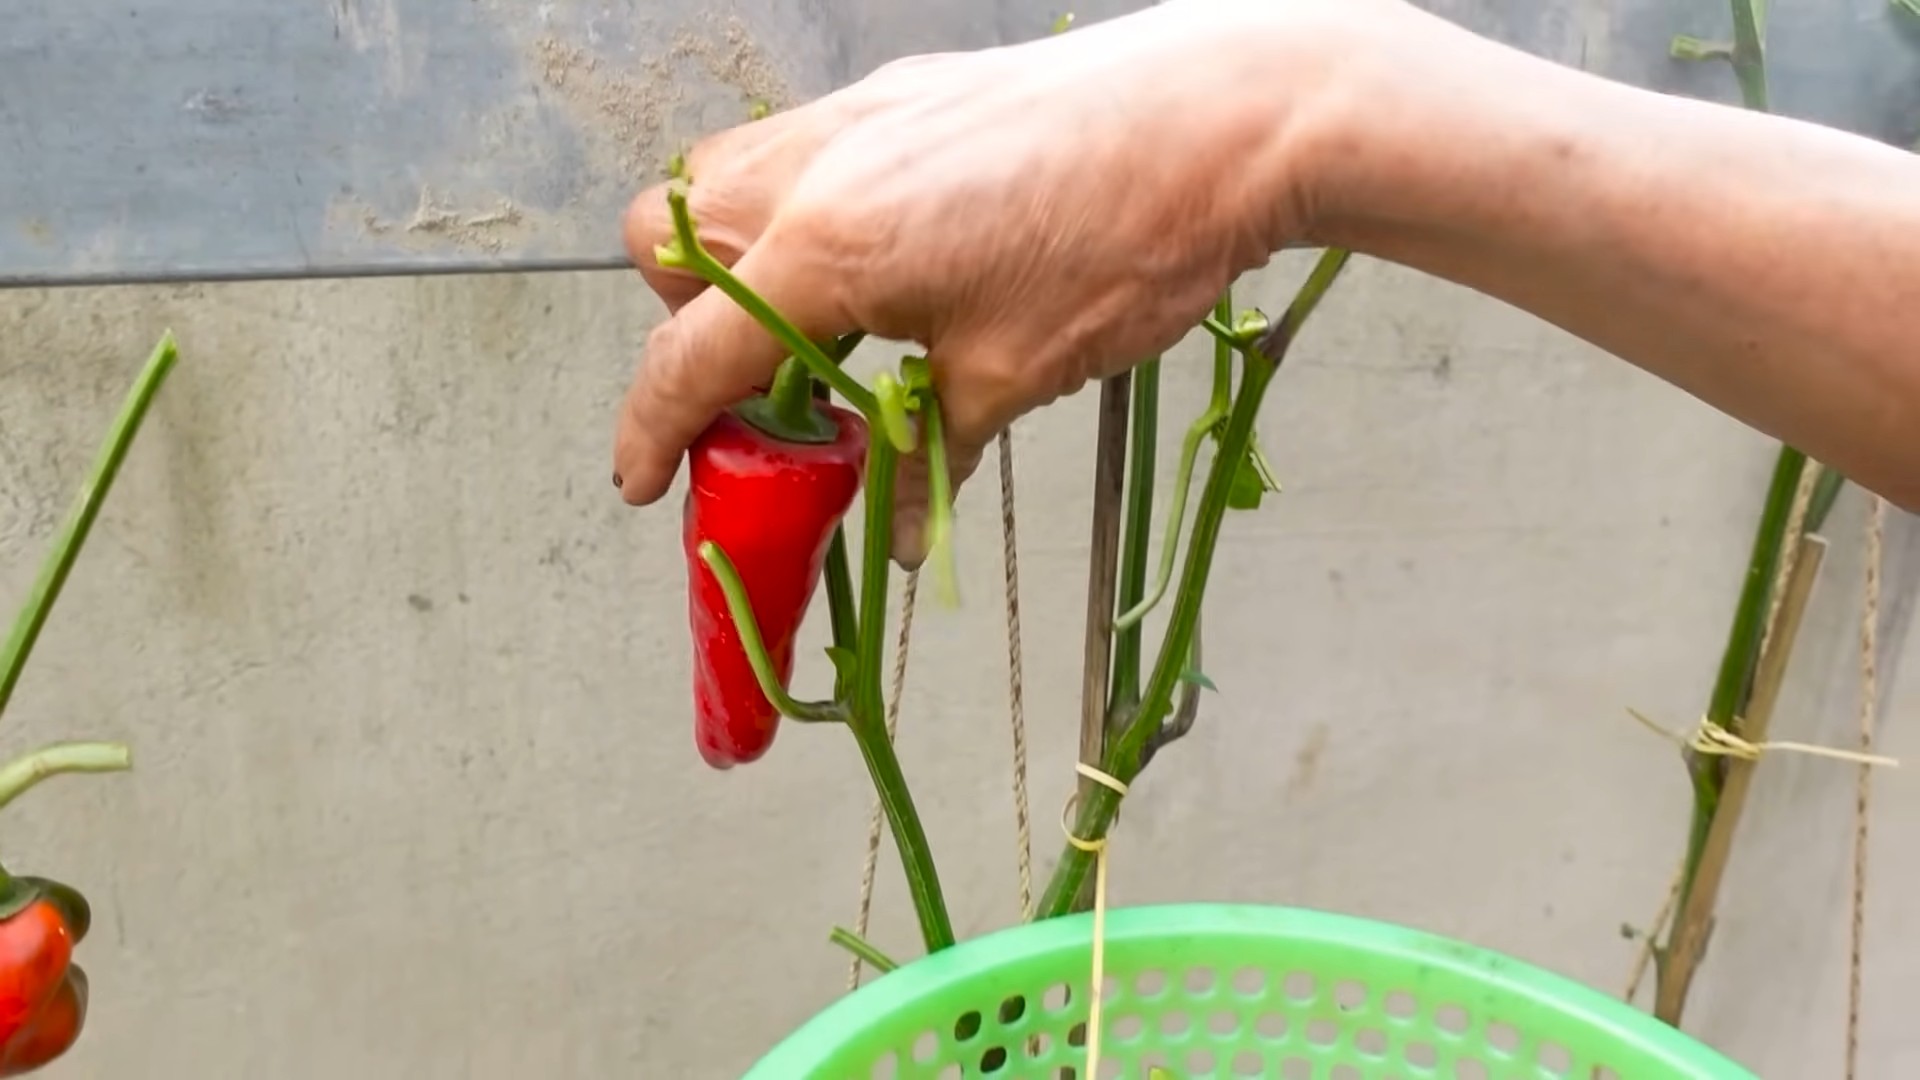
- Harvest at the right time: The optimal time to harvest chili peppers depends on the variety and your preference for heat and flavor. Generally, peppers are ready to harvest when they reach their full color and feel firm to the touch. Some varieties change color as they ripen, while others remain the same color.
- Harvest carefully: Use sharp scissors or pruning shears to cut the peppers from the plant, leaving a short stem attached. Avoid pulling the peppers off, as this can damage the plant.
- Store properly: Fresh chili peppers can be stored in the refrigerator for several weeks. You can also freeze them for longer storage. To freeze, remove the stems and slice or chop the peppers before freezing in airtight containers or freezer bags.
- Enjoy your homegrown chili peppers: Use your freshly harvested chili peppers to add a fiery kick to your favorite dishes! Experiment with different varieties and find your favorites.
Tips for Success:
- Pay attention to your plants: Regular observation is key to identifying problems early on.
- Don’t be afraid to experiment: Try different varieties and growing techniques to find what works best for you.
- Have fun! Growing chili peppers is a rewarding experience. Enjoy the process and the delicious results.
Conclusion
So there you have it! A comprehensive guide to successfully growing your own chili peppers. This DIY approach to cultivating these fiery fruits offers a rewarding experience unlike any other. From the satisfaction of nurturing a tiny seedling to the thrill of harvesting your own homegrown chilies, the journey is incredibly fulfilling. This DIY chili pepper growing method is a must-try for several reasons: it’s cost-effective, allows for greater control over the growing process (including choosing your preferred chili variety), and provides a deeper connection to your food. You’ll be amazed by the superior flavor and freshness of chilies grown right in your own backyard or even on your windowsill! The sense of accomplishment is unparalleled, and the delicious rewards are simply unbeatable.
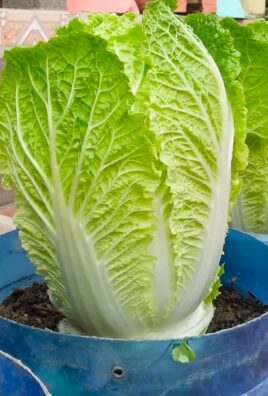
Beyond the basic method outlined, there are countless ways to personalize your chili pepper growing adventure. Experiment with different chili varieties – from mild bell peppers to scorching habaneros – to discover your favorites. Consider using different growing mediums, such as hydroponics or vertical gardening, to maximize space and yield. If you have limited outdoor space, don’t despair! Many chili pepper varieties thrive in containers, making them perfect for balconies or patios. You can even try growing them indoors under grow lights during the colder months. The possibilities are truly endless!
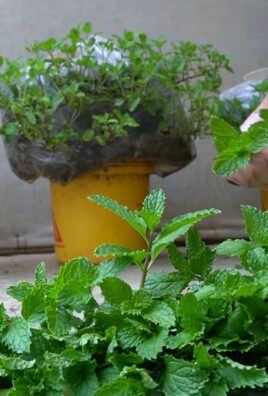
Furthermore, consider experimenting with companion planting. Certain plants, like basil and marigolds, can benefit chili pepper growth by deterring pests or improving soil health. Regularly monitoring your plants for pests and diseases is crucial. Early detection and treatment can prevent significant problems. Remember to adjust your watering schedule based on the weather conditions and the specific needs of your chili pepper plants. Overwatering can lead to root rot, while underwatering can stunt growth. Finding the right balance is key to success.
We strongly encourage you to embark on this exciting journey of growing your own chili peppers. Share your experiences with us! Post pictures of your thriving plants and your delicious chili pepper creations on social media using #GrowChiliPeppersDIY. We’d love to see your progress and celebrate your successes. Let’s build a community of chili pepper enthusiasts, sharing tips, tricks, and recipes along the way. Don’t hesitate to reach out if you have any questions or encounter any challenges – we’re here to support you every step of the way. Get your hands dirty, embrace the challenge, and savor the incredible rewards of homegrown chili peppers. You won’t regret it!
Frequently Asked Questions
What type of soil is best for growing chili peppers?
Chili peppers thrive in well-draining soil that is rich in organic matter. A slightly acidic pH level (around 6.0-7.0) is ideal. You can amend your soil with compost or other organic materials to improve its drainage and fertility. Using a high-quality potting mix is also a great option, especially for container gardening.
How much sunlight do chili peppers need?
Chili peppers are sun-worshippers! They need at least 6-8 hours of direct sunlight per day to produce a bountiful harvest. Choose a location in your garden or on your patio that receives ample sunlight. If growing indoors, invest in grow lights to supplement natural sunlight.
How often should I water my chili peppers?
Watering frequency depends on several factors, including weather conditions, soil type, and pot size. The key is to keep the soil consistently moist but not waterlogged. Check the soil moisture regularly by sticking your finger a couple of inches into the soil. Water thoroughly when the top inch or two feels dry. Avoid overhead watering, which can lead to fungal diseases. Instead, water at the base of the plant.
When can I expect to harvest my chili peppers?
Harvest time varies depending on the chili pepper variety and growing conditions. Generally, you can expect to harvest your first chilies anywhere from 60 to 100 days after planting. The chilies will be ready for harvest when they reach their mature size and color, as indicated on the seed packet or plant tag. Harvest regularly to encourage continued production.
What are some common problems when growing chili peppers and how can I solve them?
Common problems include pests (aphids, spider mites), diseases (blight, blossom-end rot), and nutrient deficiencies. Regularly inspect your plants for signs of pests or diseases. Use appropriate pest control methods, such as insecticidal soap or neem oil, if necessary. Ensure your plants receive adequate nutrients by using a balanced fertilizer. Blossom-end rot is often caused by inconsistent watering, so maintain consistent soil moisture.
Can I grow chili peppers from seeds?
Absolutely! Starting chili peppers from seeds is a rewarding experience. You can purchase seeds online or at garden centers. Start seeds indoors 6-8 weeks before the last expected frost. Use a seed-starting mix and provide adequate warmth and light. Once seedlings have developed a few true leaves, you can transplant them outdoors or into larger containers.
What are some tips for maximizing my chili pepper yield?
To maximize your yield, ensure your plants receive adequate sunlight, water, and nutrients. Regularly remove any dead or damaged leaves. Consider using a support system, such as stakes or cages, for taller varieties to prevent them from falling over. Harvest regularly to encourage continued production. And don’t forget to have fun!
Leave a Comment