

Grow pineapples high yield? Absolutely! Imagine plucking a juicy, sun-ripened pineapple straight from your own backyard. Sounds like a tropical dream, right? Well, it’s more attainable than you think! For centuries, pineapples have been a symbol of hospitality and luxury, gracing tables from royal feasts to humble gatherings. Originating in South America, this bromeliad made its way across the globe, becoming a beloved fruit in countless cultures.
But let’s be honest, buying pineapples at the store can be expensive, and sometimes they just don’t have that fresh, vibrant flavor you crave. That’s where this DIY guide comes in! I’m going to share some simple, yet effective tricks and hacks to help you grow pineapples high yield, even if you don’t have a sprawling tropical estate. Whether you’re a seasoned gardener or a complete beginner, these tips will empower you to cultivate your own pineapple paradise. Get ready to impress your friends and family with your green thumb and enjoy the sweet taste of success!
Growing Pineapples at Home: A Comprehensive DIY Guide
Hey there, fellow plant enthusiasts! Ever dreamt of harvesting your own juicy, homegrown pineapples? It might seem like a tropical fantasy, but I’m here to tell you it’s totally achievable, even if you don’t live in a tropical paradise. I’ve successfully grown pineapples in my own backyard (and even indoors!), and I’m excited to share my secrets with you. This guide will walk you through every step, from selecting the perfect pineapple to enjoying your sweet reward. Let’s get started!
Choosing Your Pineapple and Preparing the Crown
The first step to pineapple success is selecting the right pineapple and preparing its crown for planting. This is crucial, as the crown is what will eventually become your pineapple plant.
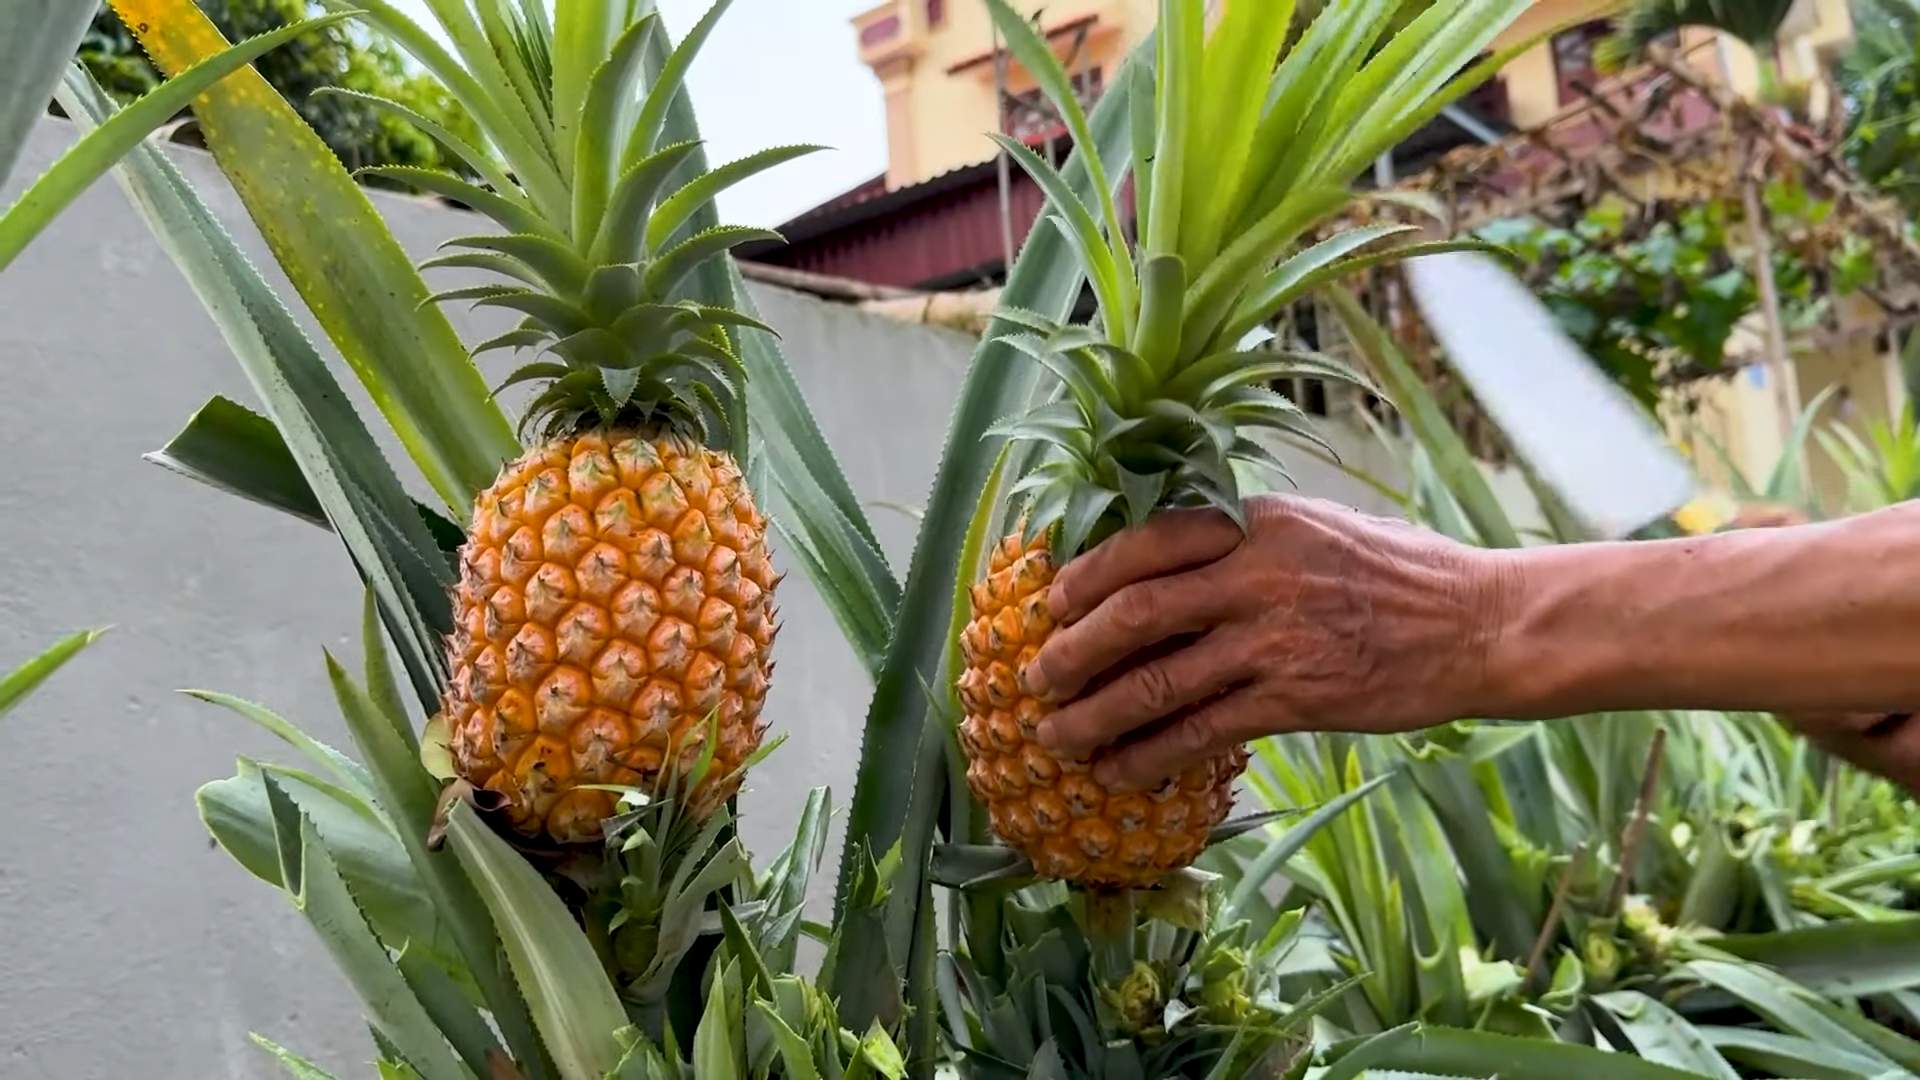
* Selecting a Healthy Pineapple: Look for a pineapple at your local grocery store that is ripe and healthy. The leaves should be green and vibrant, not brown or wilted. The fruit itself should be fragrant and slightly soft to the touch. Avoid pineapples with bruises, soft spots, or signs of rot. Organic pineapples are often a great choice, as they are less likely to be treated with growth inhibitors.
* Removing the Crown: This is where things get a little hands-on. There are a couple of ways to remove the crown:
1. Twisting Method: Grip the fruit firmly with one hand and the base of the leaves with the other. Twist the crown firmly until it separates from the fruit. This method works well if the pineapple is ripe.
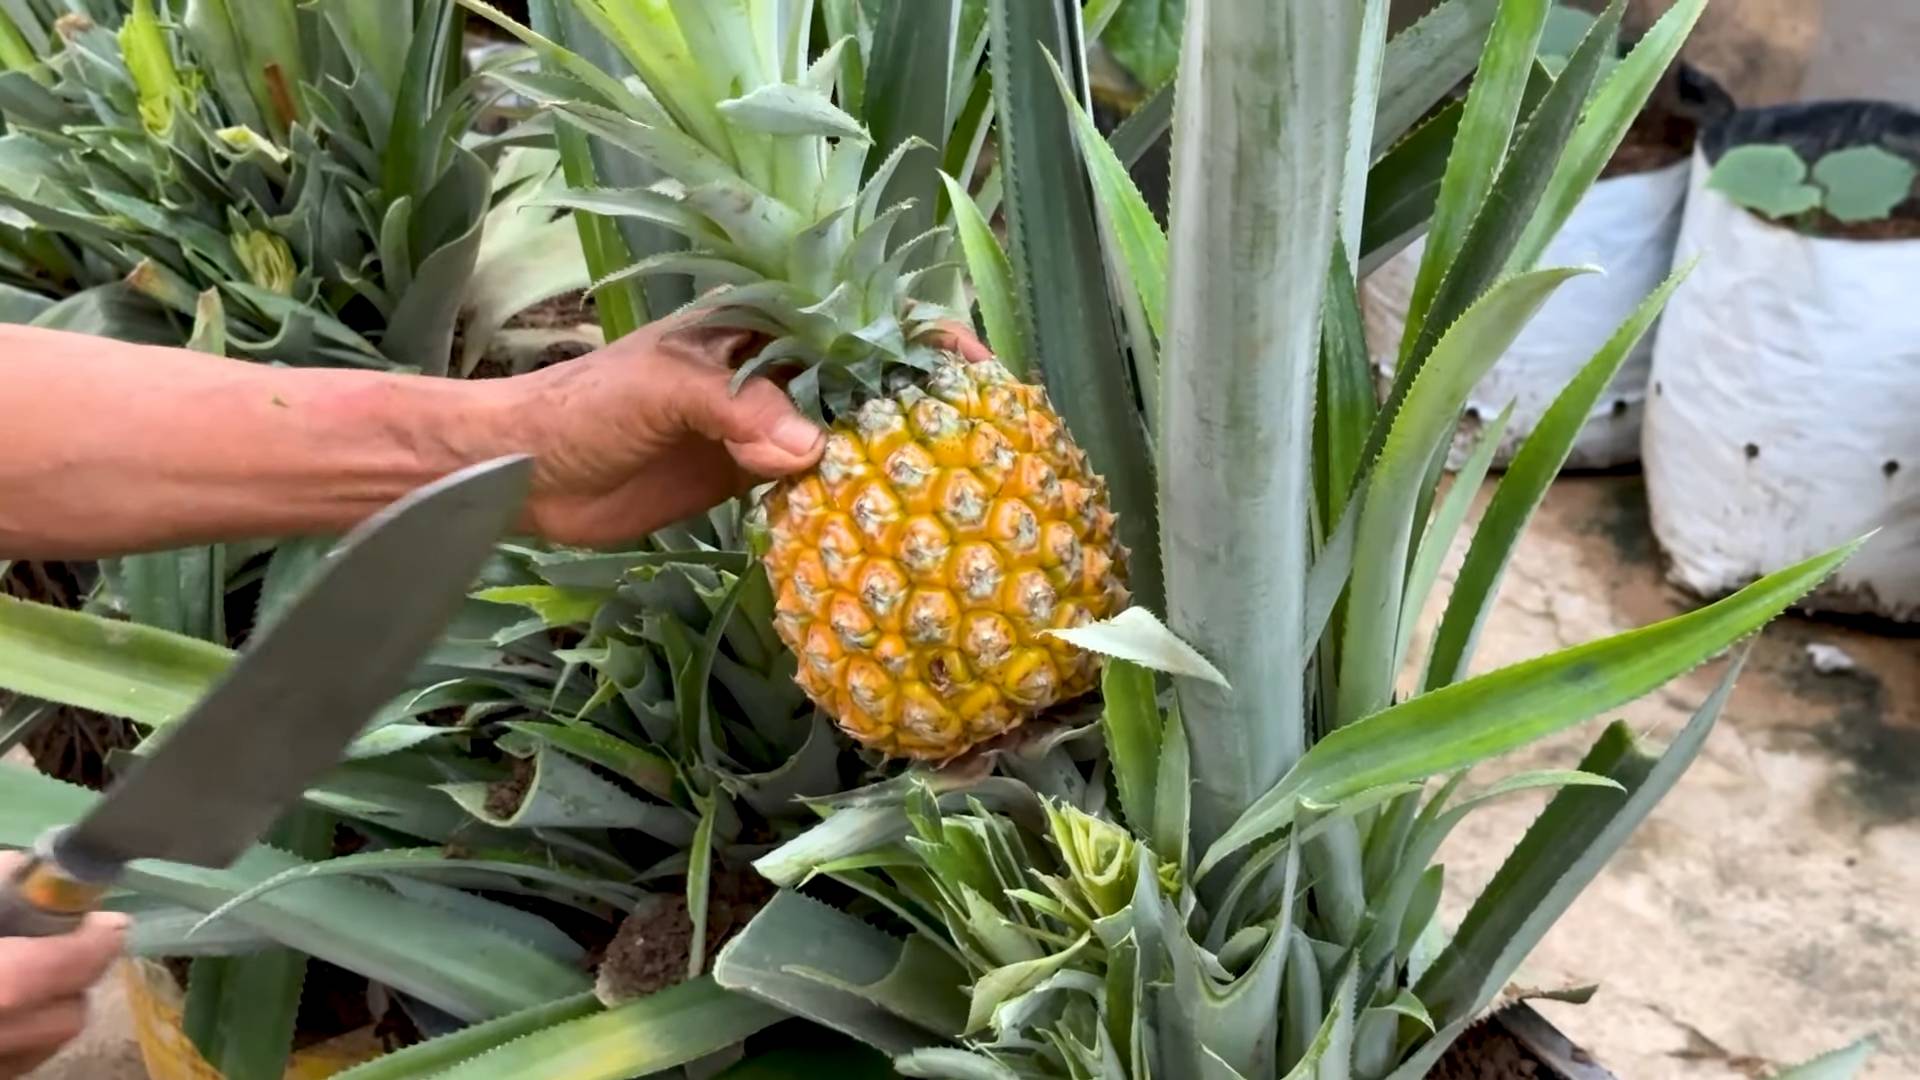
2. Cutting Method: If twisting doesn’t work, use a sharp knife to cut the crown off the fruit, leaving about an inch of fruit attached to the base of the leaves.
* Cleaning the Crown: After removing the crown, you need to clean it up a bit.
1. Remove Excess Fruit: If you used the cutting method, carefully remove any remaining fruit flesh from the base of the crown. This is important because the fruit can rot and attract pests.
2. Peel Back Lower Leaves: Gently peel back several layers of the lower leaves from the base of the crown. This will expose the root nodes, which are the small bumps that will eventually grow into roots. Exposing these nodes is essential for successful rooting.
* Callousing the Crown: This step is crucial to prevent rot.
1. Let it Dry: Place the cleaned crown in a dry, well-ventilated area for 3-7 days. This allows the cut surface to callous over, reducing the risk of fungal infections. I usually place mine on a paper towel on a windowsill.
Rooting Your Pineapple Crown
Now that your crown is prepped and calloused, it’s time to encourage those roots to grow! There are two main methods for rooting a pineapple crown: water rooting and soil rooting. I’ve had success with both, but I personally prefer water rooting because it allows me to monitor the root development.
* Water Rooting Method:
1. Prepare a Container: Choose a clear glass or jar that is wide enough to support the crown but narrow enough so that only the base of the crown is submerged in water.
2. Add Water: Fill the container with fresh, clean water. I prefer using filtered water, but tap water that has been left out for 24 hours to allow the chlorine to dissipate works fine too.
3. Submerge the Base: Place the crown in the container, ensuring that only the base of the crown (where you peeled back the leaves) is submerged in water. The leaves should remain above the water line.
4. Find a Sunny Spot: Place the container in a warm, sunny location. A windowsill that receives bright, indirect sunlight is ideal.
5. Change the Water Regularly: Change the water every 2-3 days to prevent algae growth and keep the water fresh.
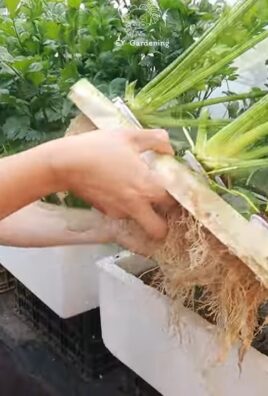
6. Wait for Roots: Be patient! It can take several weeks (usually 2-8 weeks) for roots to develop. You’ll start to see small, white roots emerging from the base of the crown.
7. Plant When Roots are Established: Once the roots are about 2-3 inches long, your pineapple crown is ready to be planted in soil.
* Soil Rooting Method:
1. Prepare a Pot: Choose a small pot (about 6-8 inches in diameter) with drainage holes.
2. Use Well-Draining Soil: Fill the pot with a well-draining potting mix. A mix of potting soil, perlite, and sand works well.
3. Plant the Crown: Make a small hole in the center of the soil and plant the crown, burying the base of the crown (where you peeled back the leaves) in the soil.
4. Water Thoroughly: Water the soil thoroughly after planting.
5. Find a Sunny Spot: Place the pot in a warm, sunny location.
6. Keep Soil Moist: Keep the soil consistently moist, but not soggy.
7. Wait for Roots: It can take several weeks for roots to develop. You can gently tug on the crown to check for resistance, which indicates that roots have formed.
Planting and Caring for Your Pineapple Plant
Once your pineapple crown has established roots, it’s time to plant it in a larger pot and provide it with the care it needs to thrive.
* Choosing the Right Pot: Select a pot that is at least 10-12 inches in diameter. Pineapples have a relatively shallow root system, so a wide pot is more important than a deep one. Make sure the pot has drainage holes to prevent waterlogging.
* Preparing the Soil: Pineapples thrive in well-draining, slightly acidic soil. A mix of potting soil, perlite, and sand is ideal. You can also add some compost or aged manure to provide extra nutrients.
* Planting the Pineapple:
1. Fill the Pot: Fill the pot with your prepared soil mix, leaving a few inches of space at the top.
2. Make a Hole: Dig a hole in the center of the soil that is large enough to accommodate the root ball of your pineapple crown.
3. Plant Carefully: Gently remove the pineapple crown from its rooting container and place it in the hole.
4. Backfill with Soil: Fill in the hole with soil, gently patting it down around the base of the plant.
5. Water Thoroughly: Water the soil thoroughly after planting.
* Providing the Right Environment:
1. Sunlight: Pineapples need plenty of sunlight to grow and produce fruit. Aim for at least 6-8 hours of direct sunlight per day. If you’re growing your pineapple indoors, place it near a sunny window or use a grow light.
2. Temperature: Pineapples thrive in warm temperatures, ideally between 65°F and 85°F (18°C and 29°C). Avoid exposing your pineapple plant to temperatures below 60°F (15°C).
3. Watering: Water your pineapple plant regularly, allowing the soil to dry out slightly between waterings. Avoid overwatering, as this can lead to root rot. During the growing season (spring and summer), you may need to water more frequently than during the dormant season (fall and winter).
4. Humidity: Pineapples prefer moderate to high humidity. If you live in a dry climate, you can increase humidity by misting the leaves regularly or placing the pot on a tray filled with pebbles and water.
5. Fertilizing: Feed your pineapple plant with a balanced fertilizer every 2-3 months during the growing season. Look for a fertilizer that is specifically formulated for tropical plants or bromeliads.
Encouraging Fruiting
One of the most common questions I get is, “How do I get my pineapple plant to actually produce a pineapple?” It can take a while (usually 2-3 years) for a pineapple plant to mature and produce fruit. Here are a few tips to encourage fruiting:
* Ethylene Gas Treatment: This is a common method used by commercial pineapple growers to induce flowering. You can mimic this process at home by using an apple.
1. Enclose the Plant: Place a clear plastic bag over the entire pineapple plant, sealing the bottom of the bag around the pot.
2. Add an Apple: Place a ripe apple inside the bag with the pineapple plant. Apples release ethylene gas as they ripen, which can trigger flowering.
3. Seal the Bag: Seal the bag tightly to trap the ethylene gas.
4. Leave for a Week: Leave the bag in place for about a week.
5. Remove the Bag: Remove the bag and apple after a week.
6. Wait and
Conclusion
So, there you have it! Mastering the art of growing pineapples for a high yield isn’t some unattainable dream reserved for tropical farms. It’s a surprisingly accessible and rewarding project you can undertake right in your own backyard, patio, or even indoors with the right setup. We’ve walked you through the process, from selecting the perfect pineapple top to nurturing your plant through its various stages of growth.
Why is this DIY trick a must-try? Because beyond the sheer satisfaction of cultivating your own delicious fruit, you’re gaining control over the quality and freshness of your food. Store-bought pineapples, while convenient, often lack the vibrant flavor and sweetness of a homegrown specimen. Plus, you’re reducing your carbon footprint by eliminating the transportation involved in getting that pineapple from a distant farm to your local grocery store. And let’s not forget the educational aspect – it’s a fantastic way to learn about plant life cycles and connect with nature.
But the benefits don’t stop there. Growing your own pineapples is also incredibly cost-effective in the long run. While there’s an initial investment of time and effort, the potential for multiple harvests from a single plant (through slips and suckers) makes it a worthwhile endeavor. Imagine the joy of sharing your homegrown pineapples with friends and family, knowing you nurtured them from start to finish.
Looking for variations? Consider experimenting with different pineapple varieties. While the Smooth Cayenne is a popular choice, you might explore other options like the MD-2 (Gold pineapple) for its extra sweetness or the Red Spanish for its unique flavor profile. You can also adjust the soil composition to suit your specific climate and growing conditions. Some gardeners swear by adding extra perlite for improved drainage, while others prefer incorporating compost for added nutrients. Don’t be afraid to tweak the process to find what works best for you.
Another exciting variation is growing pineapples in containers. This is particularly useful if you live in a colder climate where you need to bring your plants indoors during the winter months. Choose a large pot with good drainage and use a well-draining potting mix. Container-grown pineapples may require more frequent watering and fertilization, but they offer the flexibility of moving your plants to optimal sunlight conditions throughout the year.
We also encourage you to explore companion planting. Certain plants, like basil and marigolds, can help deter pests and attract beneficial insects to your pineapple plants. This is a natural and effective way to protect your crop without resorting to harsh chemicals.
Ultimately, the key to success in growing pineapples for a high yield lies in patience, observation, and a willingness to learn. Pay close attention to your plants’ needs, adjust your care routine as necessary, and don’t be discouraged by setbacks. Every gardener experiences challenges, but the rewards of harvesting your own homegrown pineapples are well worth the effort.
So, what are you waiting for? Grab a pineapple top, gather your supplies, and embark on this exciting gardening adventure. We’re confident that you’ll be amazed by the results. And most importantly, we want to hear about your experience! Share your tips, tricks, and triumphs in the comments below. Let’s build a community of pineapple enthusiasts and learn from each other’s successes. Happy growing!
Frequently Asked Questions (FAQ)
1. How long does it take to grow a pineapple from a top?
The time it takes to grow a pineapple from a top can vary depending on several factors, including climate, soil conditions, and the specific pineapple variety. Generally, it takes anywhere from 2 to 3 years for a pineapple plant to mature and produce fruit. The first year is primarily focused on root development and vegetative growth. The second year involves further growth and the potential for flowering. The third year is when you can typically expect to see the pineapple fruit develop and ripen. Be patient and consistent with your care, and you’ll eventually be rewarded with a delicious homegrown pineapple.
2. What is the best soil for growing pineapples?
Pineapples thrive in well-draining, slightly acidic soil. A sandy loam soil is ideal, as it provides good drainage and aeration. You can create a suitable soil mix by combining equal parts of potting soil, perlite, and sand. The perlite helps improve drainage, while the sand prevents the soil from becoming compacted. Avoid using heavy clay soils, as they can retain too much moisture and lead to root rot. The ideal pH range for pineapple soil is between 5.5 and 6.5. You can test the pH of your soil using a soil testing kit and amend it with sulfur or lime as needed.
3. How often should I water my pineapple plant?
Watering frequency depends on the climate and the stage of growth. During the warmer months, water your pineapple plant thoroughly whenever the top inch of soil feels dry to the touch. Avoid overwatering, as this can lead to root rot. In the cooler months, reduce watering frequency, allowing the soil to dry out slightly between waterings. When watering, make sure to saturate the entire root zone. You can also water the central cup of the plant, as pineapples absorb water through their leaves.
4. What kind of fertilizer should I use for pineapples?
Pineapples are heavy feeders and require regular fertilization to thrive. Use a balanced fertilizer with a ratio of 10-10-10 or 14-14-14. Apply the fertilizer every 2-3 months during the growing season (spring and summer). You can also use a liquid fertilizer diluted to half strength and apply it more frequently. Avoid over-fertilizing, as this can burn the roots. In addition to chemical fertilizers, you can also use organic fertilizers like compost, worm castings, or fish emulsion. These organic fertilizers provide essential nutrients and improve soil health.
5. How much sunlight do pineapples need?
Pineapples need at least 6-8 hours of direct sunlight per day to thrive. If you’re growing pineapples indoors, place them near a sunny window or use grow lights to supplement natural light. Insufficient sunlight can lead to stunted growth and reduced fruit production. If you live in a hot climate, provide some afternoon shade to prevent the leaves from scorching.
6. How do I induce flowering in my pineapple plant?
If your pineapple plant is mature but not flowering, you can induce flowering using ethylene gas. A common method is to place a ripe apple or banana near the plant, as these fruits release ethylene gas as they ripen. Cover the plant and the fruit with a plastic bag for a few days to trap the gas. Alternatively, you can use calcium carbide, which releases ethylene gas when dissolved in water. Dissolve a small amount of calcium carbide in water and pour it into the central cup of the plant. Be careful when handling calcium carbide, as it can be irritating to the skin and eyes.
7. What are common pests and diseases that affect pineapples?
Common pests that affect pineapples include mealybugs, scale insects, and spider mites. These pests can suck the sap from the leaves and weaken the plant. You can control these pests by spraying the plant with insecticidal soap or neem oil. Diseases that can affect pineapples include root rot, heart rot, and pineapple wilt. Root rot is caused by overwatering and poor drainage. Heart rot is caused by a fungus that infects the central cup of the plant. Pineapple wilt is caused by a virus that is transmitted by mealybugs. Prevent these diseases by providing proper drainage, avoiding overwatering, and controlling pests.
8. How do I harvest a pineapple?
A pineapple is ready to harvest when it turns a golden-yellow color and emits a sweet aroma. The eyes of the pineapple should be flattened and slightly soft to the touch. To harvest the pineapple, use a sharp knife to cut the fruit from the plant. Leave a few inches of stem attached to the pineapple. After harvesting the pineapple, you can replant the top to grow another pineapple plant.
9. Can I grow pineapples indoors?
Yes, you can grow pineapples indoors, especially if you live in a climate with cold winters. Choose a large pot with good drainage and use a well-draining potting mix. Place the plant near a sunny window or use grow lights to supplement natural light. Water the plant regularly and fertilize it every 2-3 months. Indoor-grown pineapples may take longer to fruit than outdoor-grown pineapples, but with proper care, you can still enjoy homegrown pineapples even if you don’t have a garden.
10. What can I do with the pineapple slips and suckers?
Pineapple plants produce slips (small plantlets that grow from the stem below the fruit) and suckers (small plantlets that grow from the base of the plant). These slips and suckers can be used to propagate new pineapple plants. Once the slips and suckers are large enough, you can carefully remove them from the mother plant and plant them in individual pots. Treat them like you would a pineapple top and they will eventually grow into mature pineapple plants. This is a great way to expand your pineapple collection and enjoy a continuous supply of homegrown pineapples.

Leave a Comment