

Grow Taro Successfully: Your Guide to a Thriving Taro Patch
Have you ever dreamed of harvesting your own delicious taro root, straight from your backyard? Growing taro successfully isn’t as daunting as it might seem! This article is your passport to a bountiful harvest, packed with simple yet effective Grow Taro Successfully tips and tricks that will transform your gardening experience. I’ve always been fascinated by the rich history of taro – a staple crop in many Pacific Island cultures, its cultivation deeply intertwined with their traditions and livelihoods for centuries. It’s a truly rewarding plant to grow, offering a unique culinary experience and a deep connection to the earth.
But let’s be honest, growing any plant can feel overwhelming, especially when you’re starting out. That’s why I’ve compiled these Grow Taro Successfully techniques, drawing from both my own experiences and extensive research. Whether you’re a seasoned gardener or a complete beginner, you’ll find practical advice and easy-to-follow DIY solutions to overcome common challenges. From preparing the perfect soil to protecting your plants from pests, this guide will empower you to cultivate healthy, vibrant taro plants.
Why You Need These DIY Taro Growing Hacks
Knowing how to grow taro successfully means more than just having a beautiful garden; it’s about self-sufficiency, access to fresh, healthy food, and the immense satisfaction of nurturing something from seed to harvest. These DIY tips will help you save money on grocery bills, reduce your carbon footprint by sourcing your food locally, and connect you more deeply with the natural world. So, let’s get started on your journey to a thriving taro patch!
Growing Taro Successfully: A DIY Guide
Taro, with its delicious starchy corms and versatile leaves, is a rewarding plant to grow, even for beginners. Follow these steps and you’ll be enjoying your own homegrown taro in no time!
I. Planning and Preparation
- Choose the right variety: Research taro varieties suited to your climate. Some are better for warmer climates, while others tolerate cooler temperatures. Consider the size of the corm you want to harvest – some varieties produce larger corms than others.
- Select your growing location: Taro thrives in full sun to partial shade. A location with at least six hours of sunlight per day is ideal. Ensure the area has good drainage to prevent root rot. Poor drainage is a common problem for taro, so this is crucial.
- Prepare the soil: Taro prefers rich, well-draining soil that’s slightly acidic (pH 5.5-6.5). Amend heavy clay soils with compost or other organic matter to improve drainage and fertility. A soil test can help you determine your soil’s pH and nutrient levels.
- Gather your supplies: You’ll need taro corms (planting material), a shovel or trowel, garden gloves, compost or other organic matter (if needed), and a watering can.
II. Planting Your Taro
- Select healthy corms: Choose firm, disease-free corms with at least one or two “eyes” (buds) for sprouting. Avoid corms that are soft, shriveled, or show signs of rot or damage. Larger corms will generally produce larger plants and corms.
- Prepare the corms: If your corms are large, you can cut them into smaller pieces, ensuring each piece has at least one eye. Allow the cut pieces to dry for a few days before planting to prevent rot. This step is optional, but it allows you to plant more taro from a single corm.
- Dig planting holes: Dig holes about 6-8 inches deep and 12-18 inches apart. The spacing depends on the variety of taro you’re growing and the size of the corms. Allow ample space for the plants to grow and spread.
- Plant the corms: Place the corms in the holes with the eyes facing upwards. Cover them with soil, gently firming the soil around them. Don’t bury them too deeply; the eyes need access to sunlight to sprout.
- Water thoroughly: After planting, water the area deeply to settle the soil and help the corms establish roots. Ensure the water drains well; standing water can lead to root rot.
III. Ongoing Care and Maintenance
- Watering: Taro needs consistent moisture, especially during dry periods. Water regularly, keeping the soil moist but not waterlogged. The frequency of watering will depend on your climate and soil type. Observe the soil moisture and adjust your watering schedule accordingly.
- Fertilizing: Taro is a heavy feeder. Apply a balanced fertilizer every 4-6 weeks during the growing season. Use an organic fertilizer if possible to improve soil health. Follow the fertilizer instructions carefully to avoid over-fertilizing.
- Weed control: Regularly remove weeds around your taro plants to prevent competition for nutrients and water. Mulching can help suppress weeds and retain soil moisture.
- Pest and disease management: Taro can be susceptible to various pests and diseases. Regularly inspect your plants for signs of pests or diseases. Address any issues promptly using appropriate organic or chemical controls. Early detection is key to preventing widespread problems.
- Supporting the plants: As the taro plants grow taller, they may need support, especially in windy areas. You can use stakes or other supports to prevent the plants from falling over.
IV. Harvesting Your Taro
- Harvesting time: Taro corms are typically ready for harvest 8-12 months after planting, depending on the variety and growing conditions. The corms will be ready when they reach your desired size.
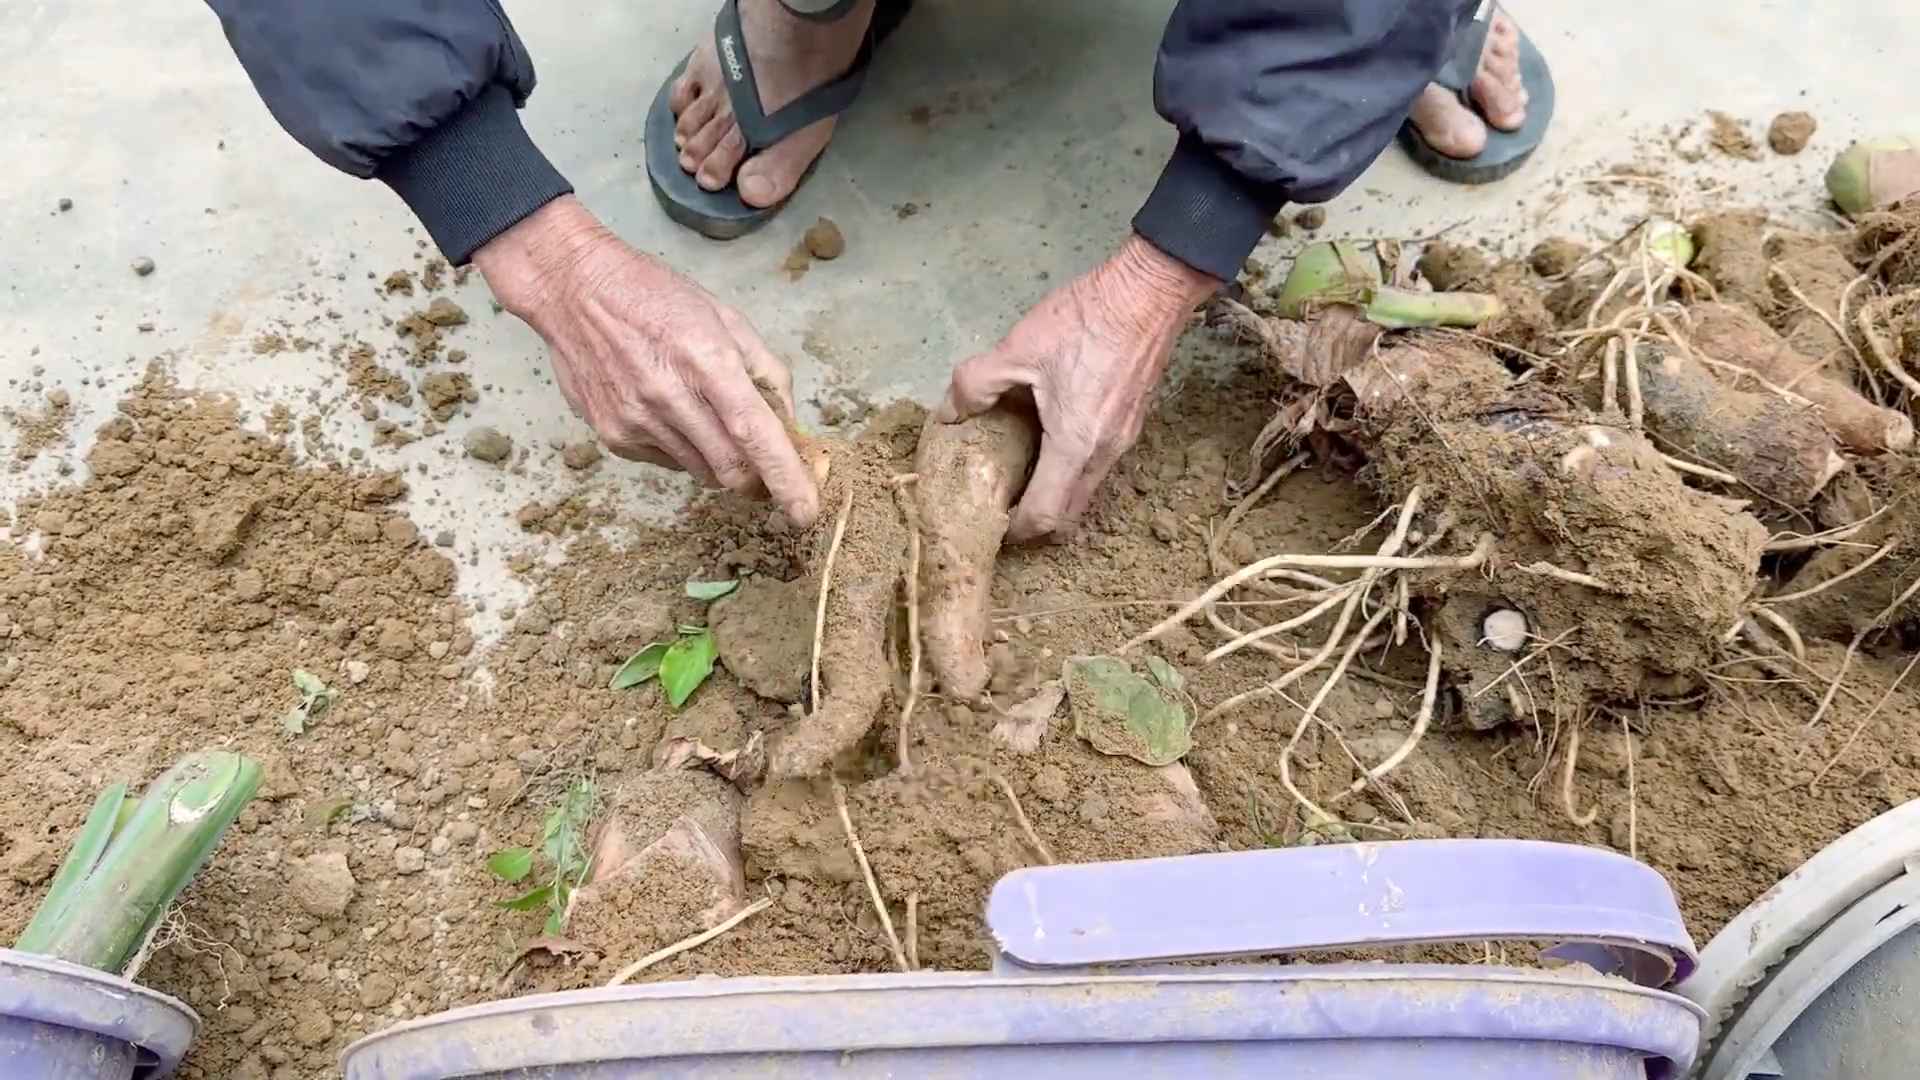
- Harvesting the corms: Carefully dig around the base of the plant to avoid damaging the corms. Lift the corms out of the ground, being careful not to break them. You can harvest individual corms as needed, or you can harvest the entire plant at once.
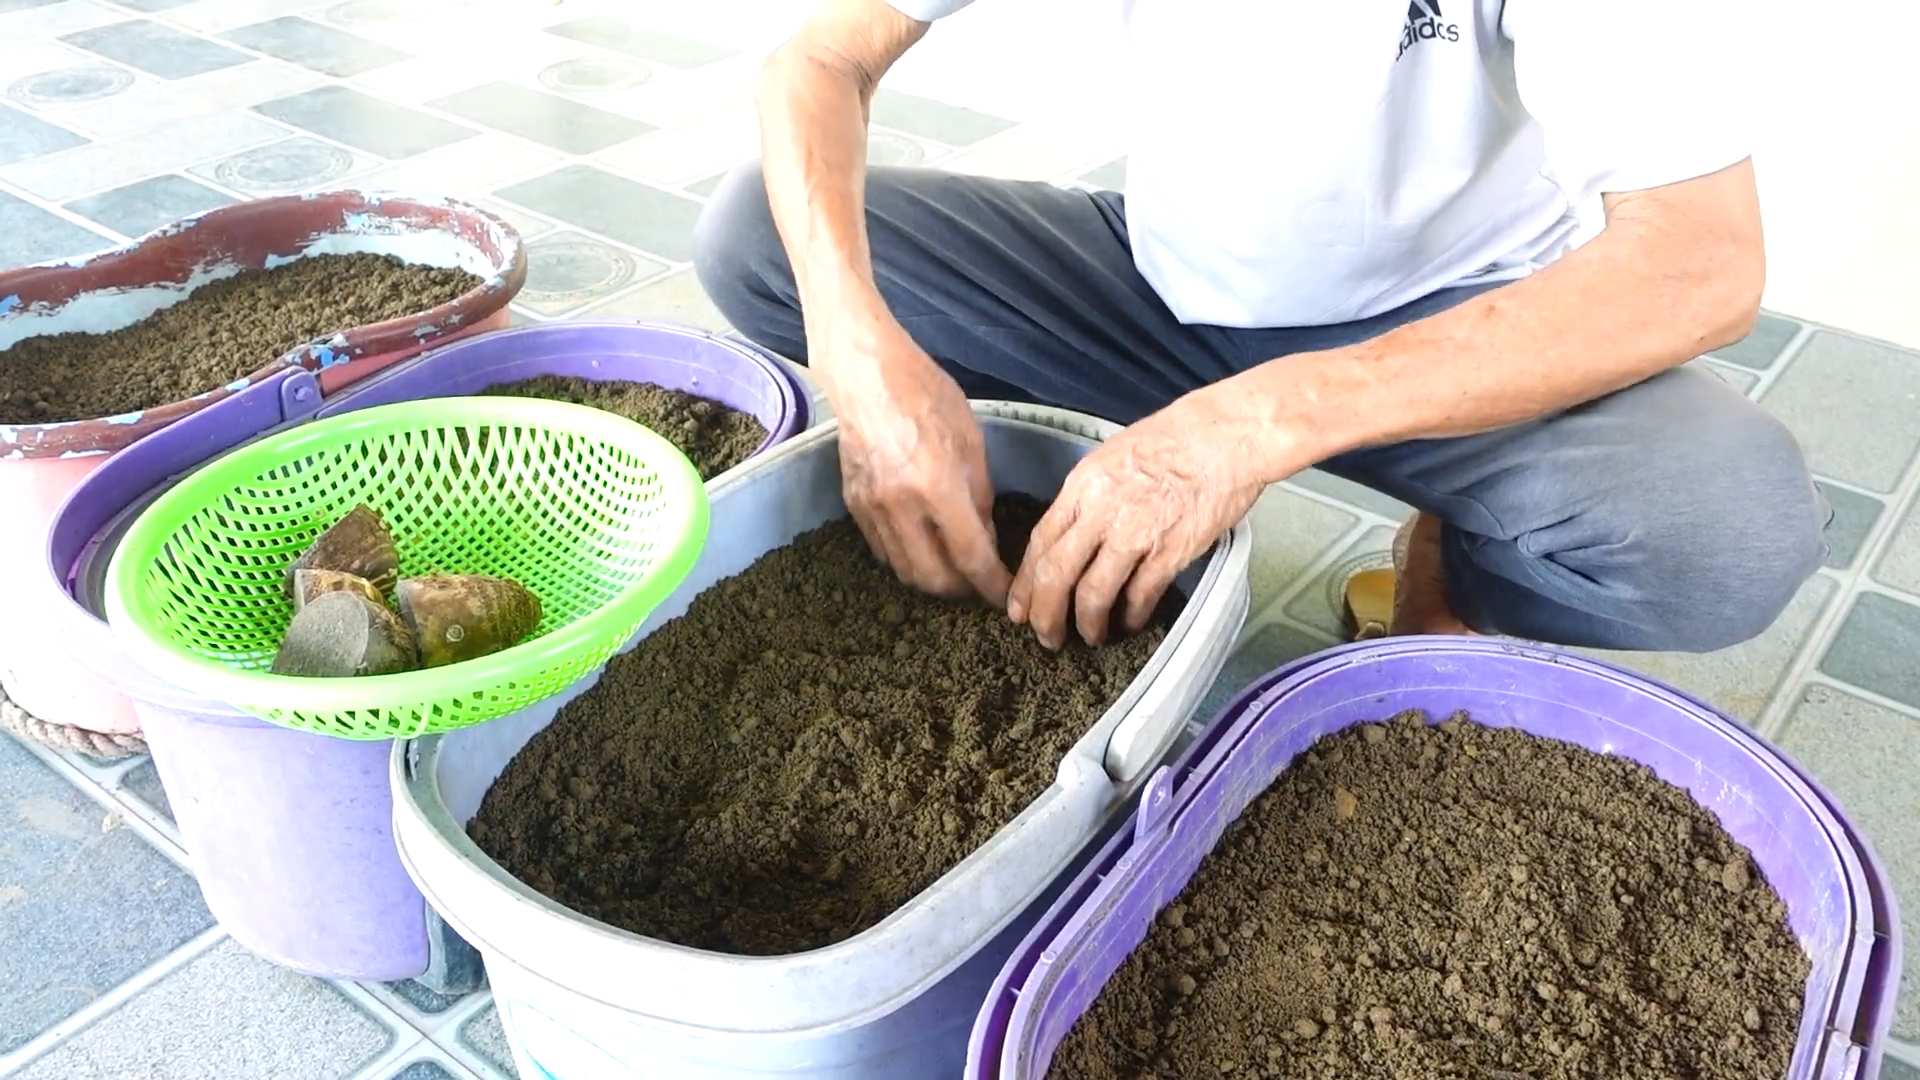
- Cleaning and storing: After harvesting, clean the corms by removing any soil and debris. Allow the corms to dry in a cool, well-ventilated area for a few days before storing. Store the corms in a cool, dark, and dry place. They can be stored for several months if kept properly.
- Harvesting the leaves: Taro leaves can be harvested throughout the growing season. Harvest the younger, tender leaves for the best flavor and texture. Cut the leaves at the base of the stem, leaving some leaves on the plant to continue growing.
V. Troubleshooting Common Taro Problems
Root Rot:
This is a common problem caused by overwatering or poor drainage. Ensure your soil drains well and avoid overwatering. If root rot occurs, remove affected plants and improve soil drainage.
Leaf Blight:
This fungal disease can cause leaf spots and wilting. Improve air circulation around the plants and consider using a fungicide if necessary. Remove and destroy affected leaves.
Pests:
Various insects can attack taro plants. Regularly inspect your plants for pests and use appropriate control methods, such as insecticidal soap or neem oil. Consider using companion planting to deter pests.
Remember to always research the specific pests and diseases common in your region and choose appropriate control methods.
Conclusion
So there you have it! A comprehensive guide to growing taro successfully, right from the comfort of your own home or garden. This DIY approach to taro cultivation offers a rewarding experience, allowing you to enjoy the unique flavor and versatility of this fascinating root vegetable while simultaneously connecting with the natural world. The ease of propagation, coupled with the relatively low maintenance requirements, makes this a must-try for both seasoned gardeners and enthusiastic beginners alike. You’ll be amazed at how quickly your taro plants thrive, rewarding you with a bountiful harvest of delicious, homegrown taro.
Beyond the basic method outlined, there are numerous avenues for experimentation and customization. Consider experimenting with different soil compositions to optimize drainage and nutrient levels. Adding compost or other organic matter can significantly enhance soil fertility and promote vigorous growth. You can also explore various planting techniques, such as using larger containers for increased yields or employing companion planting to deter pests and improve overall plant health. The possibilities are truly endless!
Furthermore, the versatility of taro extends beyond its culinary applications. Its striking foliage adds a touch of tropical elegance to any garden setting, making it a visually appealing addition to your landscape. Whether you’re aiming for a lush, vibrant display or a bountiful harvest, growing taro offers a unique blend of aesthetic and practical rewards. Don’t be afraid to get creative and tailor your approach to your specific environment and preferences. The journey of growing taro is as rewarding as the final harvest itself.
We strongly encourage you to embark on this exciting journey of growing your own taro. Share your experiences, successes, and even your challenges with us and the wider gardening community. Your feedback and insights will not only inspire others but also contribute to a collective knowledge base that will help more people enjoy the simple pleasure of cultivating this remarkable plant. Post pictures of your thriving taro plants on social media using #GrowTaroSuccessfully and tag us – we can’t wait to see your results! Remember, the key to success lies in patience, observation, and a touch of green thumb magic. Happy growing!
Frequently Asked Questions
What type of soil is best for growing taro?
Taro thrives in well-drained, fertile soil that is rich in organic matter. A slightly acidic to neutral pH (around 6.0-7.0) is ideal. Avoid heavy clay soils that retain too much water, as this can lead to root rot. Adding compost or other organic materials to improve soil drainage and fertility is highly recommended.
How much sunlight does taro need?
Taro prefers partial shade to full sun. While it can tolerate full sun in cooler climates, in hotter regions, afternoon shade is beneficial to prevent leaf scorch. Aim for at least 6 hours of sunlight per day, but protect your plants from intense midday sun, especially during the hottest months.
How often should I water my taro plants?
Consistent moisture is crucial for healthy taro growth. Water regularly, keeping the soil consistently moist but not waterlogged. The frequency of watering will depend on factors such as climate, soil type, and container size. Check the soil moisture regularly by inserting your finger a few inches into the soil. Water when the top inch or two feels dry.
What are some common pests and diseases that affect taro?
Taro is relatively pest-resistant, but it can be susceptible to certain pests and diseases. Common issues include taro leaf blight, nematodes, and aphids. Regularly inspect your plants for signs of infestation or disease. Implementing preventative measures, such as proper spacing and good sanitation, can help minimize the risk. If problems arise, consult a local gardening expert for advice on appropriate treatment options.
Can I grow taro from cuttings?
Yes, taro can be successfully propagated from stem cuttings. Select healthy stems with several nodes and plant them directly into moist soil. Ensure the cuttings are kept consistently moist until roots develop. This method is a quick and efficient way to expand your taro patch.
When can I harvest my taro?
The harvesting time for taro depends on the variety and the desired size of the corms. Generally, taro corms are ready for harvest 8-12 months after planting. You can harvest individual corms as needed, or you can dig up the entire plant once the leaves begin to yellow and die back. Handle the corms carefully to avoid damage.
What are some culinary uses for taro?
Taro is a versatile root vegetable with a wide range of culinary applications. It can be boiled, steamed, fried, or baked. It’s often used in traditional dishes from various cultures, including poi (a Hawaiian staple), taro chips, and various soups and stews. Its slightly sweet and nutty flavor makes it a delicious and nutritious addition to many meals.
Can I grow taro indoors?
Yes, you can grow taro indoors, provided you provide adequate light, moisture, and warmth. A sunny windowsill or a grow light setup is ideal. Choose a large container with good drainage to accommodate the plant’s growth. Regular watering and fertilization are essential for indoor taro cultivation.


Leave a Comment