

Growing Arugula Indoors: Imagine fresh, peppery arugula gracing your salads and pizzas, even when the snow is falling outside. Sounds dreamy, right? Well, it’s totally achievable! For centuries, humans have cultivated herbs and vegetables indoors, from the orangeries of Renaissance Europe to the humble windowsill gardens of today. This tradition speaks to our innate desire to connect with nature and nourish ourselves with fresh, homegrown goodness, regardless of the season.
But let’s be honest, sometimes the idea of indoor gardening feels a bit intimidating. Where do you even start? That’s where this DIY guide comes in! I’m going to share some simple yet effective tricks and hacks that will make growing arugula indoors a breeze, even if you don’t have a green thumb.
Why is this so important? Because access to fresh, healthy greens shouldn’t be limited by the weather or your proximity to a grocery store. Plus, there’s something incredibly satisfying about harvesting your own food, even if it’s just a handful of peppery arugula leaves. So, ditch the store-bought greens and let’s get started on your indoor arugula adventure! You’ll be amazed at how easy and rewarding it is.
Growing Arugula Indoors: A Beginner’s Guide
Hey there, fellow plant enthusiasts! Ever craved the peppery bite of fresh arugula but didn’t want to brave the grocery store? Or maybe you just want a constant supply of this delicious green right at your fingertips? Well, you’re in luck! I’m going to walk you through the surprisingly simple process of growing arugula indoors. Trust me, even if you think you have a black thumb, you can do this!
What You’ll Need
Before we dive in, let’s gather our supplies. This is a pretty low-key project, so you probably have a lot of this stuff already.
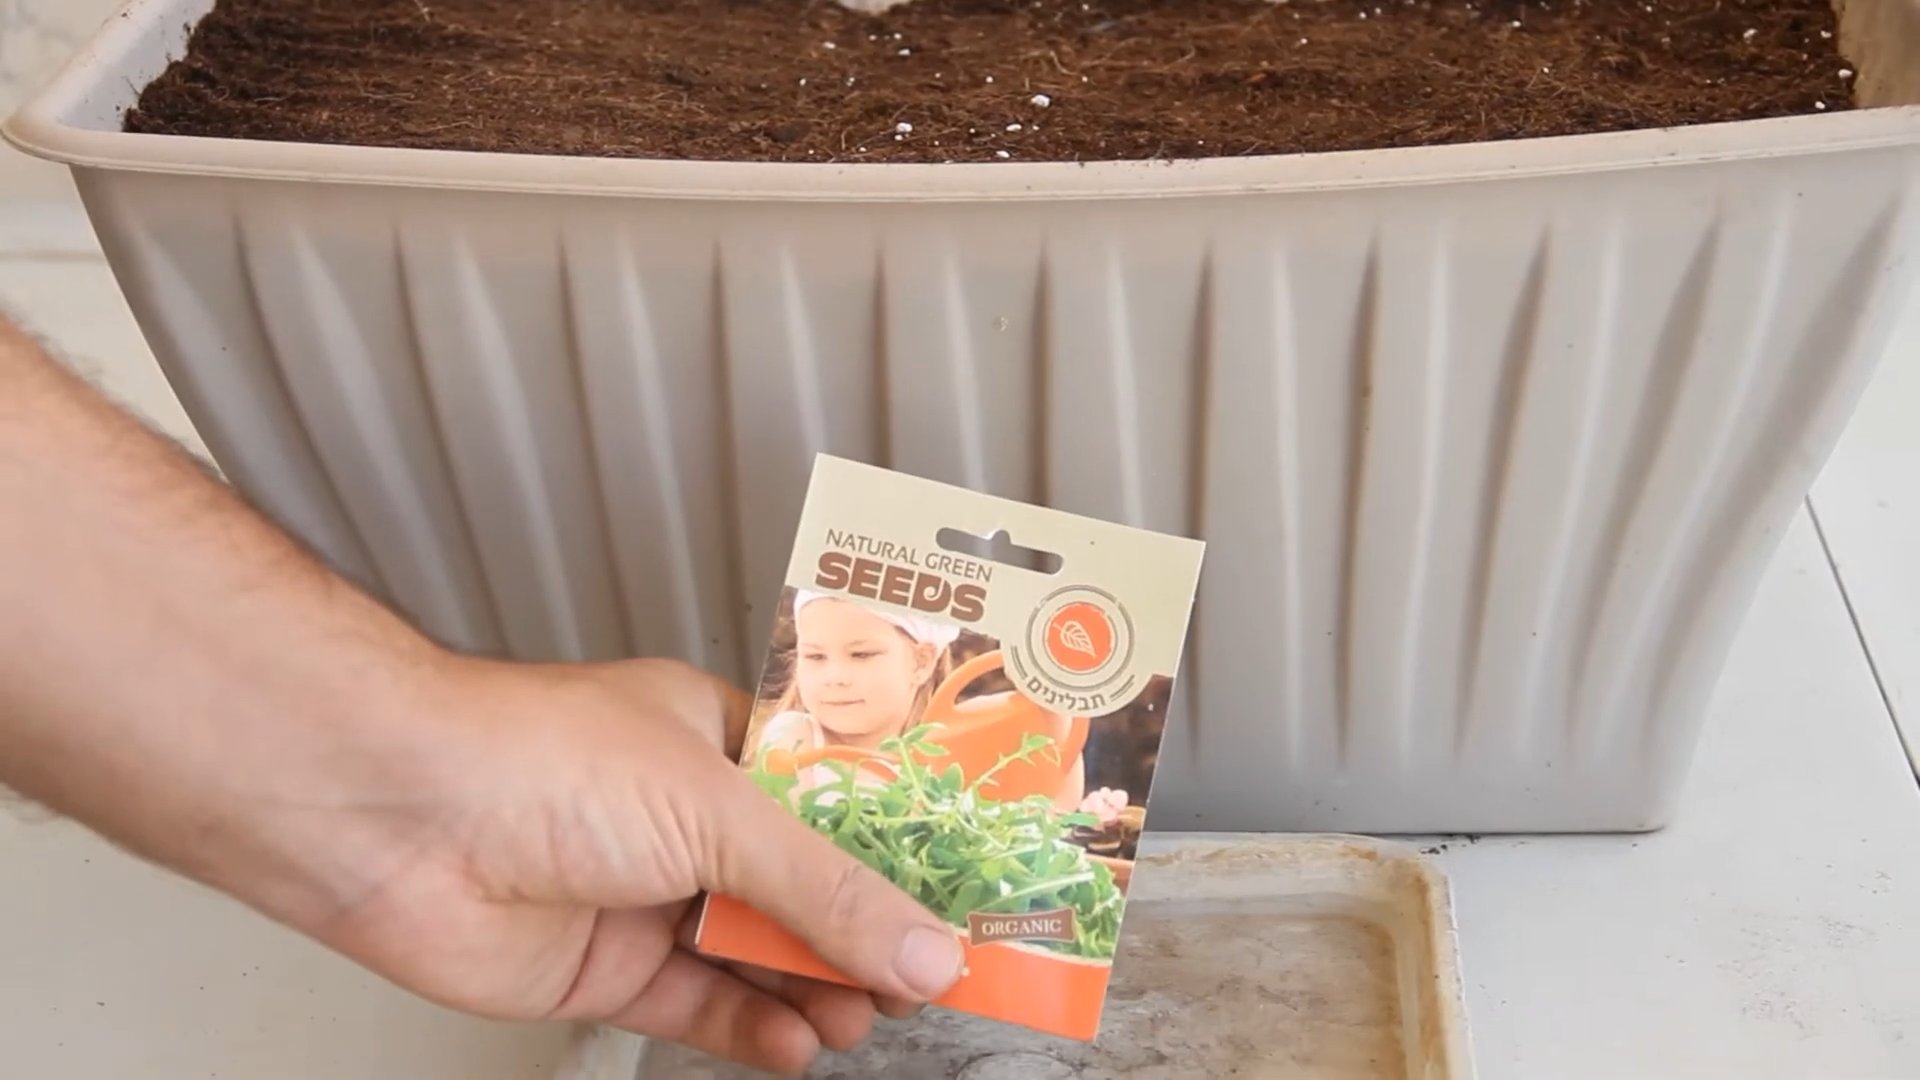
* **Arugula Seeds:** Obviously! You can find these at most garden centers or online. Look for varieties specifically suited for container gardening if possible, but honestly, most arugula seeds will work just fine.
* **Containers:** You’ll need something to grow your arugula in. I like using shallow containers, like window boxes or even recycled plastic containers (just make sure they’re clean and have drainage holes!). Aim for at least 4-6 inches deep.
* **Potting Mix:** Don’t use garden soil! It’s too heavy and doesn’t drain well. Opt for a good quality potting mix specifically designed for containers.
* **Watering Can or Spray Bottle:** Gentle watering is key, especially when the seedlings are young.
* **Grow Lights (Optional but Recommended):** While arugula can grow near a sunny window, grow lights will give you the best results, especially during the darker months.
* **Small Shovel or Trowel:** For filling your containers with potting mix.
* **Plant Labels (Optional):** If you’re growing multiple things, it’s helpful to label your containers.
Getting Started: Planting Your Arugula Seeds
Okay, now for the fun part! Let’s get those seeds in the soil.
1. **Prepare Your Containers:** Fill your chosen containers with potting mix, leaving about an inch of space at the top. Gently pat down the soil to create a firm, even surface. Don’t pack it too tightly, though! We want the roots to be able to breathe.
2. **Sow the Seeds:** Arugula seeds are tiny, so you don’t need to bury them deep. Sprinkle the seeds evenly over the surface of the soil. I like to aim for about 1/4 inch spacing between seeds. Don’t worry if they’re a little closer together; we can thin them out later.
3. **Cover the Seeds:** Lightly cover the seeds with a thin layer of potting mix, about 1/4 inch deep. Again, gently pat it down.
4. **Water Thoroughly:** Use your watering can or spray bottle to gently water the soil until it’s evenly moist. Be careful not to wash the seeds away! A gentle spray is best.
5. **Provide Light:** Place your containers in a location that receives at least 6 hours of sunlight per day. A south-facing window is ideal. If you’re using grow lights, position them a few inches above the soil surface and keep them on for 12-14 hours per day.
Caring for Your Arugula: Watering, Thinning, and Feeding
Now that your seeds are planted, it’s time to nurture them into delicious, peppery greens!
1. **Watering:** Keep the soil consistently moist, but not soggy. Check the soil moisture daily by sticking your finger about an inch into the soil. If it feels dry, it’s time to water. Overwatering can lead to root rot, so be careful!
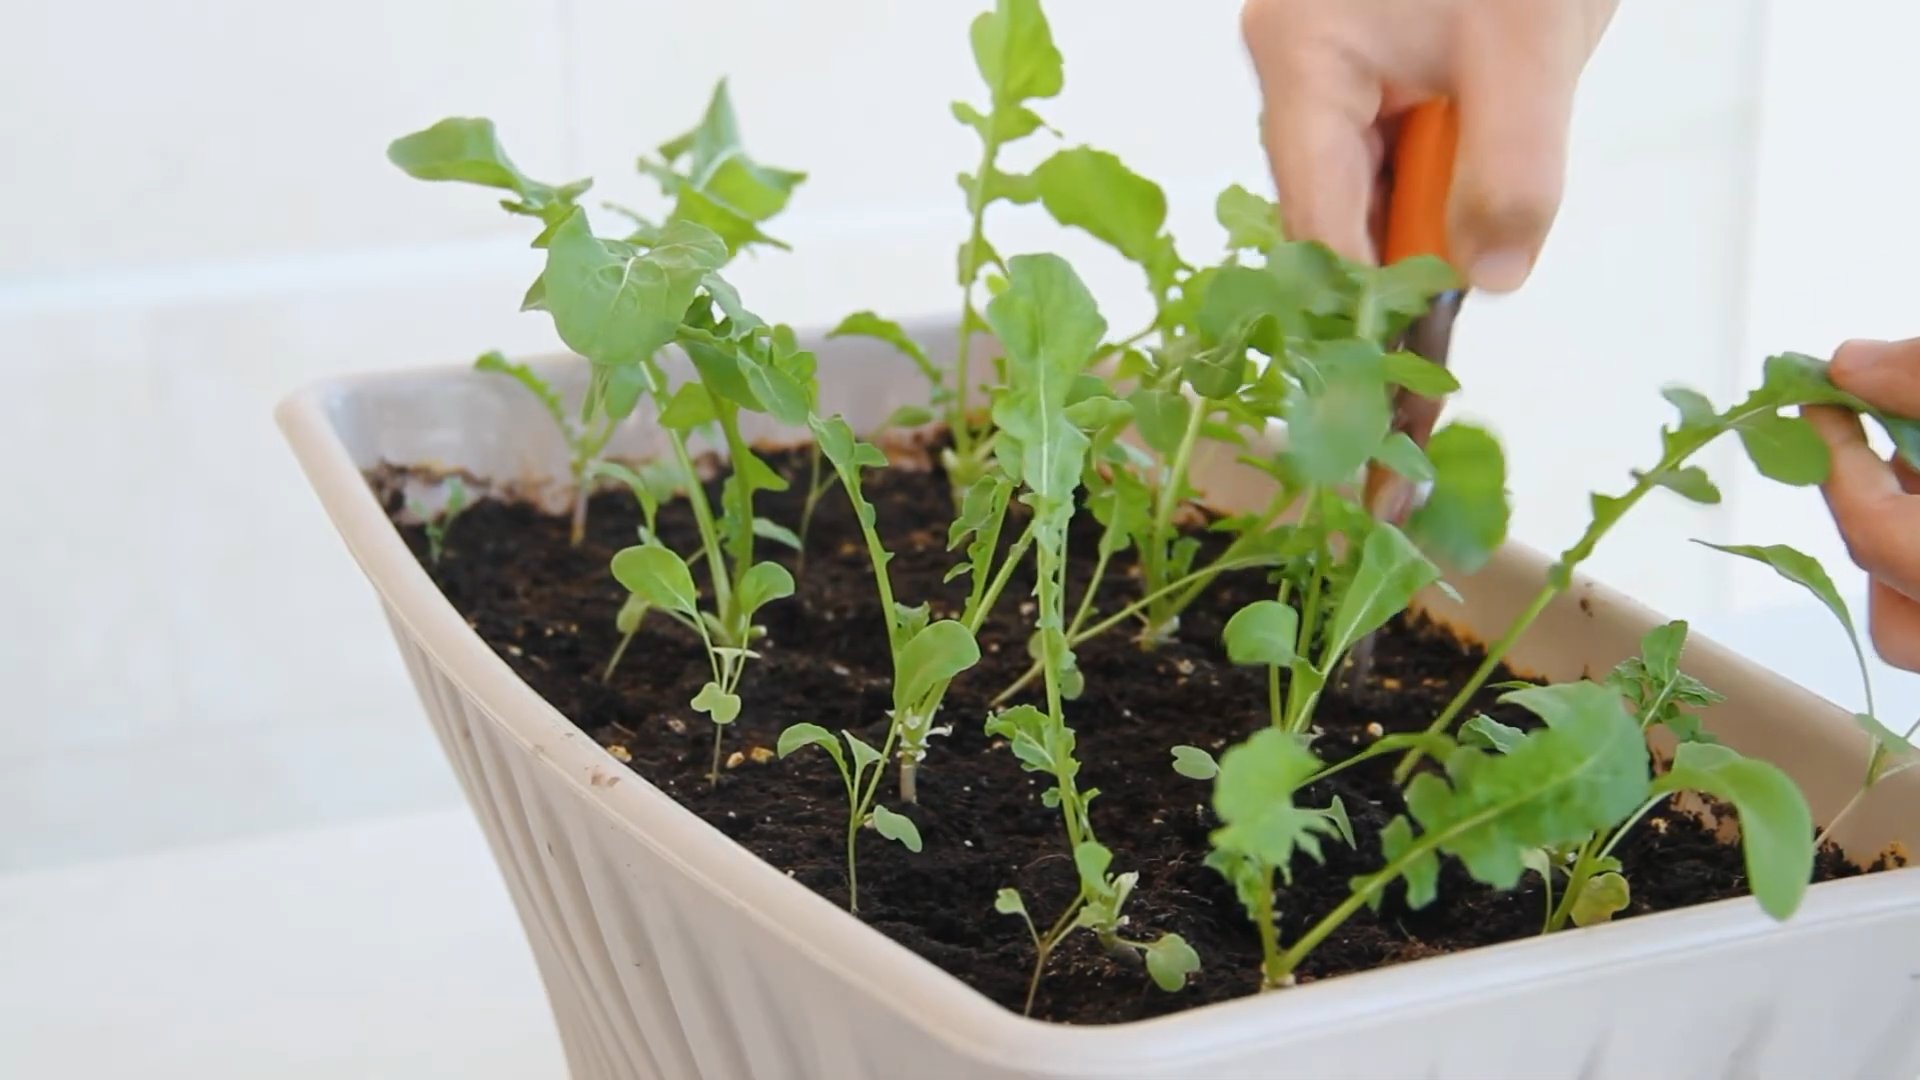
2. **Thinning (If Necessary):** Once your seedlings have sprouted and have a few true leaves (the leaves that look like arugula, not the initial seed leaves), you may need to thin them out. This means removing some of the seedlings to give the remaining ones more space to grow. Aim for about 2-3 inches of space between plants. Don’t throw away the thinned seedlings! You can eat them – they’re just tiny arugula leaves!
3. **Fertilizing (Optional):** Arugula doesn’t need a lot of fertilizer, but a light feeding every few weeks can help boost growth. Use a balanced liquid fertilizer diluted to half strength. Follow the instructions on the fertilizer package. I personally prefer using organic fertilizers like fish emulsion or seaweed extract.
4. **Pest Control:** Arugula is generally pest-resistant, but you might occasionally encounter aphids or other small insects. If you see any pests, try spraying them with a strong stream of water or using an insecticidal soap.
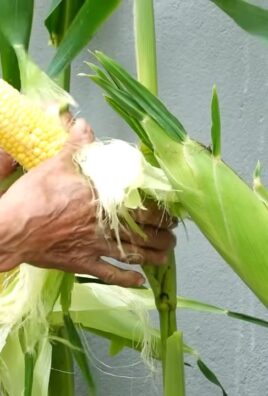
Harvesting Your Arugula: Enjoying the Fruits (or Leaves!) of Your Labor
This is the best part! Harvesting your own homegrown arugula is so rewarding.
1. **When to Harvest:** You can start harvesting arugula leaves when they’re about 2-3 inches long. The younger leaves will be more tender and have a milder flavor.
2. **How to Harvest:** Use scissors or your fingers to snip off the outer leaves, leaving the inner leaves to continue growing. This is called a “cut-and-come-again” method, and it allows you to harvest arugula repeatedly over several weeks.
3. **Enjoy Your Harvest:** Wash your harvested arugula leaves thoroughly and enjoy them in salads, sandwiches, pizzas, or as a garnish. The possibilities are endless!
Troubleshooting: Common Arugula Growing Problems
Even with the best care, you might encounter a few problems along the way. Here are some common issues and how to address them:
* **Leggy Seedlings:** If your seedlings are tall and spindly, they’re probably not getting enough light. Move them to a sunnier location or provide supplemental light with grow lights.
* **Yellowing Leaves:** Yellowing leaves can be a sign of overwatering, underwatering, or nutrient deficiency. Check the soil moisture and adjust your watering accordingly. If the soil is consistently moist, you might be overwatering. If it’s dry, you need to water more often. If you suspect a nutrient deficiency, try fertilizing with a balanced liquid fertilizer.
* **Slow Growth:** Slow growth can be caused by a number of factors, including insufficient light, poor soil, or cool temperatures. Make sure your arugula is getting enough light and that the soil is well-draining. Arugula prefers cooler temperatures, so avoid placing it in direct sunlight during the hottest part of the day.
* **Bolting:** Bolting is when the plant starts to flower and the leaves become bitter. This is usually caused by hot weather or stress. To prevent bolting, try to keep your arugula in a cool, shaded location and water it regularly. Once the plant starts to bolt, the leaves will become less palatable, but you can still harvest the seeds for future planting.
Extending Your Harvest: Succession Planting
To ensure a continuous supply of fresh arugula, consider succession planting. This means planting new seeds every few weeks. This way, you’ll always have a batch of arugula ready to harvest. I usually plant a new batch every 2-3 weeks to keep the peppery goodness coming!
Choosing the Right Arugula Variety
While most arugula varieties will grow well indoors, some are better suited for container gardening than others. Here are a few popular varieties to consider:
* **Astro:** A fast-growing variety with a mild, nutty flavor.
* **Sylvetta:** A wild arugula with a more intense, peppery flavor.
* **Slow Bolt:** A variety that is less likely to bolt in hot weather.
* **Garden Cress:** While technically not arugula, Garden Cress has a similar peppery flavor and is easy to grow indoors.
Tips for Success
Here are a few extra tips to help you succeed in growing arugula indoors:
* **Use a well-draining potting mix:** This is crucial for preventing root rot.
* **Water regularly, but don’t overwater:** Arugula prefers consistently moist soil, but it doesn’t like to sit in water.
* **Provide plenty of light:** Arugula needs at least 6 hours of sunlight per day, or 12-14 hours of artificial light.
* **Harvest regularly:** This will encourage the plant to produce more leaves.
* **Don’t be afraid to experiment:** Try different varieties of arugula and see which ones you like best.
Growing arugula indoors is a fun and rewarding experience. With a little bit of care and attention, you can enjoy fresh, peppery greens all year round. So, grab some seeds, get your hands dirty, and start growing! You’ll be amazed at how easy it is. Happy gardening!
Conclusion
So, there you have it! Growing arugula indoors is not only achievable but also surprisingly simple and rewarding. Forget those limp, overpriced greens from the grocery store. Imagine fresh, peppery arugula, bursting with flavor, readily available right in your kitchen. This DIY project is a game-changer for salad lovers, pizza aficionados, and anyone who appreciates the taste of truly fresh ingredients.
Why is this a must-try? Because it puts you in control. You control the quality of the soil, the amount of sunlight, and the overall growing environment. This translates to healthier, more flavorful arugula, free from pesticides and other unwanted chemicals. Plus, there’s an undeniable satisfaction in nurturing something from seed to harvest, especially when that something ends up on your plate!
But the best part? The possibilities are endless! Experiment with different varieties of arugula. Try the classic, peppery kind, or branch out with spicier or milder options. Consider adding companion plants like basil or chives to your indoor garden for an even more diverse and flavorful harvest. You can even use different containers – from repurposed yogurt containers to stylish terracotta pots – to match your aesthetic.
Don’t be afraid to get creative with your indoor arugula garden. Try succession planting – sowing new seeds every few weeks – to ensure a continuous supply of fresh greens. You can also experiment with different lighting setups to see what works best for your space. Some people find that a simple LED grow light makes all the difference, especially during the darker winter months.
We’ve armed you with all the knowledge you need to embark on your indoor arugula adventure. Now, it’s time to get your hands dirty! Gather your supplies, follow our simple steps, and prepare to be amazed by the abundance of fresh, peppery greens you can grow right in your own home.
We are confident that you will find that growing arugula indoors is a rewarding and sustainable way to enjoy fresh produce year-round. It’s a small step towards a more self-sufficient lifestyle and a delicious way to elevate your meals.
So, what are you waiting for? Give it a try! And most importantly, share your experience with us! We want to hear about your successes, your challenges, and your creative variations. Post pictures of your indoor arugula gardens on social media using #IndoorArugula and tag us so we can see your amazing creations. Let’s build a community of indoor gardeners and inspire others to embrace the joy of growing their own food. Happy growing!
Frequently Asked Questions (FAQ)
What kind of soil is best for growing arugula indoors?
Arugula thrives in well-draining soil that is rich in organic matter. A good starting point is a potting mix specifically formulated for vegetables. You can also create your own mix by combining equal parts of potting soil, compost, and perlite or vermiculite. The compost provides essential nutrients, while the perlite or vermiculite improves drainage and aeration. Avoid using garden soil, as it can be too heavy and may contain pests or diseases.
How much sunlight does arugula need when grown indoors?
Arugula needs at least six hours of sunlight per day to thrive. If you don’t have a sunny windowsill, you can supplement with artificial light. Fluorescent or LED grow lights are excellent options. Position the lights a few inches above the plants and keep them on for 12-14 hours per day. Rotate your plants regularly to ensure even light exposure. Insufficient light can result in leggy, pale plants with a less intense flavor.
How often should I water my indoor arugula plants?
Water your arugula plants when the top inch of soil feels dry to the touch. Avoid overwatering, as this can lead to root rot. Water deeply, allowing the excess water to drain out of the bottom of the pot. Check the soil moisture regularly, especially during hot or dry weather. A good rule of thumb is to water every 2-3 days, but this will vary depending on the size of your pot, the type of soil, and the ambient temperature.
How long does it take for arugula to grow indoors?
Arugula is a fast-growing crop. You can typically harvest your first leaves within 3-4 weeks of planting. The exact time will depend on the variety of arugula, the growing conditions, and your desired leaf size. For baby greens, you can harvest even sooner.
How do I harvest arugula leaves?
Harvest arugula leaves when they are 2-3 inches long. You can either harvest the entire plant at once or cut individual leaves as needed. To harvest individual leaves, use scissors or your fingers to snip off the outer leaves, leaving the inner leaves to continue growing. This will allow you to enjoy a continuous harvest for several weeks.
What are some common problems when growing arugula indoors, and how can I prevent them?
Some common problems include aphids, flea beetles, and fungal diseases. To prevent these problems, start with clean soil and containers. Inspect your plants regularly for signs of pests or diseases. If you find aphids or flea beetles, you can wash them off with a strong stream of water or use insecticidal soap. To prevent fungal diseases, avoid overwatering and ensure good air circulation.
Can I grow arugula indoors year-round?
Yes, you can grow arugula indoors year-round, provided you have adequate light and temperature control. During the winter months, you may need to supplement with artificial light to ensure that your plants receive enough sunlight. Keep the temperature between 60-70°F (15-21°C) for optimal growth.
What are some creative ways to use my homegrown arugula?
Besides salads, arugula can be used in a variety of dishes. Add it to pizzas, sandwiches, or wraps for a peppery kick. Blend it into pesto or smoothies. Use it as a garnish for soups or pasta dishes. Sauté it with garlic and olive oil for a simple and delicious side dish. The possibilities are endless!
Is it better to grow arugula from seed or transplant?
Growing arugula from seed is generally preferred, especially indoors. Arugula seeds germinate quickly and easily, and you’ll have more control over the entire growing process. Transplants can sometimes be difficult to establish indoors, and they may not be as vigorous as plants grown from seed.
How do I prevent my arugula from becoming too bitter?
Arugula can become bitter if it is stressed by heat, drought, or lack of nutrients. To prevent bitterness, keep the soil consistently moist, provide adequate shade during hot weather, and fertilize regularly with a balanced fertilizer. Harvesting the leaves when they are young and tender can also help to reduce bitterness.
Leave a Comment