

Growing garlic indoors might sound like a challenge reserved for seasoned gardeners, but trust me, it’s a surprisingly simple and rewarding DIY project that anyone can tackle! Forget those expensive grocery store cloves – imagine harvesting your own fresh, pungent garlic right from your windowsill.
For centuries, garlic has been revered not only for its culinary prowess but also for its medicinal properties. From ancient Egypt, where it fueled the pyramid builders, to traditional Chinese medicine, garlic has held a prominent place in various cultures. Now, you can bring this historical powerhouse into your home.
Why should you try growing garlic indoors? Well, for starters, it’s a fantastic way to have a constant supply of fresh garlic on hand, especially during those times when a quick trip to the store isn’t feasible. Plus, it’s incredibly satisfying to nurture something from a single clove to a thriving plant. Beyond the practical benefits, growing garlic indoors adds a touch of greenery to your living space and can even help purify the air. This DIY guide will walk you through every step, ensuring you have a successful and flavorful harvest. Let’s get started!
Growing Garlic Indoors: A Beginner’s Guide to a Bountiful Harvest
Okay, garlic lovers, listen up! Who says you need a sprawling garden to enjoy the pungent, delicious flavor of homegrown garlic? Not me! I’m here to tell you that growing garlic indoors is totally achievable, even if you’re a complete newbie. It’s a surprisingly rewarding experience, and trust me, the taste of freshly harvested garlic from your own home is unbeatable. So, let’s dive into this step-by-step guide and get those cloves sprouting!
What You’ll Need: The Garlic Grower’s Toolkit
Before we get our hands dirty, let’s gather our supplies. Here’s what you’ll need to successfully grow garlic indoors:
* Garlic Bulbs: This is the most important ingredient! Choose organic garlic bulbs from a local farmer’s market or reputable garden center. Avoid supermarket garlic, as it may have been treated to prevent sprouting. Look for firm, plump bulbs with no signs of mold or damage. Softneck varieties tend to do better indoors, but hardneck can work too. I personally prefer softneck for its easier braiding later on!
* Pots: You’ll need pots that are at least 6-8 inches deep and wide. The size depends on how many cloves you plan to plant. A good rule of thumb is to allow at least 4 inches of space between each clove. Drainage is crucial, so make sure your pots have drainage holes.
* Potting Mix: Use a high-quality, well-draining potting mix. Avoid using garden soil, as it can compact and hinder drainage. I recommend a mix specifically formulated for vegetables or herbs.
* Watering Can or Spray Bottle: For gentle watering.
* Grow Lights (Optional but Recommended): While garlic can grow indoors with natural light, grow lights will significantly improve your chances of a successful harvest, especially during the shorter days of winter.
* Fertilizer (Optional): A balanced liquid fertilizer can help boost growth, but it’s not essential.
* Labels and a Marker: To keep track of what you’ve planted.
Phase 1: Preparing Your Garlic Cloves
This is where the magic begins! We need to wake up those dormant cloves and get them ready to sprout.
1. Separate the Cloves: Gently separate the cloves from the garlic bulb. Be careful not to damage the cloves, as this can affect their ability to sprout. Leave the papery skin on each clove intact.
2. Choose the Best Cloves: Select the largest, healthiest-looking cloves for planting. Smaller cloves may not produce as robust plants.
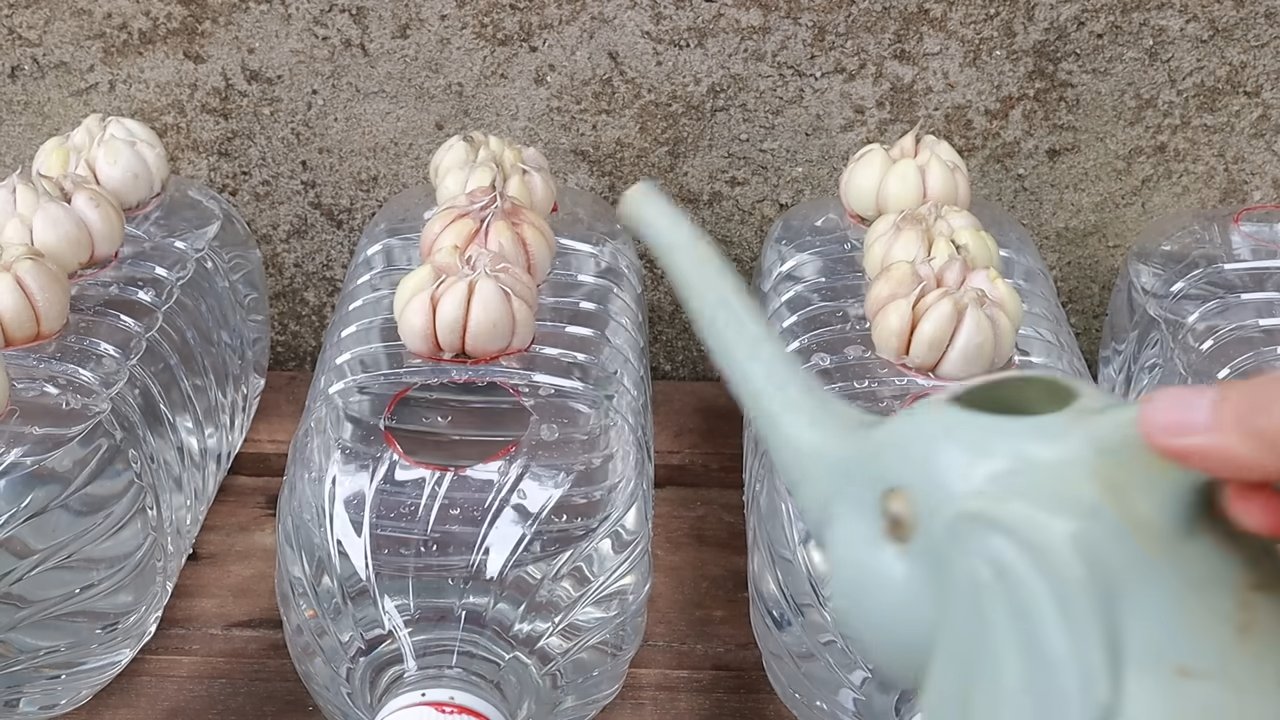
3. Pre-Sprouting (Optional but Recommended): This step can give your garlic a head start. Place the cloves in a small bowl and add just enough water to cover the bottom. Don’t submerge the entire clove! Place the bowl in a cool, dark place for a few days, until you see small roots emerging. This usually takes about 3-7 days. I find this really speeds things up!
Phase 2: Planting Your Garlic
Now for the fun part – getting those cloves into the soil!
1. Fill the Pots: Fill your pots with potting mix, leaving about an inch of space at the top.
2. Plant the Cloves: Make small holes in the soil, about 2 inches deep and 4 inches apart. Place each clove in a hole, pointy side up (this is where the sprout will emerge).
3. Cover the Cloves: Gently cover the cloves with potting mix and lightly pat down the soil.
4. Water Thoroughly: Water the pots thoroughly until water drains out of the drainage holes. This helps settle the soil and encourages root growth.
5. Label Your Pots: Don’t forget to label your pots with the date and variety of garlic you planted. This will help you keep track of your progress.
Phase 3: Caring for Your Indoor Garlic
This is where patience comes in. Garlic needs time and consistent care to thrive.
1. Location, Location, Location: Place your pots in a sunny location that receives at least 6 hours of direct sunlight per day. A south-facing window is ideal. If you don’t have enough natural light, use grow lights. Position the grow lights a few inches above the plants and keep them on for 12-14 hours per day.
2. Watering: Water your garlic regularly, but avoid overwatering. The soil should be consistently moist, but not soggy. Allow the top inch of soil to dry out between waterings. I usually check the soil moisture by sticking my finger in it. If it feels dry, it’s time to water.
3. Fertilizing (Optional): If you choose to fertilize, use a balanced liquid fertilizer diluted to half strength. Apply the fertilizer every 2-3 weeks during the growing season.
4. Temperature: Garlic prefers cooler temperatures, ideally between 60-70°F (15-21°C). Avoid placing your plants near heat sources, such as radiators.
5. Pest Control: Keep an eye out for pests, such as aphids or spider mites. If you notice any pests, treat them with insecticidal soap or neem oil. I prefer to use organic pest control methods whenever possible.
6. Trimming Scapes (If Growing Hardneck): If you’re growing hardneck garlic, you’ll notice scapes (curly flower stalks) emerging in the spring. Cut these off to encourage bulb growth. Don’t throw them away! Scapes are delicious and can be used in pesto, stir-fries, or grilled.
Phase 4: Harvesting Your Garlic
The moment you’ve been waiting for! Harvesting your homegrown garlic is incredibly satisfying.
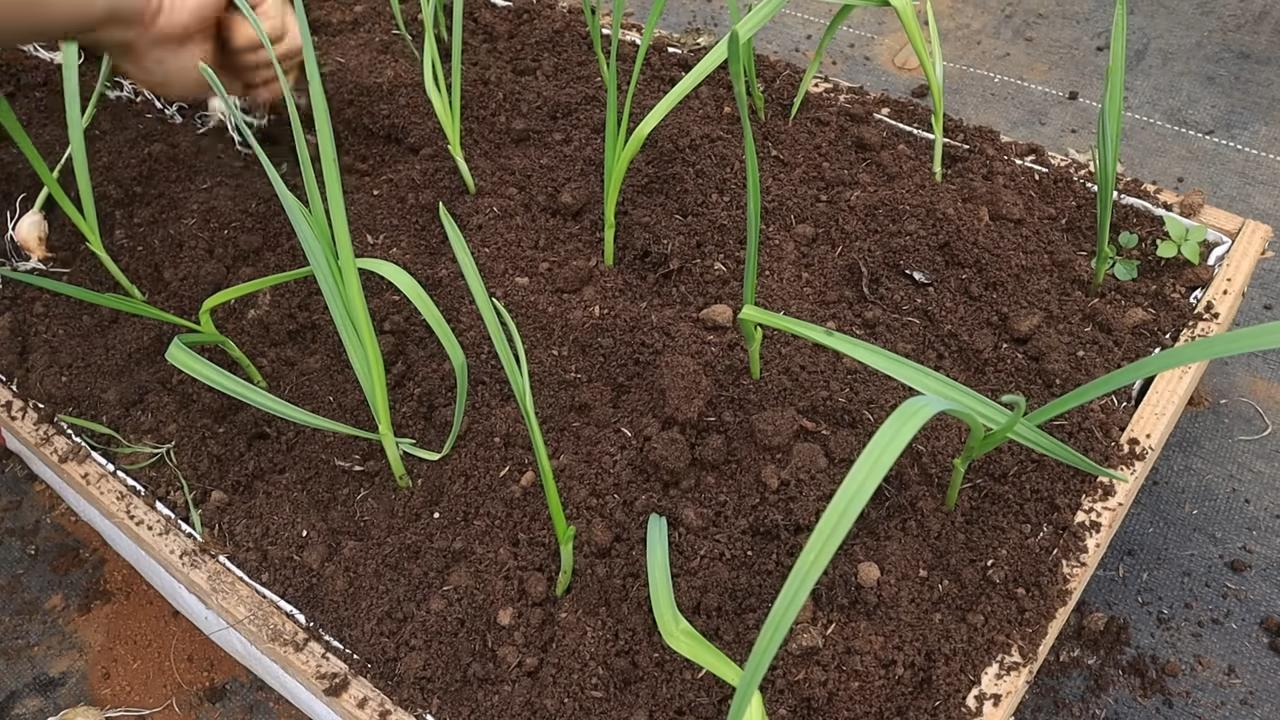
1. When to Harvest: The timing of your harvest will depend on the variety of garlic you’re growing and the growing conditions. Generally, garlic is ready to harvest when the lower leaves start to turn yellow and brown. This usually happens about 8-9 months after planting.
2. How to Harvest: Gently loosen the soil around the garlic bulb with a trowel or fork. Carefully lift the bulb out of the soil, being careful not to damage it.
3. Curing Your Garlic: Curing is essential for preserving your garlic and developing its flavor. Brush off any excess soil from the bulbs. Tie the garlic plants together in bundles of 4-6 bulbs. Hang the bundles in a cool, dry, well-ventilated place for 2-4 weeks. The garlic is cured when the necks are dry and the outer skins are papery.
4. Storing Your Garlic: Once the garlic is cured, you can store it in a cool, dry, dark place for several months. Braiding the garlic is a great way to store it and adds a decorative touch to your kitchen.
Troubleshooting: Common Issues and Solutions
Even with the best care, you might encounter some challenges along the way. Here are some common issues and how to address them:
* Yellowing Leaves: This could be a sign of overwatering, underwatering, nutrient deficiency, or pest infestation. Check the soil moisture, fertilize if necessary, and inspect for pests.
* Slow Growth: This could be due to insufficient light, poor soil, or cool temperatures. Provide more light, use a better potting mix, and ensure the temperature is within the ideal range.
* Small Bulbs: This could be caused by insufficient nutrients, overcrowding, or harvesting too early. Fertilize regularly, space the cloves properly, and wait until the lower leaves start to turn yellow before harvesting.
* Mold or Rot: This is usually a sign of overwatering or poor drainage. Ensure your pots have drainage holes and avoid overwatering.
Enjoying Your Homegrown Garlic
Congratulations! You’ve successfully grown garlic indoors. Now it’s time to enjoy the fruits (or rather, bulbs) of your labor. Use your homegrown garlic in all your favorite recipes, from pasta sauces and stir-fries to roasted vegetables and garlic bread. The possibilities are endless! And the best part? You grew it yourself!
Growing garlic indoors is a fun and rewarding experience. With a little patience and care, you can enjoy a bountiful harvest of delicious, homegrown garlic all year round. So, what are you waiting for? Get planting!
Conclusion
So, there you have it! Growing garlic indoors is not only possible, but it’s also a surprisingly rewarding experience. Forget those last-minute grocery store runs when you realize you’re out of garlic. Imagine the satisfaction of snipping fresh, flavorful garlic greens right from your windowsill, adding a burst of vibrant taste to your dishes. This DIY trick transforms your kitchen into a mini-garden, offering a continuous supply of fresh garlic flavor and a touch of greenery to brighten your space.
But why is this a must-try? Beyond the convenience and fresh flavor, growing garlic indoors is incredibly easy and requires minimal effort. It’s a fantastic project for beginners, a fun activity for kids, and a sustainable way to reduce your reliance on store-bought produce. Plus, the process of watching those little cloves sprout and grow is genuinely fascinating. It connects you to the natural world, even within the confines of your home.
Ready to take your indoor garlic growing to the next level? Consider these variations:
* Experiment with different garlic varieties: Softneck garlic varieties, like Artichoke garlic, tend to perform well indoors. Try a few different types to see which thrives best in your environment.
* Get creative with your containers: While a standard pot works perfectly fine, you can also use repurposed containers like mason jars, old teacups, or even a vertical planter for a unique and visually appealing display.
* Infuse your garlic greens: Once your garlic greens are established, try infusing them with different flavors. Add a few drops of olive oil and a pinch of herbs like rosemary or thyme to the soil to subtly flavor the greens as they grow.
* Garlic scape pesto: If you are growing hardneck garlic, don’t throw away the scapes! They make a delicious pesto that is less pungent than garlic cloves.
Don’t be intimidated by the idea of growing garlic indoors. It’s a simple, satisfying, and sustainable way to add fresh flavor to your life. We encourage you to give this DIY trick a try. Start with a few cloves, follow our simple steps, and watch the magic happen.
And most importantly, we want to hear about your experience! Share your photos, tips, and stories in the comments below. Let us know what worked for you, what challenges you faced, and what delicious dishes you created with your homegrown garlic. Together, we can create a community of indoor garlic growers and inspire others to embrace the joy of growing their own food. So, grab some garlic cloves, get your hands dirty, and let’s start growing!
Frequently Asked Questions (FAQ)
1. What kind of garlic should I use for growing indoors?
The best type of garlic for growing indoors is generally softneck garlic. Softneck varieties, such as Artichoke garlic, tend to be more adaptable to indoor conditions and don’t require the cold period (vernalization) that hardneck varieties need to produce bulbs. However, you can still try growing hardneck garlic indoors, but you might not get full bulb development. If you do grow hardneck garlic, you can still harvest the delicious scapes. Experimenting with different varieties is part of the fun!
2. How much sunlight does indoor garlic need?
Garlic needs at least 6-8 hours of direct sunlight per day to thrive. Place your garlic plants near a sunny window, ideally one facing south or west. If you don’t have enough natural light, you can supplement with a grow light. Position the grow light a few inches above the plants and keep it on for 12-14 hours a day. Insufficient light can lead to weak, leggy growth and reduced flavor.
3. What kind of soil should I use?
Use a well-draining potting mix that is rich in organic matter. Avoid using garden soil, as it can be too heavy and may contain pests or diseases. A good potting mix will provide the necessary nutrients and drainage for healthy garlic growth. You can also amend your potting mix with compost or worm castings to further enrich it.
4. How often should I water my indoor garlic?
Water your garlic plants when the top inch of soil feels dry to the touch. Avoid overwatering, as this can lead to root rot. Ensure that your pot has drainage holes to allow excess water to escape. During the active growing season, you may need to water more frequently than during the dormant period.
5. When can I harvest my indoor garlic?
You can harvest the garlic greens (also known as garlic scapes if you are growing hardneck garlic) at any time once they are a few inches tall. Simply snip off the greens with scissors, leaving about an inch of growth so the plant can continue to produce more. If you are growing for bulbs, it will take longer, and you may not get full bulb development indoors. However, you can still harvest the entire plant when the leaves start to turn yellow and brown.
6. Can I grow garlic indoors year-round?
Yes, you can grow garlic indoors year-round. However, garlic typically has a dormant period in the winter. To mimic this indoors, you can reduce watering and move the plants to a cooler location for a few weeks. This can help promote better growth in the spring.
7. What are some common problems when growing garlic indoors?
Some common problems include pests like aphids or spider mites, fungal diseases due to overwatering, and nutrient deficiencies. Regularly inspect your plants for any signs of pests or diseases and take action promptly. Ensure proper drainage and avoid overwatering to prevent fungal issues. If you notice yellowing leaves or stunted growth, consider fertilizing with a balanced liquid fertilizer.
8. How can I fertilize my indoor garlic plants?
Fertilize your garlic plants every 2-3 weeks with a balanced liquid fertilizer diluted to half strength. Look for a fertilizer that is specifically formulated for vegetables or herbs. You can also use organic fertilizers like compost tea or fish emulsion. Avoid over-fertilizing, as this can lead to excessive foliage growth and reduced bulb development.
9. Can I regrow garlic from store-bought cloves?
Yes, you can regrow garlic from store-bought cloves, but it’s best to use organic garlic to avoid any potential chemical treatments that may inhibit growth. Choose firm, healthy cloves that haven’t started to sprout. Plant them as you would any other garlic clove, and follow the same care instructions.
10. What can I do with my indoor-grown garlic?
The possibilities are endless! You can use the garlic greens in salads, soups, stir-fries, and as a garnish. The bulbs, if they develop, can be used in any recipe that calls for garlic. You can also make garlic-infused oil or vinegar, or even pickle the garlic cloves. The fresh, intense flavor of homegrown garlic is a delicious addition to any dish. Growing garlic indoors provides a constant supply of fresh flavor.

Leave a Comment