

Growing Gourds Backyard can be an incredibly rewarding experience, transforming your outdoor space into a vibrant, artistic haven. Have you ever dreamed of crafting your own unique birdhouses, bowls, or even musical instruments? Well, with a little know-how, you can cultivate the very materials you need, right in your own backyard!
Gourds have a rich history, dating back thousands of years. Ancient civilizations across the globe, from Africa to Asia and the Americas, relied on gourds for everything from food and water containers to tools and ceremonial objects. They were truly a gift from nature, providing both sustenance and practical resources. I find it fascinating how something so simple can have such a profound impact on human history.
But why should *you* consider growing gourds backyard? In today’s world, where mass-produced items often lack character, cultivating your own gourds offers a chance to reconnect with nature and unleash your creativity. Plus, it’s a fantastic way to add a unique, personal touch to your home and garden. Imagine the satisfaction of gifting a hand-painted gourd birdhouse to a friend, knowing you nurtured it from seed to stunning creation! This DIY guide will provide you with the essential tricks and hacks to successfully grow gourds, even if you’re a complete beginner. Let’s get started and turn your backyard into a gourd-growing paradise!
Growing Gourds: From Seed to Stunning Decor!
Hey there, fellow DIY enthusiasts! I’m so excited to share my experience with growing gourds – it’s a surprisingly rewarding project that results in unique, natural decorations for your home and garden. Forget store-bought crafts; imagine creating your own personalized pieces from something you nurtured from a tiny seed! This guide will walk you through everything you need to know, from choosing the right gourds to drying and crafting them. Let’s get our hands dirty!
Choosing Your Gourd Varieties
Before we even think about planting, let’s talk about the amazing variety of gourds available. This is where the fun begins! Different gourds have different shapes, sizes, and textures, so choosing the right ones is key to achieving your desired outcome.
* Ornamental Gourds: These are the smaller, colorful gourds you often see in fall displays. They come in all sorts of wacky shapes and patterns. Think bumpy, warty, striped, and speckled! They’re great for adding a touch of whimsy to your decor.
* Luffa Gourds: Yes, the same luffa you use in the shower! Growing your own luffa sponges is incredibly satisfying. These gourds need a long growing season, so start them indoors if you live in a cooler climate.
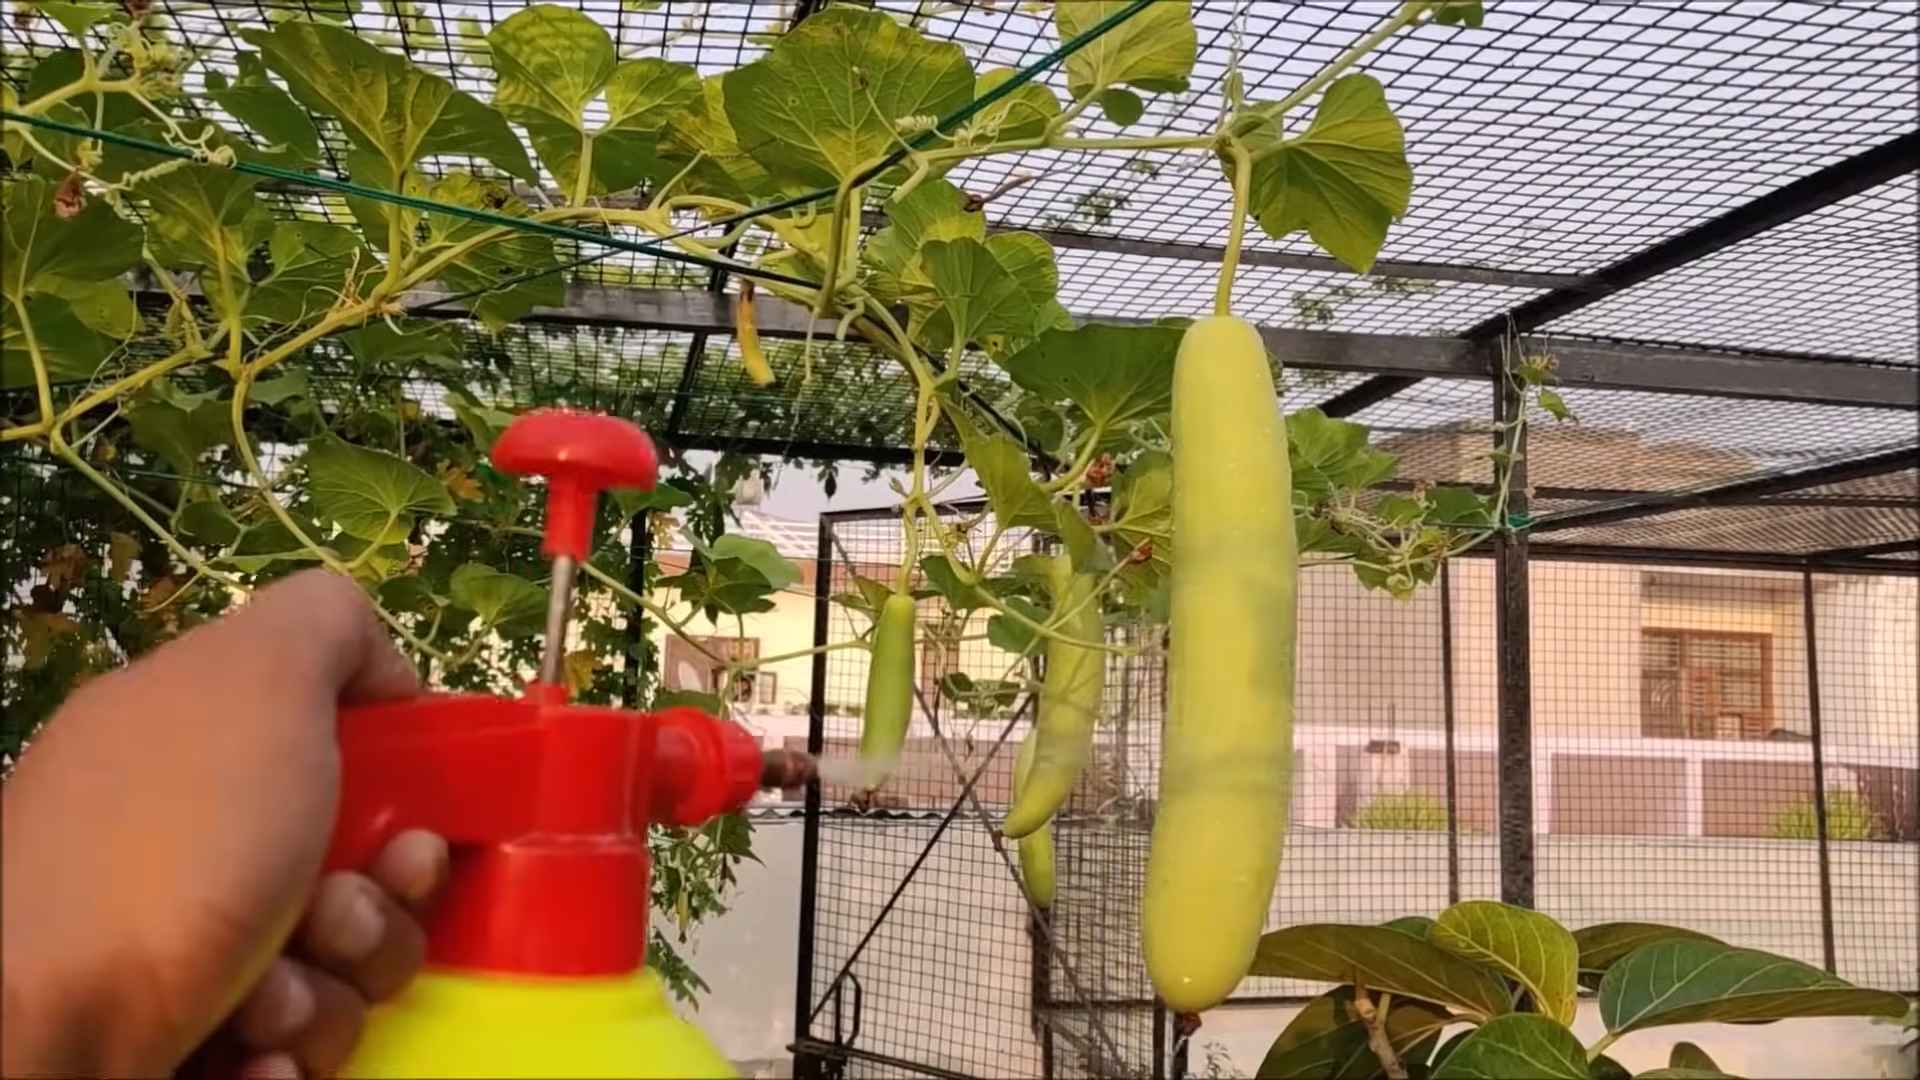
* Bottle Gourds: These are the classic gourd shape, perfect for crafting into birdhouses, bowls, and other functional items. They have a thick shell that’s ideal for carving and painting.
* Dipper Gourds: As the name suggests, these gourds have a long handle and a rounded body, making them perfect for creating dippers, ladles, and even musical instruments.
I personally love growing a mix of ornamental and bottle gourds to have a variety of options for crafting. Consider what you want to create and choose your varieties accordingly!
Preparing for Planting: Location, Location, Location!
Gourds are sun-loving plants, so choosing the right location is crucial. They also need plenty of space to sprawl, as their vines can grow quite long.
* Sunlight: Aim for at least 6-8 hours of direct sunlight per day. The more sun, the better!
* Soil: Gourds prefer well-drained soil that’s rich in organic matter. Amend your soil with compost or aged manure before planting to give them a good start.
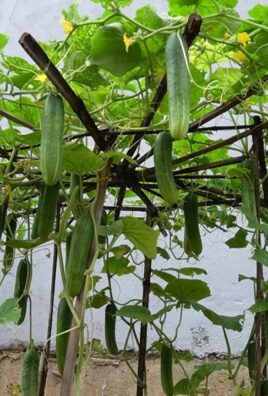
* Space: Give your gourds plenty of room to grow. A single gourd vine can easily spread 10-15 feet. If you’re short on space, consider growing them on a trellis or fence.
* Support: Gourds are heavy, so if you’re growing them on a trellis, make sure it’s sturdy enough to support the weight of the mature gourds.
I usually prepare my gourd patch in the spring, a few weeks before I plan to plant. I till the soil, add compost, and build a sturdy trellis for the vines to climb.
Planting Your Gourd Seeds: Getting Started
You can either direct sow your gourd seeds or start them indoors. Starting them indoors gives them a head start, especially if you have a short growing season.
Starting Seeds Indoors:
1. Timing: Start your seeds indoors about 4-6 weeks before the last expected frost.
2. Containers: Use peat pots or biodegradable containers to avoid disturbing the roots when transplanting.
3. Soil: Fill the containers with a seed-starting mix.
4. Planting: Plant 2-3 seeds per container, about 1 inch deep.
5. Watering: Keep the soil consistently moist but not soggy.
6. Warmth: Provide bottom heat using a heat mat to speed up germination.
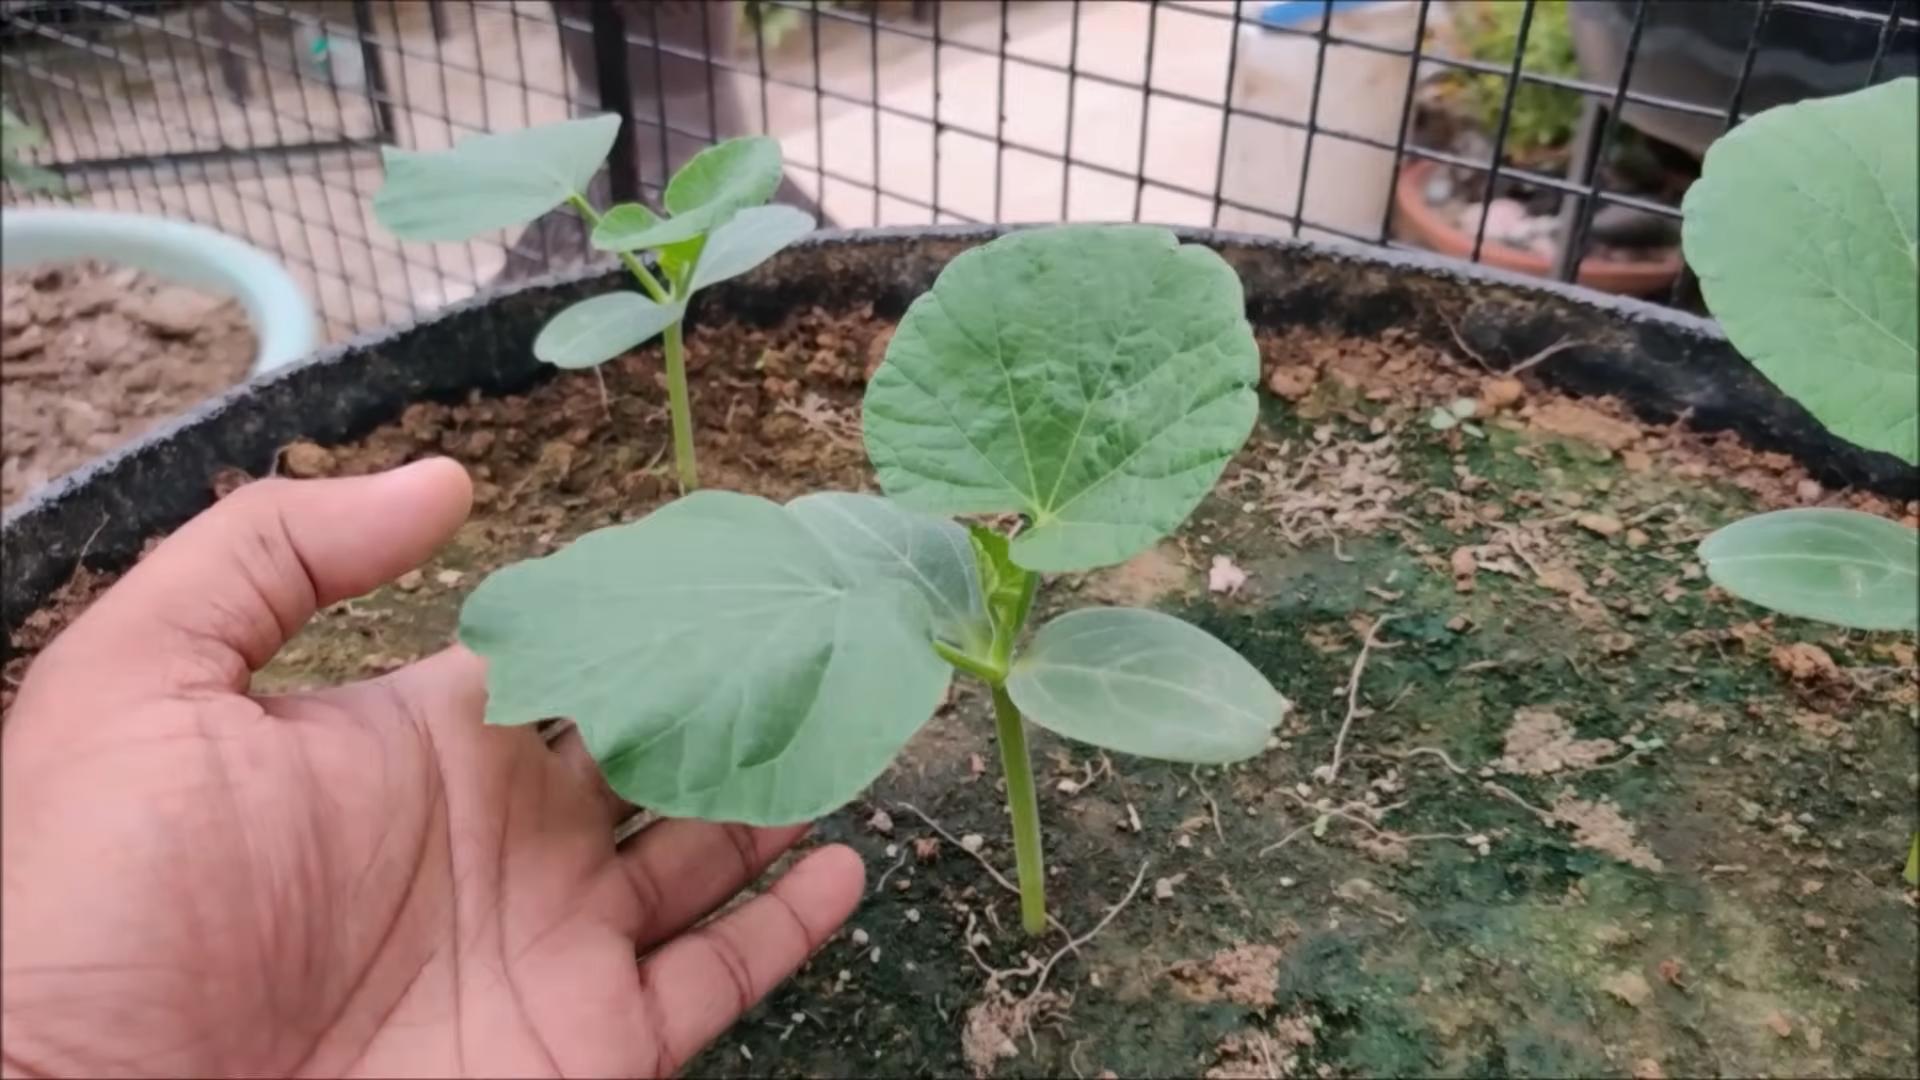
7. Light: Once the seedlings emerge, provide them with plenty of light. A sunny windowsill or grow lights will work.
8. Hardening Off: Before transplanting, gradually acclimate the seedlings to outdoor conditions by exposing them to increasing amounts of sunlight and wind over a period of 1-2 weeks.
Direct Sowing:
1. Timing: Direct sow your seeds after the last expected frost, when the soil has warmed up to at least 60°F (15°C).
2. Soil Preparation: Prepare the soil as described above.
3. Planting: Plant 2-3 seeds per hill, about 1 inch deep. Space the hills 3-4 feet apart.
4. Watering: Water thoroughly after planting.
5. Thinning: Once the seedlings emerge, thin them to one plant per hill.
I prefer starting my gourd seeds indoors to get a jump start on the growing season. It also gives me a better chance of success, as the seedlings are less vulnerable to pests and diseases.
Caring for Your Gourd Plants: Watering, Fertilizing, and Pruning
Once your gourd plants are established, it’s important to provide them with proper care to ensure a bountiful harvest.
* Watering: Gourds need consistent moisture, especially during hot, dry weather. Water deeply and regularly, especially when the fruits are developing. Aim for about 1 inch of water per week.
* Fertilizing: Feed your gourd plants with a balanced fertilizer every 2-3 weeks. You can also side-dress them with compost or aged manure.
* Pruning: Pruning can help improve air circulation and encourage fruit production. Remove any dead or diseased leaves and stems. You can also prune the vines to control their size and shape.
* Pest and Disease Control: Keep an eye out for common gourd pests like squash bugs, squash vine borers, and cucumber beetles. Handpick them off the plants or use insecticidal soap. Powdery mildew can also be a problem, especially in humid conditions. Improve air circulation and apply a fungicide if necessary.
I usually water my gourd plants deeply every few days, especially during the summer months. I also fertilize them regularly with a liquid seaweed fertilizer.
Harvesting Your Gourds: Knowing When to Pick
Knowing when to harvest your gourds is crucial for successful drying and crafting.
* Timing: Harvest your gourds in the fall, after the vines have died back and the gourds have fully matured. The gourds should feel hard and heavy for their size.
* Testing: A good way to test for ripeness is to press your fingernail into the skin. If it doesn’t leave a mark, the gourd is ready to harvest.
* Cutting: Use a sharp knife or pruning shears to cut the gourds from the vine, leaving a few inches of stem attached. This will help prevent rot.
* Handling: Handle the gourds carefully to avoid bruising or damaging the skin.
I usually wait until after the first frost to harvest my gourds. This ensures that they are fully mature and have a thick, hard shell.
Drying Your Gourds: The Key to Longevity
Drying your gourds properly is essential for preserving them and preventing rot. This process can take several weeks or even months, so be patient!
1. Cleaning: Gently wash the gourds with soapy water to remove any dirt or debris.
2. Drying Location: Choose a well-ventilated, dry location for drying. A shed, garage, or attic works well.
3. Arrangement: Place the gourds on a wire rack or screen, making sure they don’t touch each other. This will allow air to circulate around them.
4. Turning: Turn the gourds regularly to prevent them from developing flat spots.
5. Monitoring: Check the gourds regularly for signs of rot or mold. If you find any, remove the affected gourd immediately to prevent it from spreading to the others.
6. Patience: The drying process can take several weeks or even months, depending on the size and thickness of the gourds. You’ll know the gourds are dry when they feel light and the seeds rattle inside.
Dealing with Mold:
Mold is a common problem during the drying process. Don’t panic! Here’s how to deal with it:
* Wipe it off: Wipe off any mold with a cloth dampened with a solution of bleach and water (1 part bleach to 10 parts water).
* Improve Ventilation: Increase air circulation around the gourds.
* Separate: Isolate any gourds with severe mold to prevent it from spreading.
I usually dry my gourds in my garage, which is well-ventilated and dry. I turn them every few days and check them regularly for mold.
Crafting with Gourds: Unleash Your Creativity!
Once your gourds are dry, the real fun begins! The possibilities for crafting with gourds are endless.
* Cleaning: Before you start crafting, you’ll need to clean the inside of the gourds. Drill a hole in the top and shake out the seeds and pulp. You
Conclusion
So, there you have it! Growing gourds in your backyard isn’t just a fun project; it’s a rewarding journey that culminates in unique, handcrafted treasures. From selecting the right seeds to patiently nurturing your vines, every step is an opportunity to connect with nature and unleash your creativity. This DIY adventure offers a sustainable and cost-effective way to produce beautiful, functional items, far surpassing the generic offerings of mass-produced goods.
Why is this DIY trick a must-try? Because it’s more than just gardening; it’s about creating something truly special with your own two hands. Imagine the satisfaction of using a birdhouse you grew yourself, or gifting a hand-painted gourd bowl to a loved one. The possibilities are endless, limited only by your imagination. Plus, you’re contributing to a greener planet by reducing your reliance on manufactured products and embracing a more sustainable lifestyle.
Don’t be afraid to experiment! Try different gourd varieties to achieve unique shapes and sizes. Bottle gourds are perfect for crafting dippers and birdhouses, while apple gourds lend themselves beautifully to bowls and decorative ornaments. Consider adding companion plants like marigolds or nasturtiums to deter pests and attract pollinators. You can also explore different training techniques to guide the growth of your vines and maximize your yield.
Ready to embark on your gourd-growing adventure? We encourage you to give this DIY trick a try. It might seem daunting at first, but with a little patience and dedication, you’ll be amazed at what you can achieve. Remember to document your progress, take lots of pictures, and most importantly, have fun!
We’re eager to hear about your experiences! Share your tips, tricks, and gourd-growing triumphs in the comments below. Let’s create a community of gourd enthusiasts and inspire others to embrace the joy of homegrown creativity. Your insights could be invaluable to someone just starting out, and we can all learn from each other’s successes and challenges. So, get your hands dirty, unleash your inner artist, and discover the magic of growing gourds in your backyard. You won’t regret it!
Frequently Asked Questions (FAQ)
What is the best time to start growing gourds?
The ideal time to start growing gourds is after the last frost in your area, when the soil has warmed up to at least 65°F (18°C). Gourds require a long growing season, typically 100-180 days, so starting them early is crucial for a successful harvest. In colder climates, you can start seeds indoors 4-6 weeks before the last frost and transplant them outdoors once the weather permits. Check your local frost dates to determine the optimal planting time for your region.
What kind of soil do gourds need?
Gourds thrive in well-drained, fertile soil that is rich in organic matter. Before planting, amend your soil with compost, aged manure, or other organic materials to improve its structure and nutrient content. A slightly acidic to neutral soil pH (6.0-7.0) is ideal. Avoid heavy clay soils, as they can retain too much moisture and lead to root rot. If you have clay soil, consider growing your gourds in raised beds or containers to improve drainage.
How much sunlight do gourds require?
Gourds need at least 6-8 hours of direct sunlight per day to grow and produce healthy fruits. Choose a planting location that receives ample sunlight throughout the day. If your garden is partially shaded, try to position your gourd vines so that they receive morning sun, which is less intense than afternoon sun. Insufficient sunlight can result in stunted growth, reduced fruit production, and increased susceptibility to pests and diseases.
How often should I water my gourd plants?
Gourds require consistent watering, especially during hot, dry weather. Water deeply and regularly, aiming to keep the soil consistently moist but not waterlogged. Avoid overhead watering, as this can promote fungal diseases. Instead, water at the base of the plants, using a soaker hose or drip irrigation system. Mulching around the plants can help retain moisture in the soil and reduce the need for frequent watering. Check the soil moisture regularly and adjust your watering schedule accordingly.
Do gourds need fertilizer?
Yes, gourds benefit from regular fertilization, especially during their active growing season. Apply a balanced fertilizer (e.g., 10-10-10) at planting time and then again every 4-6 weeks throughout the growing season. You can also supplement with organic fertilizers, such as compost tea or fish emulsion. Avoid over-fertilizing, as this can lead to excessive foliage growth at the expense of fruit production. Follow the instructions on the fertilizer label carefully.
How do I prevent pests and diseases from affecting my gourds?
To minimize pest and disease problems, practice good garden hygiene. Remove any dead or diseased leaves and debris from around the plants. Rotate your crops each year to prevent soilborne diseases from building up. Monitor your plants regularly for signs of pests, such as squash bugs, squash vine borers, and aphids. Handpick pests or use insecticidal soap or neem oil to control infestations. To prevent fungal diseases, ensure good air circulation around the plants and avoid overhead watering. You can also apply a fungicide if necessary.
How do I know when my gourds are ready to harvest?
Gourds are typically ready to harvest in the fall, after the vines have died back and the gourds have fully matured. The skin of the gourd should be hard and firm, and the stem should be dry and brown. To test for ripeness, try pressing your fingernail into the skin of the gourd. If it doesn’t leave a mark, the gourd is ready to harvest. Use pruning shears or a sharp knife to cut the gourd from the vine, leaving a few inches of stem attached.
How do I cure gourds after harvesting?
Curing is essential for preserving gourds and preventing them from rotting. After harvesting, wash the gourds with soapy water to remove any dirt or debris. Then, place them in a well-ventilated area, such as a garage or shed, where they will be protected from frost and direct sunlight. Arrange the gourds so that they are not touching each other, and turn them regularly to ensure even drying. The curing process can take several weeks or even months, depending on the size and thickness of the gourds. The gourds are fully cured when they are lightweight and the seeds rattle inside.
Can I paint or decorate my gourds?
Yes, painting and decorating gourds is a popular way to showcase their unique shapes and textures. Once the gourds are fully cured, you can sand them lightly to create a smooth surface. Then, apply a primer to help the paint adhere better. Use acrylic paints or other craft paints to create your desired designs. You can also use wood-burning tools, carving tools, or other embellishments to add texture and detail. Seal the finished gourds with a clear varnish or sealant to protect the paint and prevent moisture damage.
What are some creative uses for homegrown gourds?
The possibilities are endless! Gourds can be used to create a wide variety of decorative and functional items, such as birdhouses, bowls, dippers, musical instruments, ornaments, and sculptures. You can also use them to make planters, lamps, and even furniture. Let your imagination run wild and experiment with different techniques and materials to create unique and personalized gourd crafts. Growing gourds offers a sustainable and rewarding way to express your creativity and add a touch of natural beauty to your home and garden.
Leave a Comment