

Growing Green Beans at Home can be incredibly rewarding! Imagine stepping outside your back door and harvesting fresh, crisp green beans for dinner – a taste far superior to anything you’ll find at the grocery store. But let’s be honest, sometimes the dream of a bountiful bean harvest feels a little…distant. Maybe your plants are struggling, or you’re just not sure where to even begin. That’s where this DIY guide comes in!
For centuries, cultures around the world have cultivated green beans, recognizing their nutritional value and delicious flavor. From ancient Incan civilizations to modern-day kitchen gardens, the humble green bean has held a special place. But even with generations of knowledge, getting a truly impressive yield can still feel like a challenge.
That’s why I’m sharing my favorite DIY tricks and hacks for growing green beans at home. I’ve learned these tips through trial and error (and a whole lot of research!), and they’ve completely transformed my own bean harvests. Whether you’re a seasoned gardener or just starting out, these simple, effective techniques will help you overcome common challenges, maximize your yield, and enjoy the satisfaction of growing your own delicious green beans. Get ready to ditch the store-bought beans and embrace the flavor of homegrown goodness!
Growing Green Beans at Home: A Beginner’s Guide
Okay, so you want to grow green beans at home? Awesome! It’s easier than you think, and there’s nothing quite like the taste of fresh, homegrown beans. I’m going to walk you through everything you need to know, from choosing the right variety to harvesting your bounty. Let’s get started!
Choosing Your Green Bean Variety
First things first, you need to decide what kind of green bean you want to grow. There are two main types: bush beans and pole beans.
* **Bush Beans:** These are compact and don’t need support. They’re great for smaller gardens or containers. They produce most of their beans at once, so you’ll get a big harvest in a short period.
* **Pole Beans:** These are vining beans that need a trellis or other support to climb. They produce beans over a longer period, giving you a steady supply throughout the season.
Within each type, there are tons of varieties to choose from. Here are a few popular ones:
* **Bush Bean Varieties:**
* Blue Lake Bush: A classic, reliable variety with great flavor.
* Contender: An early-maturing variety that’s very productive.
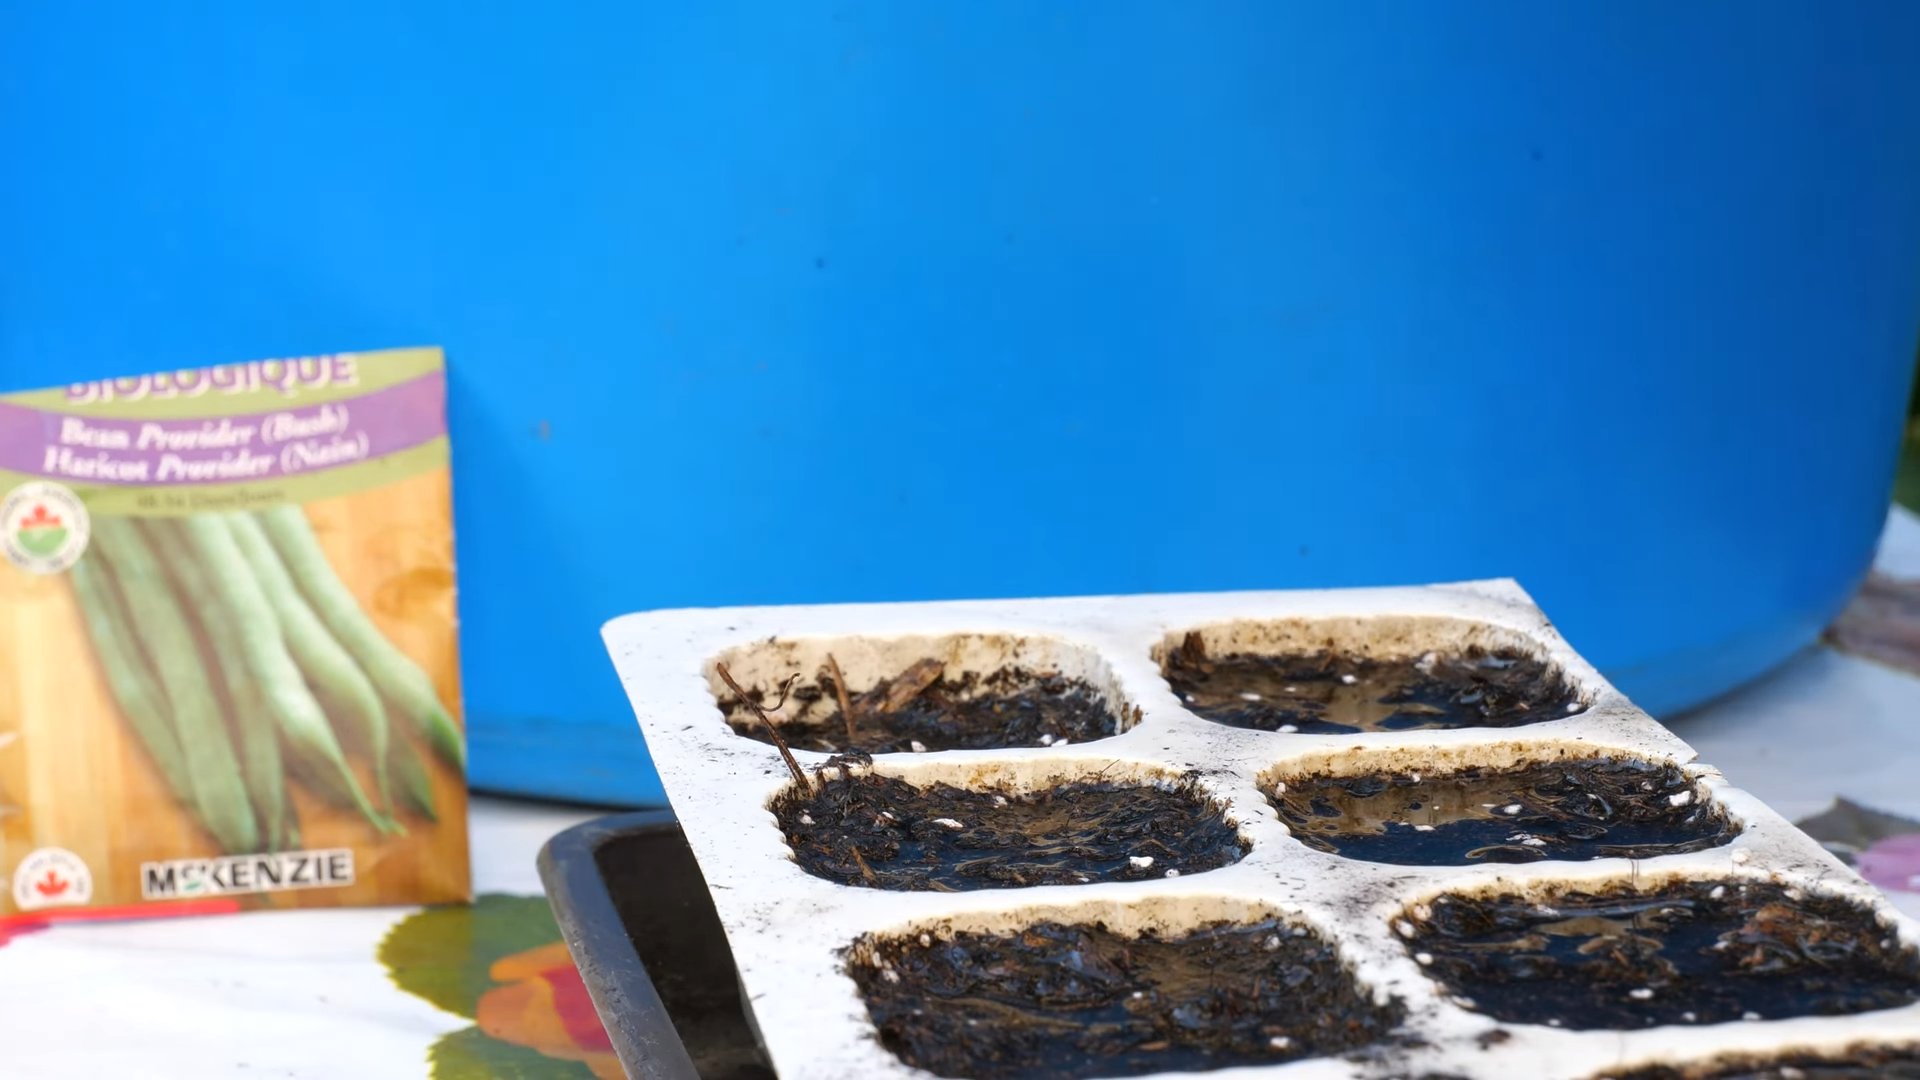
* Provider: Another early variety that’s known for its disease resistance.
* **Pole Bean Varieties:**
* Kentucky Wonder: A classic pole bean with a rich, beany flavor.
* Scarlet Runner: A beautiful bean with red flowers that attract hummingbirds. Plus, the beans are delicious!
* Fortex: A long, slender bean with excellent flavor.
I personally love Kentucky Wonder pole beans because they’re so prolific and taste amazing. But feel free to experiment and find your favorite!
Preparing Your Garden Bed
Green beans need well-drained soil and plenty of sunlight (at least 6-8 hours a day). Here’s how to get your garden bed ready:
1. **Choose a Sunny Spot:** Find a location in your yard that gets plenty of sunshine.
2. **Test Your Soil:** It’s always a good idea to test your soil’s pH. Green beans prefer a pH between 6.0 and 7.0. You can buy a soil testing kit at most garden centers.
3. **Amend the Soil:** If your soil is heavy clay or sandy, you’ll need to amend it with compost or other organic matter. This will improve drainage and provide nutrients for your beans. I usually add a generous layer of compost and work it into the top 6-8 inches of soil.
4. **Clear the Area:** Remove any weeds, rocks, or other debris from the planting area.
5. **Rake the Soil:** Rake the soil smooth to create a level planting surface.
Planting Your Green Beans
Now for the fun part – planting!
1. **Check the Last Frost Date:** Make sure the danger of frost has passed before planting your green beans. They’re sensitive to cold temperatures. You can find your local last frost date online or by asking at your local garden center.
2. **Direct Sow the Seeds:** Green beans are best direct-sown, meaning you plant the seeds directly in the garden. They don’t transplant well.
3. **Planting Bush Beans:** Plant bush bean seeds 1 inch deep and 2-3 inches apart in rows that are 18-24 inches apart.
4. **Planting Pole Beans:** Plant pole bean seeds 1 inch deep and 4-6 inches apart at the base of your trellis or support structure.
5. **Water Thoroughly:** After planting, water the soil thoroughly to help the seeds germinate.
6. **Mark Your Rows:** It’s a good idea to mark your rows with labels so you know what you’ve planted.
Building a Trellis for Pole Beans
If you’re growing pole beans, you’ll need to build a trellis for them to climb on. There are lots of different ways to do this, but here’s a simple and effective method:
1. **Gather Your Materials:** You’ll need:
* Two sturdy posts (6-8 feet tall)
* Chicken wire or netting
* Staples or zip ties
* A hammer or staple gun
2. **Drive the Posts into the Ground:** Drive the posts into the ground at either end of your row of beans, spacing them about 6-8 feet apart. Make sure the posts are securely anchored.
3. **Attach the Chicken Wire or Netting:** Staple or zip-tie the chicken wire or netting to the posts, creating a climbing surface for your beans. Make sure the netting is taut and secure.
4. **Encourage Climbing:** As your bean plants grow, gently guide their tendrils onto the trellis. They’ll soon start climbing on their own.
I’ve also used bamboo poles tied together to make a teepee shape for my pole beans – it looks really nice in the garden!
Caring for Your Green Bean Plants
Once your green beans are planted, here’s how to keep them healthy and productive:
* **Water Regularly:** Green beans need consistent moisture, especially during hot weather. Water deeply whenever the top inch of soil feels dry.
* **Weed Regularly:** Keep the area around your bean plants free of weeds. Weeds compete with your beans for water and nutrients.
* **Fertilize Sparingly:** Green beans don’t need a lot of fertilizer. In fact, too much nitrogen can actually inhibit bean production. If your soil is poor, you can side-dress your plants with a small amount of compost or a balanced fertilizer a few weeks after they emerge.
* **Watch for Pests and Diseases:** Keep an eye out for common green bean pests like aphids, bean beetles, and spider mites. You can usually control these pests with insecticidal soap or neem oil. Also, watch for diseases like powdery mildew and bean rust. Proper watering and good air circulation can help prevent these diseases.
Harvesting Your Green Beans
The best part! You can usually start harvesting green beans about 50-60 days after planting.
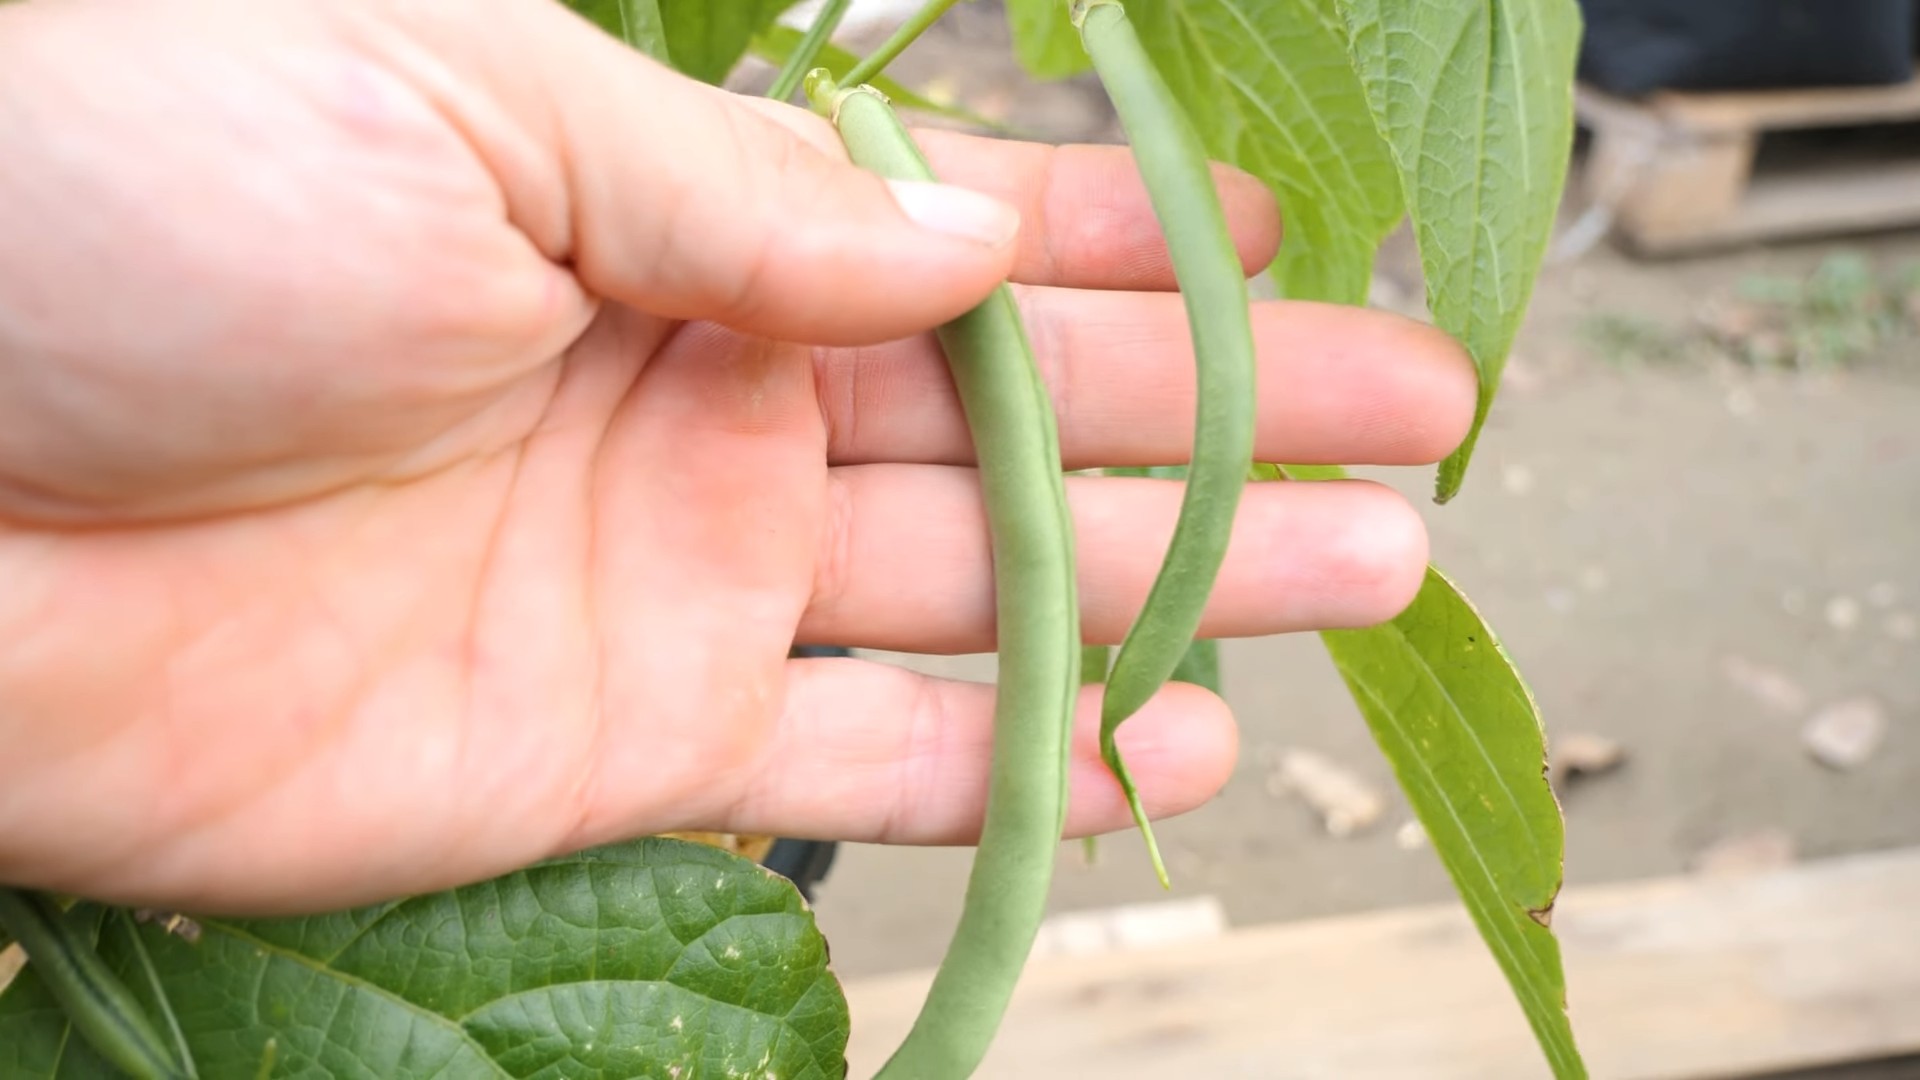
1. **Check for Readiness:** The beans are ready to harvest when they’re firm, crisp, and snap easily. They should be about the size of a pencil.
2. **Harvest Regularly:** Harvest your beans every few days to encourage continued production. If you let the beans get too large, they’ll become tough and stringy.
3. **Pick Carefully:** Gently snap the beans off the plant, being careful not to damage the stems or leaves.
4. **Enjoy Your Harvest:** Fresh green beans are delicious steamed, sautéed, or added to salads. You can also freeze or can them for later use.
I love to blanch my green beans and then freeze them. That way, I can enjoy the taste of summer all year long!
Troubleshooting Common Problems
Even with the best care, you might encounter some problems when growing green beans. Here are a few common issues and how to deal with them:
* **Poor Germination:** If your bean seeds aren’t germinating, it could be due to cold soil, poor soil drainage, or old seeds. Make sure the soil is warm enough before planting, improve drainage by adding compost, and use fresh seeds.
* **Yellowing Leaves:** Yellowing leaves can be a sign of nutrient deficiency, overwatering, or disease. Check your soil’s pH and nutrient levels, make sure the soil is well-drained, and treat any diseases promptly.
* **Lack of Bean Production:** If your bean plants are growing well but not producing beans, it could be due to hot weather, lack of pollination, or too much nitrogen fertilizer. Green beans prefer temperatures between 60 and 80 degrees Fahrenheit. If it’s too hot, try providing some shade for your plants. Make sure there are plenty of pollinators in your garden. And avoid using too much nitrogen fertilizer.
Growing green beans at home is a rewarding experience. With a little bit of planning and care, you can enjoy a bountiful harvest of fresh, delicious beans all season long. Happy gardening!
Conclusion
So, there you have it! Growing green beans at home is not only achievable, but it’s also incredibly rewarding. From the satisfaction of nurturing a plant from seed to the unparalleled taste of freshly picked, homegrown green beans, the benefits are numerous. We’ve covered everything from selecting the right variety for your climate and space to preparing the soil, planting, and providing essential care.
Why is this DIY trick a must-try? Because it puts you in control of your food source. You know exactly what goes into your green beans – no harmful pesticides, no mysterious fertilizers, just good old-fashioned care and attention. Plus, it’s a fantastic way to connect with nature, learn about the growing process, and even get the kids involved in a fun and educational activity. Imagine the pride of serving a meal featuring green beans you grew yourself!
But the adventure doesn’t stop here. Feel free to experiment with different varieties of green beans. Bush beans are perfect for smaller gardens or containers, while pole beans offer a more vertical growing option and can be trained up trellises or fences. Consider succession planting – sowing new seeds every few weeks – to ensure a continuous harvest throughout the growing season. You can also try companion planting, pairing your green beans with beneficial plants like marigolds (to deter pests) or carrots (which improve soil health).
Don’t be afraid to get creative with your supports for pole beans. While traditional trellises work wonderfully, you can also use repurposed materials like old ladders, bamboo poles, or even sturdy branches. The possibilities are endless!
Ultimately, the key to successful home-grown green beans is observation and responsiveness. Pay attention to your plants, monitor their growth, and adjust your care accordingly. Are the leaves turning yellow? Perhaps they need more nitrogen. Are pests becoming a problem? Consider introducing beneficial insects or using organic pest control methods.
We are confident that with a little effort and dedication, you can enjoy a bountiful harvest of delicious, homegrown green beans. So, grab your seeds, prepare your soil, and get ready to experience the joy of growing your own food.
We wholeheartedly encourage you to try this DIY trick and share your experiences with us! Let us know which varieties you planted, what challenges you faced, and what successes you celebrated. Share your photos, tips, and tricks in the comments below. We can all learn from each other and create a thriving community of home gardeners. Happy growing!
Frequently Asked Questions (FAQs)
What is the best time of year to plant green beans?
The best time to plant green beans is typically after the last frost in spring, when the soil has warmed to at least 60°F (15°C). Green beans are warm-season vegetables and are sensitive to frost. Planting too early can result in poor germination or stunted growth. Check your local weather forecast and planting calendar to determine the ideal planting time for your region. If you’re unsure, it’s always better to err on the side of caution and wait a week or two after the last expected frost. You can also start seeds indoors a few weeks before the last frost to get a head start, but be sure to harden them off gradually before transplanting them outdoors.
How much sunlight do green beans need?
Green beans require at least 6-8 hours of direct sunlight per day to thrive. Sunlight is essential for photosynthesis, the process by which plants convert light energy into chemical energy for growth. Choose a planting location that receives ample sunlight throughout the day. If your garden doesn’t receive enough direct sunlight, you may need to supplement with artificial lighting, especially if you’re starting seeds indoors. Insufficient sunlight can lead to weak, leggy plants with reduced yields.
What kind of soil is best for growing green beans?
Green beans prefer well-drained, fertile soil with a pH between 6.0 and 7.0. Amend your soil with compost or other organic matter to improve drainage, fertility, and water retention. Avoid heavy clay soils, which can become waterlogged and inhibit root growth. If your soil is compacted, consider tilling or double-digging to loosen it up. A soil test can help you determine the pH and nutrient levels of your soil and guide you in making necessary amendments.
How often should I water my green beans?
Green beans need consistent moisture, especially during flowering and pod development. Water deeply and regularly, aiming to keep the soil consistently moist but not waterlogged. The frequency of watering will depend on the weather, soil type, and stage of growth. Check the soil moisture regularly by sticking your finger into the soil about an inch deep. If the soil feels dry, it’s time to water. Avoid overhead watering, which can promote fungal diseases. Instead, water at the base of the plants using a soaker hose or drip irrigation system.
Do green beans need fertilizer?
While green beans don’t require heavy fertilization, they can benefit from a balanced fertilizer applied at planting time and again during flowering. Choose a fertilizer that is relatively low in nitrogen, as excessive nitrogen can promote leafy growth at the expense of pod production. A fertilizer with a higher phosphorus and potassium content is ideal for promoting flowering and pod development. You can also use organic fertilizers such as compost tea or fish emulsion. Avoid over-fertilizing, as this can damage the plants.
How do I deal with pests and diseases on my green beans?
Green beans can be susceptible to various pests and diseases, including aphids, bean beetles, and fungal diseases like powdery mildew. Regularly inspect your plants for signs of pests or diseases. Handpick pests or use insecticidal soap or neem oil to control infestations. To prevent fungal diseases, ensure good air circulation around the plants, avoid overhead watering, and remove any infected leaves. Consider using disease-resistant varieties of green beans. Companion planting with marigolds or other pest-repelling plants can also help to deter pests.
When are green beans ready to harvest?
Green beans are typically ready to harvest about 50-60 days after planting. Harvest the pods when they are firm, crisp, and fully developed but before the beans inside become too large and tough. Regular harvesting encourages continued pod production. Snap the pods off the plant carefully to avoid damaging the stems. Overripe pods will be tough and stringy.
Can I grow green beans in containers?
Yes, you can grow green beans in containers, especially bush bean varieties. Choose a container that is at least 12 inches deep and wide to provide enough room for the roots to grow. Use a well-draining potting mix and ensure that the container has drainage holes. Water regularly and fertilize as needed. Place the container in a sunny location that receives at least 6-8 hours of direct sunlight per day. Provide support for pole bean varieties if growing them in containers.
How do I save seeds from my green beans?
To save seeds from your green beans, allow some of the pods to mature fully on the plant until they are dry and brown. Harvest the pods and remove the seeds. Spread the seeds out on a tray to dry completely for a few weeks. Store the dried seeds in an airtight container in a cool, dry place. Label the container with the variety and date. Note that seeds saved from hybrid varieties may not produce plants that are true to type.
Leave a Comment