

Growing string beans can be incredibly rewarding, offering a fresh, delicious, and healthy addition to your meals straight from your own backyard! Have you ever dreamt of plucking vibrant green beans right off the vine, knowing exactly where they came from and how they were grown? Well, this DIY guide is your ticket to making that dream a reality, even if you’re a complete beginner.
The humble string bean boasts a rich history, cultivated for centuries across various cultures. From ancient civilizations in South America to the bustling gardens of Europe, string beans have been a staple crop, providing essential nutrients and a satisfying crunch. They represent a connection to the earth and a tradition of self-sufficiency that resonates even today.
But why should *you* bother growing string beans yourself? In a world of mass-produced produce, knowing exactly what goes into your food is more important than ever. Plus, homegrown string beans simply taste better! They’re fresher, crisper, and bursting with flavor that you just can’t find in the supermarket. This DIY project will not only save you money but also provide you with a fun, engaging, and healthy hobby. I’m excited to share some simple tricks and hacks that will help you cultivate a thriving string bean patch, no matter the size of your garden. Let’s get started!
DIY: From Seed to Supper – Growing String Beans Like a Pro!
Okay, friends, let’s talk string beans! I absolutely love growing them. They’re relatively easy, super rewarding, and nothing beats the taste of fresh, homegrown beans. This guide will walk you through everything you need to know to cultivate a bountiful bean harvest, even if you’re a complete beginner.
Choosing Your Bean Variety
Before we get our hands dirty, let’s pick the perfect bean for your garden. There are two main types: bush beans and pole beans.
* Bush Beans: These are compact and don’t require any support. They’re great for smaller gardens or containers. They produce a large harvest all at once, which is perfect for canning or freezing. Popular varieties include Blue Lake Bush, Contender, and Provider.
* Pole Beans: These are vining beans that need a trellis or other support to climb. They produce a steady harvest over a longer period. They tend to be more flavorful, in my opinion! Some fantastic pole bean varieties are Kentucky Wonder, Blue Lake Pole, and Scarlet Runner (which are also beautiful!).
Consider your garden space, your preferred harvest style (one big batch or a continuous supply), and your taste preferences when making your choice. I personally love growing a mix of both!
Preparing Your Garden Bed
String beans thrive in well-drained soil with plenty of sunshine. Here’s how to get your garden bed ready:
* Sunlight: Choose a spot that gets at least 6-8 hours of direct sunlight per day.
* Soil: String beans prefer slightly acidic soil with a pH between 6.0 and 6.8. You can test your soil pH with a simple kit from your local garden center.
* Amendments: Amend your soil with compost or well-rotted manure to improve drainage and fertility. I usually add a generous layer, about 2-3 inches thick, and work it into the top 6-8 inches of soil.
* Weed Removal: Clear the area of any weeds and grass. Weeds compete with your beans for nutrients and water, so it’s important to get rid of them before planting.
Planting Your String Beans
Now for the fun part – planting!
1. Timing is Key: String beans are warm-weather crops, so wait until the danger of frost has passed before planting. Soil temperature should be at least 60°F (16°C). I usually plant mine about two weeks after the last expected frost.
2. Direct Sowing: String beans are best direct-sown, meaning you plant the seeds directly into the garden. They don’t transplant well.
3. Planting Depth and Spacing:
* Bush Beans: Plant seeds 1 inch deep and 2-4 inches apart in rows that are 18-24 inches apart.
* Pole Beans: Plant seeds 1 inch deep and 4-6 inches apart at the base of your trellis or support structure.
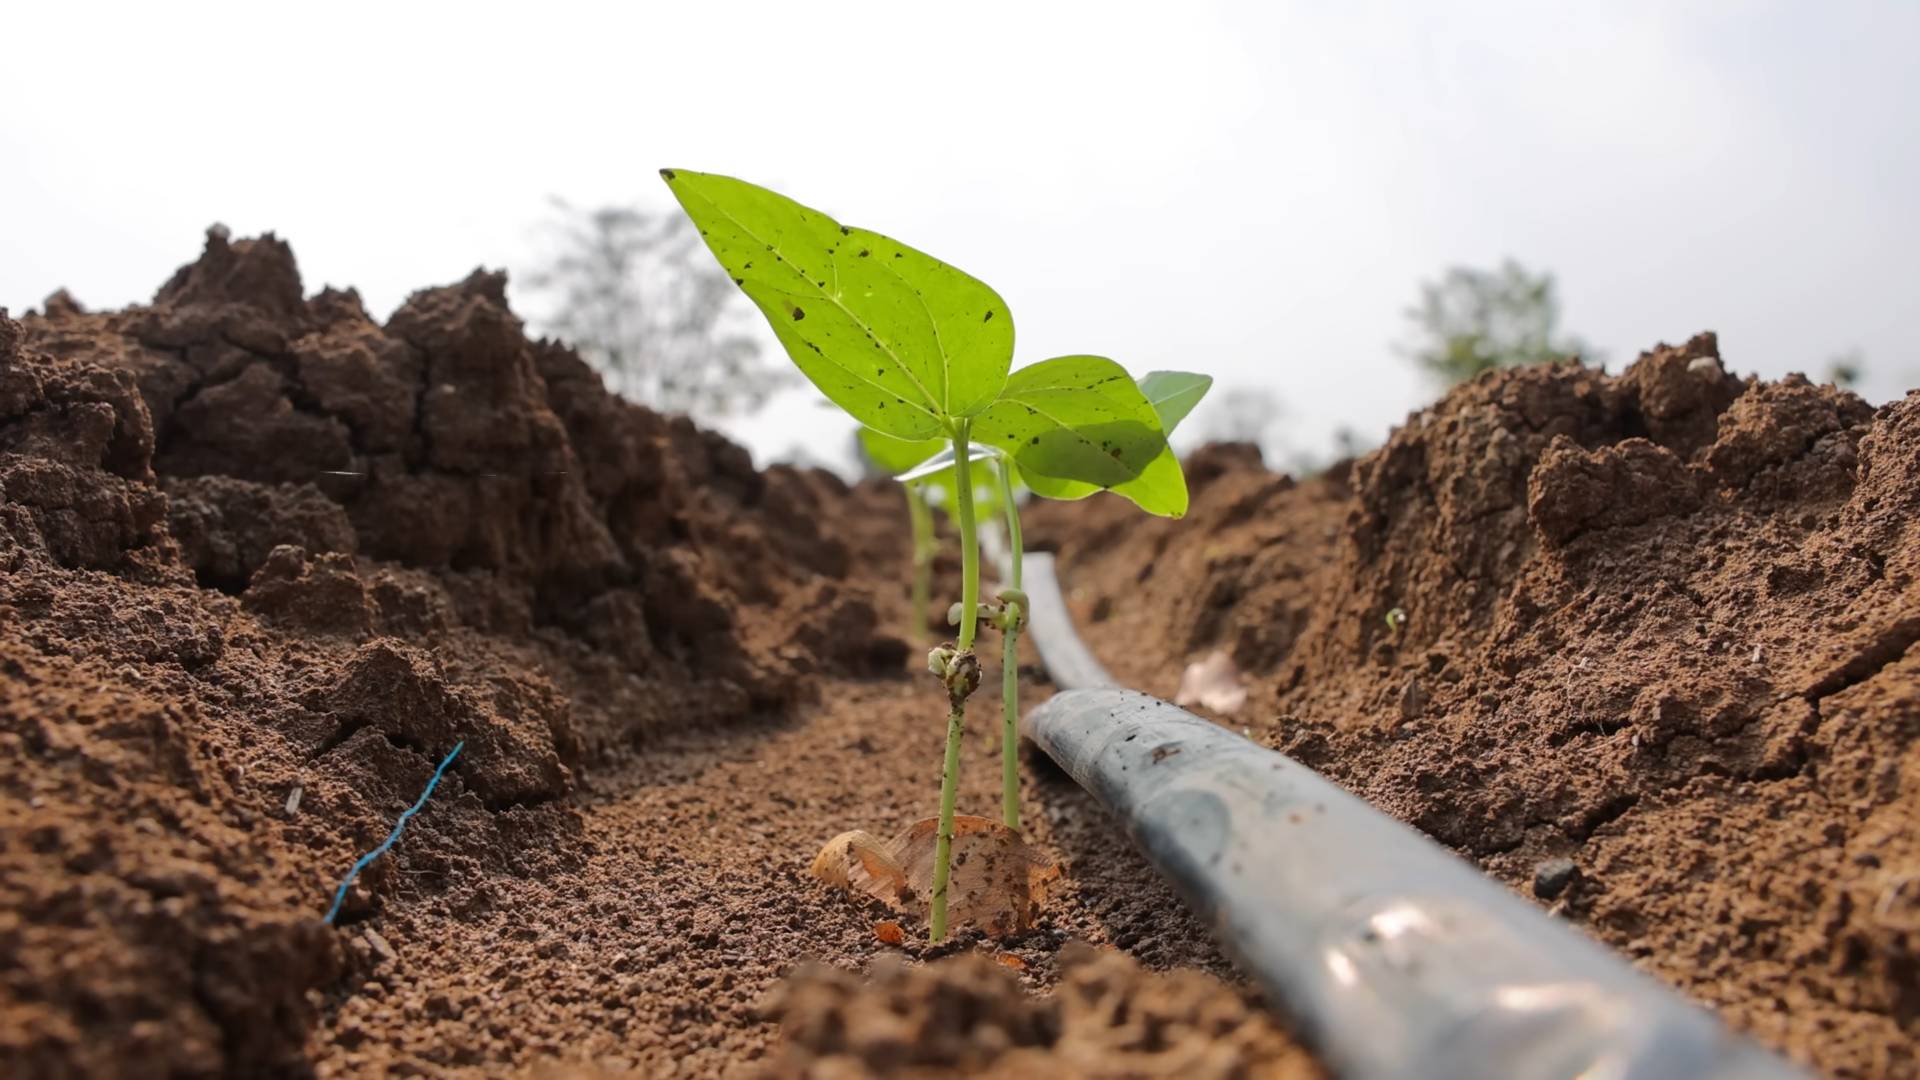
4. Watering: Water the soil thoroughly after planting. Keep the soil consistently moist until the seeds germinate, which usually takes 5-10 days.
5. Support for Pole Beans: If you’re growing pole beans, make sure your trellis or support structure is sturdy and in place before planting. The vines can get quite heavy! I’ve used everything from bamboo poles to repurposed ladders as trellises. Get creative!
Caring for Your String Beans
Once your beans have sprouted, here’s how to keep them happy and healthy:
* Watering: Water regularly, especially during dry spells. Aim for about 1 inch of water per week. Water at the base of the plants to avoid wetting the foliage, which can lead to fungal diseases.
* Weeding: Keep the garden bed free of weeds. Hand-pull weeds carefully to avoid disturbing the bean plants’ roots.
* Fertilizing: String beans don’t need a lot of fertilizer, but a side dressing of compost or a balanced organic fertilizer a few weeks after planting can give them a boost. Avoid fertilizers that are high in nitrogen, as this can promote leafy growth at the expense of bean production.
* Pest Control: Keep an eye out for common bean pests like aphids, bean beetles, and slugs.
* Aphids: These tiny insects suck the sap from plants. You can control them with a strong spray of water from the hose or by introducing beneficial insects like ladybugs.
* Bean Beetles: These beetles can defoliate your bean plants. Hand-picking them off the plants is an effective way to control them. You can also use insecticidal soap or neem oil.
* Slugs: These slimy pests can damage young bean plants. You can control them with beer traps, diatomaceous earth, or by hand-picking them at night.
* Disease Prevention: String beans are susceptible to fungal diseases like powdery mildew and bean rust. To prevent these diseases, provide good air circulation, avoid overhead watering, and remove any infected leaves promptly.
Harvesting Your String Beans
The moment we’ve all been waiting for – harvest time!
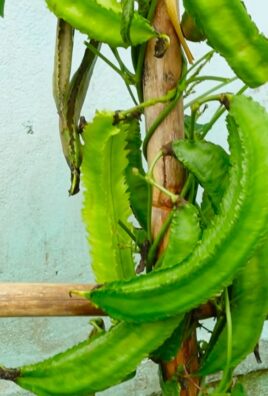
1. Timing: String beans are usually ready to harvest about 50-60 days after planting, depending on the variety. The pods should be firm, crisp, and snap easily when bent.
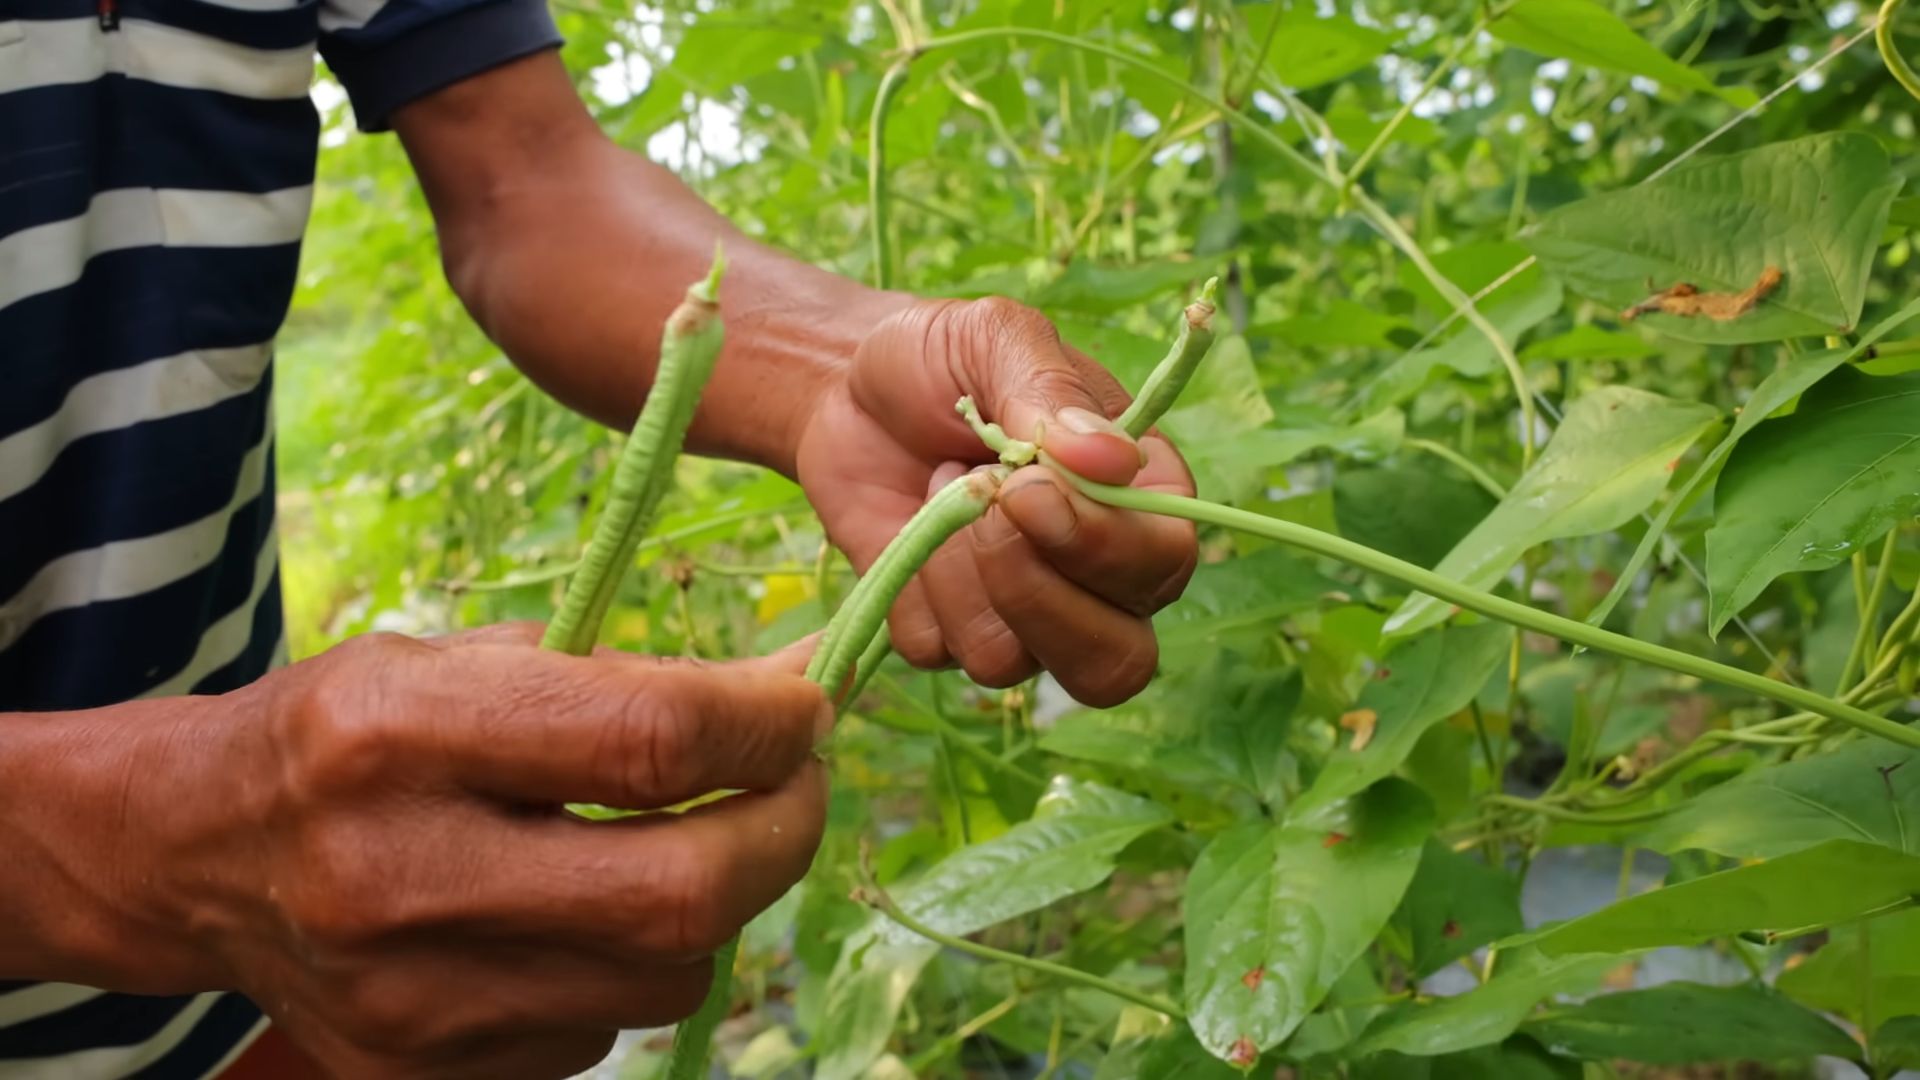
2. Harvesting Technique: Harvest beans regularly, every few days, to encourage continued production. Gently snap the beans off the plant, being careful not to damage the stems.
3. Overripe Beans: Avoid letting the beans become overripe, as they will become tough and stringy. If you miss a few, you can still use them for making bean soup or stock.
4. Storage: Freshly harvested string beans can be stored in the refrigerator for up to a week. For longer storage, you can blanch and freeze them.
Dealing with Common Problems
Even with the best care, you might encounter some problems while growing string beans. Here are a few common issues and how to address them:
* Poor Germination: If your bean seeds aren’t germinating, it could be due to cold soil, poor-quality seeds, or overwatering. Make sure the soil temperature is warm enough, use fresh seeds, and avoid overwatering.
* Yellowing Leaves: Yellowing leaves can be a sign of nutrient deficiency, overwatering, or disease. Check your soil pH and nutrient levels, adjust your watering schedule, and look for signs of disease.
* Lack of Bean Production: If your bean plants are growing well but not producing beans, it could be due to lack of pollination, high temperatures, or too much nitrogen fertilizer. Make sure there are pollinators in your garden, avoid fertilizing with high-nitrogen fertilizers, and consider providing shade during the hottest part of the day.
Saving Bean Seeds (Optional)
If you’re feeling adventurous, you can save seeds from your string beans to plant next year. This is a great way to save money and preserve your favorite varieties.
1. Choose Healthy Plants: Select healthy, vigorous plants that produce abundant, high-quality beans.
2. Allow Beans to Mature: Allow some of the bean pods to mature fully on the plant. They will become dry and brown.
3. Harvest the Seeds: Once the pods are completely dry, harvest them and shell the seeds.
4. Dry the Seeds: Spread the seeds out on a screen or tray in a well-ventilated area to dry completely. This can take several weeks.
5. Store the Seeds: Store the dried seeds in an airtight container in a cool, dark, and dry place. They should remain viable for several years.
Troubleshooting Common Issues
Let’s dive a little deeper into some specific problems you might face and how to tackle them.
Pests
* Japanese Beetles: These metallic green beetles can skeletonize leaves. Handpicking is effective, especially in the early morning. You can also use traps, but be aware they might attract more beetles to your garden.
* Leafhoppers: These tiny, wedge-shaped insects suck plant sap, causing stippling on leaves. Insecticidal soap or neem oil can help control them.
* Spider Mites: These tiny mites create fine webs on leaves and cause them to turn yellow or brown. A strong spray of water can dislodge them. You can also use insecticidal soap or horticultural oil.
Diseases
* Bean Anthracnose: This fungal disease causes dark, sunken lesions on pods, stems, and leaves. Use disease-free seeds, provide good air circulation, and avoid overhead watering. Copper-based fungicides can help control the disease.
* White Mold (Sclerotinia): This fungal disease causes white, cottony growth on stems and pods. Provide good air circulation, avoid overcrowding plants, and remove infected plant parts promptly.
* Root Rot: This fungal disease causes
Conclusion
So, there you have it! Growing string beans doesn’t have to be a daunting task reserved for seasoned gardeners. With this simple DIY trick – creating a bean teepee – you can transform your backyard into a thriving string bean haven, even if you’re a complete beginner. This method isn’t just about convenience; it’s about maximizing your yield, optimizing space, and adding a touch of rustic charm to your garden.
Why is this DIY trick a must-try? Because it addresses several key challenges faced by string bean growers. First, it provides essential vertical support, allowing your plants to climb and reach for the sun, resulting in healthier, more productive vines. Second, the teepee structure creates excellent air circulation, reducing the risk of fungal diseases that can plague string bean crops. Third, it’s incredibly space-efficient, making it ideal for small gardens, balconies, or even patios. Finally, it’s a visually appealing addition to any outdoor space, turning your vegetable patch into a focal point.
But the beauty of this DIY project lies in its versatility. Feel free to experiment with different materials for your teepee. Bamboo poles offer a classic, natural look, while sturdy branches salvaged from your yard can add a touch of rustic charm. You can even use repurposed metal pipes for a more modern and durable structure. Consider adding decorative elements like colorful ribbons or wind chimes to personalize your teepee and make it a true reflection of your style.
For variations, think about incorporating companion planting around the base of your teepee. Marigolds, for example, can help deter pests, while nasturtiums attract beneficial insects. Basil is another excellent companion plant for string beans, as it is believed to improve their flavor and growth. You could also try interplanting different varieties of string beans, such as bush beans at the base and pole beans climbing the teepee, for a diverse and continuous harvest.
Don’t be afraid to get creative and adapt this DIY trick to suit your specific needs and preferences. The most important thing is to provide your string beans with the support they need to thrive.
We wholeheartedly encourage you to give this DIY string bean teepee a try. It’s a rewarding project that will not only enhance your gardening experience but also provide you with a bountiful harvest of fresh, delicious string beans. Imagine the satisfaction of picking your own homegrown string beans and serving them to your family and friends.
Once you’ve built your teepee and started growing your string beans, we’d love to hear about your experience! Share your photos, tips, and challenges in the comments section below. Let’s create a community of string bean enthusiasts and learn from each other’s successes and failures. Together, we can make growing string beans a fun and rewarding experience for everyone. Remember, the key to a successful garden is experimentation, observation, and a little bit of patience. Happy gardening!
Frequently Asked Questions (FAQ)
What type of string beans are best suited for a teepee structure?
Pole beans are the ideal choice for growing on a teepee. Unlike bush beans, which grow in a compact, self-supporting form, pole beans are natural climbers that require vertical support to thrive. Varieties like Kentucky Wonder, Blue Lake, and Scarlet Runner are all excellent options for teepee gardening. These beans will readily climb the poles of your teepee, producing a bountiful harvest of long, slender pods. Bush beans, while delicious, are not suited for this method as they will not climb.
How tall should my string bean teepee be?
The ideal height for your string bean teepee depends on the variety of pole beans you’re growing. Generally, a teepee that is 6 to 8 feet tall is sufficient for most varieties. However, some particularly vigorous climbers may benefit from a slightly taller structure. Consider the mature height of your chosen bean variety when determining the appropriate height for your teepee. Remember to factor in the depth of the poles in the ground, ensuring that the above-ground portion provides adequate climbing space.
What materials are best for building a string bean teepee?
The best materials for building a string bean teepee are durable, weather-resistant, and readily available. Bamboo poles are a popular choice due to their strength, flexibility, and natural aesthetic. Sturdy branches salvaged from your yard can also be used, adding a rustic touch to your garden. Metal pipes, while less common, offer excellent durability and can be a good option for a more permanent structure. Regardless of the material you choose, ensure that it is free from sharp edges or splinters that could damage the bean vines. You’ll also need twine or rope to secure the poles together at the top and to provide additional climbing support for the beans.
How do I plant the string beans around the teepee?
Plant the string bean seeds directly into the soil around the base of the teepee poles. Space the seeds about 2-3 inches apart and 1 inch deep. Water the soil thoroughly after planting and keep it consistently moist until the seedlings emerge. Once the seedlings are a few inches tall, thin them out, leaving the strongest plants spaced about 6-8 inches apart. As the beans begin to climb, gently guide their tendrils towards the teepee poles and encourage them to wrap around the supports.
How often should I water my string beans growing on a teepee?
String beans require consistent moisture, especially during hot weather. Water your string beans deeply and regularly, aiming to keep the soil consistently moist but not waterlogged. The frequency of watering will depend on the weather conditions and the type of soil you have. In general, water every 2-3 days during dry spells and less frequently during periods of rain. Check the soil moisture regularly by sticking your finger into the soil a few inches deep. If the soil feels dry to the touch, it’s time to water.
How do I fertilize my string beans growing on a teepee?
String beans are relatively light feeders, but they will benefit from regular fertilization. Amend the soil with compost or well-rotted manure before planting to provide a slow-release source of nutrients. During the growing season, fertilize every 4-6 weeks with a balanced organic fertilizer or a fertilizer specifically formulated for beans. Avoid over-fertilizing, as this can lead to excessive foliage growth at the expense of bean production.
How do I protect my string beans from pests and diseases?
String beans can be susceptible to various pests and diseases, including aphids, bean beetles, and fungal infections. To protect your plants, practice good garden hygiene by removing any dead or diseased foliage. Encourage beneficial insects, such as ladybugs and lacewings, which prey on aphids and other pests. Consider using organic pest control methods, such as insecticidal soap or neem oil, to control infestations. Ensure good air circulation around the plants to prevent fungal diseases. Companion planting with marigolds or basil can also help deter pests and diseases.
When can I harvest my string beans from the teepee?
String beans are typically ready to harvest about 50-60 days after planting. The pods should be firm, crisp, and snap easily when bent. Harvest the beans regularly to encourage continued production. Overripe beans will become tough and stringy. Check your plants every few days and harvest any beans that are ready. The more you harvest, the more beans your plants will produce.
Can I grow other vegetables on a teepee structure?
While string beans are the most common choice for teepee gardening, other climbing vegetables can also be grown on a similar structure. Cucumbers, small gourds, and even some varieties of tomatoes can be trained to climb a teepee. However, it’s important to choose varieties that are not too heavy, as the teepee may not be able to support excessive weight. Consider the specific needs of each vegetable when deciding whether to grow it on a teepee.

Leave a Comment