

Hydroponic Celery Rockwool Growing: Ever dreamt of crisp, fresh celery right at your fingertips, without battling garden pests or unpredictable weather? I know I have! For centuries, humans have cultivated celery, tracing its origins back to the Mediterranean where it was initially valued more for its medicinal properties than its culinary uses. Now, imagine bypassing the traditional soil-based methods and diving into the fascinating world of hydroponics.
This DIY guide unlocks the secrets to successfully growing celery using rockwool in a hydroponic system. Why is this a game-changer? Well, traditional gardening can be time-consuming and space-restrictive. Many of us, myself included, live in apartments or have limited outdoor space. Hydroponics offers a solution, allowing you to grow delicious, healthy celery indoors, year-round!
This method is not only space-saving but also incredibly efficient, delivering nutrients directly to the roots for faster growth and higher yields. Plus, you’ll have greater control over the growing environment, minimizing the risk of diseases and pests. So, if you’re ready to embark on a rewarding and sustainable gardening adventure, let’s dive into the world of hydroponic celery rockwool growing and transform your kitchen into a thriving, green oasis!
DIY Hydroponic Celery: From Rockwool to Table!
Hey there, fellow plant enthusiasts! I’m super excited to share my experience with growing celery hydroponically, starting from rockwool. It’s a fun and rewarding project, and trust me, the taste of freshly grown celery is unbeatable! This guide will walk you through every step, so even if you’re a complete beginner, you’ll be harvesting crisp celery stalks in no time.
Materials You’ll Need
Before we dive in, let’s gather all the necessary supplies. This will make the process smoother and prevent any frustrating mid-project runs to the store.
* **Celery Seeds:** Choose a variety that you like. I personally prefer ‘Utah Improved’ for its crispness and flavor.
* **Rockwool Cubes:** These are the perfect starting medium for hydroponics. Get the smaller cubes, around 1.5 inches.
* **Seedling Tray with Dome:** This helps maintain humidity for optimal germination.
* **Spray Bottle:** For misting the rockwool cubes.
* **pH Meter and pH Up/Down Solutions:** Crucial for maintaining the correct pH level in your nutrient solution.
* **Nutrient Solution for Hydroponics:** Specifically formulated for leafy greens. I recommend a two-part nutrient solution for better control.
* **Net Pots:** These will hold your celery plants in your hydroponic system. Choose the size that fits your system.
* **Hydroponic System:** You can use a Deep Water Culture (DWC), Nutrient Film Technique (NFT), or Kratky system. I’ll be using a DWC system in this guide, but the initial steps are the same regardless of your chosen system.
* **Air Pump and Air Stone (for DWC):** To oxygenate the nutrient solution.
* **Grow Lights (Optional):** If you don’t have a sunny spot, grow lights are essential.
* **Measuring Cups and Spoons:** For accurate nutrient mixing.
* **Gloves:** To protect your hands.
* **Scissors or a Sharp Knife:** For thinning seedlings.
* **Timer (for Grow Lights):** To automate the light cycle.
Phase 1: Germinating Celery Seeds in Rockwool
Celery seeds can be a bit finicky to germinate, so patience is key! Here’s how I get them started:
1. **Soaking the Rockwool:** Before planting, you need to soak the rockwool cubes in pH-balanced water. I aim for a pH of 5.5 to 6.0. This is important because rockwool tends to be alkaline, and celery prefers slightly acidic conditions.
* Fill a container with tap water.
* Use your pH meter to check the pH.
* Add pH down solution, a little at a time, until you reach the desired pH.
* Submerge the rockwool cubes in the pH-balanced water for at least an hour. This ensures they are fully saturated.
2. **Sowing the Seeds:** Celery seeds are tiny, so handle them carefully.
* Gently squeeze out any excess water from the rockwool cubes. They should be moist, not soaking wet.
* Make a small indentation in the center of each cube.
* Place 2-3 celery seeds in each indentation. I like to sow a few extra seeds to increase my chances of germination.
* Lightly cover the seeds with a tiny bit of vermiculite or perlite (optional). This helps retain moisture.
3. **Creating a Humid Environment:** Celery seeds need humidity to germinate.
* Place the rockwool cubes in the seedling tray.
* Fill the bottom of the tray with a shallow layer of pH-balanced water (about 1/4 inch). This will help maintain humidity.
* Cover the tray with the dome.
* Mist the inside of the dome with water to create extra humidity.
4. **Providing Light and Warmth:** Celery seeds germinate best in warm conditions with indirect light.
* Place the seedling tray in a warm location, ideally between 70-75°F (21-24°C).
* If you don’t have a naturally warm spot, use a heat mat under the tray.
* Provide indirect light. If you’re using grow lights, keep them a few feet away from the tray initially.
5. **Maintaining Moisture:** Keep the rockwool cubes consistently moist, but not waterlogged.
* Check the cubes daily and mist them with pH-balanced water as needed.
* Ensure the water level in the bottom of the tray remains consistent.
6. **Waiting for Germination:** Celery seeds can take anywhere from 7 to 21 days to germinate, so be patient!
* Once you see seedlings emerge, gradually increase the amount of light they receive.
* Remove the dome for a few hours each day to improve air circulation and prevent fungal growth.
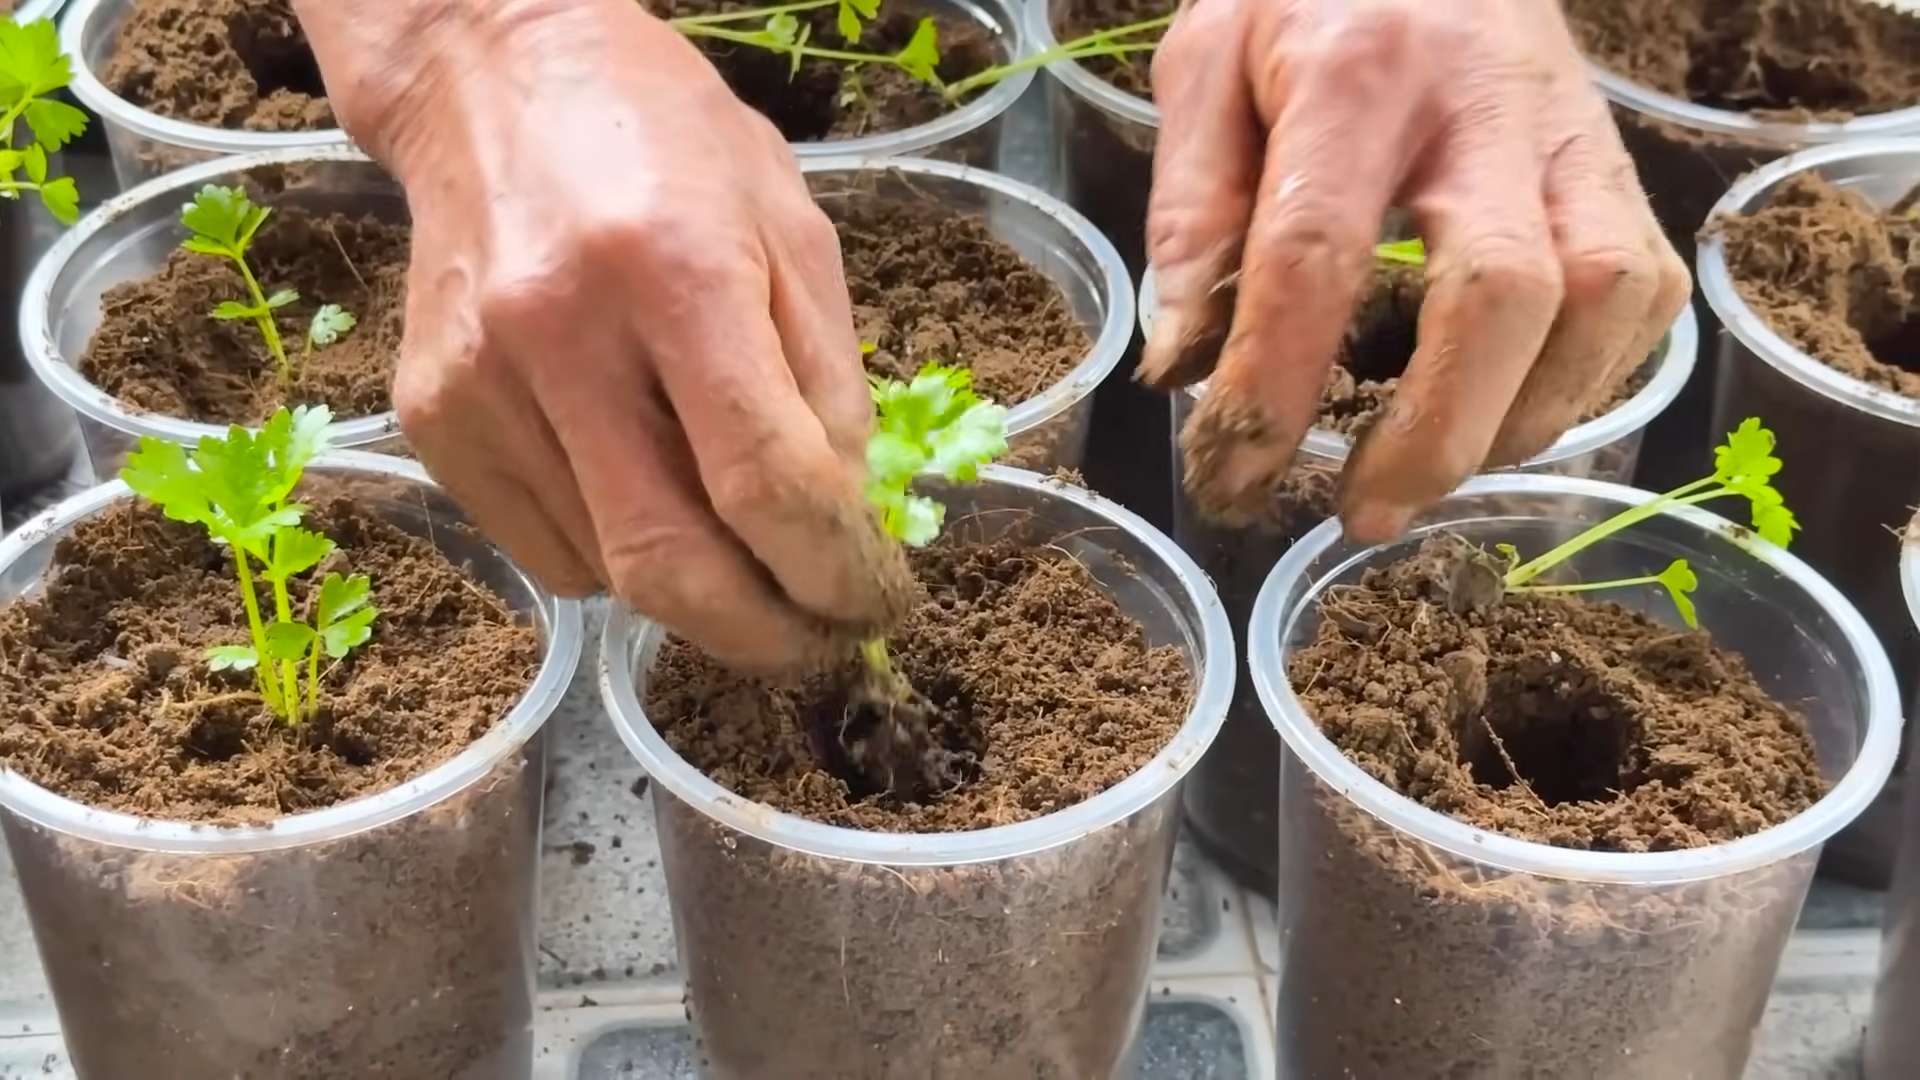
Phase 2: Nurturing the Seedlings
Once your celery seeds have sprouted, it’s time to focus on nurturing the seedlings and preparing them for your hydroponic system.
1. **Thinning the Seedlings:** Once the seedlings have developed their first true leaves (the leaves that appear after the initial seed leaves), it’s time to thin them.
* Using sharp scissors or a knife, carefully cut off the weaker seedlings at the base, leaving only one strong seedling per rockwool cube.
* This ensures that the remaining seedling has enough space and nutrients to thrive.
2. **Providing Adequate Light:** Celery seedlings need plenty of light to grow strong and healthy.
* If you’re using grow lights, position them closer to the seedlings. I usually keep mine about 6-8 inches away.
* Provide 14-16 hours of light per day. Use a timer to automate the light cycle.
* If you’re relying on natural sunlight, place the seedlings in the sunniest spot you have.
3. **Introducing Nutrients:** Once the seedlings have developed a few sets of true leaves, you can start feeding them with a diluted hydroponic nutrient solution.
* Mix the nutrient solution according to the manufacturer’s instructions, but use only 1/4 to 1/2 of the recommended strength initially.
* Water the seedlings with the diluted nutrient solution every few days, allowing the rockwool cubes to dry out slightly between waterings.
* Gradually increase the nutrient concentration as the seedlings grow larger.
4. **Monitoring pH and EC:** Regularly monitor the pH and EC (electrical conductivity) of your nutrient solution.
* The ideal pH for celery is between 5.5 and 6.5.
* The ideal EC will vary depending on the nutrient solution you’re using, but generally falls between 1.5 and 2.5.
* Adjust the pH and EC as needed to maintain optimal growing conditions.
5. **Hardening Off the Seedlings:** Before transplanting the seedlings into your hydroponic system, it’s important to harden them off. This process gradually acclimates them to the different environment of your hydroponic system.
* A few days before transplanting, reduce the humidity by removing the dome from the seedling tray for longer periods each day.
* Also, gradually reduce the amount of time the seedlings are exposed to grow lights or direct sunlight.
Phase 3: Transplanting to Your Hydroponic System
Now comes the exciting part – transplanting your celery seedlings into your hydroponic system! I’ll be describing the process for a DWC system, but the general principles apply to other systems as well.
1. **Preparing Your Hydroponic System:** Before transplanting, make sure your hydroponic system is clean and ready to go.
* Clean the reservoir and all components with a mild bleach solution (1 part bleach to 10 parts water). Rinse thoroughly.
* Fill the reservoir with fresh water and add your hydroponic nutrient solution, following the manufacturer’s instructions.
* Adjust the pH of the nutrient solution to between 5.5 and 6.5.
* Turn on the air pump and air stone to oxygenate the nutrient solution.
2. **Transplanting the Seedlings:** Carefully remove the rockwool cubes with the seedlings from the seedling tray.
* Gently place each rockwool cube into a net pot.
* If the net pot is too large, you can use hydroton clay pebbles or other inert growing media to fill the gaps and provide support for the seedling.
* Make sure the bottom of the rockwool cube is just touching the nutrient solution. This will allow the roots to grow down into the solution.
3. **Positioning the Net Pots:** Place the net pots with the seedlings into the holes in the lid of your hydroponic system.
* Ensure that the seedlings are evenly spaced to allow for adequate air circulation and light penetration.
Phase 4: Maintaining Your Hydroponic Celery
Once your
Conclusion
So, there you have it! Growing your own celery hydroponically using rockwool is not just a fun experiment; it’s a genuinely rewarding way to enjoy fresh, crisp celery right from your own home. We’ve walked you through the process, highlighting the simplicity and efficiency of this method. Forget those limp, store-bought stalks that have traveled miles and lost their flavor. With this DIY trick, you’re in control, ensuring peak freshness and maximum nutritional value.
Why is this a must-try? Because it’s accessible, even if you’re a complete beginner to hydroponics. Rockwool provides excellent support and moisture retention for your celery seedlings, making the transition to a soilless environment smooth and successful. Plus, you’ll be amazed at how quickly your celery plants thrive in this controlled setting. You’ll be harvesting delicious celery in a fraction of the time compared to traditional soil gardening.
But the beauty of this method lies in its adaptability. Feel free to experiment with different nutrient solutions to find the perfect balance for your celery. You could even try adding companion plants like basil or parsley to your hydroponic setup for a more diverse and flavorful harvest. Consider using different sizes of rockwool cubes depending on the size of your hydroponic system and the desired size of your celery heads. For smaller spaces, individual rockwool cubes in a tray work perfectly. For larger setups, you might explore using rockwool slabs.
Don’t be afraid to get creative with your hydroponic system. You can repurpose containers, build your own DIY setup, or invest in a commercially available hydroponic system – the choice is yours! The key is to ensure proper drainage, adequate lighting, and a consistent supply of nutrients.
We are confident that once you try this method, you’ll be hooked. The satisfaction of harvesting your own fresh, crunchy celery is unparalleled. It’s a sustainable, space-saving, and incredibly rewarding way to grow your own food.
So, what are you waiting for? Gather your supplies, follow our simple steps, and embark on your hydroponic celery growing adventure today! We encourage you to share your experiences with us. Let us know how your celery is growing, what variations you’ve tried, and any tips or tricks you’ve discovered along the way. Your feedback will not only help us improve this guide but also inspire other aspiring hydroponic gardeners. Let’s build a community of celery-loving hydroponic enthusiasts! This method is a great way to get started with hydroponic celery.
Frequently Asked Questions (FAQ)
What exactly is rockwool, and why is it used in hydroponics?
Rockwool is a soilless growing medium made from molten rock that is spun into fine fibers. It’s incredibly popular in hydroponics because it provides excellent aeration and drainage, allowing roots to access oxygen and nutrients easily. It also retains moisture well, preventing the roots from drying out. Rockwool is inert, meaning it doesn’t contain any nutrients itself, giving you complete control over the nutrient solution you provide to your plants. It’s also relatively inexpensive and readily available.
How do I prepare the rockwool before planting my celery seeds or seedlings?
Before using rockwool, it’s crucial to pre-soak it in pH-balanced water (around 5.5 to 6.5) for at least 24 hours. Rockwool tends to have a naturally high pH, which can hinder nutrient uptake. Soaking it helps to lower the pH to a more suitable level for celery growth. After soaking, gently squeeze out any excess water. The rockwool should be moist but not waterlogged.
What kind of nutrient solution should I use for hydroponic celery?
Celery requires a balanced nutrient solution containing macronutrients (nitrogen, phosphorus, potassium) and micronutrients (iron, manganese, zinc, copper, boron, molybdenum). You can purchase commercially available hydroponic nutrient solutions specifically formulated for leafy greens or vegetables. Follow the manufacturer’s instructions for dilution rates. It’s generally recommended to start with a lower concentration of nutrients and gradually increase it as the plants grow. Regularly monitor the pH and EC (electrical conductivity) of your nutrient solution to ensure it’s within the optimal range for celery.
How much light does hydroponic celery need?
Celery requires at least 6-8 hours of direct sunlight per day. If you’re growing indoors, you’ll need to supplement with artificial lighting, such as LED grow lights. Choose lights that provide a full spectrum of light for optimal plant growth. Position the lights close enough to the plants to provide adequate intensity but not so close that they burn the leaves.
How often should I water my hydroponic celery?
In a hydroponic system using rockwool, the roots are constantly exposed to moisture, so you don’t need to water as frequently as you would with soil-based gardening. The rockwool should remain consistently moist but not waterlogged. Check the moisture level of the rockwool regularly. If it feels dry to the touch, it’s time to add more nutrient solution. The frequency of watering will depend on factors such as temperature, humidity, and the size of your plants.
How long does it take to grow celery hydroponically?
Hydroponically grown celery typically matures faster than soil-grown celery. You can expect to harvest your celery in about 80-100 days from seed or 60-80 days from transplanting seedlings. The exact time will depend on the variety of celery, the growing conditions, and the nutrient solution you use.
What are some common problems I might encounter when growing hydroponic celery, and how can I fix them?
Some common problems include nutrient deficiencies, pests, and diseases. Nutrient deficiencies can manifest as yellowing leaves, stunted growth, or other abnormalities. Ensure you’re using a balanced nutrient solution and monitor the pH and EC regularly. Pests, such as aphids and spider mites, can be controlled with insecticidal soap or neem oil. Diseases, such as fungal infections, can be prevented by ensuring good air circulation and avoiding overwatering.
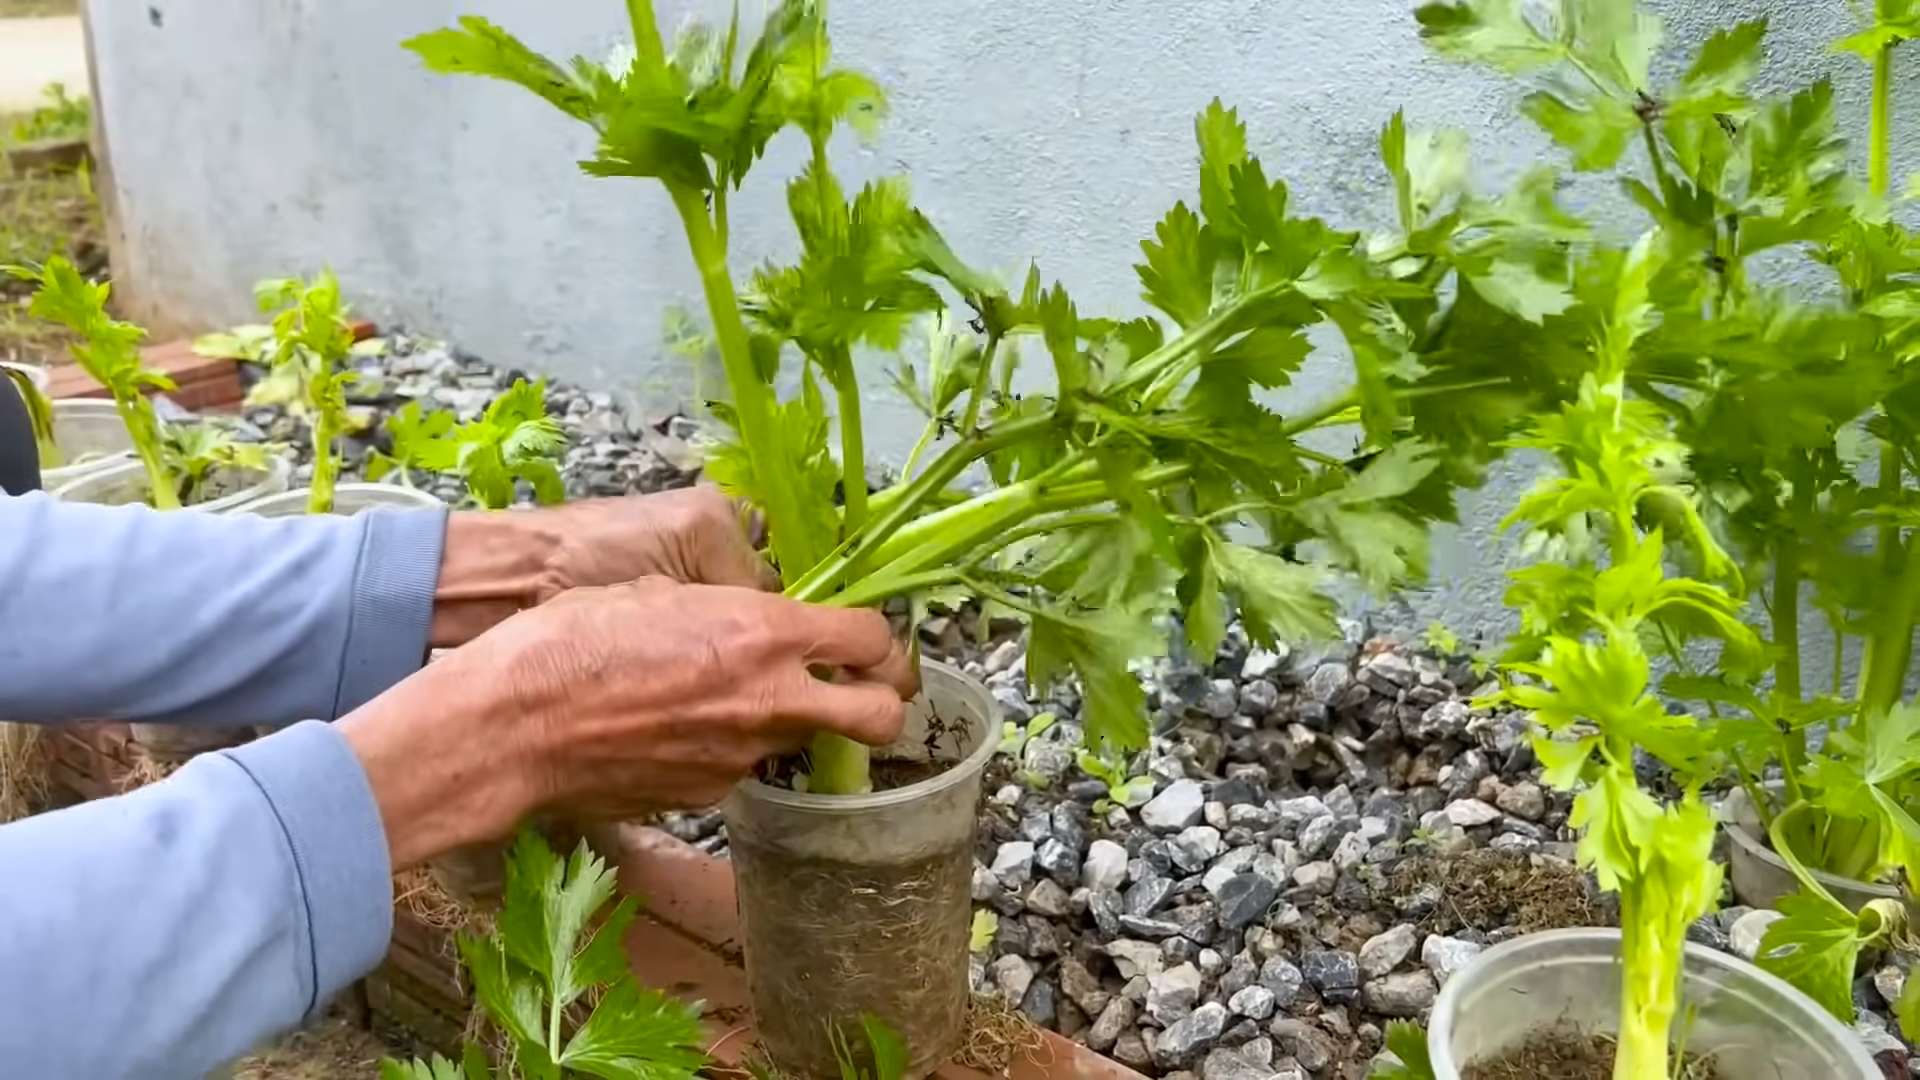
Can I grow celery from the base of a store-bought stalk?
Yes, you can! This is a great way to propagate celery and get a head start on your hydroponic garden. Simply cut off the base of the celery stalk, leaving about 2 inches of the root end intact. Place the base in a shallow dish of water, and keep it in a sunny location. Change the water every day or two. After a few days, you should see new roots sprouting from the base. Once the roots are about an inch long, you can transplant the celery base into a rockwool cube and continue growing it hydroponically.
How do I harvest my hydroponic celery?
You can harvest celery stalks individually as needed or harvest the entire plant at once. To harvest individual stalks, simply cut them off at the base of the plant. To harvest the entire plant, cut it off at the base, leaving about an inch of the root end intact. This will allow the plant to regrow and produce more stalks.
Is hydroponic celery more nutritious than soil-grown celery?
Hydroponically grown celery can be just as nutritious, if not more so, than soil-grown celery. Because you have complete control over the nutrient solution, you can ensure that the plants receive all the essential nutrients they need for optimal growth and development. Studies have shown that hydroponically grown produce can sometimes have higher levels of certain vitamins and minerals compared to soil-grown produce.


Leave a Comment